French Door Easel Card Spring

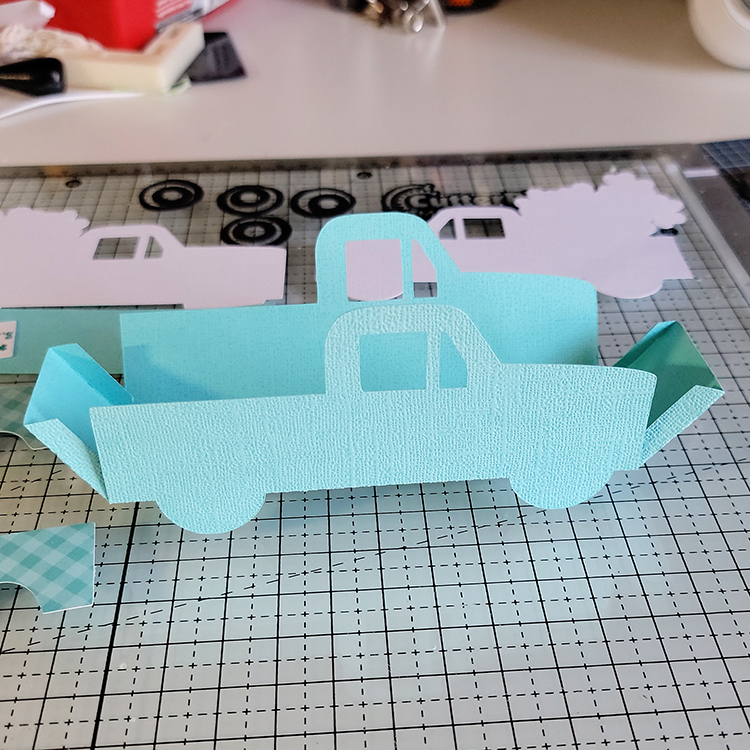
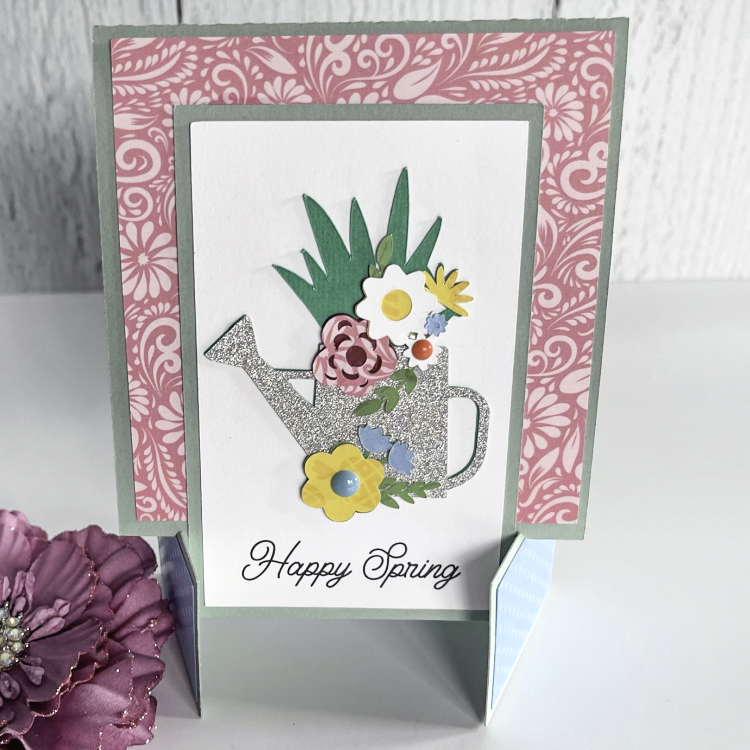
Happy Spring Everyone:

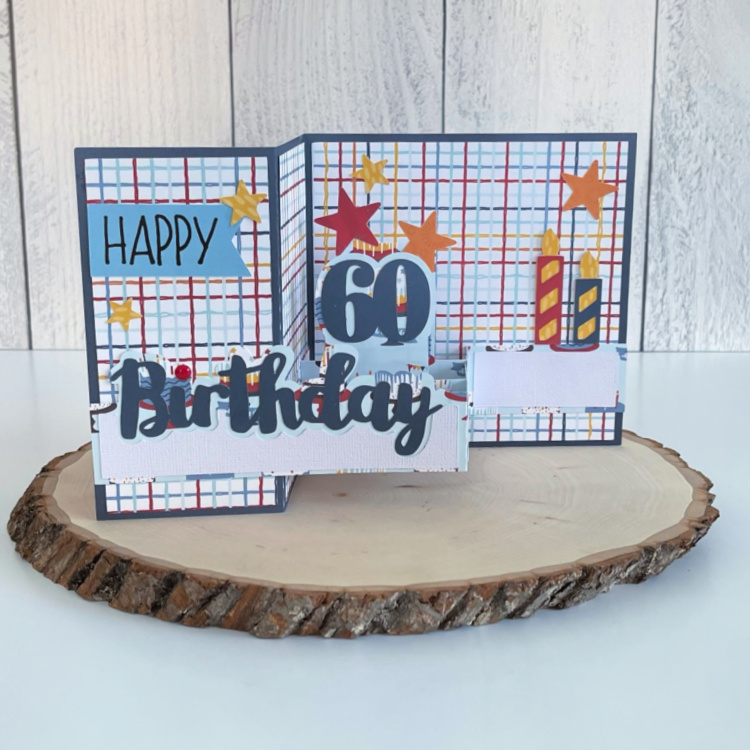
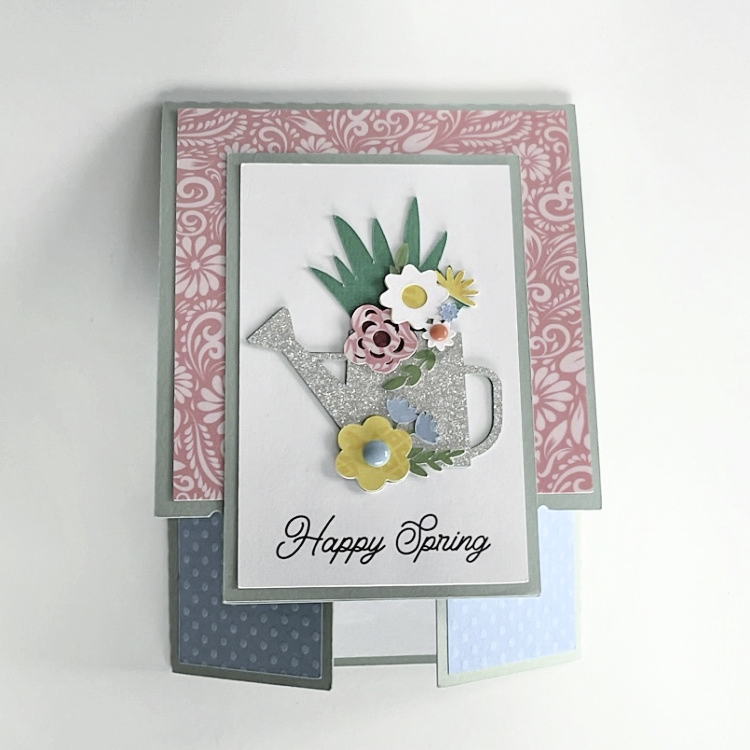
Anita here with a new style card that Lori created recently that is just so lovely and perfect to use to send some spring cheer.  It is called French Door Easel Card Spring (SVG, Silhouette).  She has many different styles so be sure to check them all out.  I used two of her newest Echo Park Paper collections including Our Little Princess and Endless Summer to piece my card together.  This card folds flat for mailing and has a nice space inside for written sentiments.

Here it is folded flat for mailing.

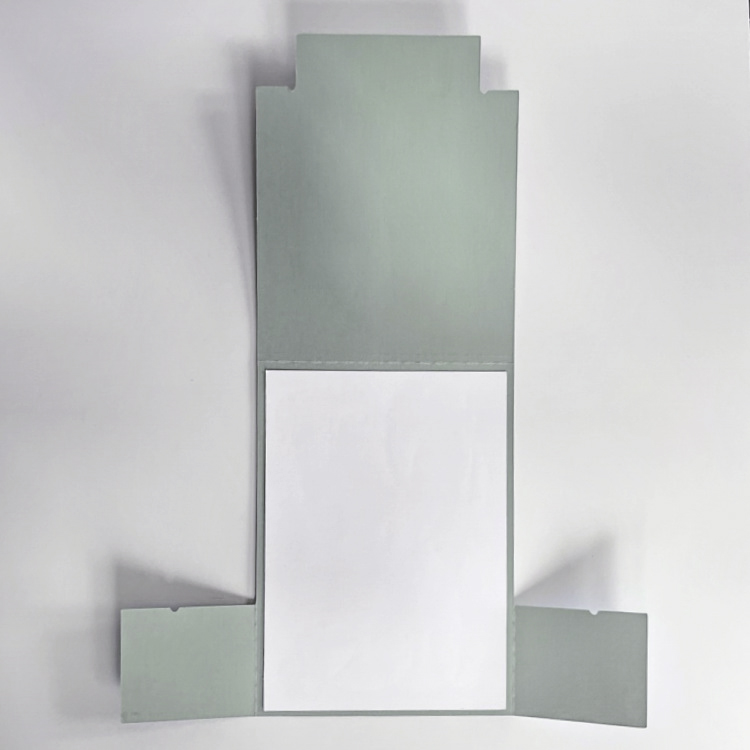
Above you can see the card open with a large space to write a lovely note.  Thanks for looking and have a great day.

Hugs,

Anita

Easter Bunny Crate Box Card

Hello crafty friends, I have an Easter card to share with you today, the Box Card Crate Easter Bunny, (SVG, Silhouette). I love the little bunny he is so cute, I added a printed sentiment from the Easter Stickers 2, (SVG, Silhouette) print and cut file. I also used the eggs from this set instead of the eggs in the file, I thought they were perfect for this card. I added the little chick from another Easter Stickers set, (SVG, Silhouette), I like having these stickers cut out already in case I need a little something extra or I need to make a card quickly.

Everything was cut out on my Silhouette Cameo 4.  Thanks for stopping by and have a wonderful day!

Bunny Head Box Tutorial

Anita here with a tutorial to make Lori’s Bunny Head Box (SVG, Silhouette).  I used some of Lori’s Echo Park Paper collections for this box including Wish Upon a Star and Celebrate Spring.  I am going to make these to give to each person who comes for Easter dinner! They will look so cute on my table and will be filled with yummy sweets.

Here is a photo of the pieces that you need to cut out for this box.

The next photo shows the face and ear pieces glued on as well as the direction the score lines need to be folded.

This photo shows the sides of the box glued together which was the first step in putting the box together.

After the sides are glued together the bottom hexagon piece gets folded up and glued in to cover up the tabs.

Lastly you can see how cute the box looks with a little Easter grass in it and some chocolate.

To close the box, fold in the short sides first, then gather the ears together and secure with some ribbon or twine.  You could even add a bute little pom pom for a tail!   This went together quickly and easily.  Hope that you have a chance to try this one out.  Be sure to look at all of Lori’s SVG files for your Spring celebration needs.  That’s it for me today.

Hugs,

Anita

Pop Up Box Card Birthday Age 60

Hello:

Anita here with a fun card that I made for a good friend who just turned 60.  This card is so easy to put together and really makes a statement.  It is called Pop Up Box Card Birthday and you can find it here (SVG, Silhouette) as well as here you can find Lori’s tutorial for putting together her pop up box cards.  I used one of Lori’s new Echo Park Paper collections called Birthday Boy.  She has many different ages to choose from for the wonderful card.  Below is the card folded flat for mailing, it will fit into a 6″ square envelope.

Have a great day.

Hugs, Anita

Saint Patrick’s Truck Box Tutorial

Hello there! Here is a quick tutorial on the new Saint Patrick Truck Box, (SVG, Silhouette), this is a super simple project to put together.

The Silhouette version of the file, currently has extra window cutouts you don’t need, if you ungroup and move the pieces you will see them, see photo below. The tires need to be ungrouped to delete those window pieces also. We have asked Silhouette to fix this, but if you see it, no worries.

Here is a photo of all the pieces cut out, I used one of the sentiments from the St. Patrick Dingbats Fonts, (SVG, Silhouette) instead of the shamrock on the door.

All you have to do is fold on all the score lines, the cutout tires will flip out, glue the four sides together.

Add the bottom piece to the inside, this hides the tire cutouts.

Add all the shamrocks, I popped some of them up, I also ended up changing the tires out with a solid piece, I wanted to add buttons and liked the look better this way.

Repeat the other side and glue both panels on the box. This makes a great treat box, you can make a bunch of these in no time!  Thanks for stopping by and have a wonderful day!