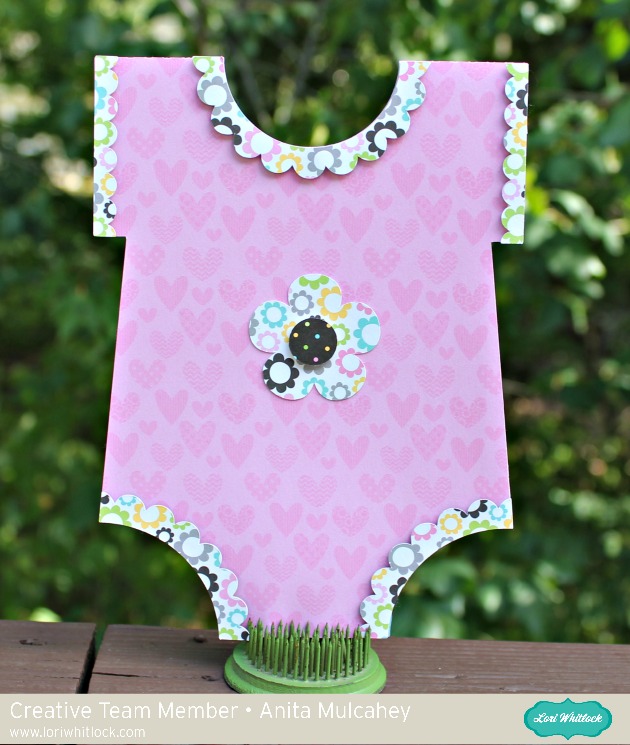
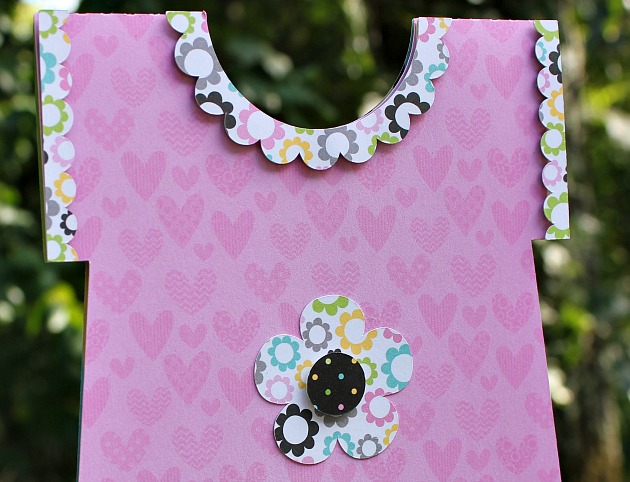
Anita here with another baby girl project. My cousin just had a sweet baby girl and I made this card to go along with the onesie I made her and shared during my previous post. I love this cut file because there is both a boy and a girl version and it’s called Boy/Girl Onesie Cards. You can find the file here in Lori’s SVG shop as well as here in the Silhouette Store.
Hi Everyone, it’s Kathy today with a quick tutorial showing how to assemble Lori’s 5×7 Tiered Cake Gift Card Holder. (available here in the Silhouette Design Store) I have 4 weddings this year and this is sure going to come in handy! It’s also a good way to make giving a gift card a bit more personal!
And here the card is open, with the gift card…
Here’s how to put it all together…
First, cut all the pieces. I used some plain cardstock for the main body of my card, and some fun printed papers for the decorations.
Next, place the top tier of the cake with the slots for the gift card over the main piece as shown.
Fold the tabs on the main cake piece and add adhesive to only the tabs of the main piece.
Fold the other side of the main piece over, keeping the top tier in between the layers, pressing down to secure where glued.
Now for the fun part! Decorate the layers using the embellishment pieces. I also added some flower stickers and glitter to my cake tiers. Insert your gift card in the top tier, using the tabs, and slide this piece down into the main part of the cake.
This card fits into a 5×7 envelope. It could also be used for birthdays! That’s it for me today, thanks for stopping by to peek!
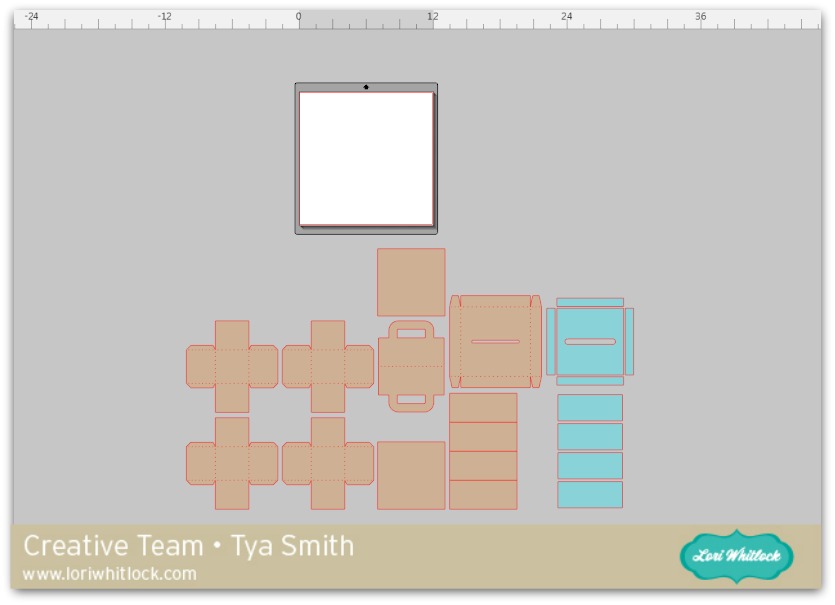
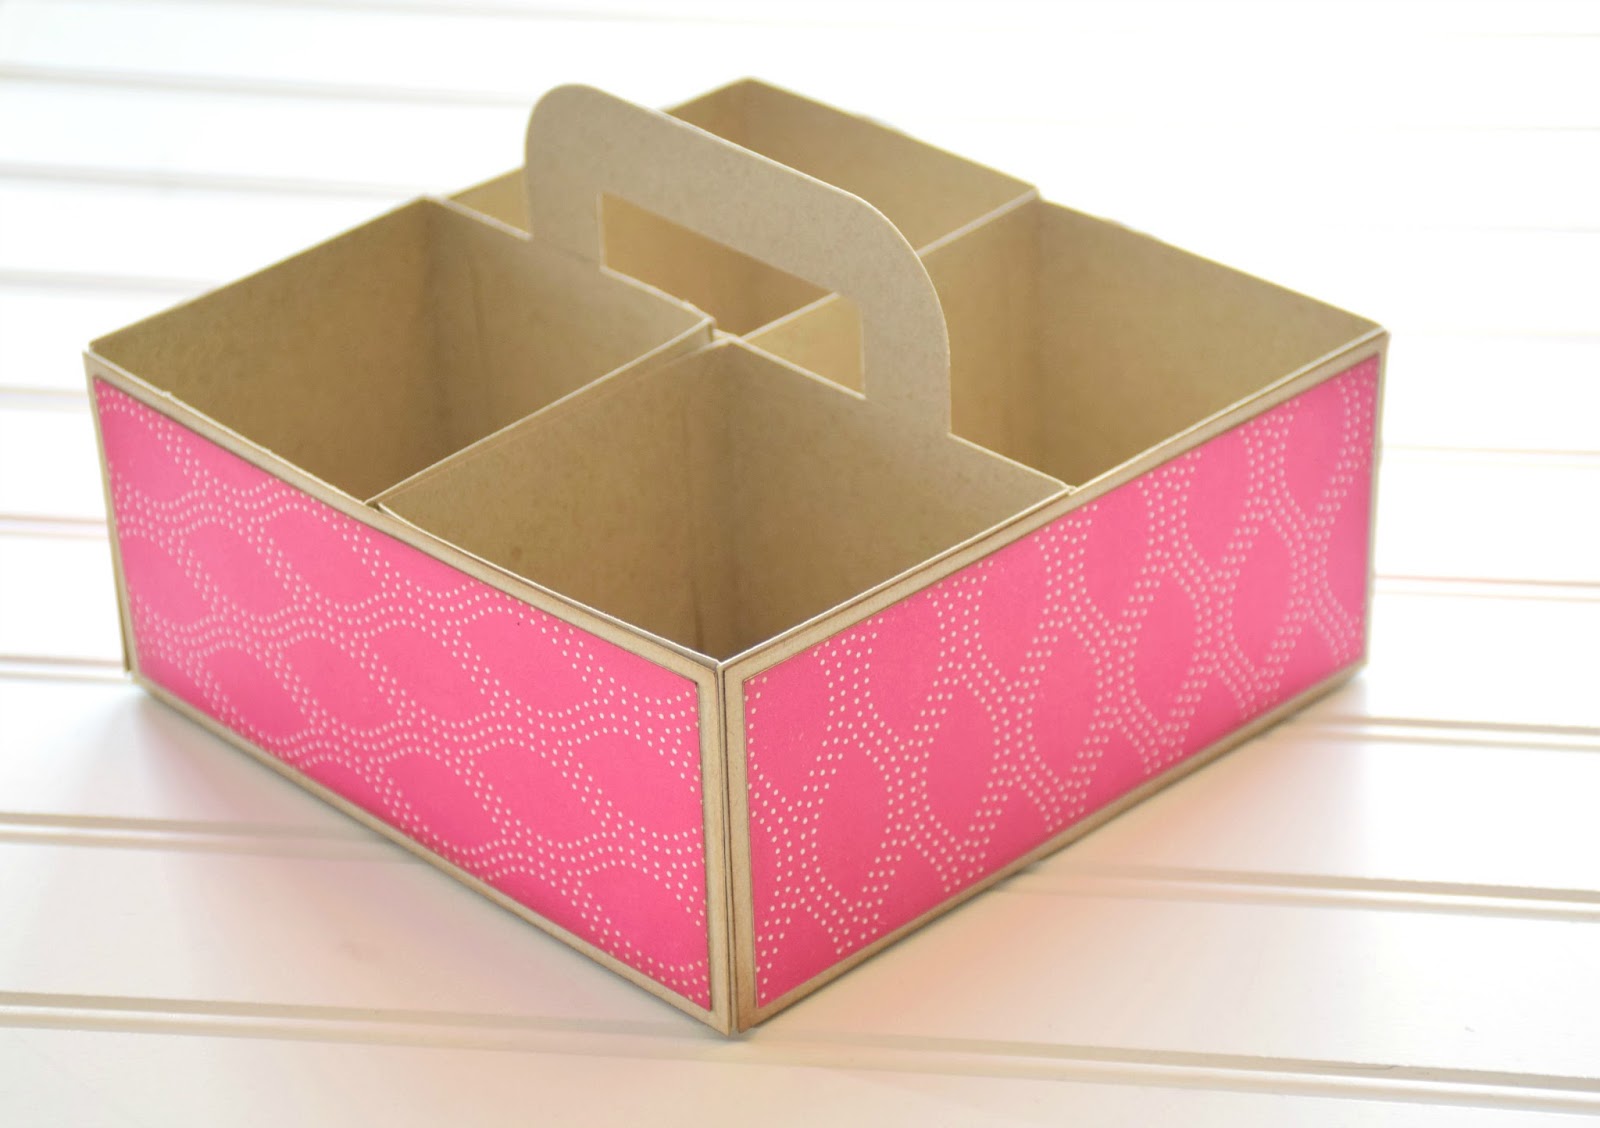
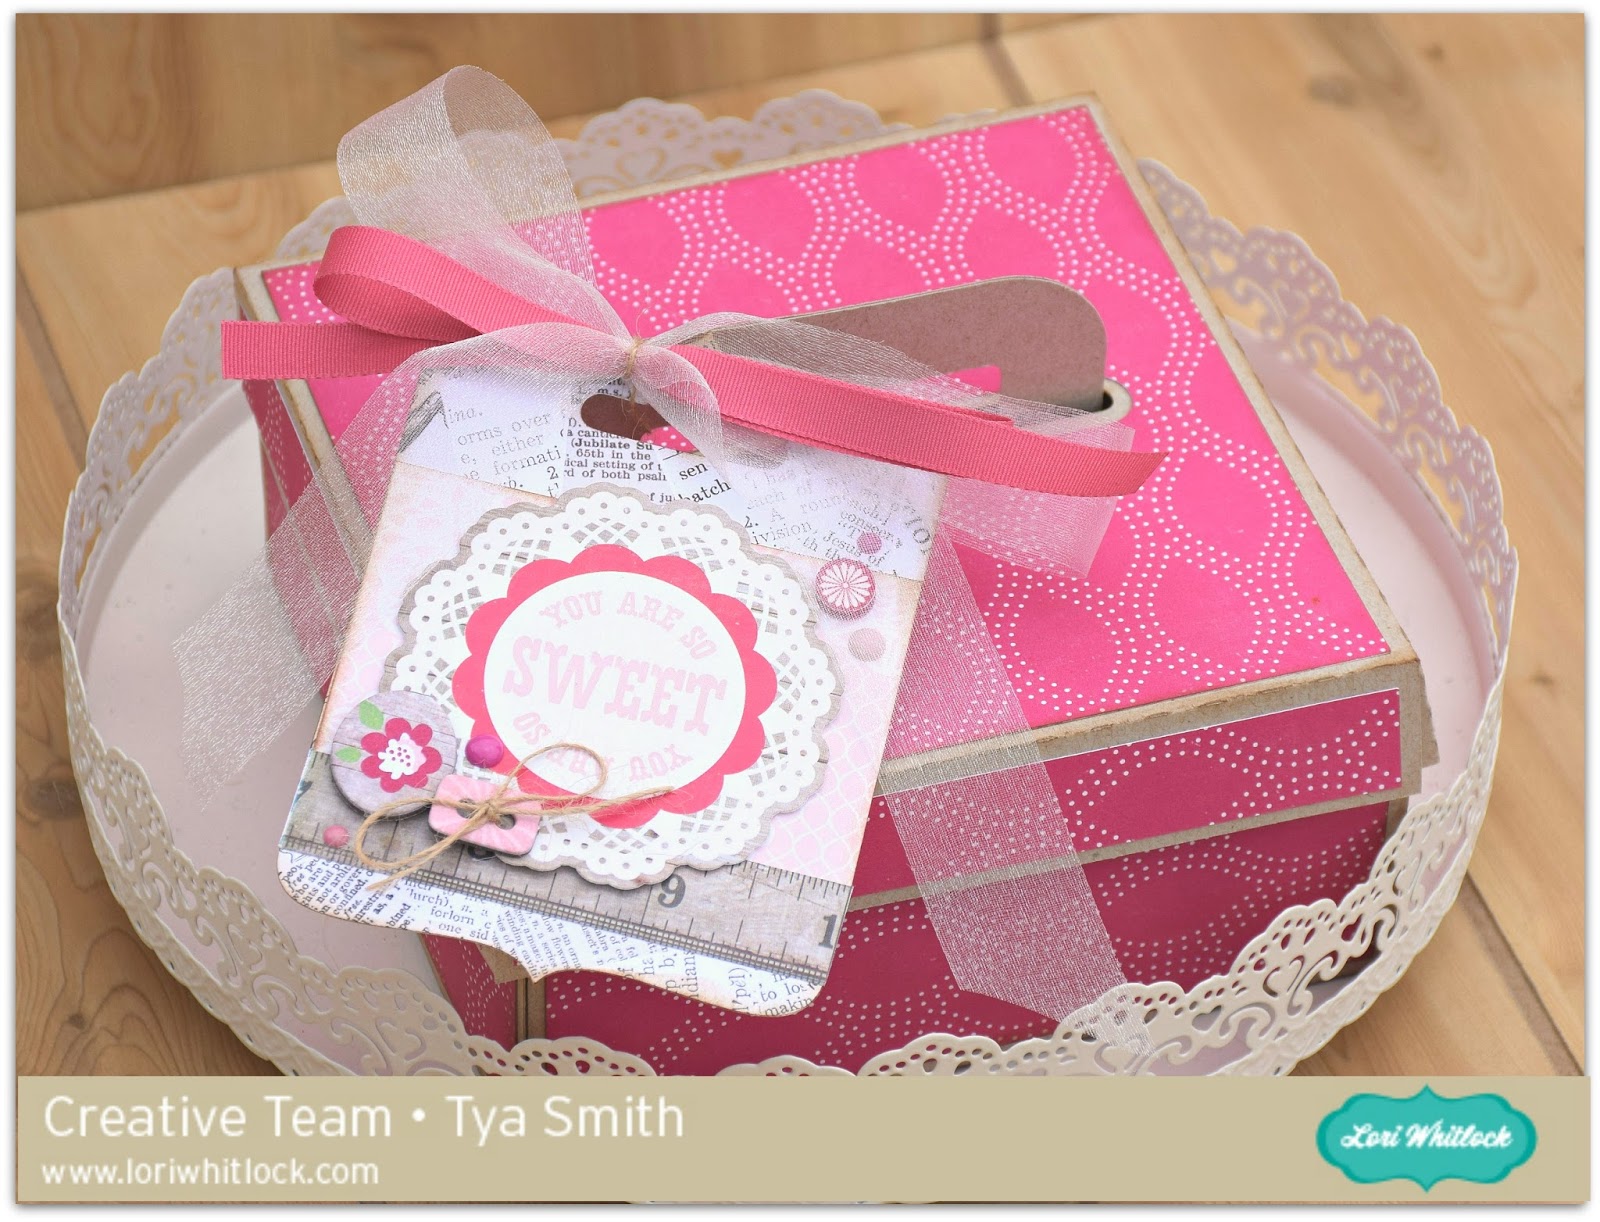
Hi Everybody! It’sTya Smith here with a tutorial on how to assemble the new Four Compartment Cookie Box that Lori recently came out with. I love her boxes and this box was just what I needed to take a yummy treat to my Mom for her birthday.Let me show you the steps it takes to put this box together.
Open up the file. It is found here on the Silhouette and here on the LWSVG Shop.
Now, it may look like a lot of pieces – but this really is quite easy to cut out and put together. The tan pieces are for the box base and lid and the aqua pieces are the pattern papers for the lid and sides of the box.
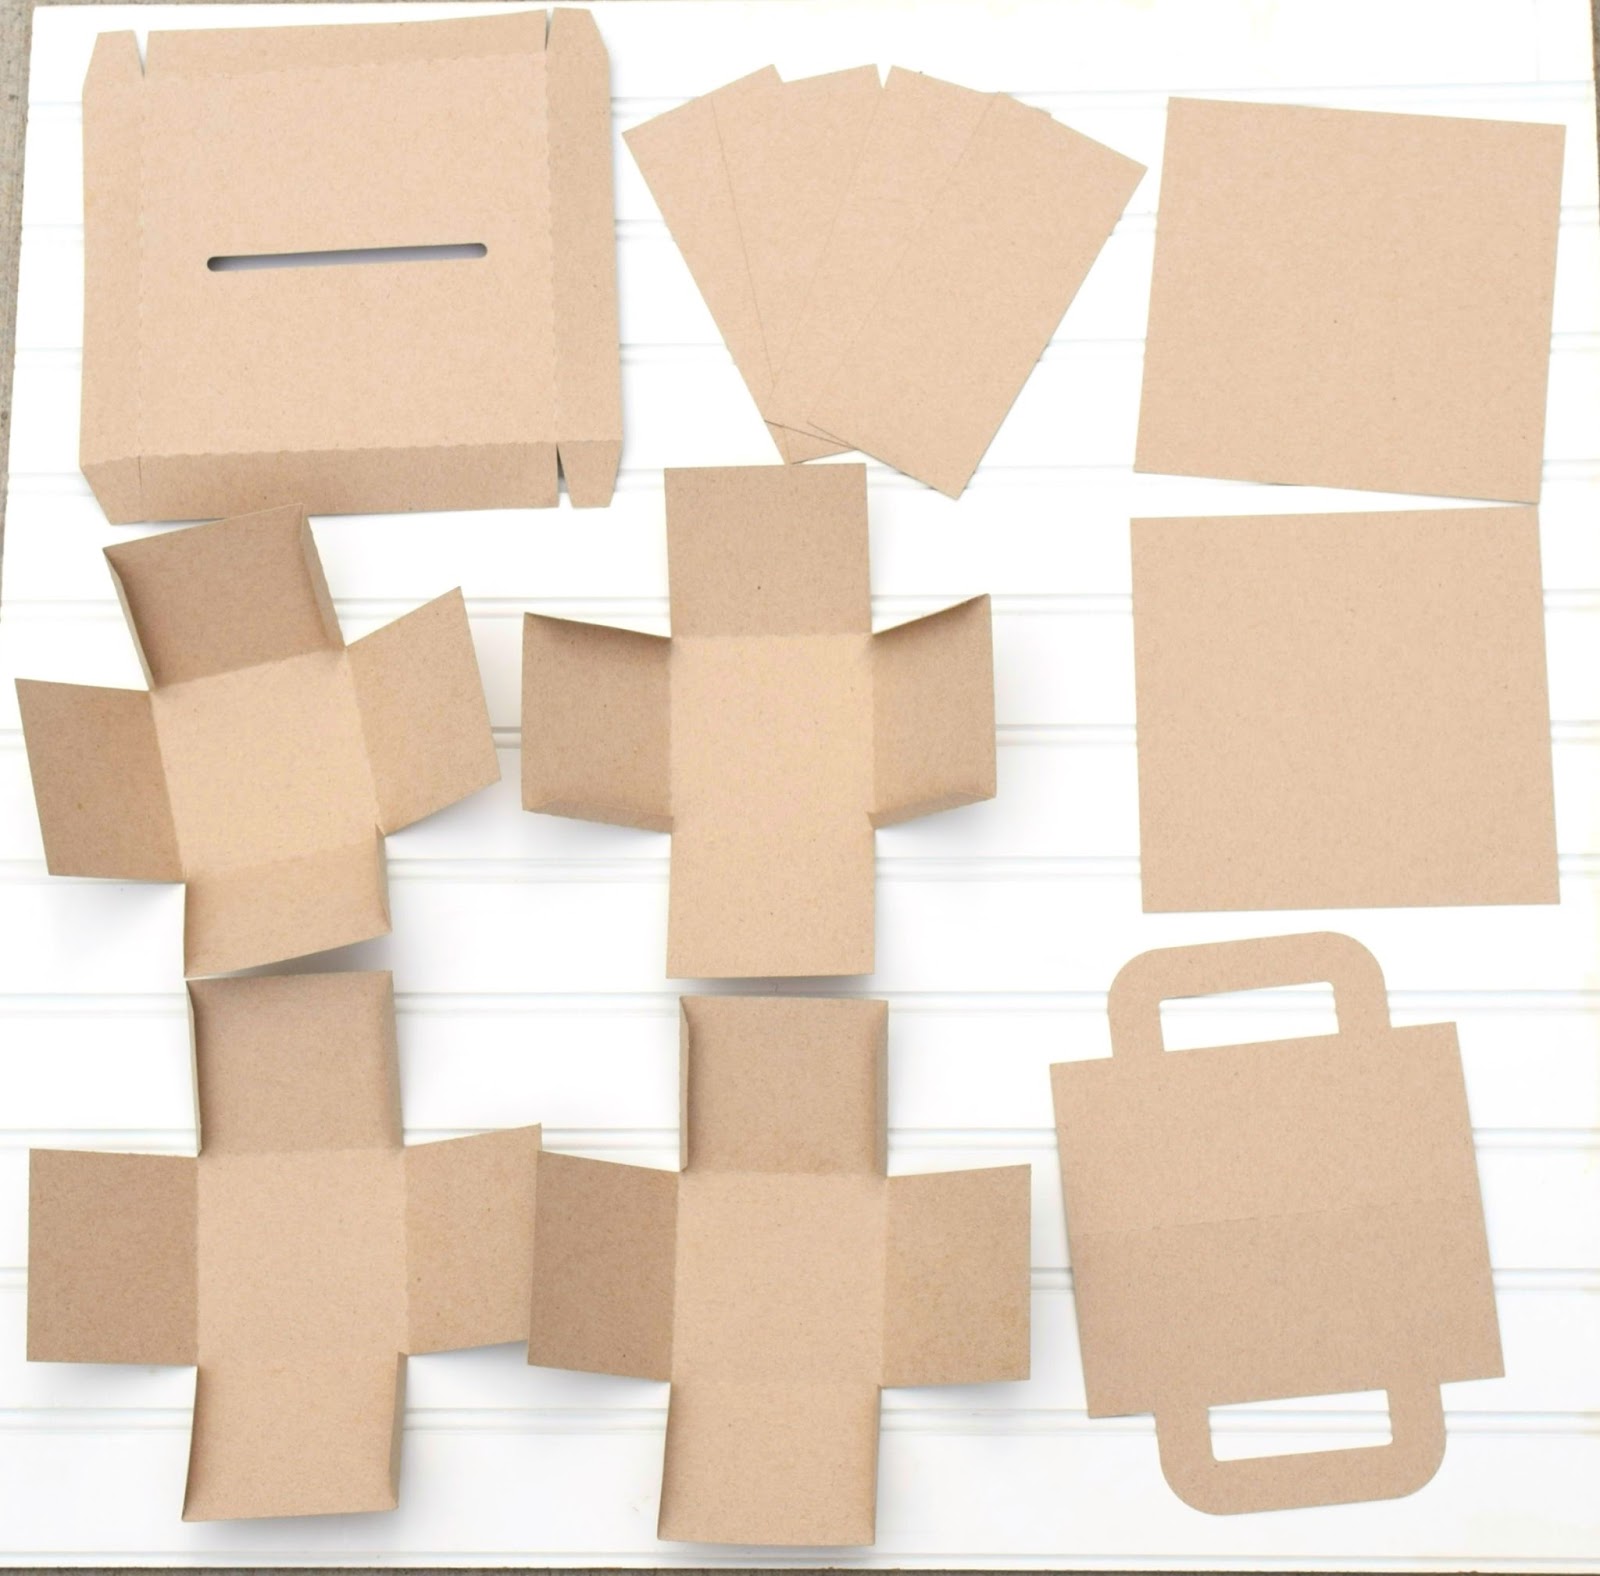
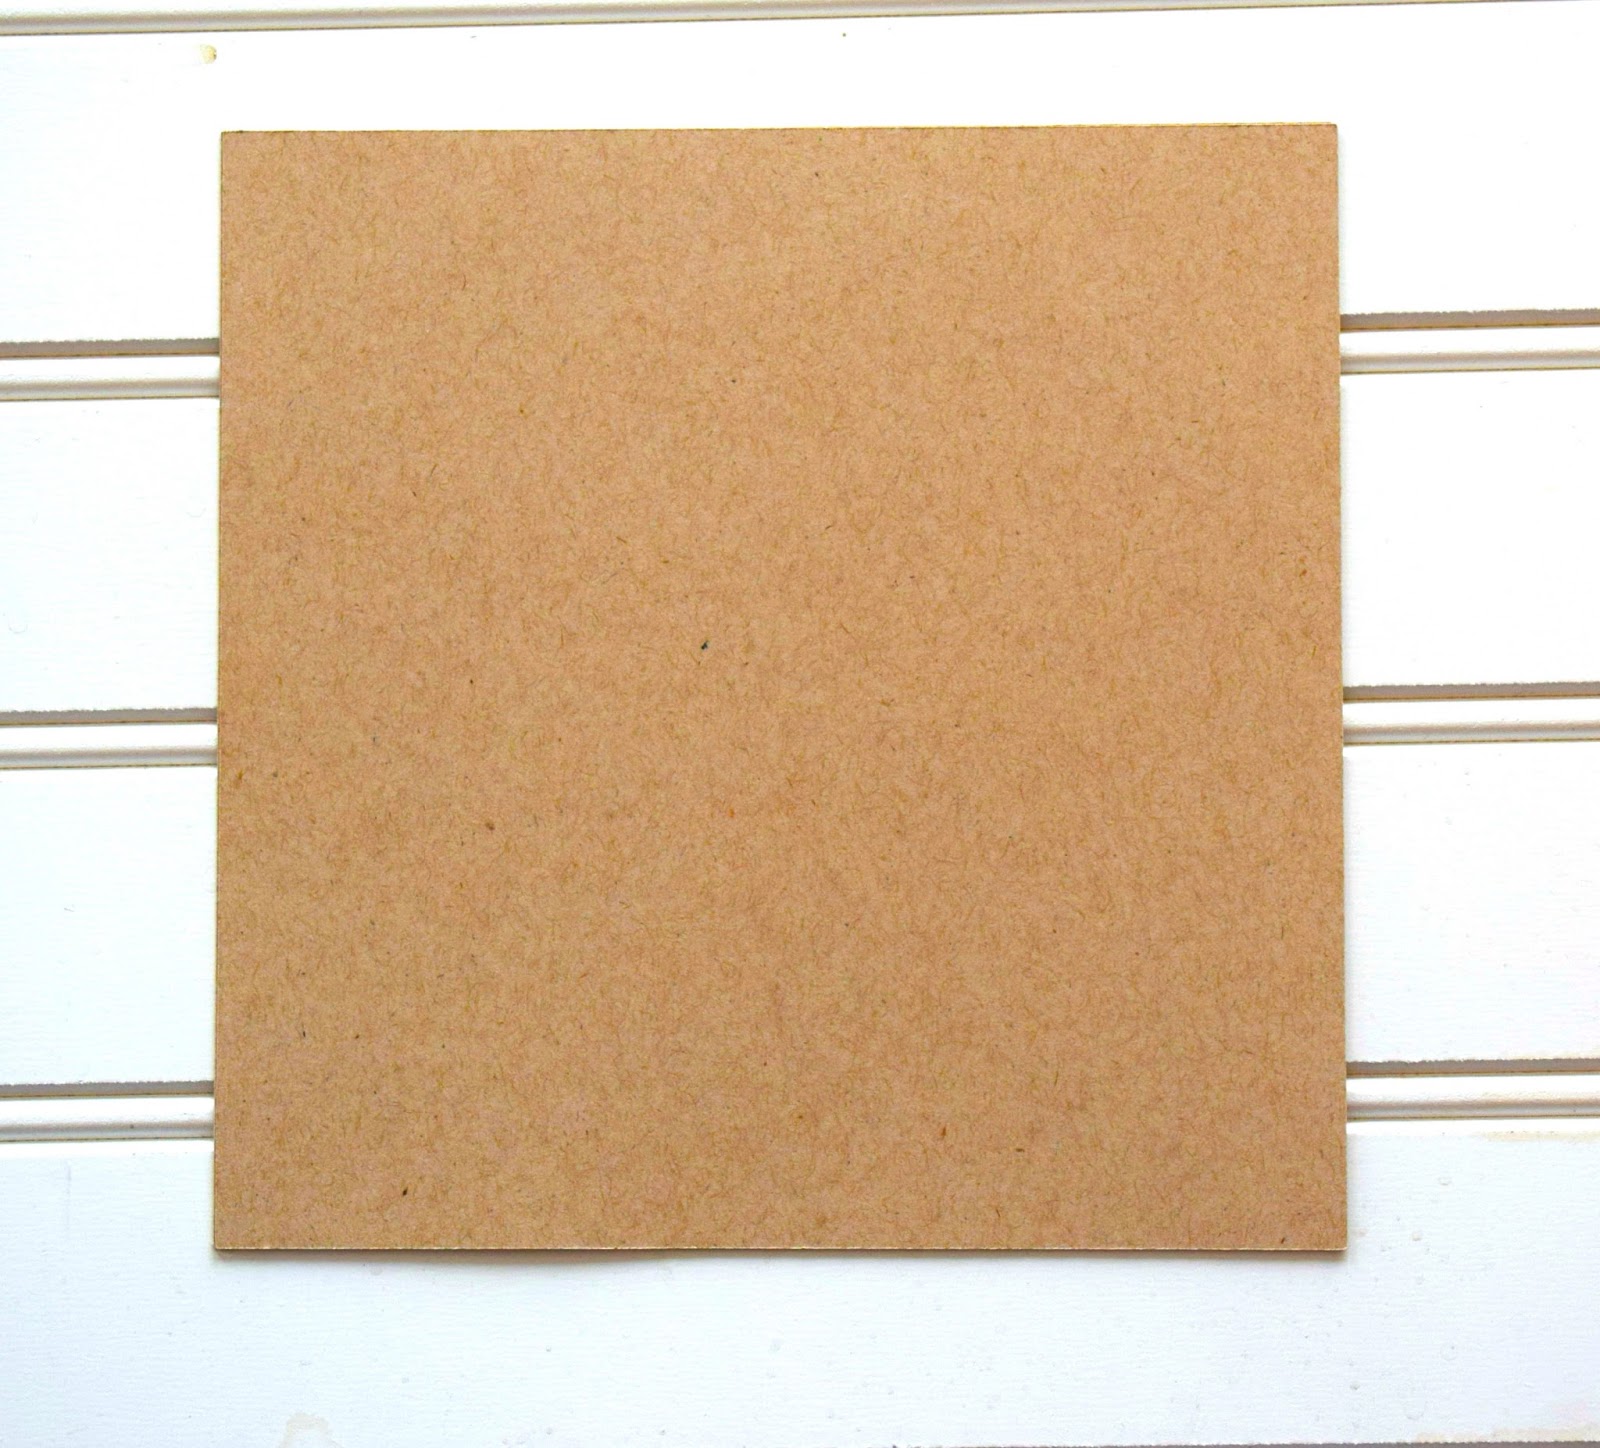
I went ahead and cut out all the box pieces out of kraftcardstock.
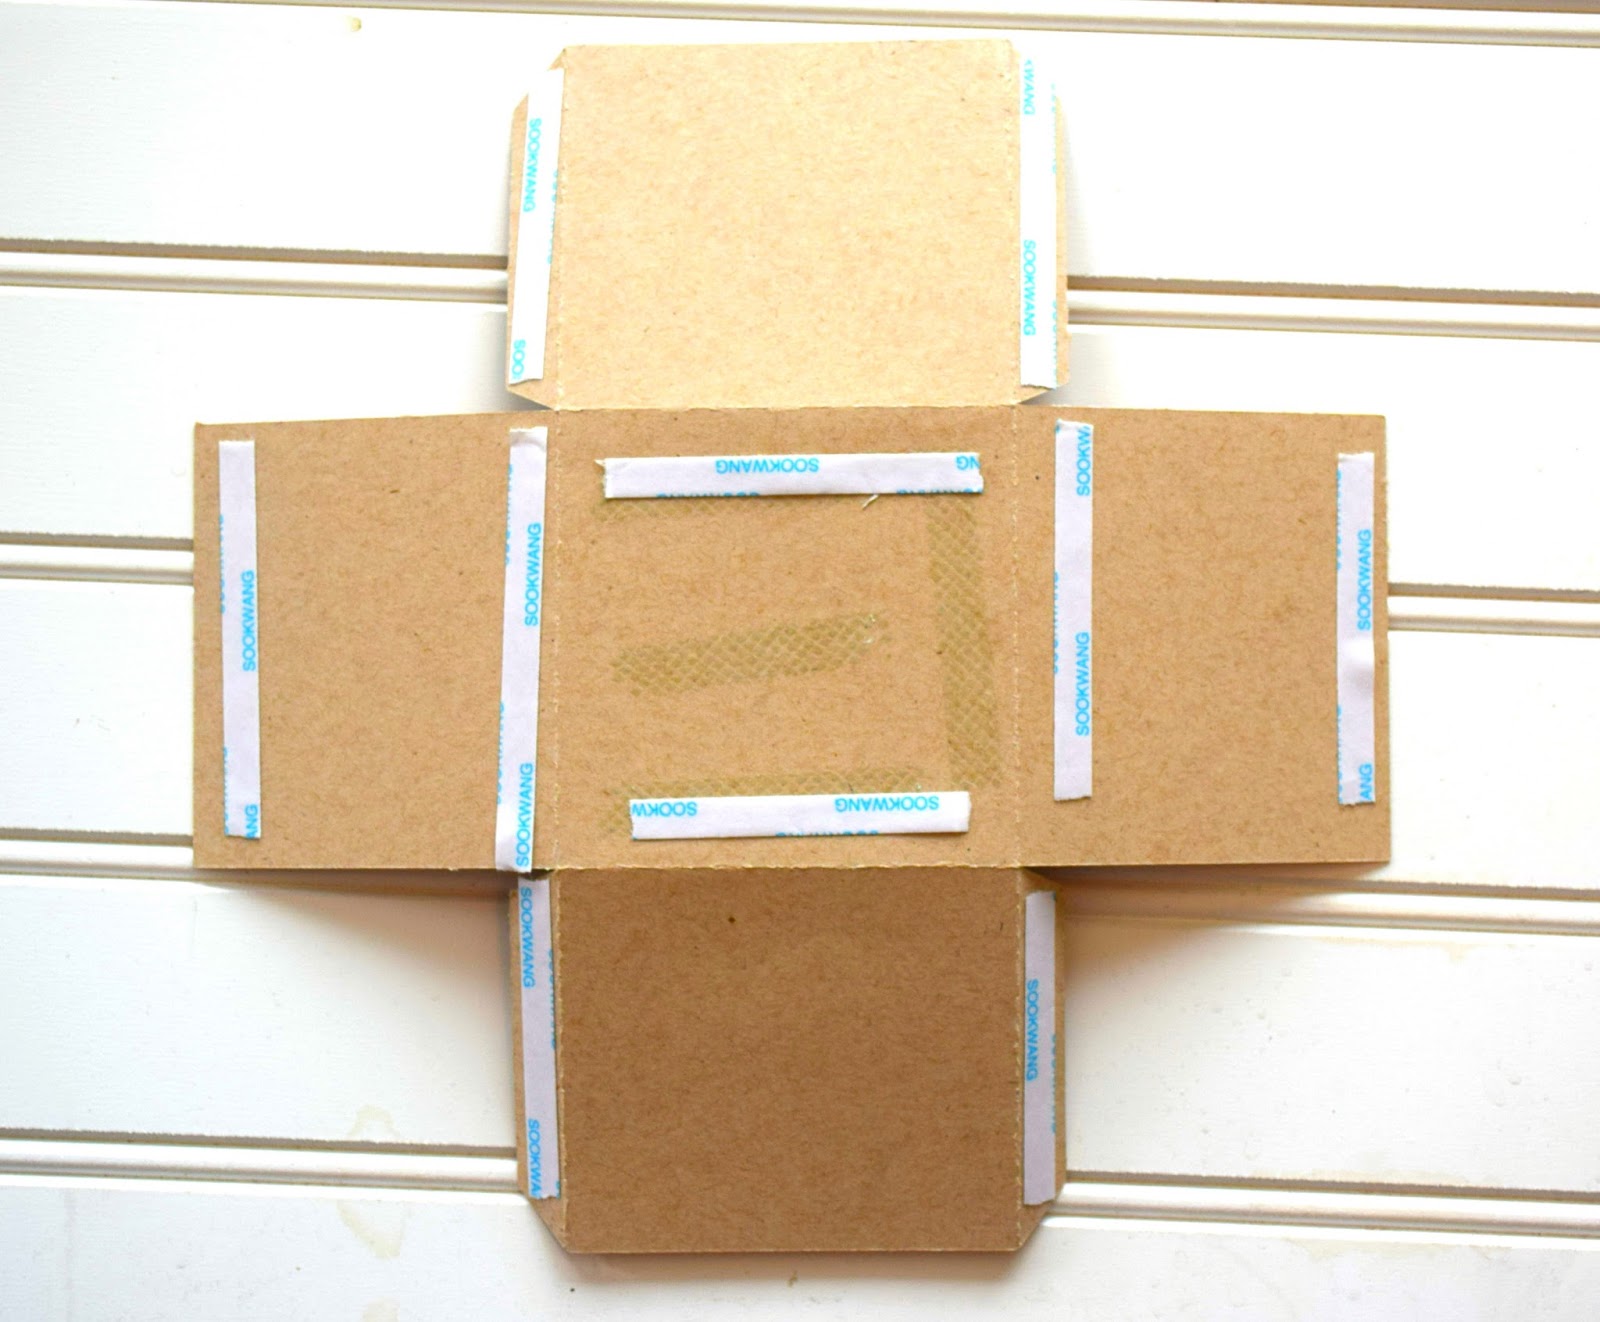
Then I started assembling the pieces. I took the 2 square pieces and layed them on top of one another. This is the box base.
Next take the 4 box pieces and fold on all the scored lines. Add adhesive as shown and glue the box together.
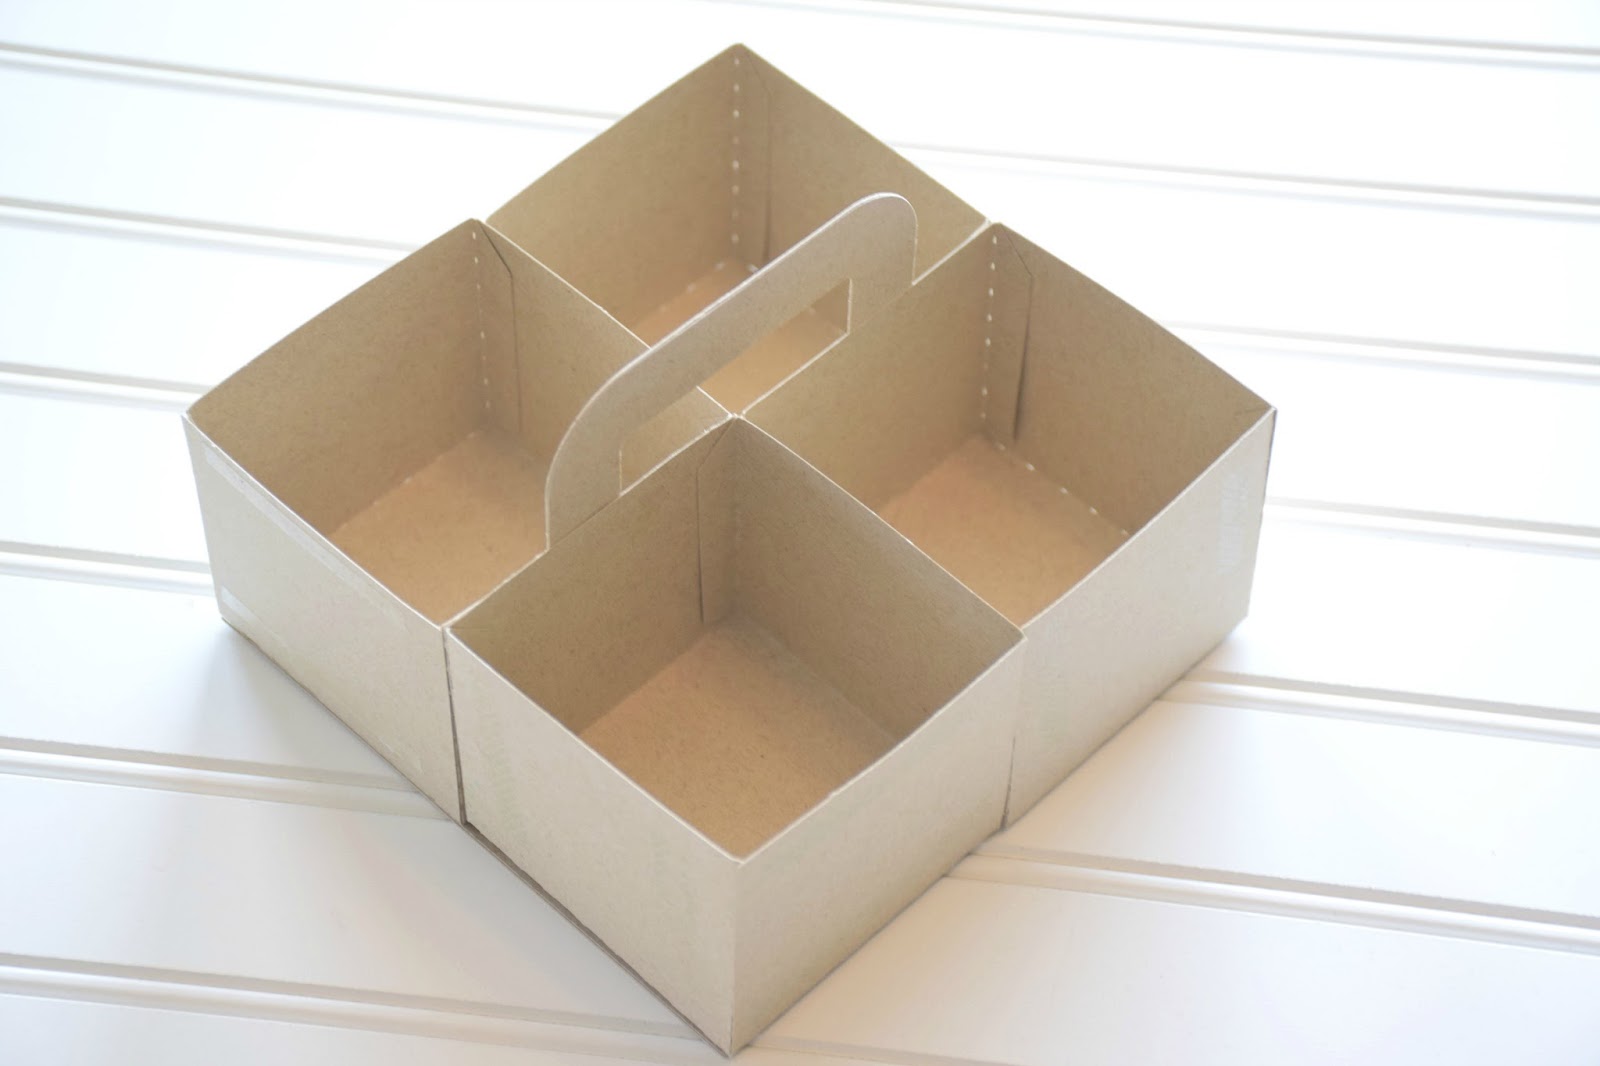
Add 2 of the boxes to one end. Then add the handle piece as shown.
Now add the other 2 box pieces.
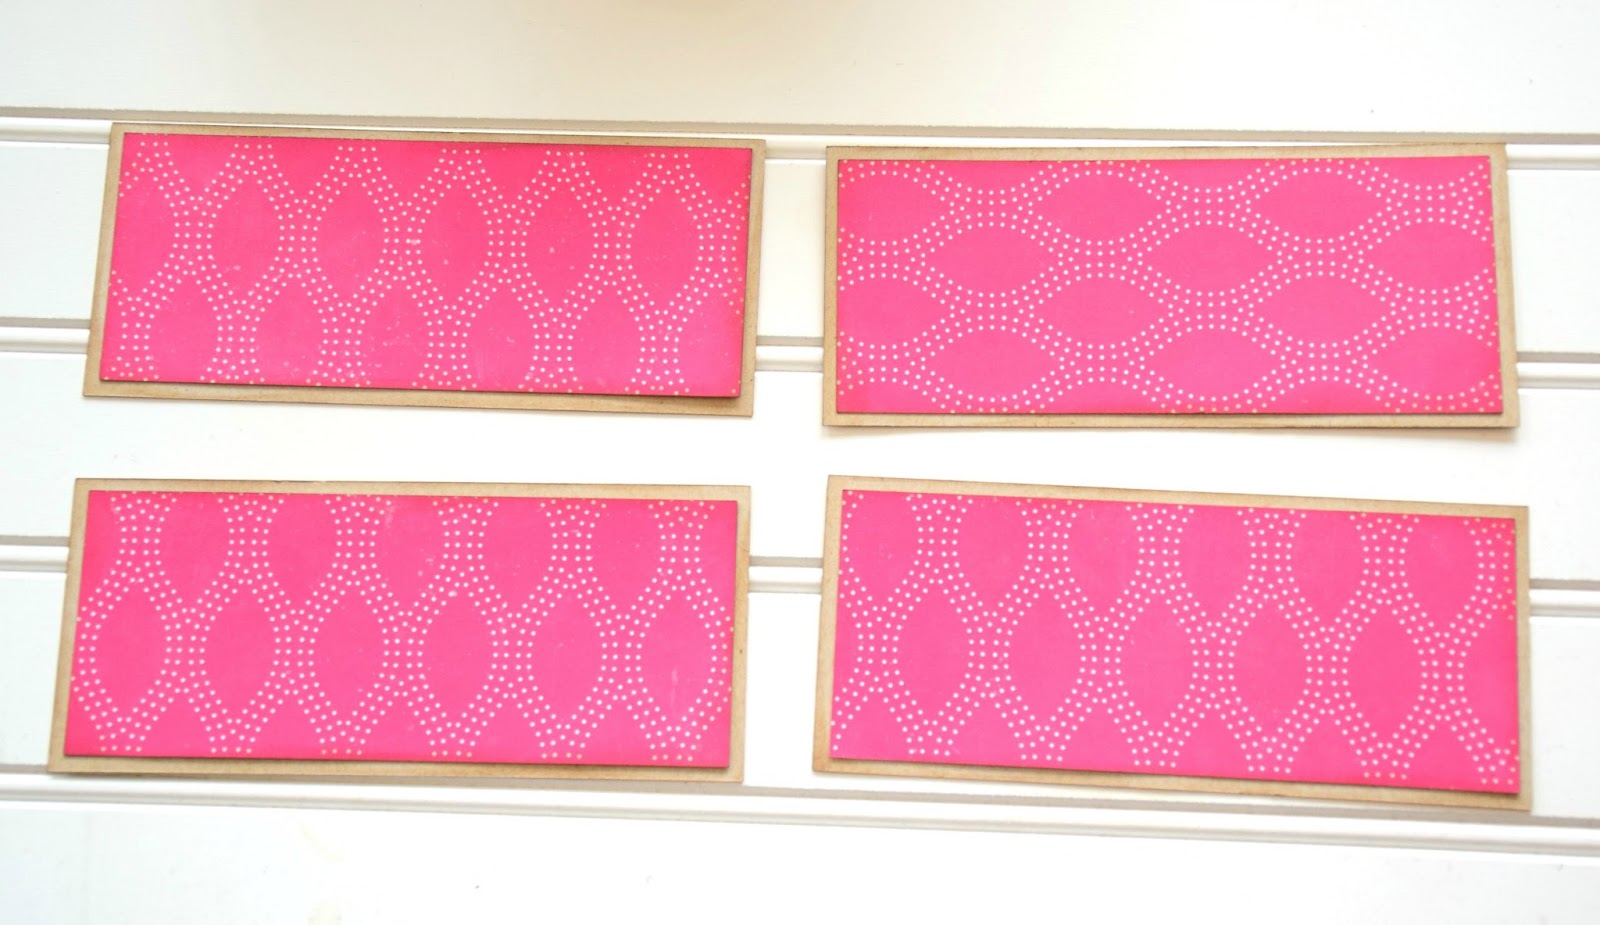
Add the pattern papers to the 4 rectangle pieces. These will be glued all along the edges of the box.
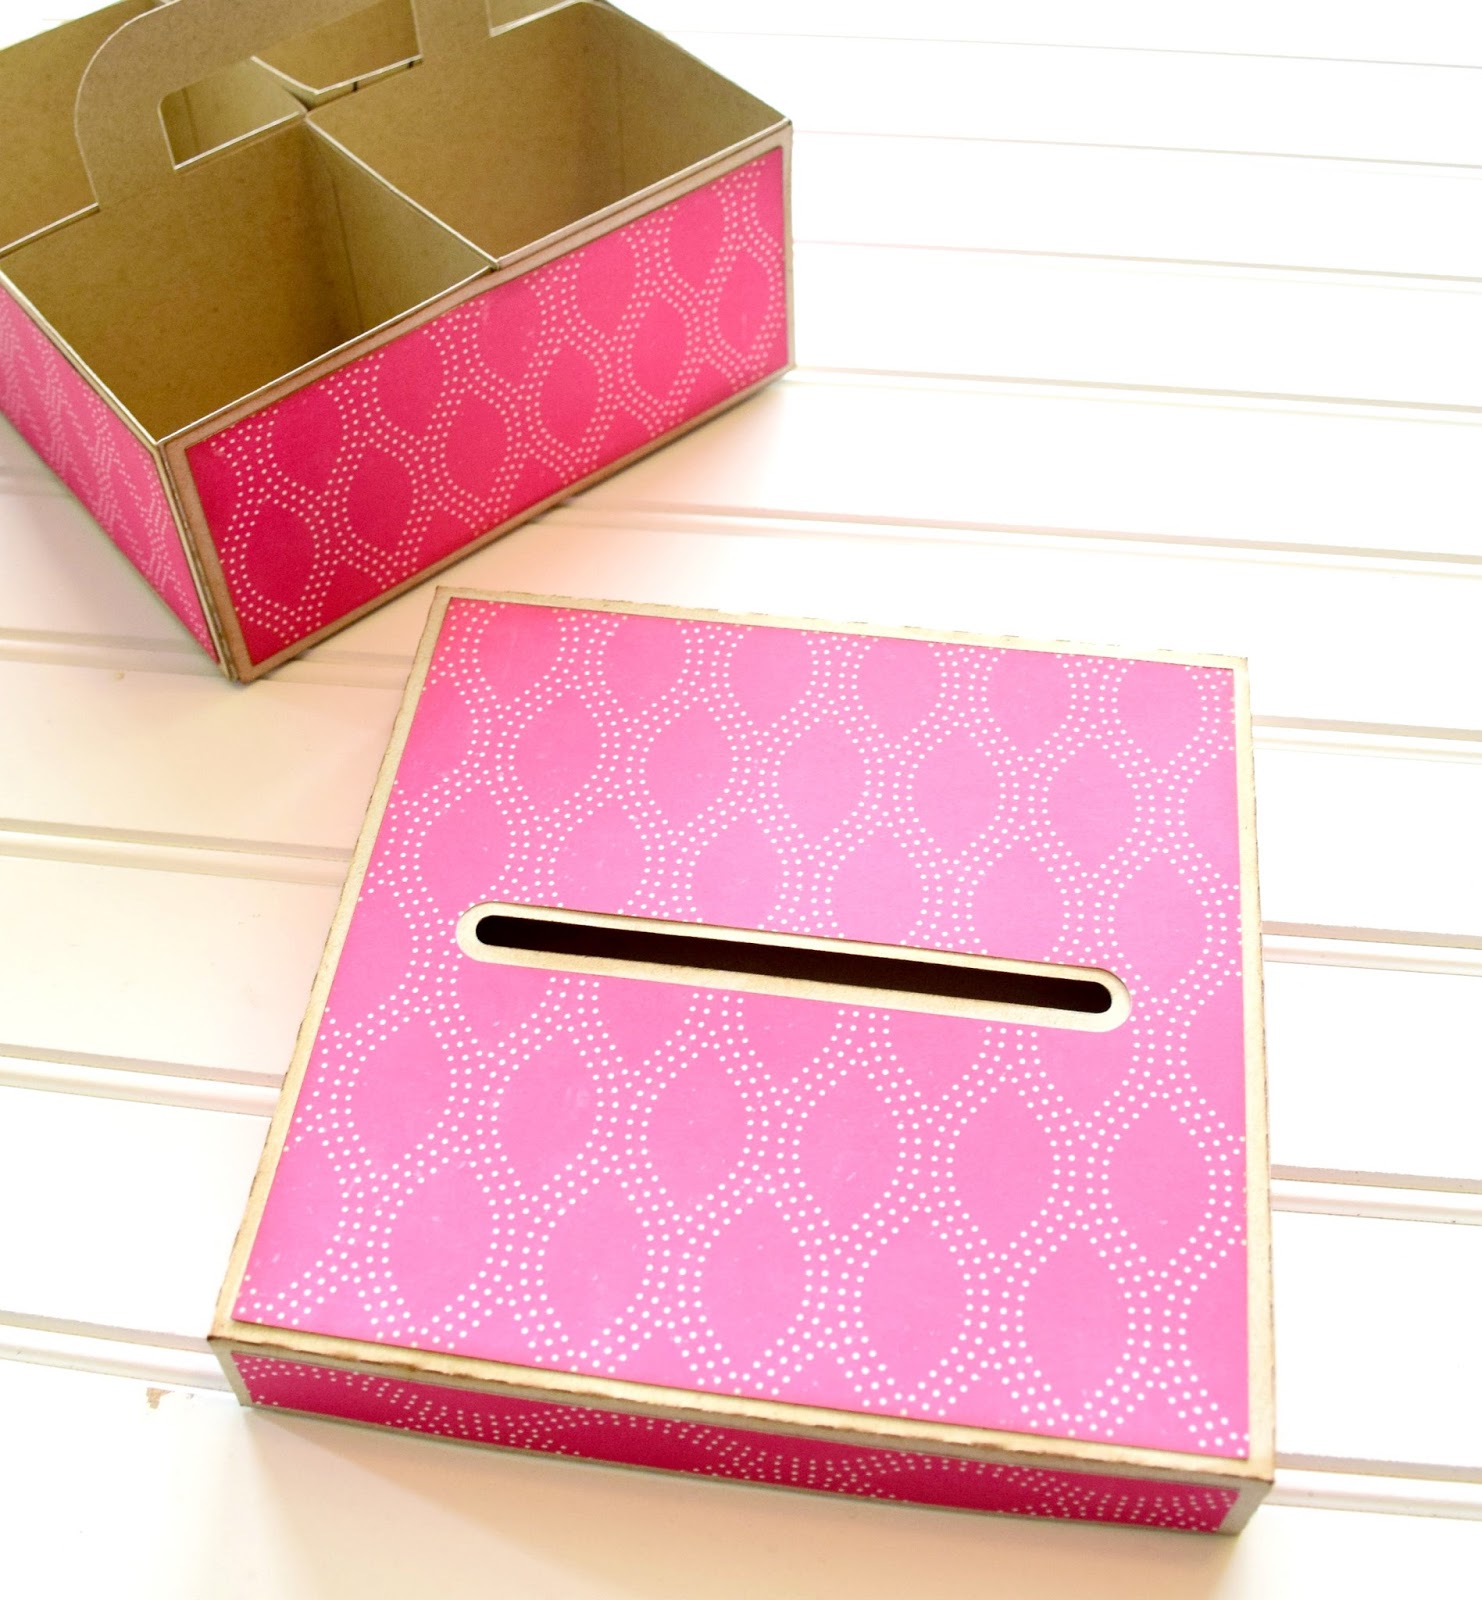
Now put together the lid. Add the pattern paper to the top and edges.
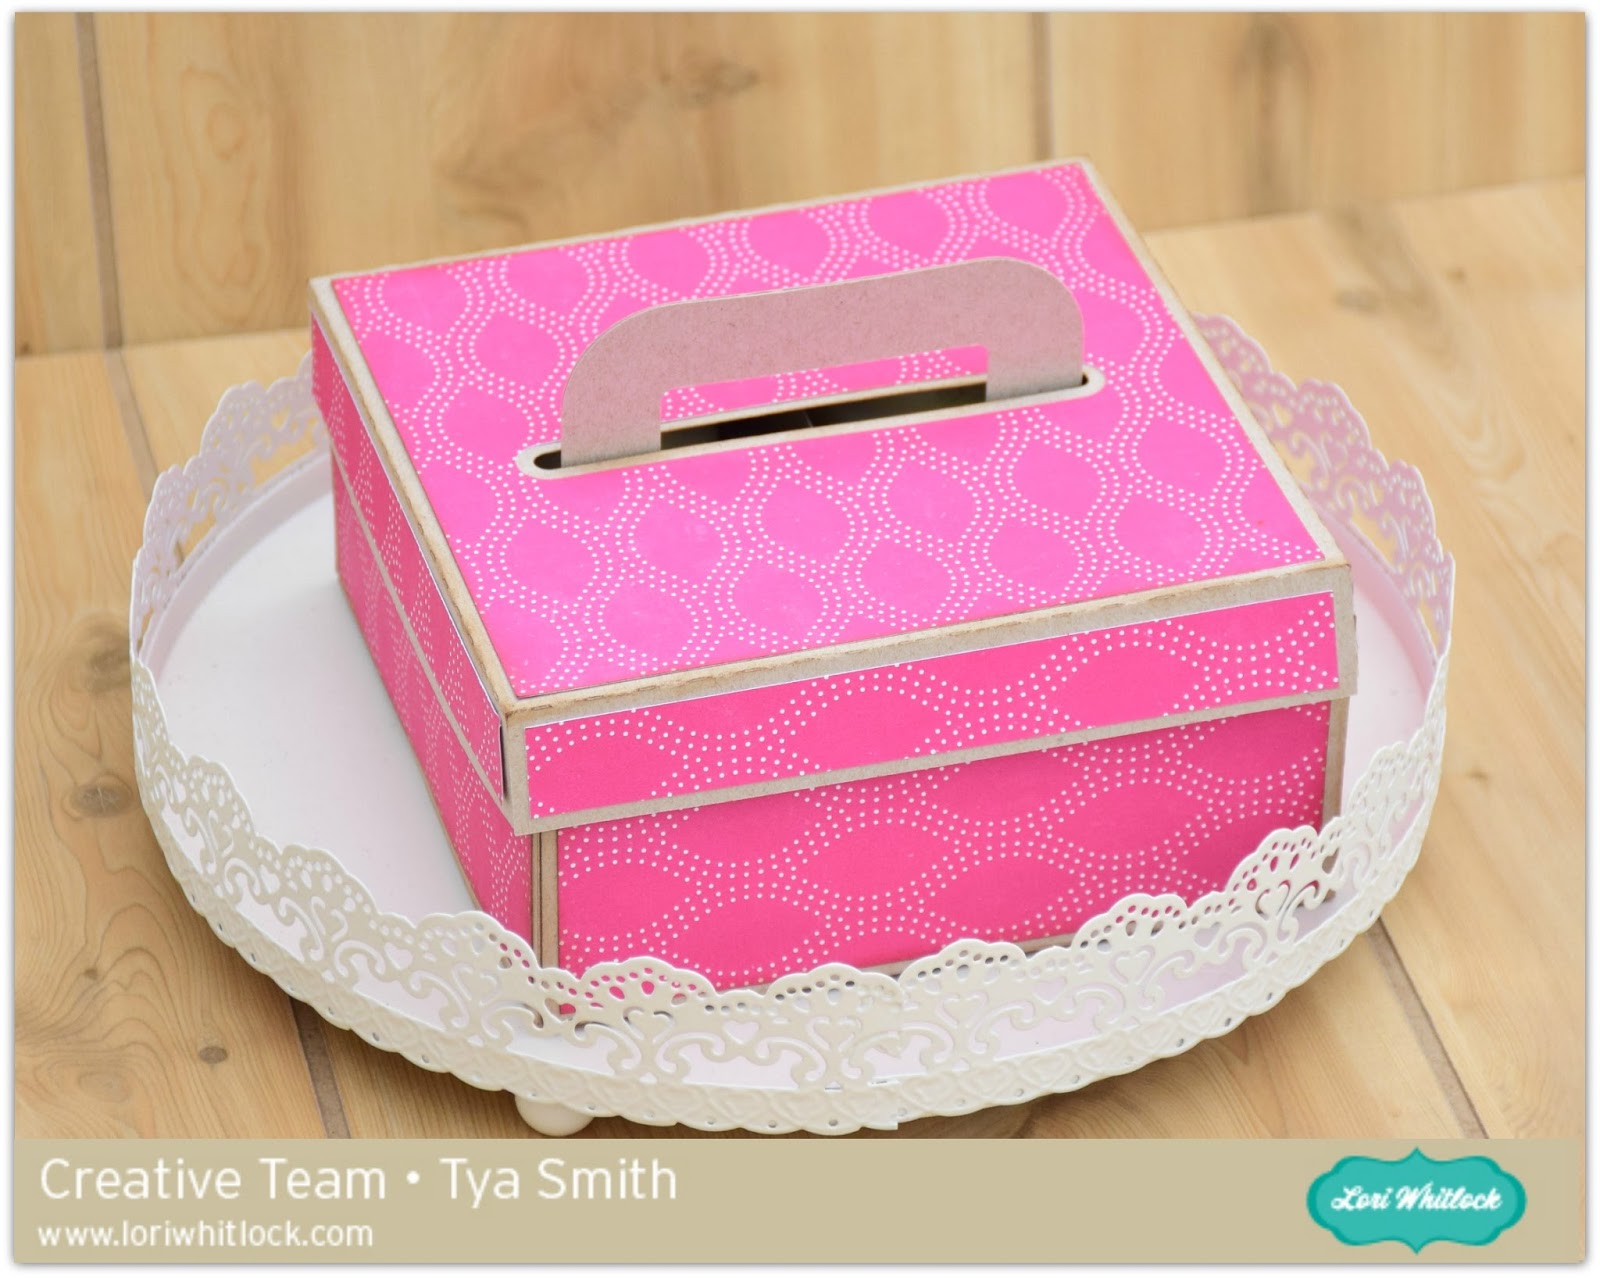
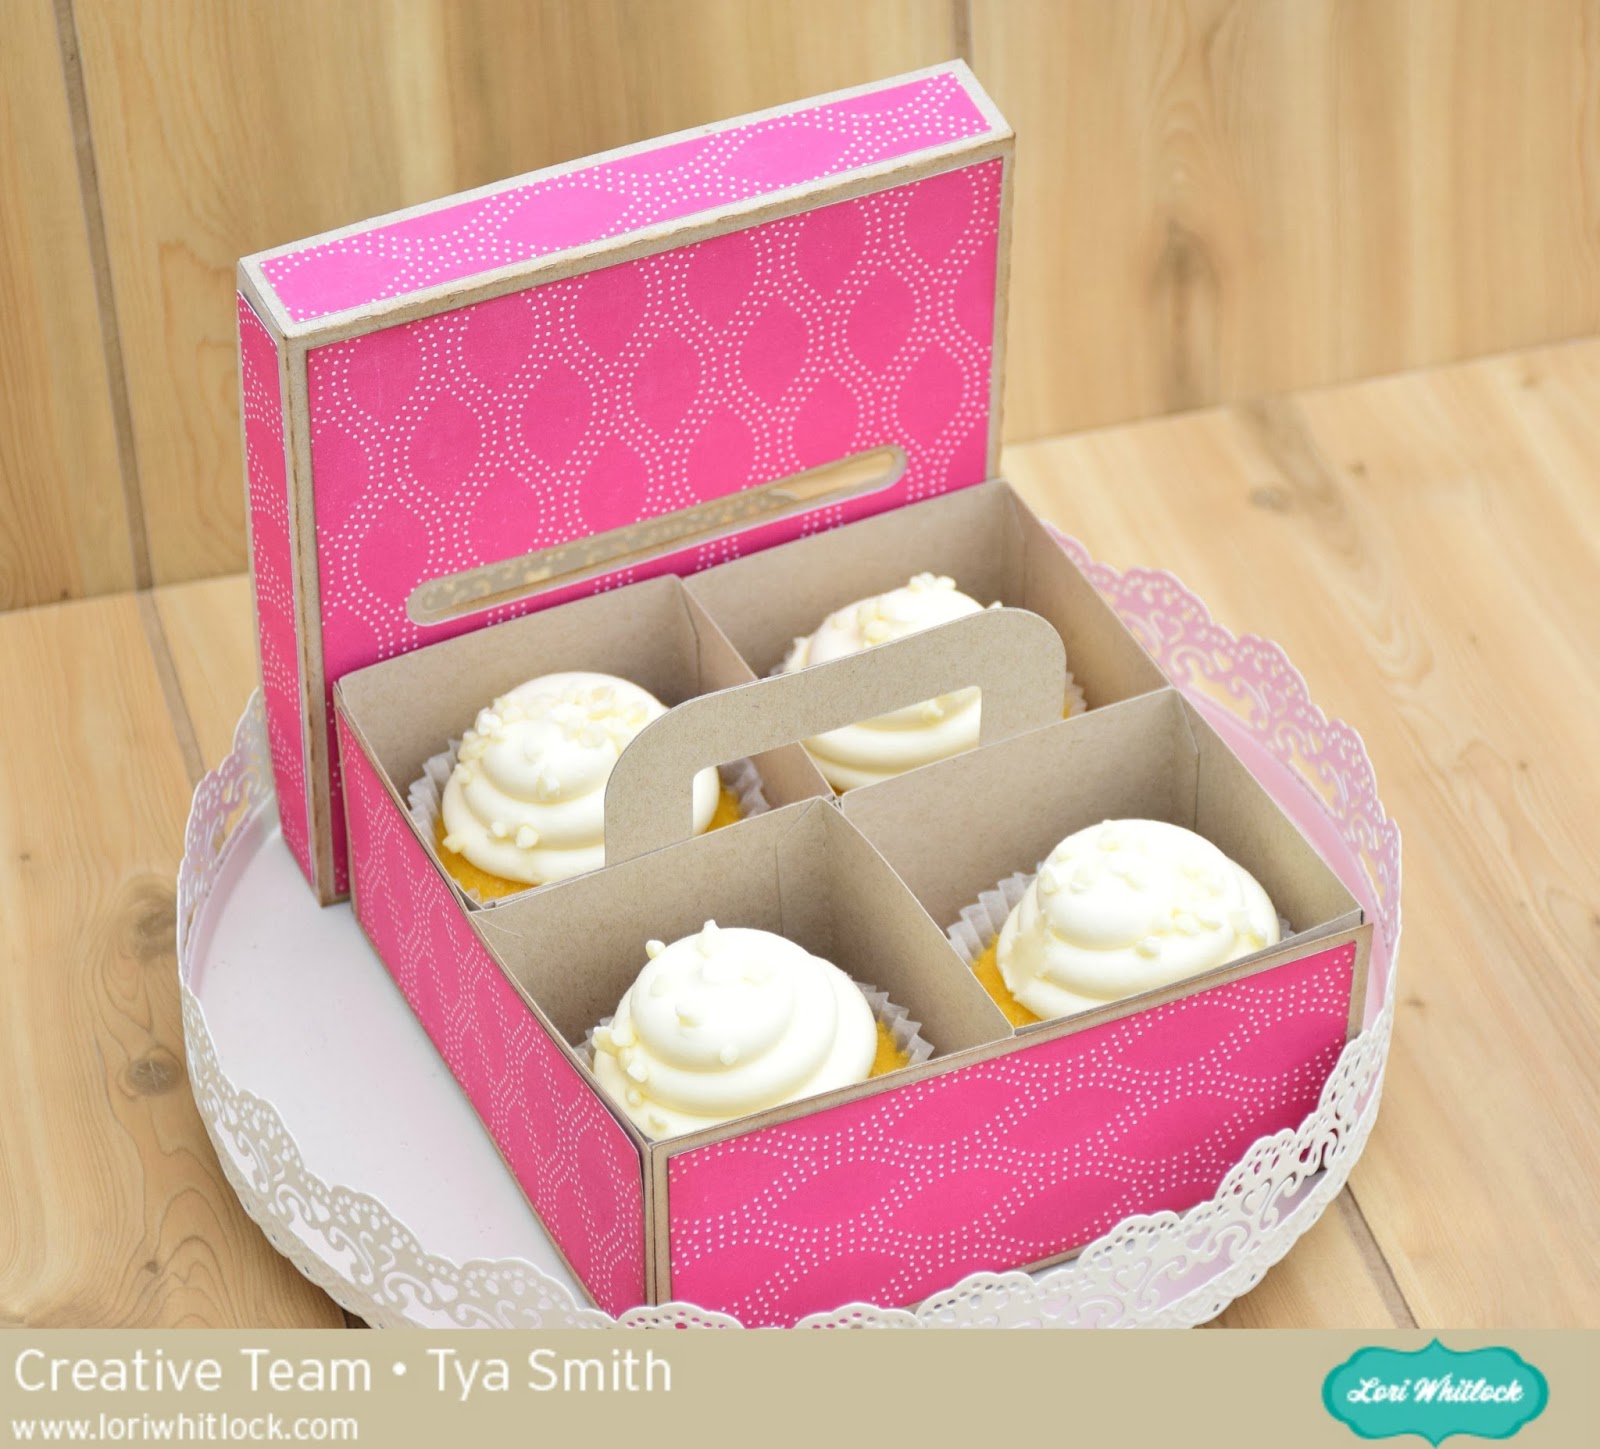
Here’s the box all put together.
I added some yummy cupcakes to the boxes, but you could add cookies, candy or other small gifts.
To finish off the box I cut out a tag from the 5 Hang Tags cut file. I added some pretty ribbons and some stickers and other embellishments from Lori’s Petticoats Line for Echo Park Paper. So pretty and feminine.
That’s all there is to it! Hopefully I have inspired you to create this box for your special someone! Have a great day!
*** For a video tutorial on the 4 x 6 Compartment Candy Box which is very similar to this box, watch this video! ***
To turn my ladybug into a “love”bug, I used the “release compound path” feature to remove the polka dots and replace them with hearts.
This little box would be great for classroom Valentine’s Day treats. It’s adorable on it’s own so I added just a couple of embellishments. I cut a pieces of glitter cardstock to fit behind my hearts for a little sparkle and added a sticker from the Doodlebug – Sweet Things Collection and a twine bow.
Head over to the Lori’s SVG Shop to find more adorable treat bags and cards for Valentine’s Day.
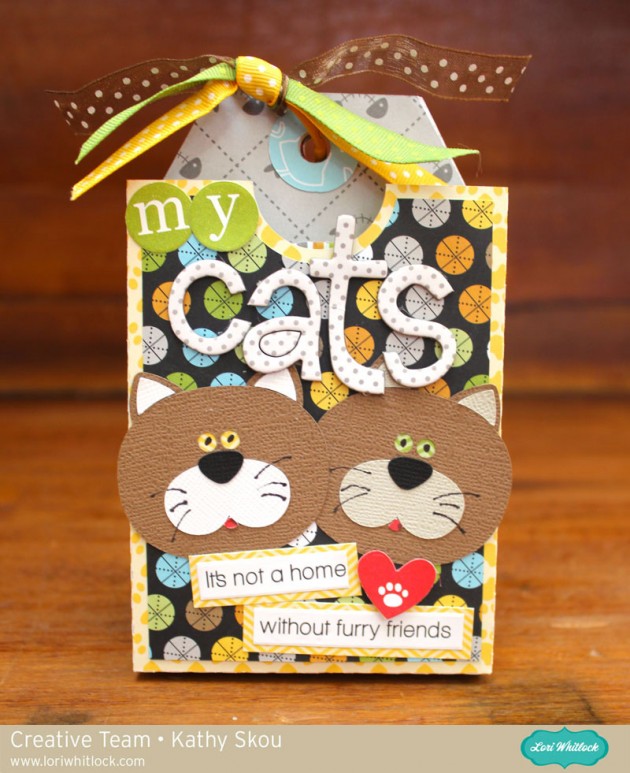
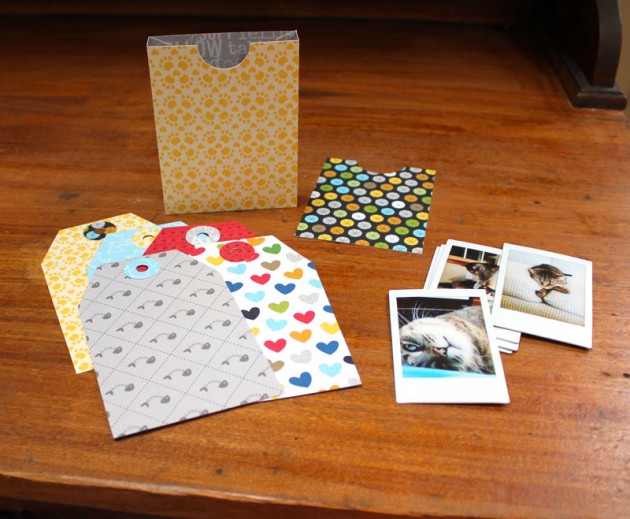
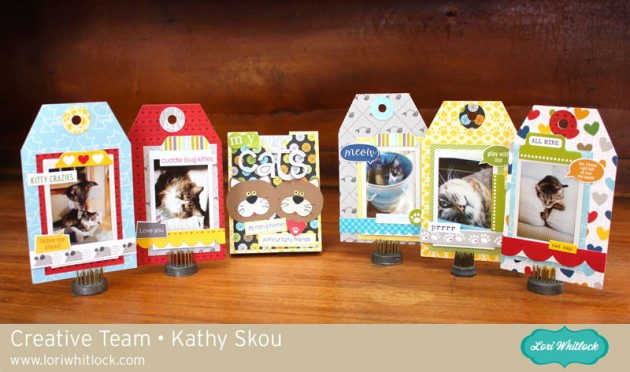
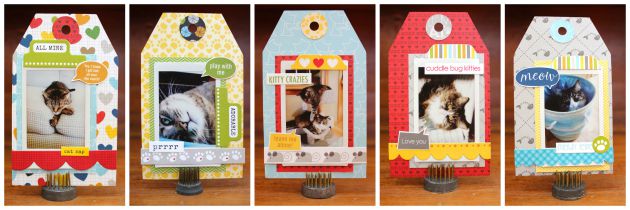
Hi Everyone, it’s Kathy today with a fun, new way to use one of Lori’s files! As soon as I saw the Gift Tag Set (here in the Silhouette Store) I thought that it would make a fun Mini Album! The tags are the perfect size for smaller photos including those adorable Instax photos! Take a peek at what I created….
I started by cutting the file for the box and tags and assembling them. I then printed out some fun Instant pictures of my kitties.
(A little hint when choosing a patterned paper for your box… make sure that the print looks ok upside down! Otherwise the back of your box will have the pattern going the wrong way!)
To decorate the front of my box, I used pieces from Lori’s Cat Belly Box (here in the Silhouette Store) to make my kitty faces… and added some stickers and alphas from the collection I used. On to creating my “pages”… I simply added my pictures and some embellishments to each Tag, and gathered them all together with a ring and some ribbon! It went together so quickly!
Here are some close-ups of the Tag Pages…
You could make a quick and easy mini using the Gift Tag Set to showcase some vacation photos or maybe a little brag book for a new mom or grandparent! It goes together very quickly and the results are so fun! That’s it for me today, thanks for stopping by!