Lovebug Box with Corri

Hi everyone!  Corri here today sharing my take on Lori’s ladybug slip lid box.

To turn my ladybug into a “love”bug,  I  used the “release compound path” feature to remove the polka dots and replace them with hearts.

This little box would be great for classroom Valentine’s Day treats.  It’s  adorable on it’s own so I added just a couple of embellishments.  I cut a pieces of glitter cardstock to fit behind my hearts for a little sparkle and added a sticker from the Doodlebug – Sweet Things Collection and a twine bow.

Head over to the Lori’s SVG Shop to find more adorable treat bags and cards for Valentine’s Day.

Father’s Day Gift Idea

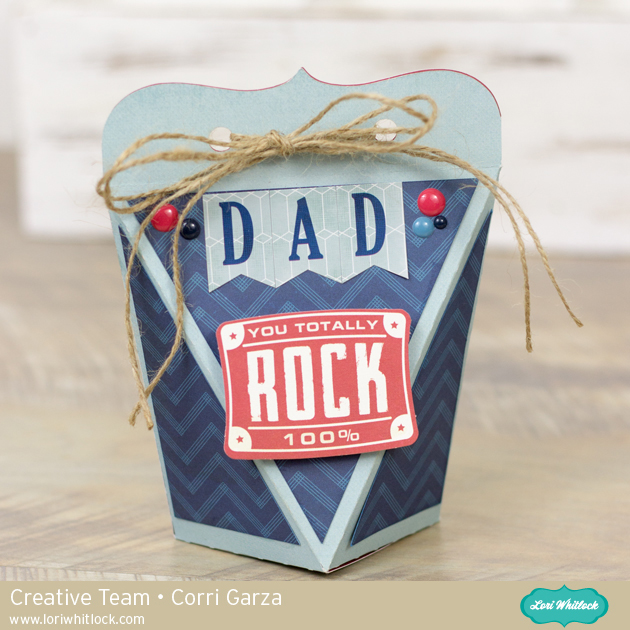
Hi everyone!  Corri here today sharing my take on Lori’s Tall Triangle Sides Box.

I love the look of this fun box!  It’s very easy to put together but has such a unique shape.

I used paper from the Echo Park -Jack and Jill Collection (Jack) and embellished with some stickers from the collection and a piece from the ephemera pack.

This would be a great way to give Dad a gift card or other small gift.

Be sure to visit Lori’s SVG Shop  for more great boxes and gift card holders to make your Father’s Day gift giving easy.

Octagon Teapot Tutorial by Corri

Hi everyone!  Corri here today sharing this beautiful new 3D Teapot 2 SVG (Silhouette file HERE) that Lori added this week.  This would make a great gift for Mother’s Day!  You could fill it with your Mom’s favorite tea bags or with a small gift and a gift card.

I used paper from the Lori’s Jack & Jill Collection for Echo Park Paper.  This large floral print is perfect for the teapot.

To assemble the teapot, first cut everything out from the papers of your choice.

If you choose a detailed pattern paper like this for your project, I suggest leaving all the pieces on your mat.  That way the pattern will match up easily as you glue the panels in place.

Next,  apply glue to the glue tabs of the two teapot pieces (white), glue them together and the glue the end tabs together to form a circle.

Now you are ready to start forming the octagon shape.


Apply glue to the glue tabs as show and line them up with the adjacent panel.  It helps to fold the panel with the glue tab out, apply the glue and then line up the panel as closely as possible to the score line.  Be patient on this portion of the assembly.  Wait a few seconds to allow the glue to dry slightly before moving on to the next tab to prevent shifting.

Continue all the way around glueing the tabs in place.  Follow the same steps with the base and lid.

Glue the base in place. Glue the two pieces of the handle together folding taps out and then glue in place.  Fold the spout in half, fold tabs out and glue in place.

Finally, glue the decorative panels in place. So cute!!

Be sure to check out all the new files added to the shop this week.

Tuesday Freebie + New in Shop

TODAY & TOMORROW, this SVG file is FREE with a $2 Purchase!

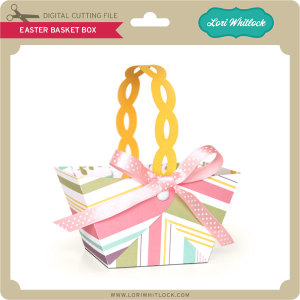
We have a FREE file with purchase today just in time for Easter! Simply add this file: Easter Basket Box file to your shopping cart along with any $2 purchase from www.loriwhitlock.com/shop and this file is yours FREE. Your cart must reach at least $4.99 before the coupon will be applied and then $2.99 will be subtracted from your total at checkout. The files will be available for immediate download after you pay for your order by visiting the “downloads” section inside of your account.  Be sure to use Coupon Code: EASTER (case sensitive) at checkout. Hurry! This offer is good until Wednesday (tomorrow) at midnight!

Just a quick reminder about the Link Up that is going on right now. If you’ll look at the right hand column on the blog you’ll see a link up that is going on right now. It ends on Thursday. Just link your masculine or boy themed projects up for a chance to win a $15 gift card to the shop. This is the last call for entries as I’ll be choosing a winner on Wednesday to announce on Thursday. Right now we only have 2 entries so the odds are pretty good : )

Kolette and I have new files releasing this week in the  SVG Shop, and the NEW files are ALL marked down 25% OFF through the weekend!!! These downloads include SVG files. 3D files include cut size information and a PDF for hand cutting (if it seems doable as a hand cutting project). Read description before making your purchase.

To find these files in the Silhouette Design Store click HERE.

Attention all vinyl lovers! Today is the last day for this deal! Silhouette has two vinyl bundles available at great prices with promo code LORI. The first bundle is $269.99 and comes with a CAMEO, roll feeder, and vinyl starter kit! ($110 in savings)

Have your eye on a smaller machine? Try the second bundle for $139.99, including a Portrait, roll feeder, and vinyl starter kit. ($120 in savings)

Silhouette machines are unique in that they cut vinyl straight from the roll. That means you can cut out a piece of vinyl artwork that is as long as the roll itself—about 10 feet! Dream big. Save big. Now until March 31.

To pick up one of these deals be sure to use promo code: LORI and shop here: http://www.silhouetteamerica.com/vinyl-lovers

Already have a machine? The roll feeder and ALL VINYL are 30% OFF with promo code: LORI
These SALE PRICES are good until midnight! Hurry, time is running out!

A Chalkboard Tutorial

Happy Spring everyone!  Cathy here with you today and I have a quick chalkboard tutorial to share with you.  The chalkboard look is all the rage in almost everything right now, from home decor to scrapbooking and cardmaking.  Lori Whitlock has so many fabulous phrases that are perfect and easy to create that chalkboard look.  I created a springy card in no time at all with a few Lori Whitlock files, and the awesome print and cut feature with the Silhouette Cameo!

I used Lori’s Echo Park Fine And Dandy Collection along with some plain smooth white card stock to create my card!

First, I cut my card base using A2 Banner Card.

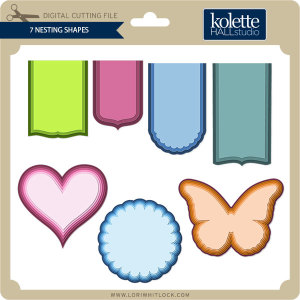
Next, change your mat setting to 8 1/2 by 11 on your Cameo.  This way you have it set for when you need to print!  I used  the 7 shapes label set and  Quote Set 1, using the Your Smile is like Sunshine phrase.  I kept my label the same size and sized down the phrase to fit inside.

Now fill in your label with black and your phrase with white.  I also, change my cut lines to the colors I am using, just so I can visualize it a bit easier.

Now, make a duplicate of your phrase and pull it off to the side!

Next, go back to the Fill Color window and scroll down a bit to the Advanced Options…there you will see that you can change the Transparency of an image.  I changed mine to about 60%…this gives your image that chalky shadow.

After you change the transparency, simply layer your phrase back over the original, just slightly offsetting it!

(Sorry for the blurry photo, but I wanted you to be able to see how I offset it.)  Layering and changing the transparency really gives it that chalkboard look!  Now group your image!

I duplicated the image so I had two…just in case!  Now add registration marks for the print and cut feature and print your images.  Once printed, go back and add the cut lines for the label.  I slightly offset mine to match the white border behind my banner!  Then send it through your Cameo to cut!

After your images are cut, just for a bit more fun, I just went over it with some real chalk and smudged it with my finger.  It really helps pull off that true chalkboard feel!

Really, this takes no time at all once you have figured out the steps and layering.  Now just layer and embellish your card.  I added a cute sun with some of the patterned paper from the Fine and Dandy Collection using Summer Icons and then a couple of stickers from the Fine and Dandy collection.  So cute.  I hope you give this technique a try.  The possibilities are endless with all the files from Lori’s Shop.