DIY Darling Bag Toppers-Which One Will You Make?

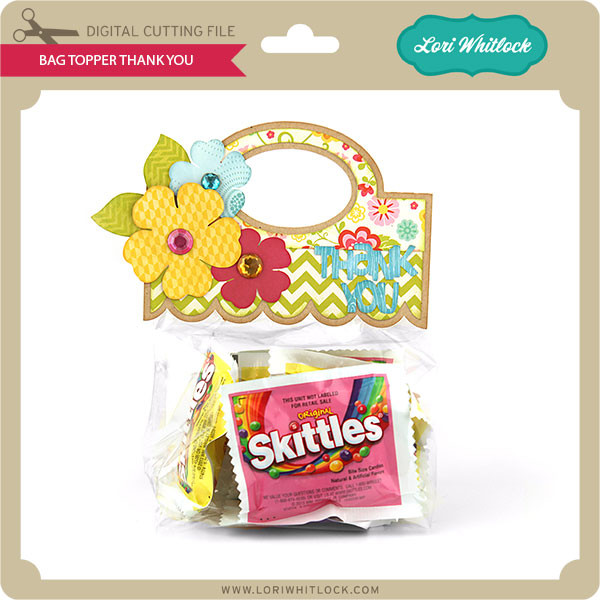
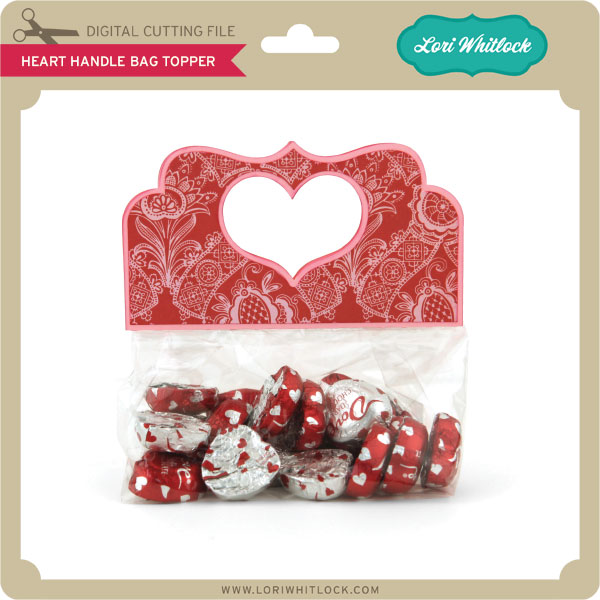
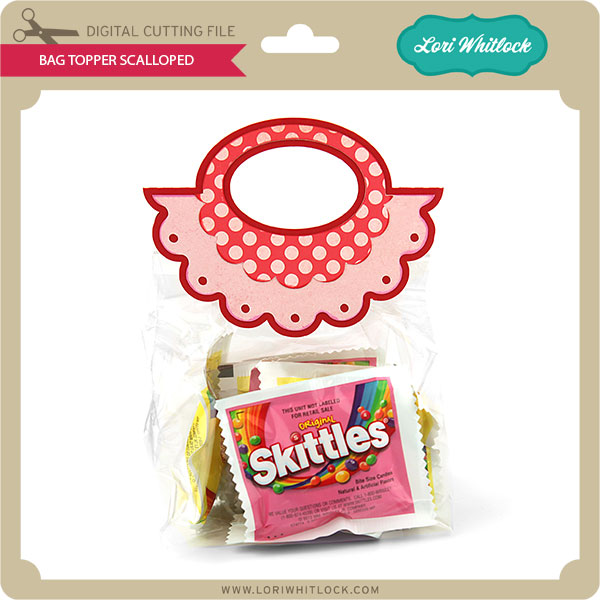
Take a look at these darling DIY bag toppers using designs from Lori Whitlock. See how easy it is to create custom packaging. In this video, I am sharing a fun project focused on creating DIY bag toppers. I personally love using Lori Whitlock designs because they offer such a huge variety of options for every possible occasion or holiday you might be crafting for. For these bag toppers I’m using Lori Whitlock’s NEW paper collection “Strawberry Fields”. Links below:

Strawberry Fields Paper Collection (AMAZON LINK)

Whether you are a beginner or an experienced crafter, these DIY bag toppers are a great addition to your creative toolkit. I have included links to all the specific designs I used in the description below so you can find them easily on the Lori Whitlock site.

Lori’s Shop Bag Topper Thank You

Silhouette Design Store Treat Bag Topper: Thank You

 Lori’s Shop Bag Topper Scalloped

Silhouette Design Store Treat Bag Topper: Scalloped Purse

Lori’s Shop Heart Handle Bag Topper

Silhouette Design Store Heart Handle Treat Bag Topper

Happy crafting!

Holly


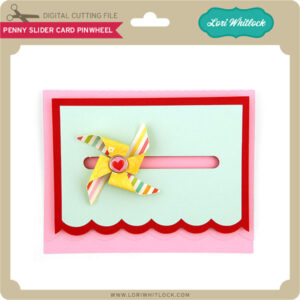
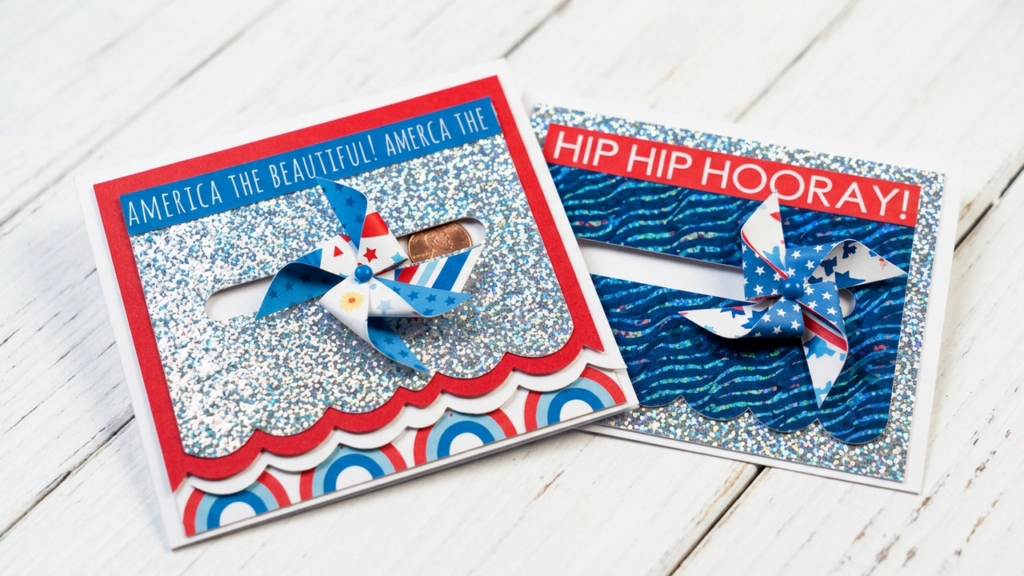
Pinwheel Penny Slider Card with Interactive Pinwheel Mechanism

Hi Crafty friends! I hope you are having an amazing summer.

Today I will show you how to make a Pinwheel Penny Slider Card  with this easy paper crafting tutorial. See how the pinwheel spins down the track. In this demonstration, I show you how to assemble the Pinwheel Penny Slider Card file designed by Lori Whitlock. This project is perfect for paper crafters who want to add interactive elements to their handmade cards. I have chosen a patriotic theme for my design, but this card layout works beautifully for any occasion or color palette you prefer. Following these steps, you will understand how to construct the moving mechanism so your pinwheel slides smoothly. This is a great way to elevate your card making skills with simple materials and a cutting machine.

Happy crafting!

Holly

https://shop.loriwhitlock.com/penny-slider-card-pinwheel/?searchid=3263113&search_query=pinwheel https://www.silhouettedesignstore.com/pinwheel-penny-slider-card.html

Step By Step Tutorial for Creating this Magical 3D Haunted House Village Scene

Hi friends!
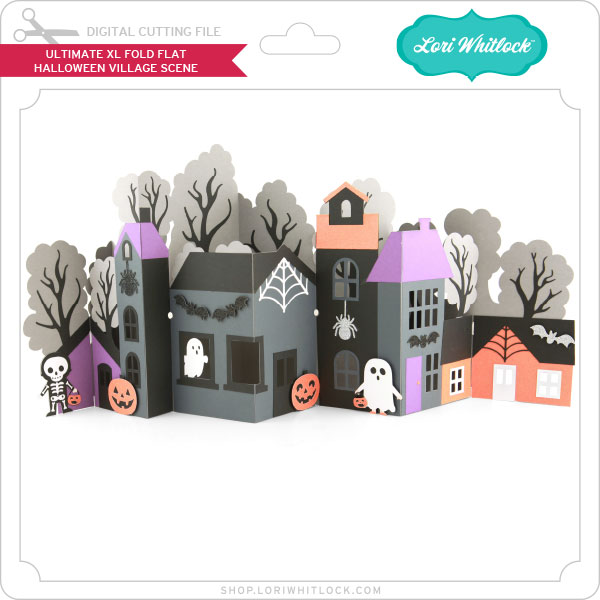
Today I’m excited to share a step-by-step tutorial on how to make the Ultimate XL Fold Flat Halloween Village Scene by Lori Whitlock. This DIY Haunted House scene is fun to make and will be treasured for years and years to come. It folds flat for easy storage. Add a set of battery lights to really bring this spooky haunted house scene to life! (SVGSilhouette)

Happy crafting!

Holly Jo
Holly Jo’s Youtube Page

Quick Tips for Last Minute Gift Tags

Hello there! My tutorial today is not on construction of a file but is more about time savings! We are all busy this time of year so I am going to show you how I whip up a few cute Lori Whitlock gift tags in minutes!
I chose a set of tags that were same style, different design. That’s not necessary but makes for fast tracking your project if your time is limited and you want to add a special touch to your gifts. I doubled all the pieces to make 2 sets of tags.
Christmas Tag Santa (Lori Whitlock SVGSilhouette)
Christmas Tag Penguin  (Lori Whitlock SVG, Silhouette)
Christmas Tag Polar Bear  (Lori Whitlock SVG, Silhouette)
Christmas Tag Snowman  (Lori Whitlock SVGSilhouette)
In the Lori Whitlock Store you can also buy all of these tags as a bundle HERE.

Christmas Tag Bundle


I opened each tag file and made a copy of each one. (Ctrl + arrow button). One of them I keep grouped and resize it very small  and pull it off to the side(will use for reference only). The second one I ungroup (rt click on file, choose ungroup)
Once ungrouped, I pull each color off to the side. Repeat 3 more times with the other files.
You can see above that I have all 4 grouped files resized to a very small size and set off to the side for reference. This allows you to refer to them after cutting so you can re-group the misc pieces back to the Santa, penguin, snowman and polar bear tag. In this instance, the bear is the only one that has ears, so he’s easy to spot! All the other tan backgrounds are exactly the same size and shape. Very convenient!
By doing this, you can cut one mat of tan and another of white, pink, orange, and black. You can see I also used  four different colored 6×6 patterned papers on my first mat -all my hats done at once. Another space saver! I normally have two mats ready for a project so that I can have the second mat ready to load and cut while I am clearing the other mat off. Quite a time saver.
As usual, I always make duplicate of the small pieces in case I lose one. Never fails something disappears! Also if you want your hat bands to be white, add them to the white group.
From there just match up the pieces of each different design and glue up. It takes minutes to glue them all up. I timed myself to see how long it took me- literally less than 2 minutes for each one, and that was while being distracted watching a Hallmark movie LOL! I think it took me 15 minutes to glue up all 8 tags.
I hope you can find a few minutes to make some cute little  gift tags-Lori has so many cute sets to choose from!
💕Sue Kment