Delicate Flower Card

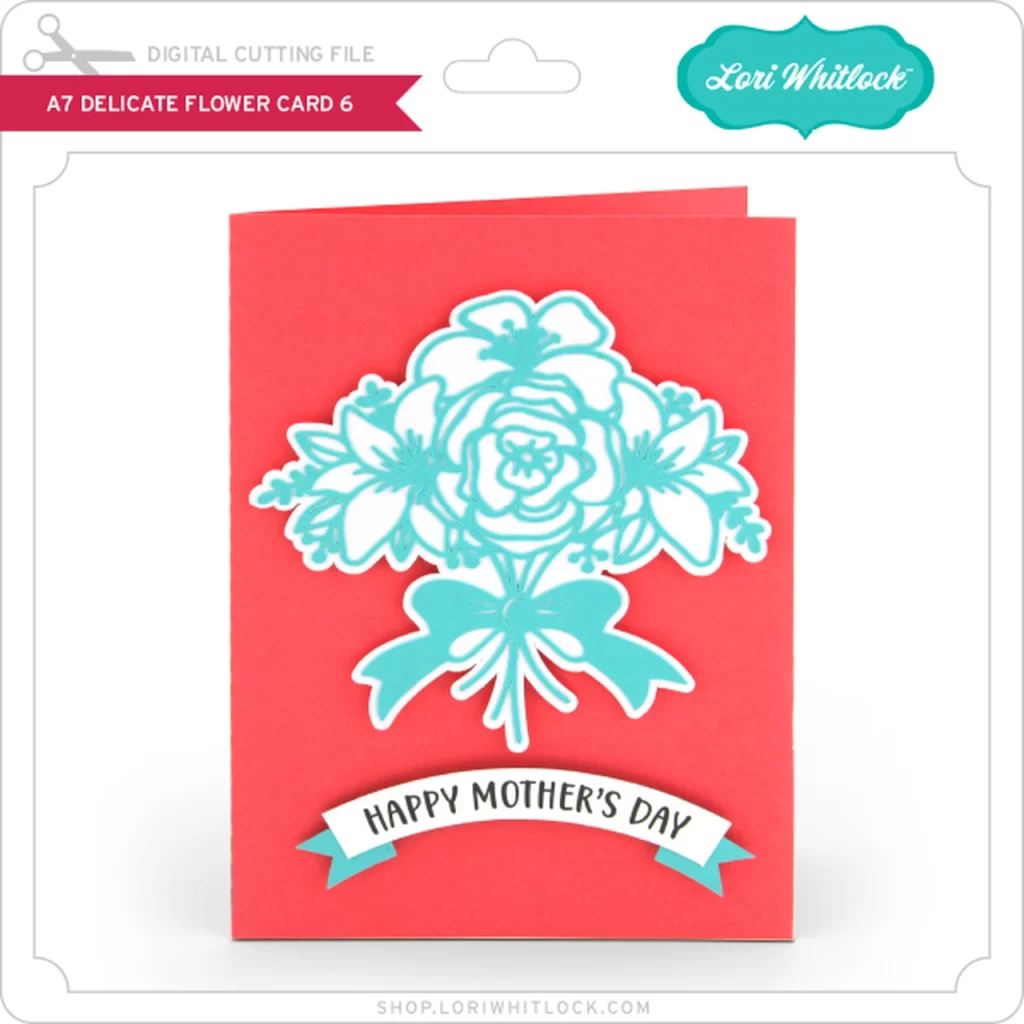
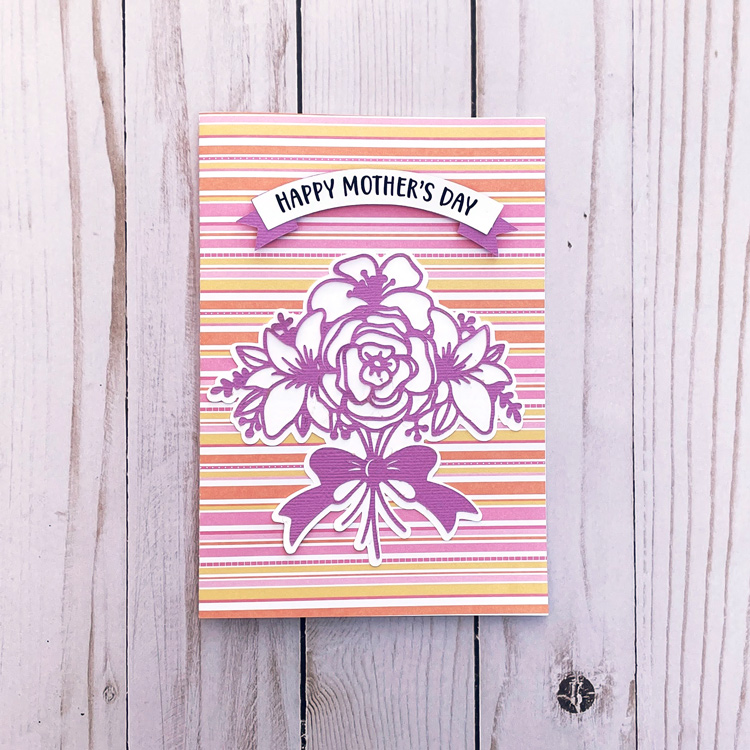
I’m sharing today a quick tutorial for the Delicate Flower Card.  This card is so pretty and easy to assemble!  It folds to fit into a standard A7 envelope.

Silhouette/SVG

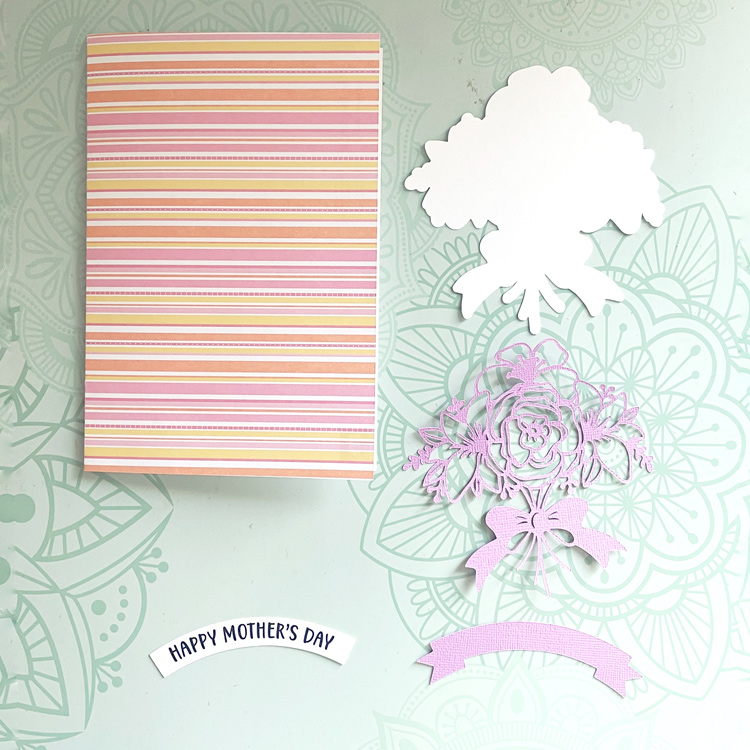
This card has only 5 pieces to cut and assemble.  The sentiment is done using the print and cut function of your machine.

After cutting the pieces, adhere the delicate floral piece to the white floral backer. It’s best to use an adhesive with a fine tip.  Carefully adhere the piece.  Add the sentiment to the banner.  Then adhere the assembled pieces to the card.  The banner can go above or below the bouquet, whatever your preference.

Lori has several other delicate floral cards.  Check out the bundle here.

Have a great day!

Ashley

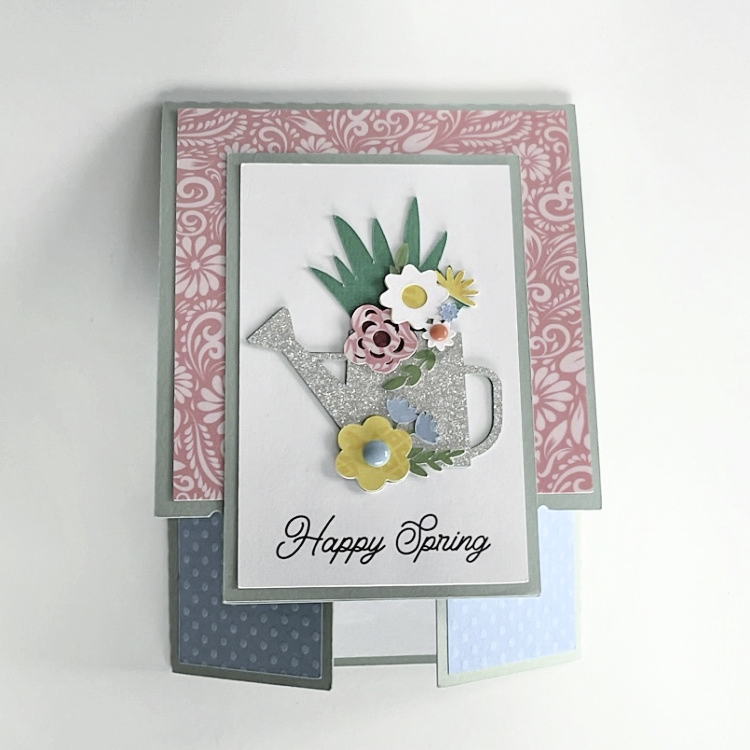
French Door Easel Card Spring

Happy Spring Everyone:

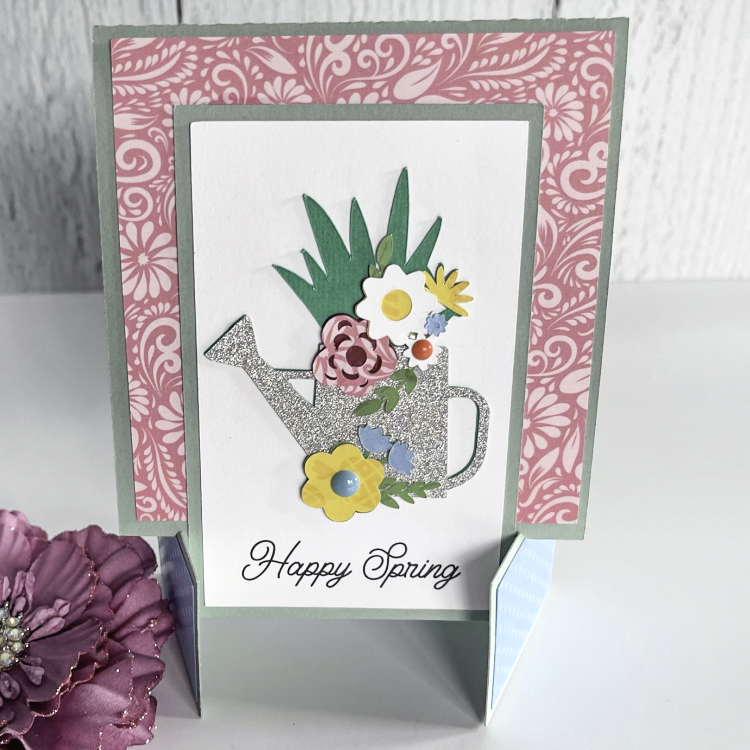
Anita here with a new style card that Lori created recently that is just so lovely and perfect to use to send some spring cheer.  It is called French Door Easel Card Spring (SVG, Silhouette).  She has many different styles so be sure to check them all out.  I used two of her newest Echo Park Paper collections including Our Little Princess and Endless Summer to piece my card together.  This card folds flat for mailing and has a nice space inside for written sentiments.

Here it is folded flat for mailing.

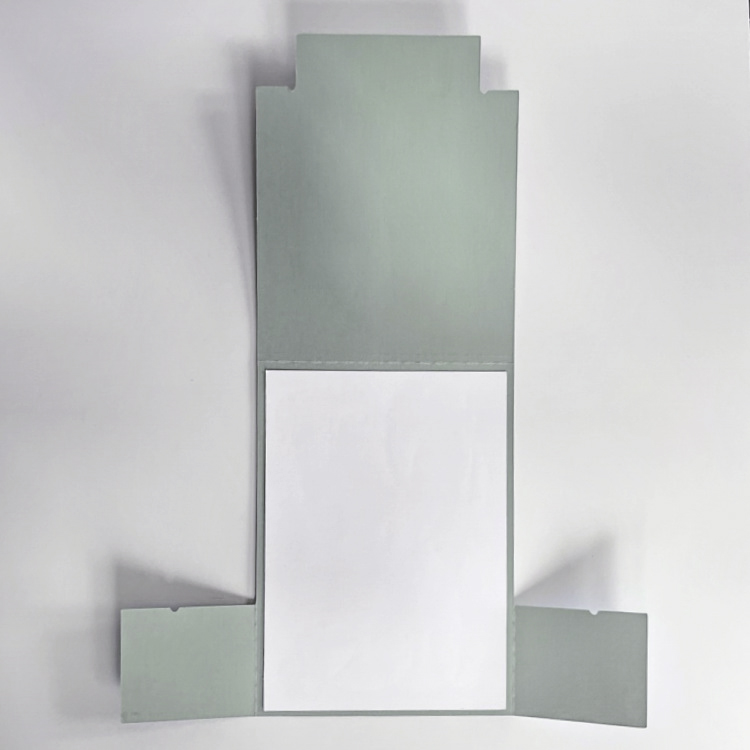
Above you can see the card open with a large space to write a lovely note.  Thanks for looking and have a great day.

Hugs,

Anita

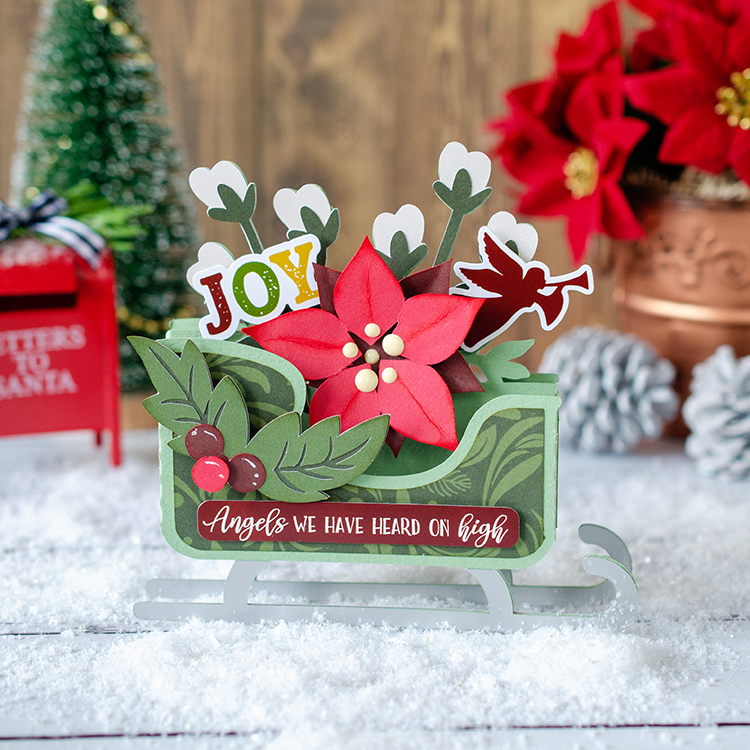
Sleigh Poinsettia Box Card

Hello everyone!! I just love the new sleigh box cards that Lori came out with recently, not only are they adorable they are super simple to put together. I made the sleigh poinsettia (SVG, Silhouette) one and used paper and a couple of stickers from the lovely The First Noel Collection by Echo Park. The file comes with a Merry Christmas printable sentiment but I used a sentiment sticker from the collection instead.


Thanks for stopping by and have a wonderful day!

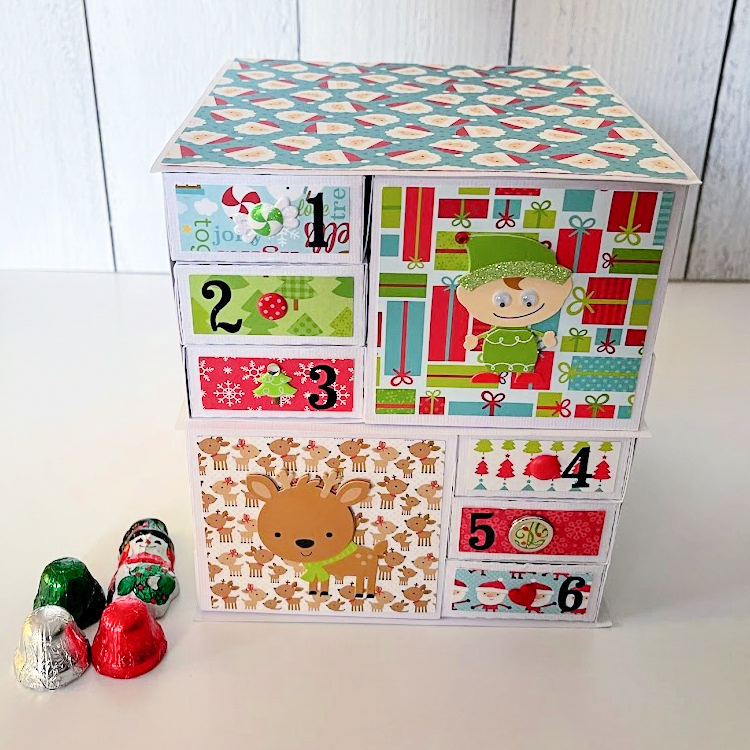
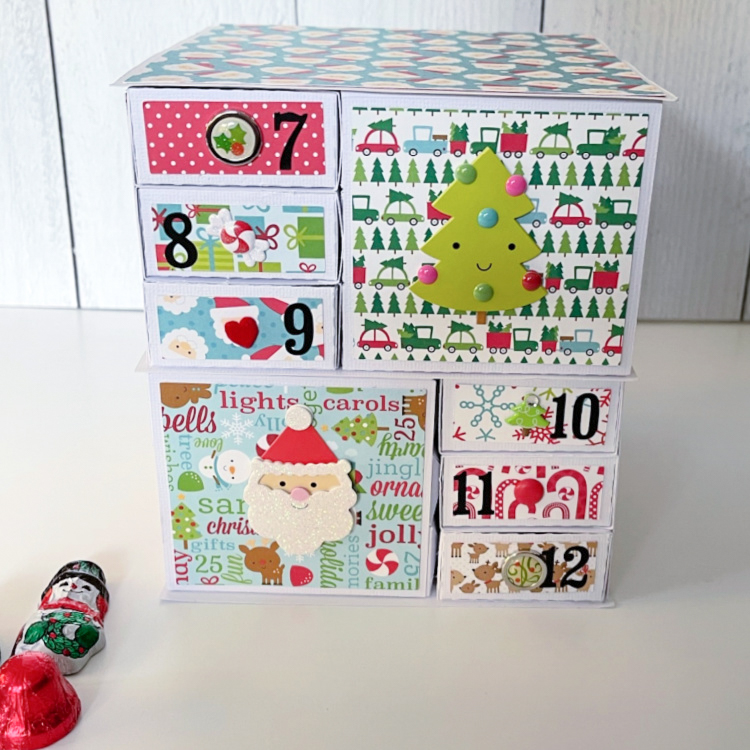
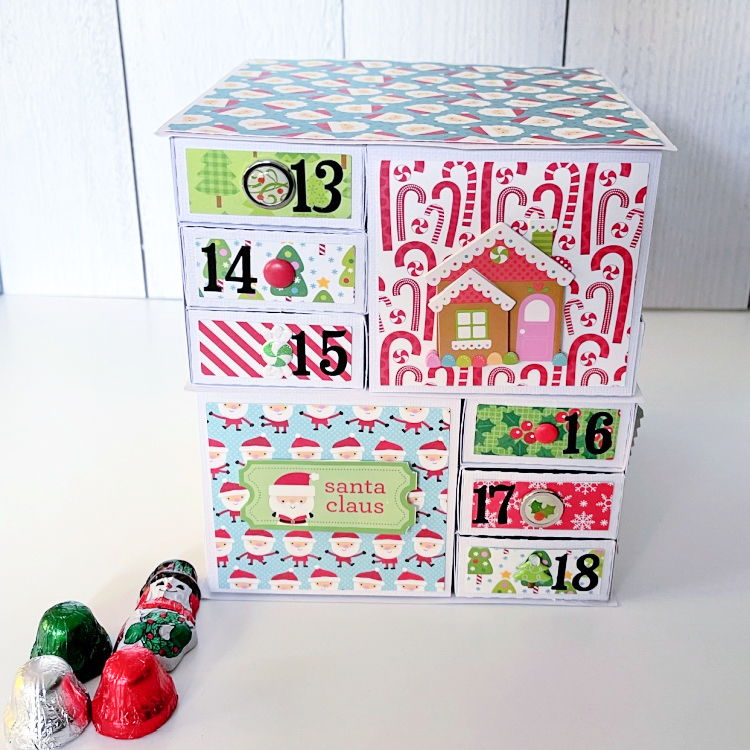
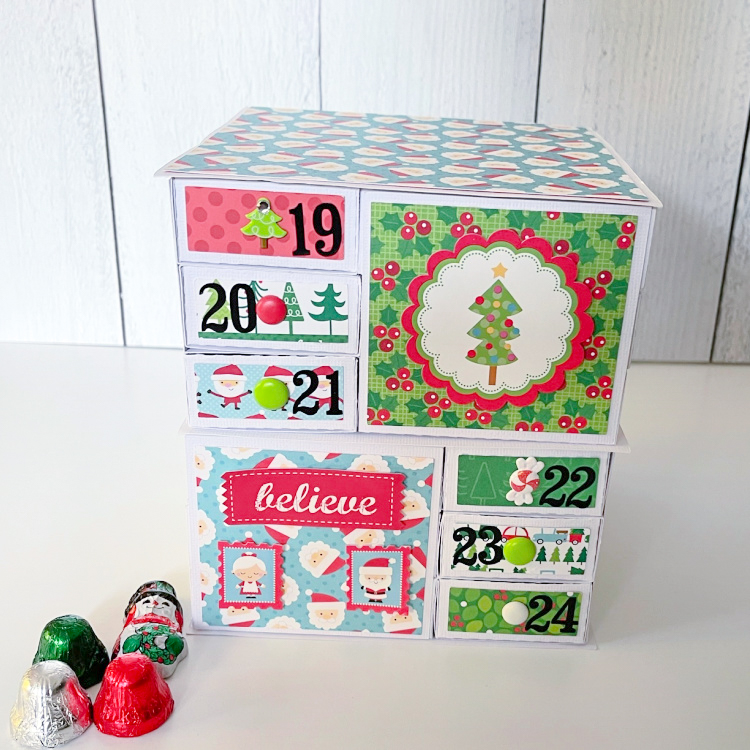
24 Drawer Advent Calendar

Hello Everyone, Happy Thanksgiving!  Anita here with a post to get the Christmas season off to a great start.  I made Lori’s 24 Drawer Advent Calendar (SVG, Silhouette).  Lori also has a YouTube assembly tutorial which you can find here.  These are great to put together while watching some holiday movies.  The file comes with some embellishments as well but I used some from my stash..  Now just have to fill it for my daughter.  May be next year I will make one for my grandson as he will be a little bit older.

Have a wonderful rest of your day and a magical holiday season.

Hugs,

Anita

Camping Backpack Tutorial

Hello everyone Brigit here, I’m so happy to be back on Lori’s Creative Team again, I’ve really missed being here!

I have a tutorial to share today, I love making bags and boxes to fill with treats and I thought this Camping Backpack that Lori made for Father’s Day (SVGSilhouette) would be such a cute fall gift box with hot chocolate and marshmallows inside.

This is really a super easy box to put together and it can be used for so many different gift ideas.

I use Silhouette Studio so the first thing I always do is select the paper I want to use and then I separate the pieces into groups like I’ve done above and then I’ll group and change the color. On this project, I only ended up using one sheet of solid cardstock and three-patterned sheets from Echo Park’s My Favorite Fall Collection. All the embellishments I used for this project are also from that same collection.

For the pockets you can see in the photo above on the 3 medium blue rectangles that I welded the top and bottoms together, the paper is double-sided so I just folded down for the top flap.

I didn’t use the tag in this file but if you need a tutorial on print and cut Kathy has a good one here using Silhouette Studio. We also have one for Cricut here.

The main box is just one piece, I added the layers first and then folded all the score lines and glued the side flap first and then the top and bottom, that’s it, I just love how this box went together!

After assembling the box I added the two straps in the back, I trimmed them a little just to make them a little bit shorter and then added the pockets.

For the top sleeping bag I used a bone folder to curve it first, this really helps with the assembly. I glued two flaps at a time going from one side to another and it worked out great.

Here is the sleeping bag all rolled up, I just added the two bands and then the side pieces. Last I glued it to the top of the backpack and embellished it.

I really enjoyed putting this project together!

Thanks for stopping by

Brigit