Silhouette Tutorial by Corri Using the Offset Feature

Hi everyone! Corri here.

I have a quick tutorial for you today using the Offset feature in Silhouette Studio software. The offset feature is great for creating a shadow layer around your image.

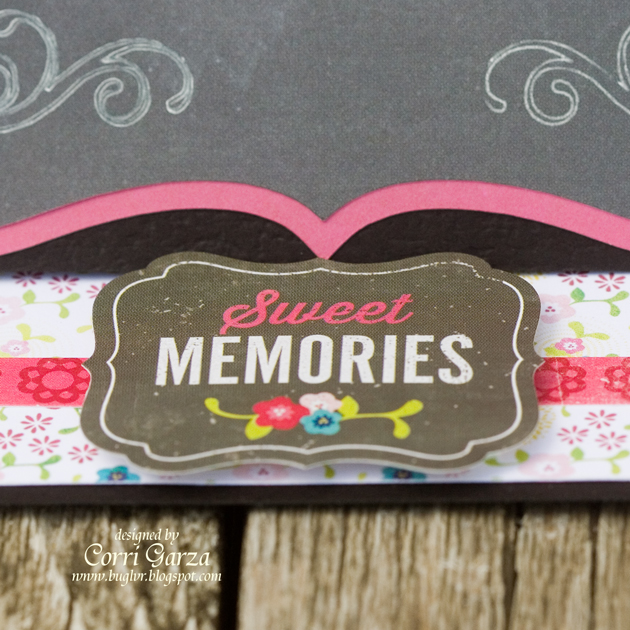
I used paper and a sticker from the Echo Park “Here & Now” Collection .  I love the chalkboard paper!
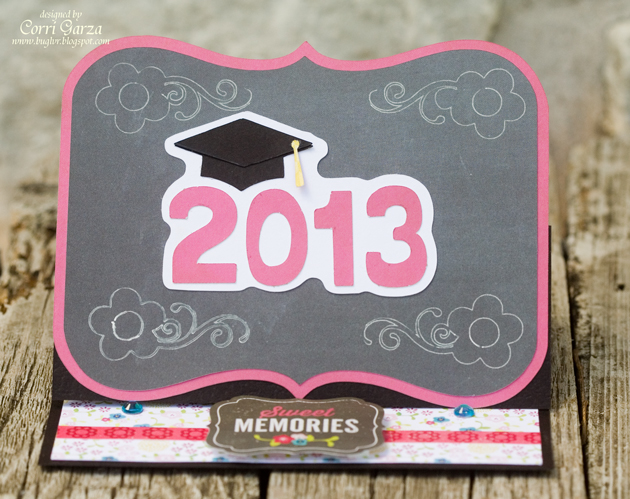
 

First, I typed 2013 in Lori’s Happy Font at 1.5″h.

Next, I opened this graduation cap file, ungrouped and deleted the 2012. I sized the cap file (including both layers) to 1.75″h and positioned the cap’s base layer on top of the numbers. Select the offset menu from the tool bar in the upper right of the screen and click offset.
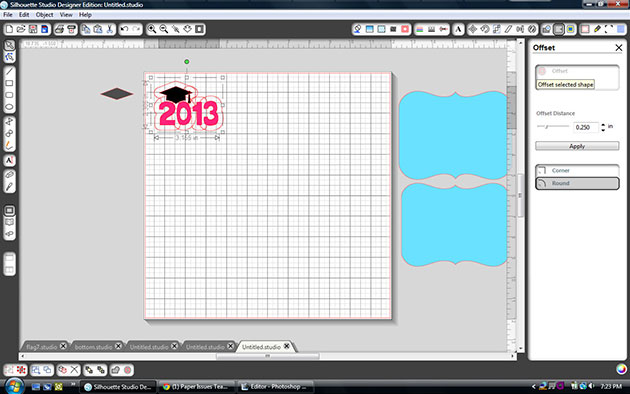
You can adjust the slider to make the shadow smaller or larger.  I left it at .25 so that I wouldn’t get a cut out in the middle of the “O”.
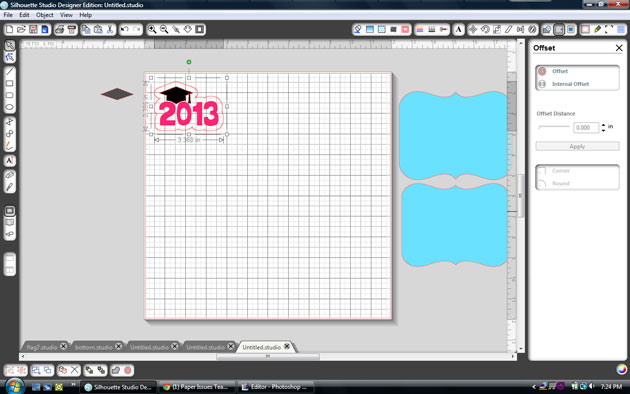
 

Click apply.
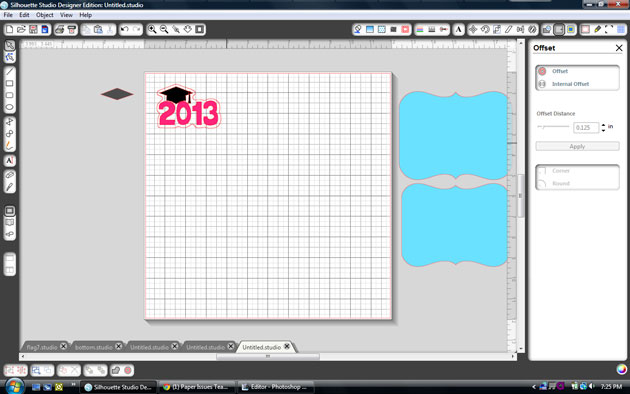
 

To create a little tighter shadow, click the new offset layer that you just created and click internal offset and then apply.    Now you can drag the layers apart and cut.


For the base of my card, I used the Easel Bracket Card.  I used my new sketch pens to draw this pretty flower flourish in each corner.

To get your Cameo to sketch the flourish, first select the bracket shape.

Click the cut style menu at the top of your screen and select no cute.

Replace your blade with a sketch pen and select sketch pen in your cut settings.

Click cut.
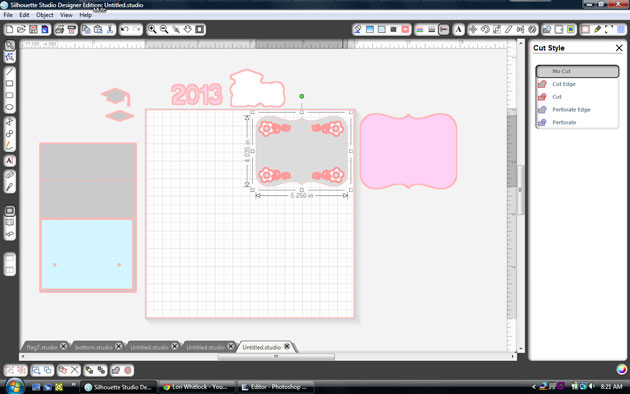
 

Do not unload your mat.  Replace the pen with the blade.

Select the bracket again, go to the cut style menu and change it to cut.

Select the flourishes and change them to no cut. Adjust your cut setting back to pattern paper and then cut.

Silhouette Giveaway + Heat Transfer Promo

Silhouette has generously provided ANOTHER new portrait for me to GIVE AWAY this week! Enter to win by midnight on Sunday, June 9! The winner will be announced on Monday, June 10th! Just fill out the form at the bottom of the post to enter.


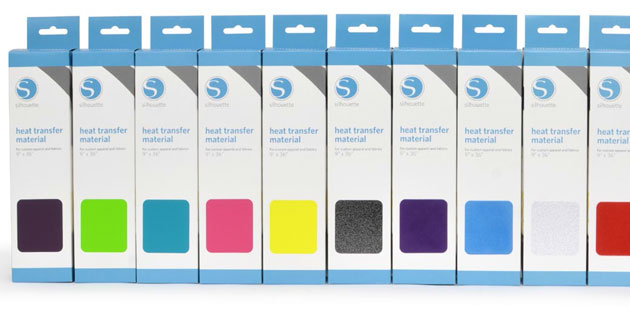
Have you seen Silhouette’s Heat Transfer material? It’s really quite awesome. You can cut your images out of the material and simply iron it on to your desired material. Here are a couple of videos to help you get familiar with the Silhouette Heat Transfer material:


For the next week and a half, Silhouette is offering a Cameo/Heat Transfer bundle and a Portrait/Heat Transfer bundle. If you already have a Silhouette machine and you’d like to try the Heat Transfer Material they have an amazing BUY ONE GET ONE FREE deal going on right now.

Check out all the beautiful Heat Transfer Material colors. They come both flocked and smooth.

To get these prices be sure to use this link: www.silhouetteamerica.com/heat
and use code: LORI at checkout.

Be sure to enter to win the Silhouette Portrait machine:
a Rafflecopter giveaway

Silhouette Tutorial by Mendi

Today I thought I would share one of my new favorite techniques that I utilized on this fun layout about my daughter dressed as a butterfly fairy from last Halloween (although I think this butterfly theme would work so well for Spring and Summer projects too).

The focus of my layout (and my tutorial today) is this beautiful butterfly cutting file which I enlarged to take center stage on my layout.

Below is my video tutorial (For the clearest picture, please click on the gear in the bottom right portion of the screen and select one of the HD options).

To complete my layout I used the following cutting files designed by Lori Whitlock:

Borders (Silhouette Store only)
7 Borders, Tabs & Corners (Silhouette Store only)
Butterfly (Silhouette Store only)

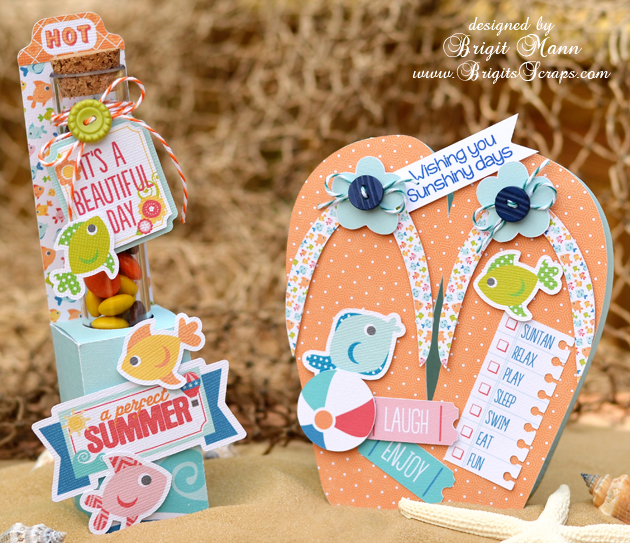
Favor + Invite from Brigit

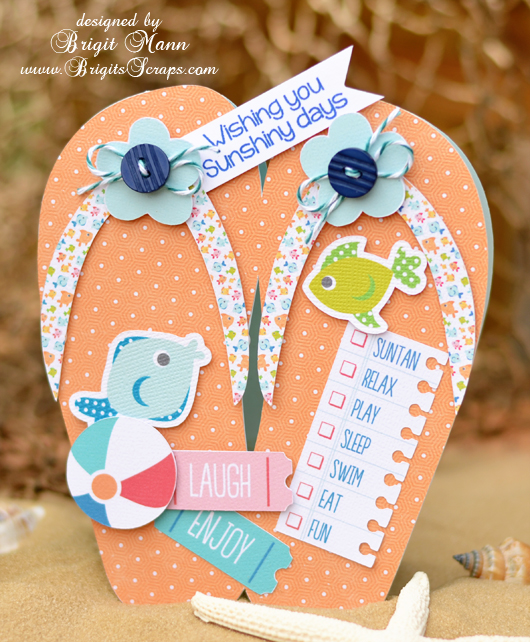
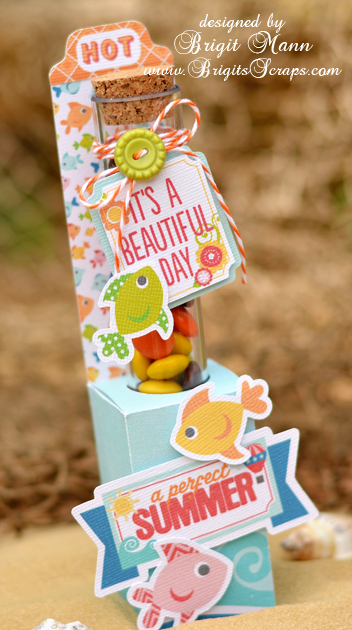
Here’s a cute matching set, perfect for a barbecue invite and favor or a summer birthday party.

The paper and elements are from Echo Park’s A Perfect Summer collection designed by Lori, I absolutely love it, so bright and cheery!

For the card I welded the flipflops together from Lori’s Don’t Bother Me set, Corri has a great tutorial on how to create a shaped card in Silhouette Studio, you can find it here.

The stamped sentiment is from Jaded Blossom’s Happy Summer set and the Trendy Twine is Tickled With Teal.

The candy tube holder was so easy to make, I used Lori’s Firecracker Box and sized the whole thing to 13.25w (check lock aspect ratio).

I ungrouped and deleted the other pieces, select all and grouped the box and score marks together again, (it should measure 5.9h x 6.410w.)  Then I centered a 1″ circle on the top flap of the box for the cutout, (depending on the tube you use you may have to make the hole slightly larger.)

The back piece is just a rectangle cut at 1.535w x 6.75h and glued onto the back.  The two top inside flaps have to be trimmed a little so they don’t block the hole.

I used some Orangesicle Trendy Twine on the tube and filled with some Reese’s Pieces.

Thanks for stopping by, I hope you enjoyed my summery project!!

Silhouette Portrait Giveaway + Sale

Are you ready for another GIVEAWAY, yes you read that right another Silhouette Portrait is up for grabs!

a Rafflecopter giveaway

The contest will run from May 23-27. The winner will be announced Tuesday, May 28. Good Luck to you all!

Did you know your Silhouette can cut fabric? Well, it can!! But, before you try sticking your fabric directly to your cutting mat, you need to back it with some interfacing. This month, Silhouette is offering an awesome deal on their fabric interfacing!

Silhouette offers two types of heat transfer fabric interfacing:
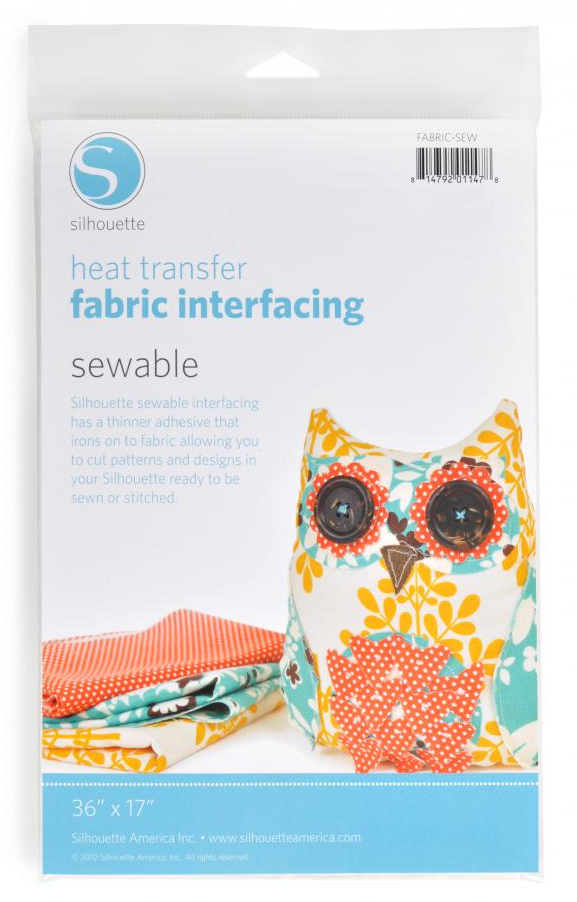
Heat Transfer Fabric Interfacing: SEWABLE. Silhouette sewable interfacing has a thinner adhesive that irons on to the fabric allowing you to cut patterns and designs with your Silhouette and then hand sew or machine sew the fabric.

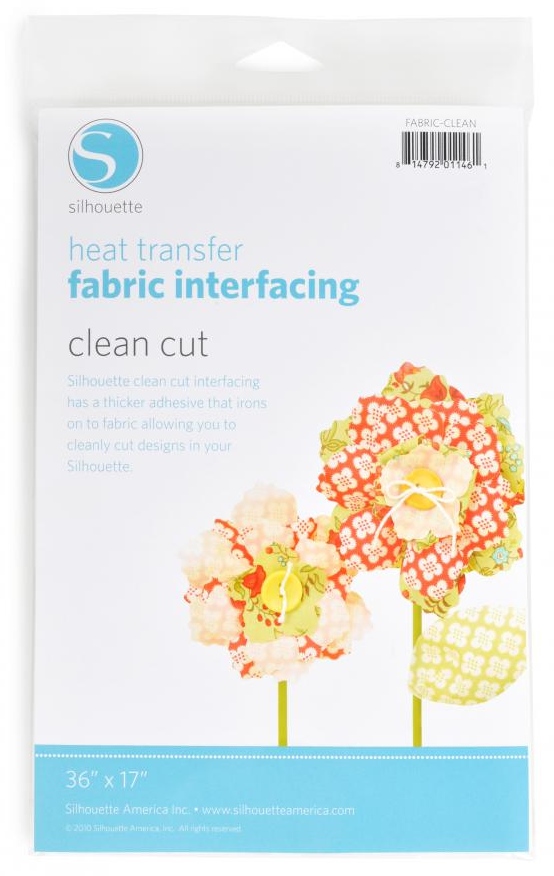
Heat Transfer Fabric Interfacing: CLEAN CUT. Silhouette clean cut interfacing has a thicker adhesive that irons on to the fabric allowing you to cleanly cut designs with your Silhouette. Use this one when you’re not planning to sew the cut out shapes.

So, if you’ve been wanting to cut fabric with your Silhouette, these are the products you need. And, this is the week to get them on SALE! From May 23-31 you can grab any of these fabulous Silhouette Fabric Interfacing bundles for a great price:

1. $29.99 = $25 download card + a fabric blade + heat transfer fabric interfacing sewable + heat transfer fabric interfacing clean cut
2. $129 – includes everything in the first bundle + a Silhouette Portrait
3. $269 – includes everything in the first bundle + a Silhouette Cameo + a 12×24 cutting mat

If you have been waiting for the right deal, now is your chance.

Make sure to use this link www.silhouetteamerica.com/fabric and use the coupon code LORI to buy these bundles at the sale price.