Pillow Box with Curved Handle Tutorial

Hi there friends! Today I am sharing a quick little treat idea for all the back to schoolers. I used the Pillow Box with Curved Handle (SVGSilhouette) and the School Stickers (SVGSilhouette).

Once I had everything uploaded to Cricut Design Space I resized the pillow box to 5.5×9.33. I wanted to be adle to fit two boxes on one sheet of 12×12 paper. I also flattened the sticker images and printed them out on plain white cardstock. For the tag I used one out of Cricut Design Space, but here is one from Lori’s site if you need one (SVGSilhouette). I used papers from the School Rules collection by Echo Park Paper Co.


I cut four pillow boxes and two sets of the stickers. I also punched some tiny hearts. I layered up some of the stickers on the tags leaving room at the top for the recipient’s name. I used a liquid glue to attach everything because I didn’t use a sticker paper. For the box I pre folded the score lines as mountain folds. I then added glue to the inside of the box on just the handle.


After the glue was dry I folded in all of the side tabs.
I then used some bakers twine to attach the tags. I filled my boxes with a rice crispy treat and a little note for each kiddo.
This little pillow box is so versatile and great for any occasion all you need to do is change up the papers. Definitely worth having a few in the file library. Thanks for stopping by today and happy back to school!

Brandie

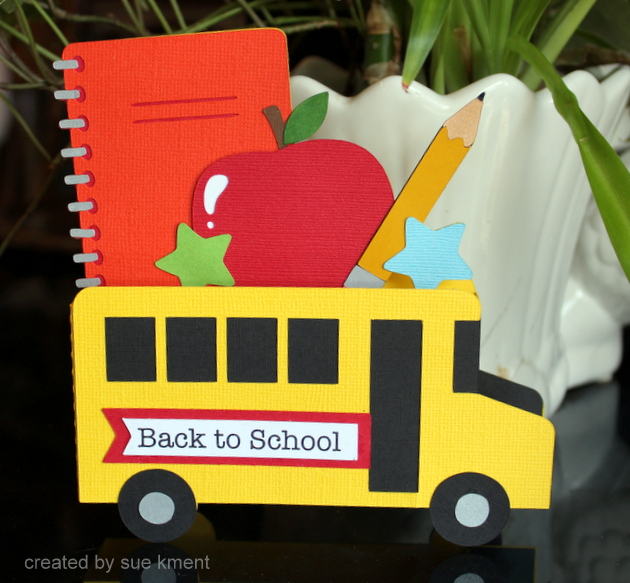
Box Card School Bus 2 Tutorial

Happy August 1! Quick reminder that the 50% off SALE on ALL our SVG file bundles is still going on through tomorrow, August 2nd at midnight. Coupon code: 50-BUNDLES

SHOP HERE


Hello!  It’s my turn again for a tutorial on the Lori Whitlock blog.  
 
I am getting into the school spirit! I can’t believe school is right around the corner!

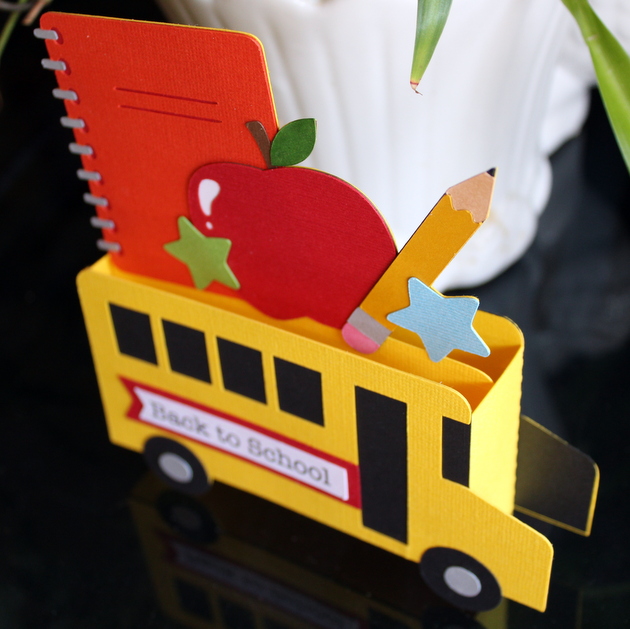
Box Card School Bus 2 

(Lori’s Shop SVGSilhouette Store #417577)


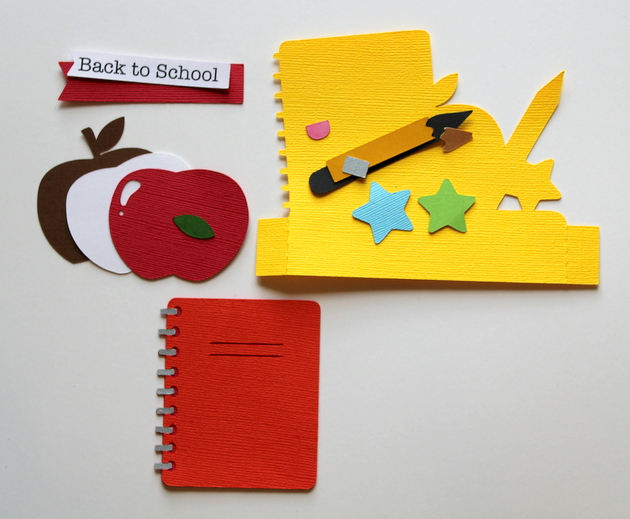
Insert pieces with the print and cut sentiment. 

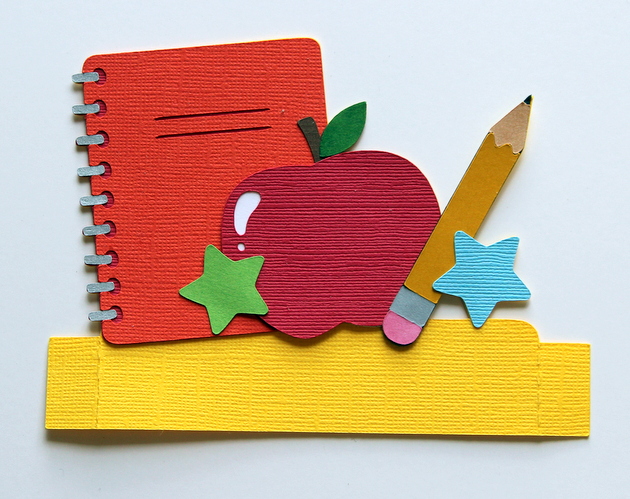
Insert pieces assembled.  You will glue the yellow side tabs into the  assembled box card, aligning the top of the tabs to the top of the box. My favorite piece was the notebook with the spiral binding. I think it has the “bestest” details!  I found it easier to leave the little silver pieces stuck on the mat and assemble them to the notebook right off the cutting mat. No lost little pieces!  


I did cut three of the other pieces out of white cardstock and colored them with copics while they were still stuck on the mat. (pencil tip, eraser and the leaf). 


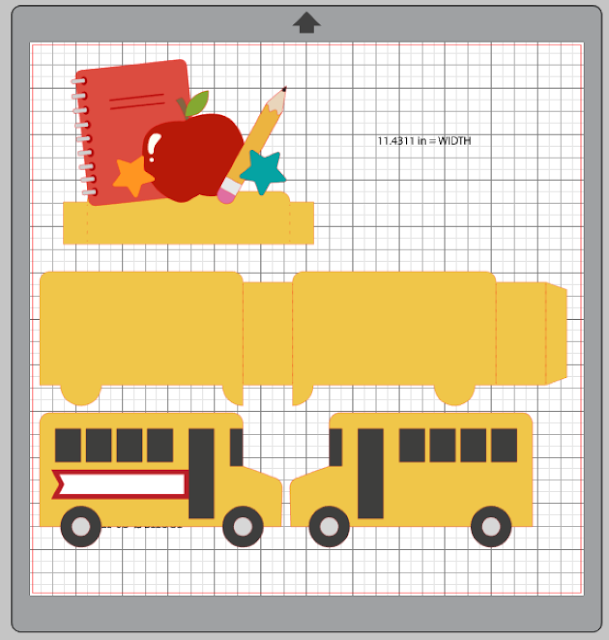
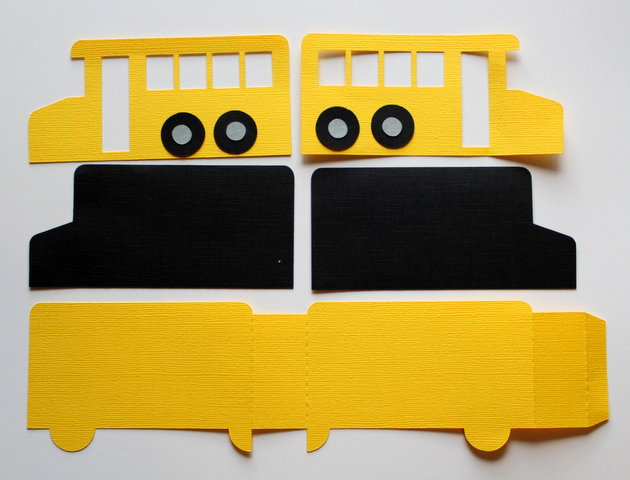
The Box Pieces 

 Add glue to the tab on the right of the long yellow piece to form the box body. Align and glue the sides of the bus to each side of the box base.

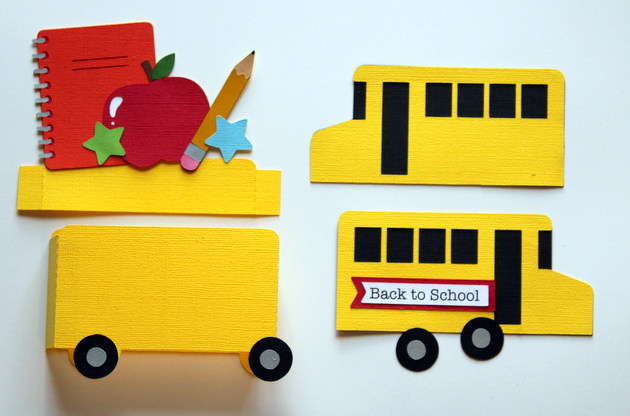
Everything is ready to glue together. Glue the tires on the very last.

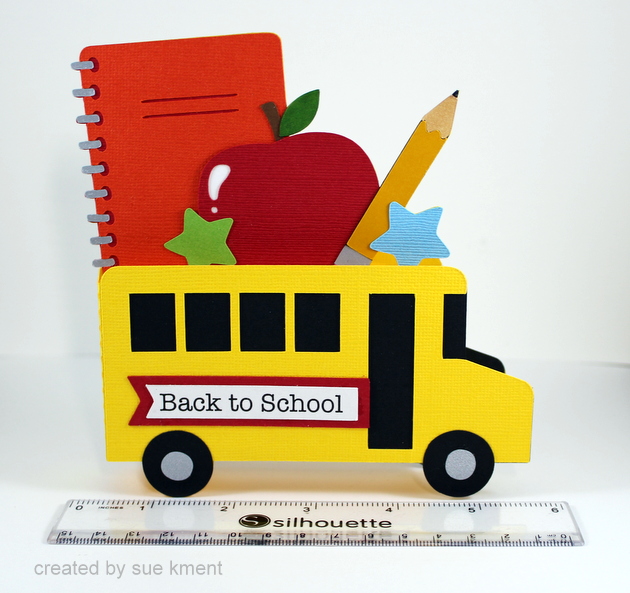
Having two daughters that are school teachers, I decided to make them each a school themed card for the new school year that begins soon. This is the first one!

Here  you can see the insert glued in.


Thanks for coming along on this little bus ride!

HERE is a link to Lori’s basic box card YouTube tutorial if you would like to peek at it!

💕  Sue Kment

Apple Box Tutorial

Hi everyone!  I have super simple little tutorial for you today.  As back to school is just around the corner and this little treat box will be perfect to send with your little ones on that first day school.
You can find it here in Lori’s shop or you can find the file in the  Silhouette Store.
First, cut all your pieces.

Next, fold on all your score lines.

Add double sided tape to all 4 tabs.
Then simply adhere your box together.
Then add your apple pieces and your done!  I added a couple embellishments from
Lori’s Echo Park Little Ladybug Collection.
I love this little box, it turned out so cute!

Thanks for stopping by today!


Friday $5 Bundle!

As the school year winds down, let’s take a moment to extend our appreciation to the wonderful teachers who’ve made a difference. Check out our special Friday $5 Bundle, featuring delightful SVG file projects designed to honor teacher appreciation. Enjoy crafting four charming thank-you cards and a sweet gift box complete with a special tag for teachers. These files offer the perfect opportunity to create heartfelt tokens of gratitude. Act fast – This offer ends Sunday at midnight! Grab your bundle now before it’s gone! Click HERE to shop.

** Because Friday $5 Bundles are already heavily discounted they are not eligible for further discounts including monthly, seasonal and flash sales.

Shop Friday $5 Bundle HERE

Thank you for joining us today! Have fun crafting this weekend!!!

~Lori


Believe in the Magic Card–Back to School Style Tutorial