Pop Up Box Card School Bus Tutorial

Hi everyone!  I have a fun card to share with you today, just a few simple steps and you will have a card that pops up and delights your recipient.  There are lots and lots of these pop-up box cards to choose from in Lori’s Shop and in the Silhouette Online Design Store.  You can find the card here in Lori’s Shop or here in Silhouette Design Store. You can find the video assembly tutorial HERE.
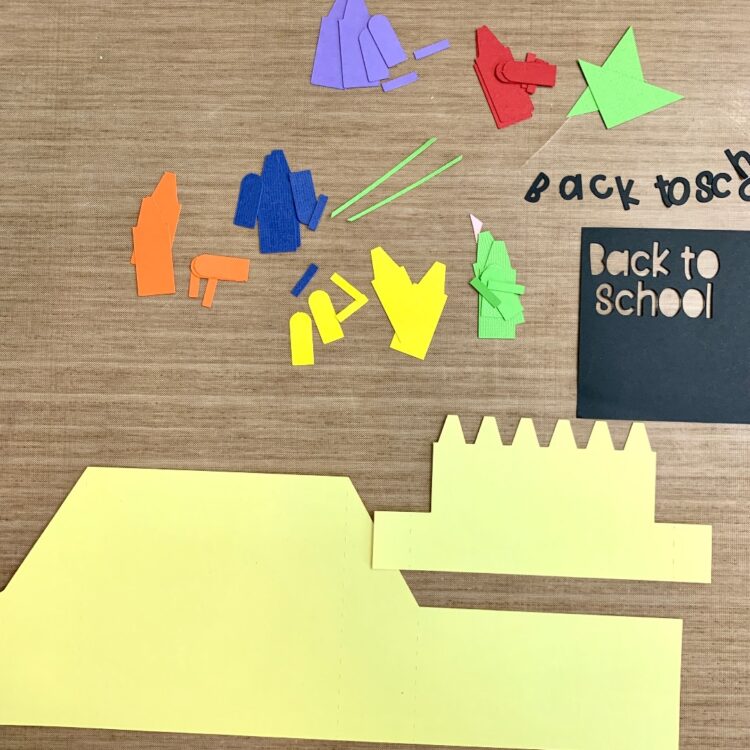
The first thing that I like to do with Lori’s files is separate everything by color.  She colors all of her files and it just makes it just so dang simple.  So, I just take a few seconds to ungroup the file and sort my pieces by color for ease of cutting and then it is easier to assemble everything.  Once you’ve got it all cut out, we are ready to assemble.
First, start with your red card base and do one peak and one valley fold.
It will look like this.
Next, add your blue panels.
Now it’s time to add the gray road, this is the piece that makes your card pop up.  You are going to fold on the two score lines.
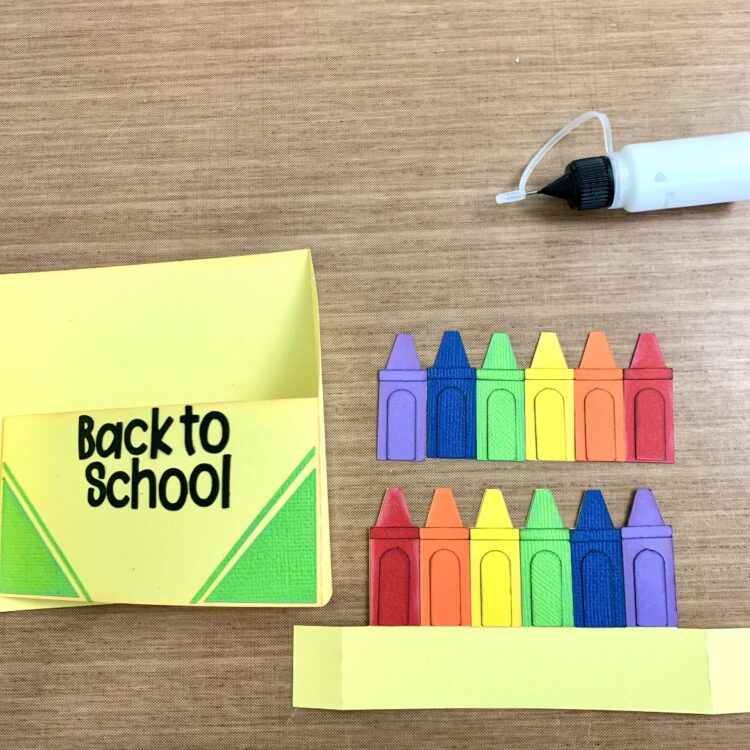
You can take a few minutes here to create your embellishments of the bus, apple, and pencil. I just used a glue pen to assemble these smaller detail pieces.
Glue your bus onto the gray road piece.
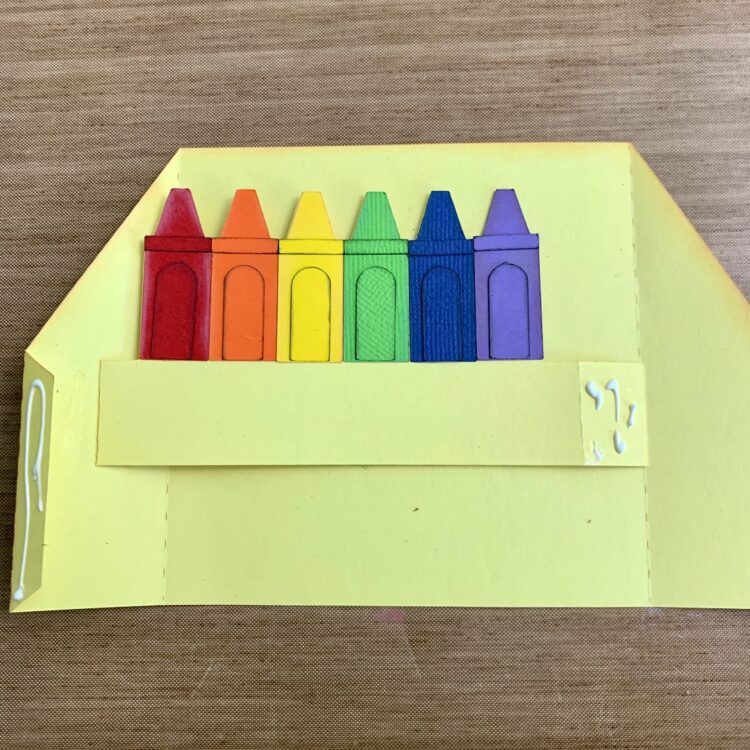
Now, we are ready to add our road to our card base.  Remember, we want this to pop up….so we are only going to put adhesive on the left side and right sides…just like in the picture below.  Just those two spots of adhesive.
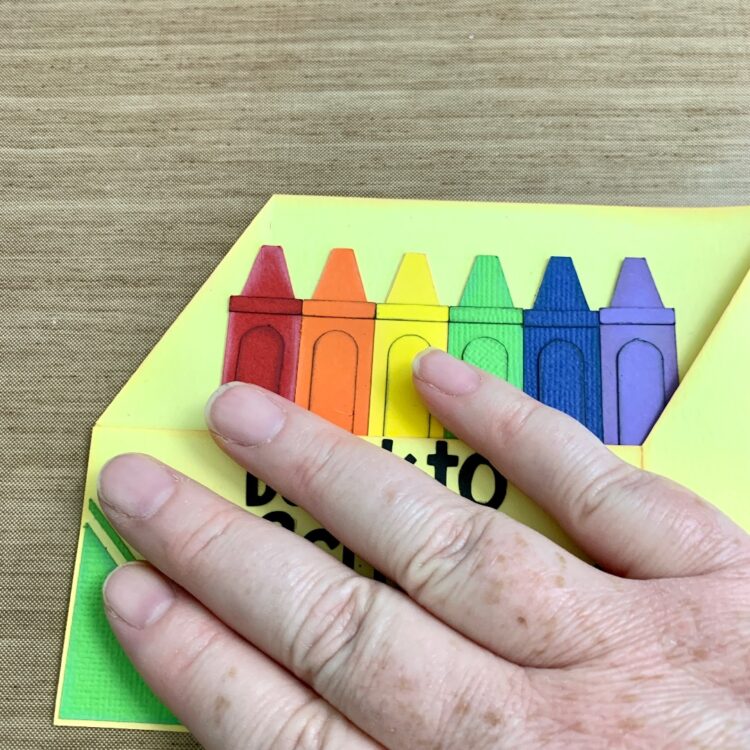
Now you have your road added, you can see that the pop-up and where we are going to add are to other elements of the pencil and apple.  Just fold the tabs on each and add adhesive.  Here’s a link to Lori’s video on these pop-up cards on YouTube.  Pop Card You Tube


With the adhesive on each tab, you can add both the little pop-ups in just seconds.
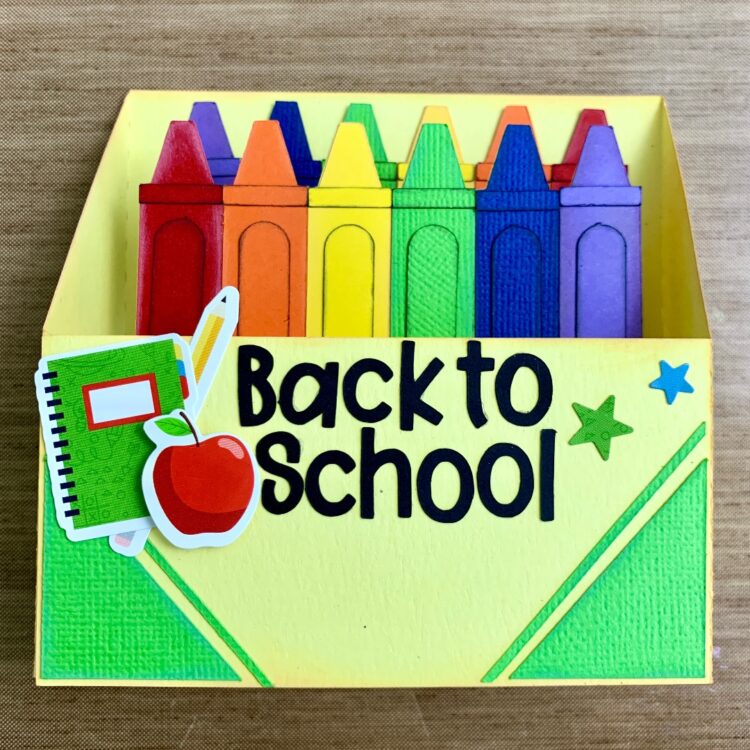
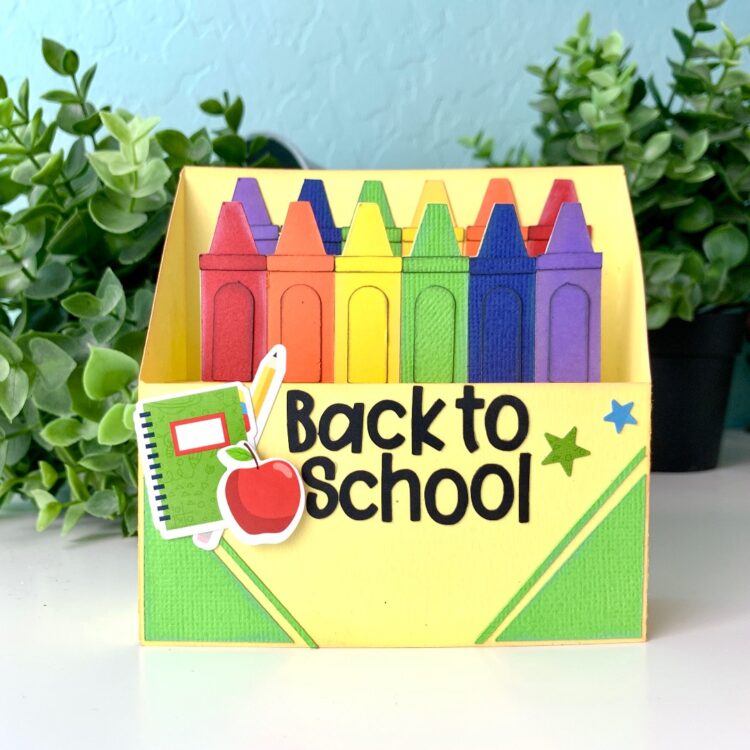
And bam, just like that…you have the cutest little bus card.  Now I did leave the back-to-school saying out and added a little sun sticker that I had, just because it’s not back-to-school time.  Thought my granddaughter might enjoy the little sun!
Thanks for checking out this tutorial!
Cathy

Back to School Backpack with Michelle

Soon the school buses will be packed with children heading back to school. Make their first day special with this adorable Backpack treat bag.

Backpack Treat Bag

You can find the files to make this at the Silhouette Design Store, or right here at the Lori Whitlock SVG Shop. When combined with the “Back To School” Collection from Echo Park Paper Co., you’re certain to get an A+ and start the school year with fun!

Have a crafty day!

Michelle


Teacher Gifts by Mendi + Ornate Cards by Christine

Today on the blog we have the talented Mendi and Christine. Today Mendi blew me away with these adorable teacher gifts. My mom was a teacher for many years and would have loved something like this. Mendi says…
As many of you are wrapping up your school year I thought I would share an idea for a quick and easy teacher’s gift.  I ran across some bare wood plaques at my local craft store when I was searching for ideas and thought they would be perfect. A simple coat of paint (and perhaps a light spraying of clear Kylon to seal) and they were immediately transformed and ready to cover. 
I have always been attracted to primary colors and school themes so I had a big stash of school themed papers to turn to, but it’s not hard to find something perfect these days with all the school ruled papers, cork, chalkboard and ruler paper out there on the market. I think Lori’s Take Note collection from last year would be super cute for this!
For these projects I used the following cutting files designed by Lori:
Pencil (Silhouette store only)
Apple (Silhouette store only)
September Art (Silhouette store only)
LW Happy Font
I hope I’ve inspired you to create a quick personalized gift for a special teacher in your 
life. I was serioulsy amazed with how quickly these came together!
Next we have Christine sharing these beautiful cards with us.
Today I am sharing two cards that I made with the Ornate Pull Out Cards.  I used numbers 1 and 4 today but the others are super fun too.  
Here are the cards together.  You can opt to leave the background piece, the fancy part, alone and it’s really pretty or you can back it with some cardstock, like I did with my cards.  For me, I liked the additional strength that it gave the card but you’ll want to make sure to use a very plain paper if you do so that those gorgeous cut outs don’t get lost.

Here are close ups of each card individually.  I used Lori Whitlock’s Sweet Girl paper and embellishment collection from Echo Park to create these cards.  The little extra sticker and brad here and there really make these cards extra special.

Here is what this card look like when the base is pulled out from the wrapped sleeve.  Lots of room for writing a special message or a signature.
My second card is pictured below.  
And here is a closeup of the center of the card and what it looks like pulled apart.  There are so many ways to decorate these cards and what a fun and different way to create an interactive card.
Thanks for stopping by.  Here are the supplies that I used to create my cards.
Lori Whitlock SVG’s: 
Other Supplies:
Sweet Girl Paper Collection by Lori Whitlock for Echo Park Paper
Sweet Girl Embellishments by Lori Whitlock for Echo Park Paper
Sweet Girl Cardstock Paper by Lori Whitlock for Echo Park Paper
Silhouette Cameo Electronic Die Cut Machine