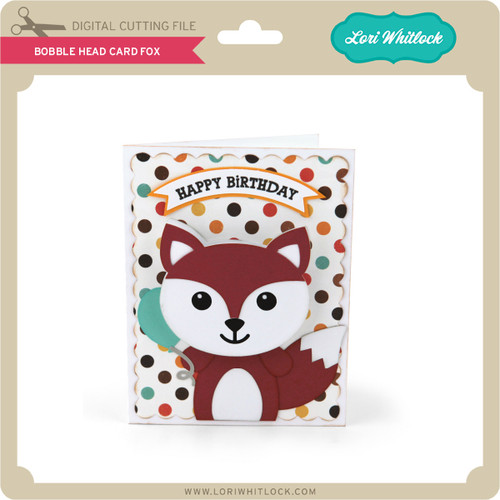
Precious Baby Fox Bobble Head Card

Happy Monday, Friends! Creative Team Member, Mitsyana Wright, here! And I have some sweet inspiration to start off the new week. I had a baby shower this past weekend and I created the little cutie to give to the mama to be.

For this adorable card, I used Lori Whitlock’s Bobble Head Card Fox file.  I saw this little guy and automatically fell in love with him!

Image 1

You can find this card HERE in Lori’s SVG Shop…

Or HERE in the Silhouette Store.

Since my friend is expecting a girl, I decided to turn this cute little guy into a cute little girl by hand drawing on eyelashes and added pink chalk for blushed cheeks.

I used  Echo Park’s Sweet Baby Girl 6×6 Paper Pad and Sweet Baby Girl Frames & Tags Ephemera. The colors, patterns, and sentiments were absolutely perfect!! And as you can see pulled everything together to make an uber adorable baby shower card!

I hope you enjoyed this projects and it gives you a wonderful start to your week!!

Happy Crafting, Everyone!!

~Mitsyana

Rainbow Palette Carrot Boxes


Hello, Crafty Friends!! Winter is almost behind us and with all the rain we’ve been getting here lately the flowers will soon bloom! If Spring will be here soon, then so will Easter!! Time for pretty colors and lots of sunshine and BUNNIES!! I consider all my kiddos my little bunnies… they’re quick, bounce around a lot, and so stinking CUTE!!  So, I made these adorable carrot Easter baskets using Lori Whitlock’s Easter Basket with Carrots File for each of them… because what little bunny doesn’t like carrots, right??!!

Image 1

You can find this Easter Basket with Carrots box file in Lori’s SVG Shop, HERE.

OR in the Silhouette Design Store, HERE.

I used my Sizzix eclips to cut out my project. And when you first load it into the ecal software it downloads onto your window, the shapes are displayed stacked on each other. I usually separate my pieces by color.

Then, if I’m making multiples, I add and cluster my multiple shapes together so that I can cut more at one time.  Depending on how large the shape is I may also separate them further into multiple pages.

Then, I cut. The box piece was too big to cut multiples so I just cut one box at a time, multiple times.

I love rainbows. It makes a wonderful Spring palette. It’s bright and cheerful! And since I’m using a multi-color color scheme I chose to tie them all together with my patterned paper. I used a rainbow gingham pattern that contained all the colors I used for my boxes. This way I don’t have to worry about finding matching paper for each color and still have them coordinate with each other.

I cut out all my pieces except the WHITE pieces (the scalloped circles and tags) and I’ll show you why…

I cut my white pieces from the same piece of cardstock. Except, my tags are printed with HAPPY EASTER on them first.

For the tags, I decided to use my machine’s PRINT-2-CUT option. First, I printed my tags.

Go to FILE, then click PRINT from the menu. Don’t forget to print with the registration marks!! That is very important!

Once it was printed, I lined up my print out sheet to the very left of my cutting mat.  Line it up with the corner.

Then, go to the CUTTER tab, click on PRINT-2-CUT. You’ll be taken to the PRINT-2-CUT menu screen. Click NEXT.

Before you proceed, THIS PART IS SUPER IMPORTANT, make sure you HIDE all the text in the tags.

If you do not do this it will CUT each of those letters… and we don’t want that!! So make sure all your tags are blank!

You’ll notice that there are registration marks on your print out.

When you choose NEXT on your PRINT-2-CUT window, it will ask you to align the laser dot with the registration mark. Get it the closest to the center of the registration mark as possible for BOTH registration marks. Then, CUT!!

For the main boxes, I folded at the crease lines, all go the same direction, toward the center of the box.

I added a little line of glue to the tabs and adhered them to the side walls and set aside to dry.

I shaded my carrots using my ColorBox PetalPoint ink pads in Pinwheel and sponge daubers to shade the edges of my carrots. Then, added details using the fine tip ends of similar colored markers. This part is totally optional and for a much quicker project, you can totally SKIP it!!

I ran my carrots, carrot stems, and background pieces through my Xyron 3″ Sticker Maker for quick and easy adhesion.

Then attached them to my cut out scalloped circles and sent them back through my Sticker Maker.

Attached the backgrounds onto the boxes, then attached the scalloped circles with carrots to the centers.

Then topped off each box with iridescent ribbon that I tied to create multi-looped bows and attached my tags.

And here are my finished boxes…

These just make me so giddy!! With the bright rainbow color palette, I can’t help but be HAPPY!

I know my little bunnies (my 4 kids) will absolutely love these! They’d love the box just by itself but I’m a super awesome mom so I’ll stuff it full of goodies!! LOL

Hope you loved this tutorial!

REMEMBER… Easter is April 1st!! Very fast approaching… so get going and get creating!!

HAPPY SPRING, HAPPY EASTER, & HAPPY CRAFTING EVERYONE!!

~ Mitsyana Wright

Berry Sweet Box Card with Mitsyana

Hello, Crafty Friends!! Mitsyana Wright, here! Back again with another creative project using one of Lori Whitlock’s SVG designs! Do you have family, friends, or co-workers that are unbelievably “SWEET”?! I know I do. So, why not make them this berry sweet box card?

For today’s project, I used  Lori Whitlock’s Box Card Strawberry Carton.  You can find it in her SVG Shop, HERE.  Or in the Silhouette Store, HERE.

This file, when cut out, is totally cute on its own. But if you’re anything like me, you can always give it your own special touch and add your own details.

I inked the edges of the carton with brown ink and a sponge dauber for depth. But for the berries, leaves, and flowers, I decided to use an ultra-fine black ink pen to draw in details. I  outlined the strawberries and leaves. Then drew in seeds and veins. I even inked and lined the centers of the flowers.

For a finishing touch, I stamped a sweet sentiment and added brads to each side of the label.  Sometimes little details make a big impact and I total love how this super sweet card came together. I hope you do too!  Thanks for stopping in and hope you have an amazingly “SWEET” day!!

~Mitsyana Wright

Sweet Little Valentine Chocolate Box

Hello, Crafty Friends!! Mitsyana Wright here… and I’m ready to toss out my winter snowflakes for some heart filled skies because Valentine’s Day is around the corner and February is the month of love.  So what better way to celebrate than with sweet for your sweetie… or sweeties. I have 4 kiddos and a Hunny bunny that would love to receive this sweet little Valentine.For this romantic shabby chic heart box, I used Lori Whitlock’s Valentine Nuggets Heart Box.

You can find this cut file in Lori’s SVG Shop, hereOr in the Silhouette Storehere.

I started by downloading the file onto my computer and extracting the contents of the file.  I opened my Sizzix eclips software and loaded the file. I clicked the “Import” button to open the file into my software.

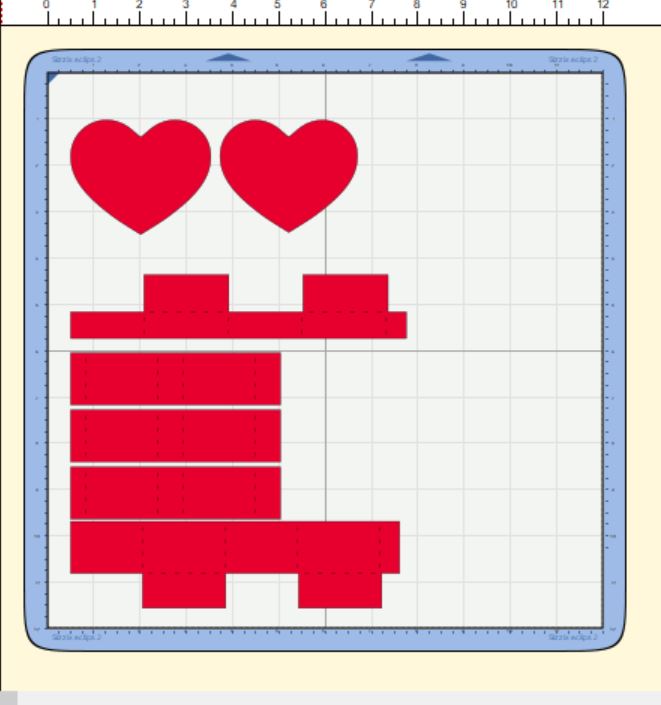
Once I opened up the file I grouped the images by like shapes and colors. (ex. all the red shapes together, all the scalloped hearts together) and moved them around to fit my virtual mat.

Then, I grouped my “like” items together so I could cut all the shapes of the same paper all at once. I used the gorgeous floral paper to cut the box panels and the basic heart shapes.

Then, I “hid” those box panels and basic hearts…

and die cut just the scalloped hearts from this beautiful fleur de lis paper. Once, the scalloped hearts were cut  I inked the edges using Walnut Stain Distress Ink.

To assemble the TOP box, I folded the panels along the dotted crease lines and folded each piece to form a rectangular shape. Then added glue to the small tab at the end and adhered it to the opposite end.  I pinched the ends together till the glue set and then added more glue to the bottom flaps directly to the bottom or “underside” of one of the scalloped hearts. If you look very closely at the cut, you’ll notice that there are tiny markers cut into it to mark where you need to adhere the boxes… so there’s no guessing where the center of the cut is and your box is properly aligned. I added glue to the box panels bottom flaps and adhered my box in between these markers.

For the Bottom box, I took the other scalloped heart and left it faced up and added glue to the remainder box’s bottom panels… but before attaching it I ran both basic heart shapes through my Xyron Sticker Maker and adhered one the hearts to the remaining scallop heart. Then I attached the remaining box over that.

For the inside panels of the box, the file has these separators. I just folded along the dotted lines and add glue to the small tab and attach to the opposite end so that it resembled a rectangle. Once the glue dried, I inserted all three into the bottom box.

Here is what both the bottom and top pieces should look like…

The top lid should fit snuggly over the bottom box.  I just simply added a sprig of leaves and flower buds onto the cover and topped with a single rose.

Here is my finished box…

This little Valentine treat box is absolutely darling!!

And these delicious Hershey’s Chocolate Nuggets fit perfectly!! But don’t let the name of the file fool you because…

hey, look… these Dove Chocolate hearts fit perfectly too!!

I’m sure you can fit lots of other goodies in here as well. So give it try!!  I love this cute treat box… makes my heart aflutter!!  I hope it makes yours too!!  Thanks for joining me today & I hope you enjoyed my project!!

~Mitsyana Wright

Puffed Star Birthday Favors with Mitsyana

Hi, Crafty Friends! Creative Team Member Mitsyana Wright here and I’m kicking off a new year with back to back parties. Not just to celebrate a beginning to a brand new year but also to celebrate multiple BIRTHDAYS!! WOOHOO!! Both my youngest son and my husband have birthdays in January. As well as a niece and nephew. We’re on birthday cake overload throughout the month!

And if cake wasn’t enough sugar, let’s spike everyone’s blood sugar level by adding candy to the mix. But I’ll play it safe and send the candy home with them instead.

**Disclaimer** – Remember folks, consume sugar responsibly!!

So, I made these adorable PUFFED STARS using Lori Whitlock’s Star Pillow Box file.


You can purchase this file from the Lori Whitlock Shop, here.

Or from the Silhouette Store, here.

For an instant “WOW” factor, just fill a large glass jar with filled boxes and set it on tables for a quick and easy centerpiece. Or lay them on each place setting for awesome place cards. These will totally dress up your party tabletop!!

I hope you enjoyed this fun and festive project. You should definitely give these a try for your next party!!  Thanks for stopping by!!

~Mitsyana Wright