My Favorite Place- Flower Card

Hello, Crafty Friends! Mitsyana Wright here, back again and now officially part of the New Lori Whitlock Creative Team! Woohoo!!   I have this wonderful Flower Card Tutorial to share with you all using one of the flower files from Lori’s Bird Tree Flower Bundle Set. (here in the Silhouette Store)

This card is perfect to give to your significant other or your bestie.   And makes a great ‘feel good’ or ‘just because’ type card, because you don’t need a special holiday to let someone know you’re thinking of them.

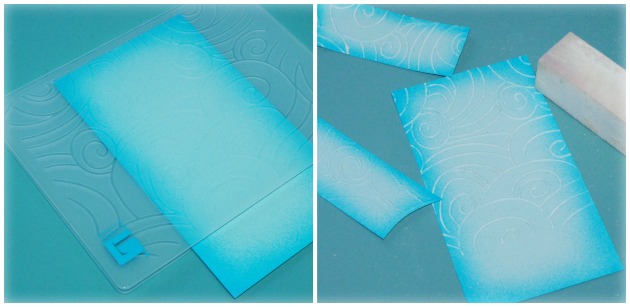
I used my Sizzix eclips and ecal software to cut the flower file #6 from the bundle set. I sized the flowers to 3″ tall and cut two sets of flowers.

I inked edges of my die cuts for more depth, choosing an ink one or two shades darker than my cardstock.

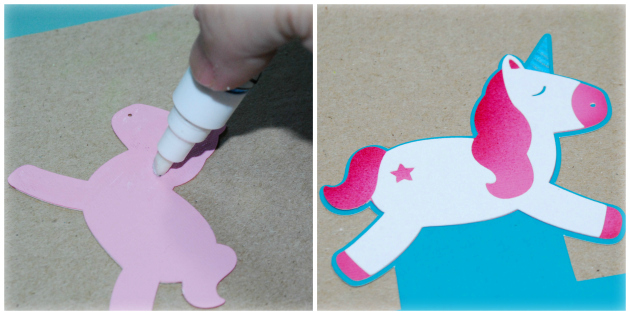
Then attached the layers of the flowers together using a glue pen.

Once both flower pots were assembled, I snipped off the ‘pot’ to of one of the flower cuts, just leaving the stemmed flowers intact.

I used this shape from Lori’s 5 Labels set, to create a card mat & shadow, and sized it to 3.460″ x 4.406″ (white cardstock) and 3.66″ x 4.606″ (brown cardstock).

I layered the pieces together using Xyron Mega Runner and attached it to a matted A2 Sized card base (patterned paper “mat” measures 4″ x 5.25″).  Next, I attached double stitched ribbon along across the bottom of the card and trimmed off the ends.  Then, I attached both flower cuts. Stacking one on top of the other and placing the trimmed one in the back.   I used a stamping tool to stamp my sentiment onto the front of the card.  Finally, I attached the little bow with a dab of strong clear glue.

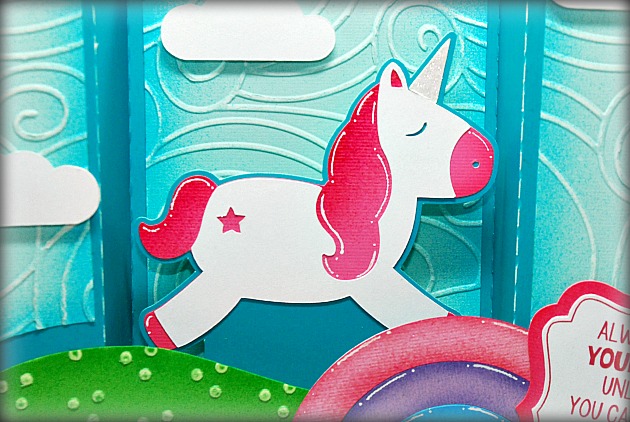
And here is my finished card…

I really love the detailed layers on these flowers!!! These were so much fun to make! I’m sure these flowers will bring a smile to anyone’s face!!  Hope you all enjoyed this tutorial and give these pretties a go!

HAVE FUN CREATING!

~Mitsyana Wright

Guest Designer Mitsyana Wright

Happy Saturday! I hope everyone has had a great start to their weekend! I am Mitsyana Wright, from Up On Tippy Toes, and I am so excited to be guest designer for Lori Whitlock. I’ve always been a big fan of her unique and whimsical designs. And I am over the moon thrilled to be able to share with you this adorable Unicorn Card I made using her Center Box Card Unicorn.

I’m a card maker and obsessed unicorn lover, so this unicorn card was just up my alley! I started by opening the card file in my electronic cutting machine software. Because Lori Whitlock’s files are SVG format I am able to use them in a number of electronic cutting machines.

When I open the file in my software , all the shapes are grouped together like this…

I like to separate my shapes by like colors. Then I can place several different colored papers down on my cutting mat and cut them all at the same time.

Here are all the pieces for the card cut out…

These pieces go together very easily and you simply adhere them to the card base… this is totally cute as is but I like to add personal touch with shading and more dimension.  I like to add shading with a bit of airbrushing. It’s a great alternative to shading with ink pads and sponges.

After my pieces were all airbrushed I started on building the card…  I folded the card base on the score lines, making the center panel recessed.

For added dimension, I added embossing to these background panels, then distressed the top layer of the embossing off with a sanding block. This exposed the white paper core everywhere the embossing was raised.

Because of the added texture of the embossing, I ran my panels through my sticker makers for maximum adhesion to my card base.

Then attached them to the card base.

 I used a glue pen to piece the smaller parts and pieces together.

I folded the little score lines on the unicorn base and attached them into the inside fold of the card. and then attached the hills over top.

I added highlights with a white gel pen onto the unicorns main and tail, as well as the rainbow.

Then place my sentiment onto the lower left corner.

This card turned out fantastic! My only problem would be which one of my unicorn loving friends to give it to!  Hope you all enjoyed this project!!  Have a MAGICAL day!!