Adorable 4×6 Vertical Mini Album with Pockets and Tags

Hi there paper crafting friends!  It’s Michelle Starcher, aka the Bookish Designer, hopping onto the Lori Whitlock blog to share a mini-album I made using the Farmer’s Market collection that Lori designed for Echo Park Paper Co. I used the 4×6 Vertical Mini Album with Pockets & Tags (SVGSilhouette) to make the mini-album. The album was easy to put together and can be decorated with your favorite stickers and embellishments to make the project pop.


The project includes four pockets and tags as well as four rectangular pieces that can be used to frame your photos on the back of each pocket. You can easily include a picture on the front and back of each tag. I added an extra piece of cardstock to my tags for more color along with a few embellishments.
 

Until next time,

Michelle, aka the Bookish Designer


Christmas Mini Album

Hi Friends! I hope you all had a lovely Christmas that was warm and safe! Today I am sharing one of the mini albums from the Fabulous Mini Album Bundle (SVGSilhouette). I haven’t made a December daily album for a few years because they are always so much work and I never seem to be done. So, I decided to scale it down a lot and just make a mini album. Less work, less pressure, but still so fun and cute! I just need to add my pictures and journaling.

 
All of the papers, stickers, and embellishments are from The Magic of Christmas collection by Echo Park Paper Co.
Thanks for stopping by today!
Brandie

Welcome To The Farm Mini Album

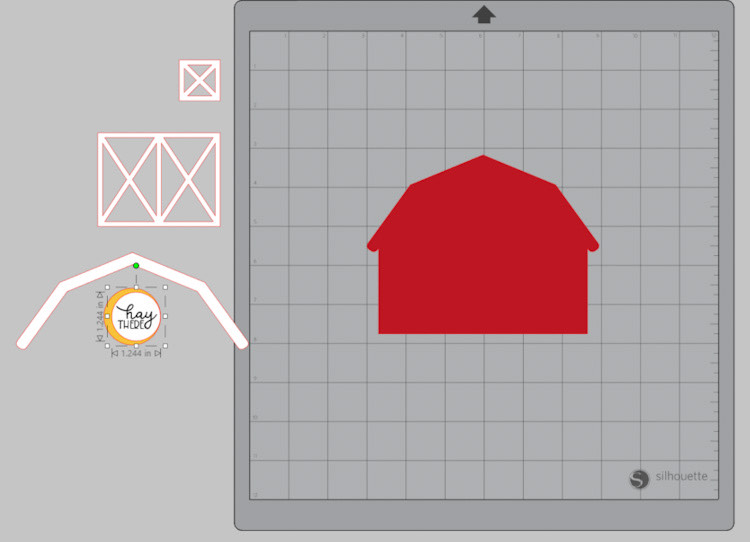
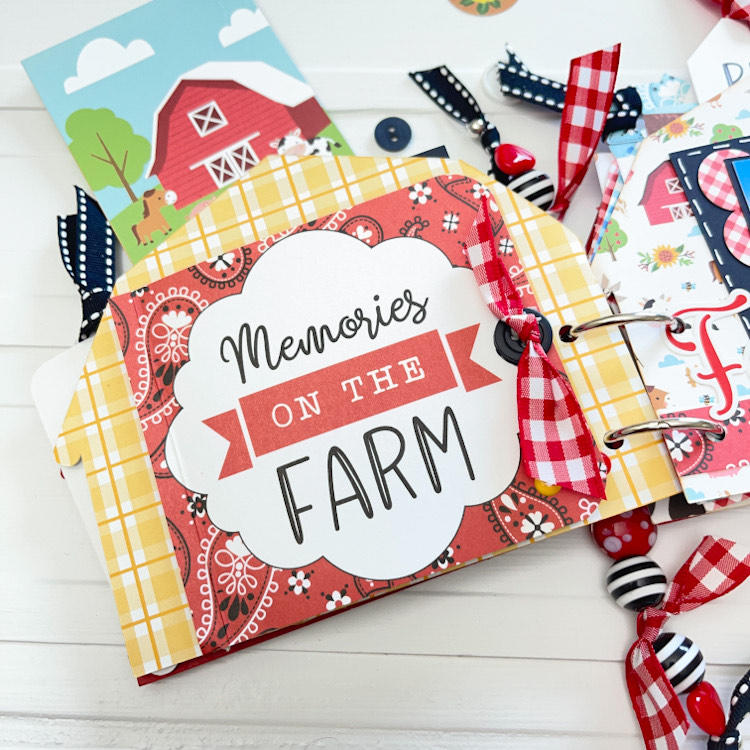
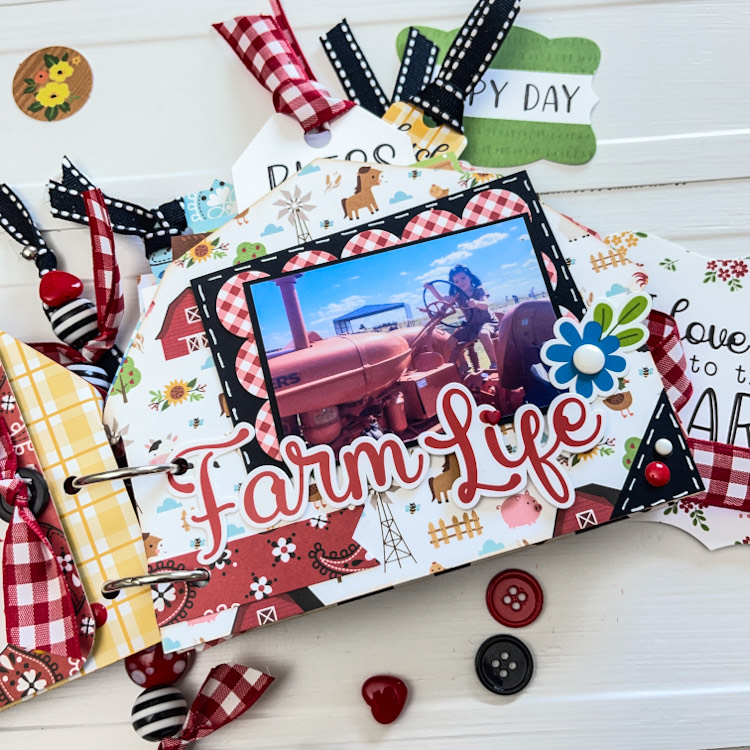
Hi everyone!  I’m so excited to share this little mini album created from Lori’s Pop Up Barn Card (SVG, Silhouette). I had so much fun creating this and added so many fun details!  I used Lori’s Echo Park Fun on the Farm collection for my project!

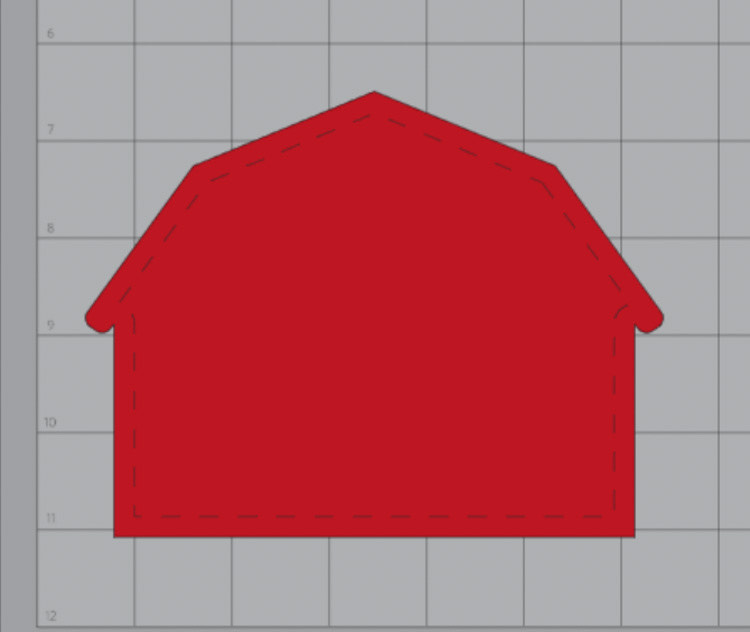
I started by opening the file and ungrouping it, saving the barn shape, the white doors and window.  I enlarged the card to be 4.5 x 6 inches.  You will need to cut 4 red barn pieces and two sets of the white doors and window.  One is your front cover, one is the inside of the front cover, one the back cover and the other will be for your stitching template and book ring template!

On of your template barn shape, you will do an internal offset and then go to line style, change it to the biggest stitched line.

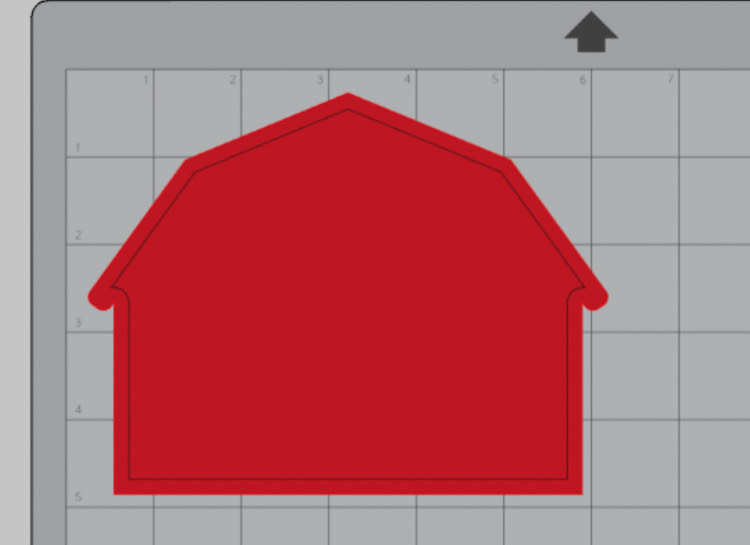
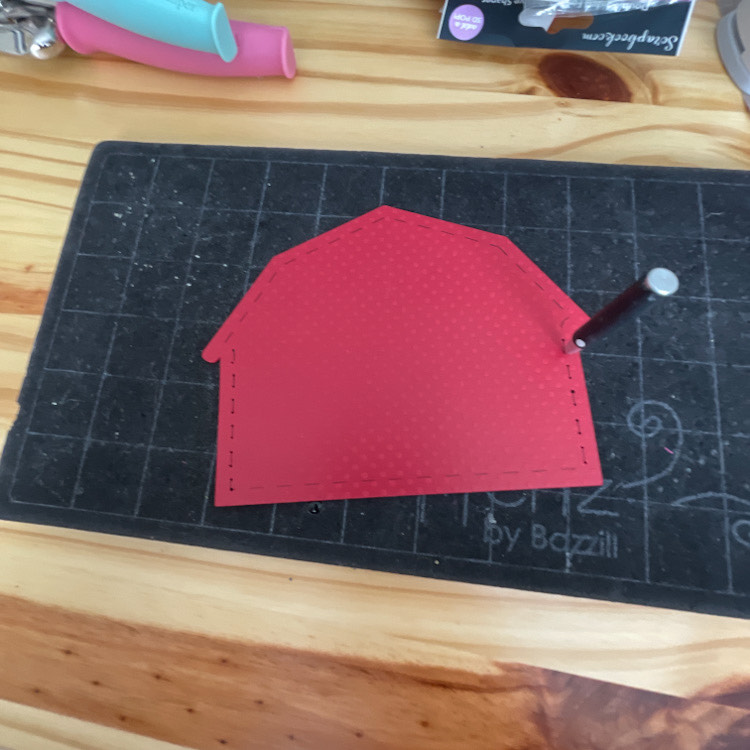
Then using a Silhouette Sketch pen, I used black so that I could see it well, send it back through to draw the stitched lines.  This will create your template for stitching.  You can use the stipple on your machine too to create stitching holes but my cardstock was to heavy to really see the stippled holes….my eyes are getting old! Lol.  So this is what worked best for me.

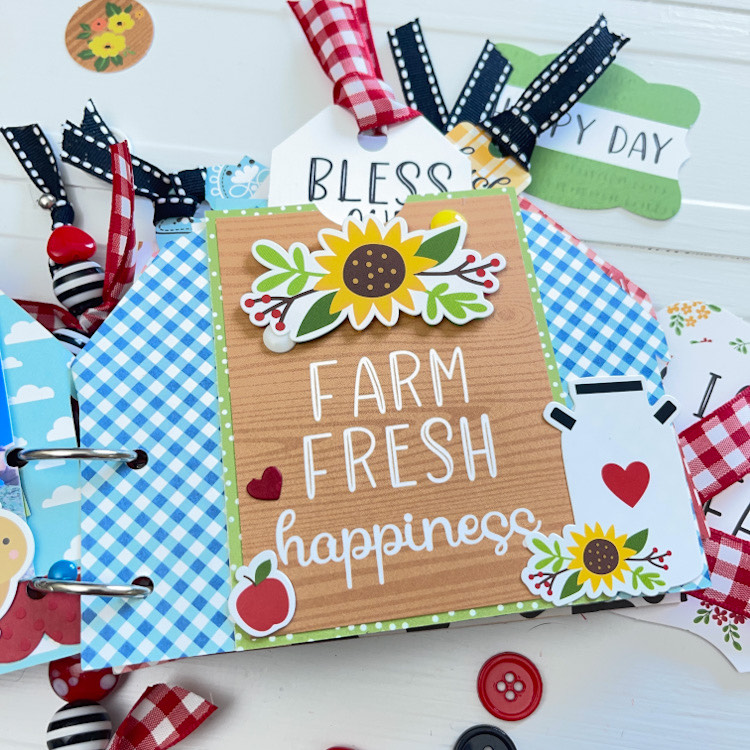
I just pierced the lines on the sides of the barn so that I could add a bit of chain stitching to accent the cover. Place the barn piece with the stitched lines over another barn shape and pierce your holes.   I recently attended an event with the amazing and beautiful Paige Taylor Evans and she taught us to chain stitch.  I am head over heels in love with the stitch and technique.  I added the chain stitching to the little “Welcome to the Farm” tag too.  I just pierced the holes evenly around the circle!

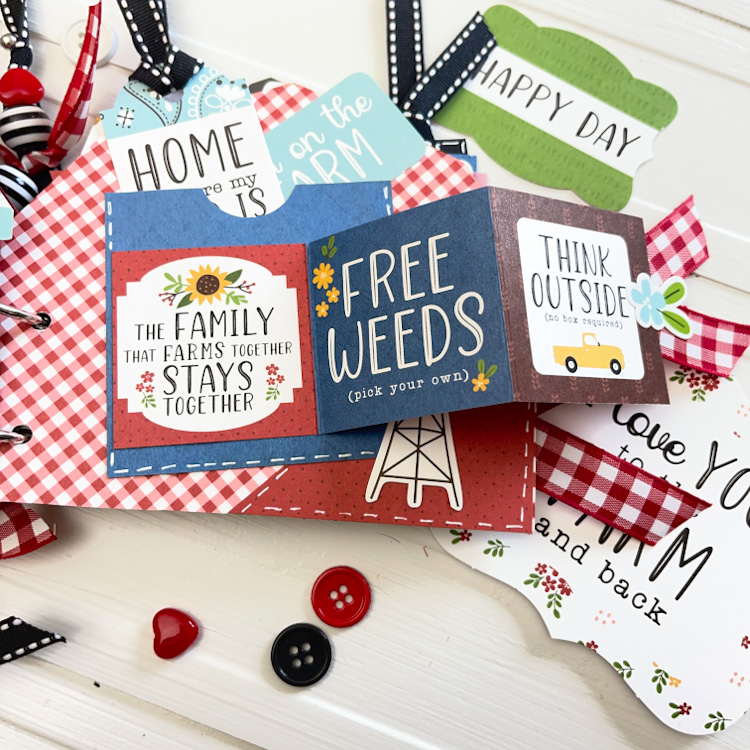
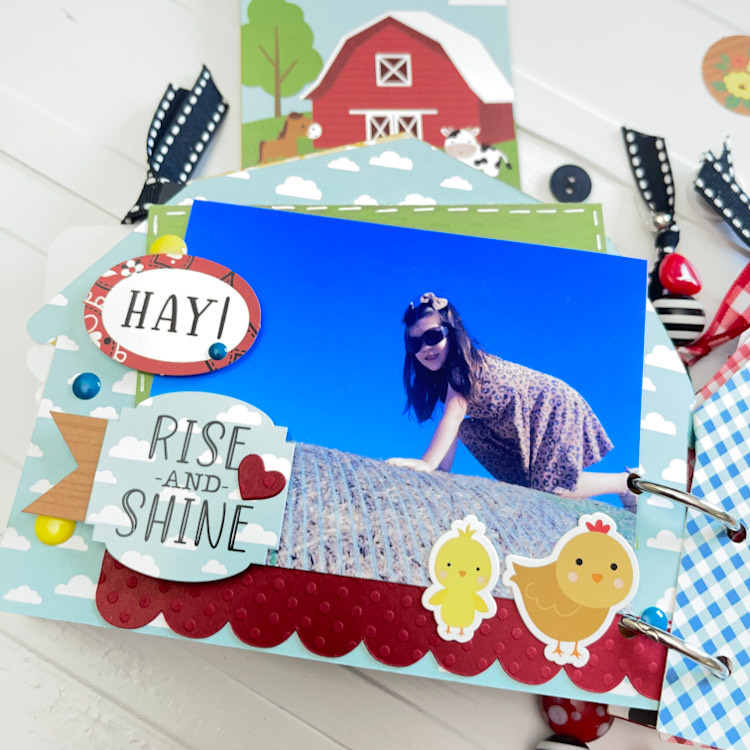
After I was done stitching, I adhered one of the barn pieces to the back for the front cover, so it has a nice finished look to the inside, and that way you can’t see the back of the stitching.   Next, it was time to punch my book ring holes.  Again, place the barn piece with the silhouette sketch pen lines over all your pages, one by one, and punch your holes.  I punched in 1/2 inch for my two book rings. I have seven pages in my book, but you can make more or less.  I just had that many photos of my grand daughter’s visit to a farm.

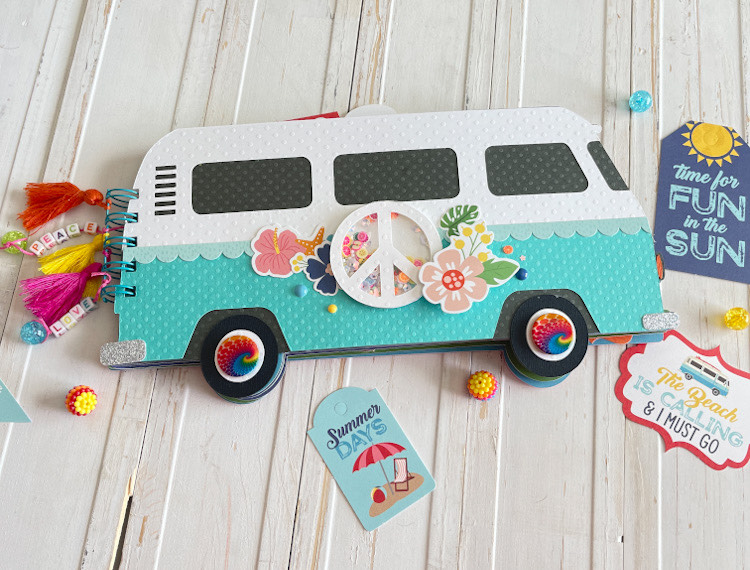
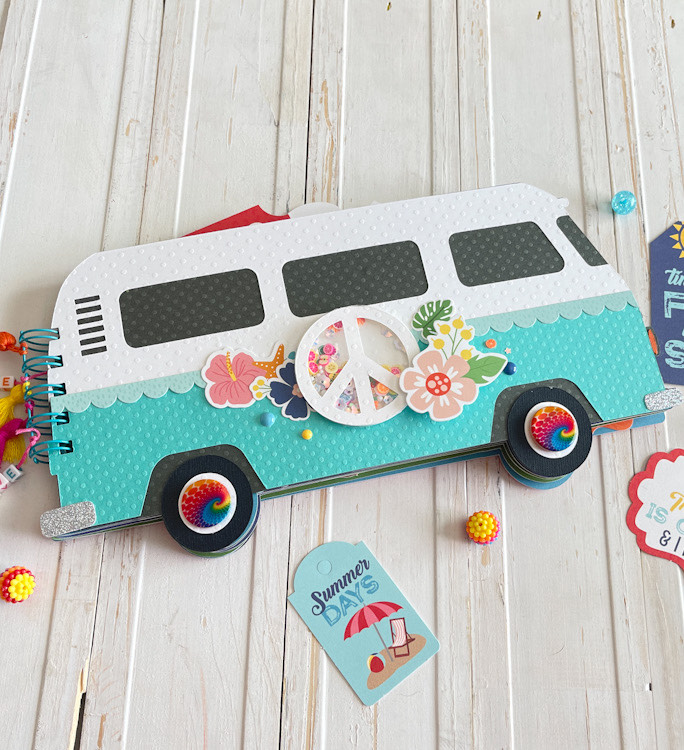
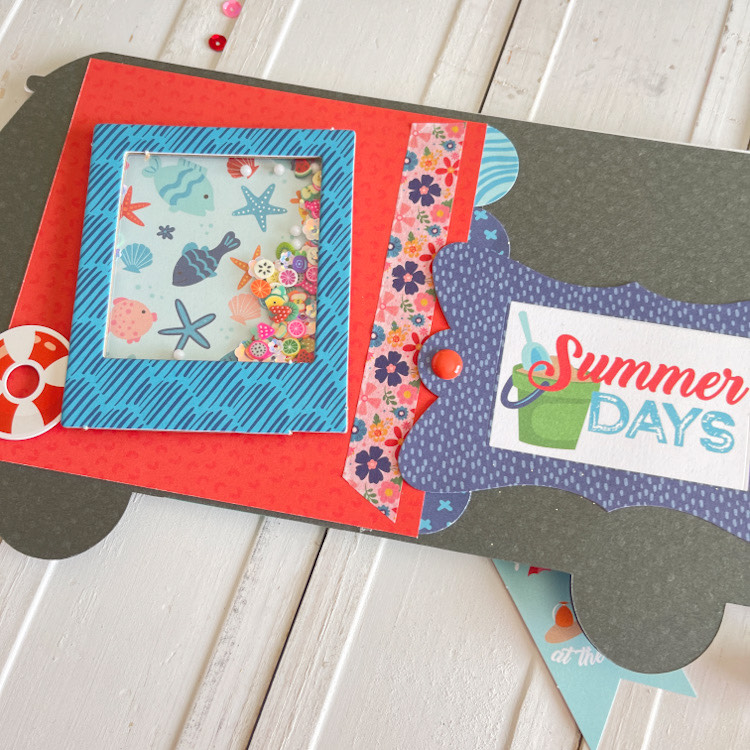
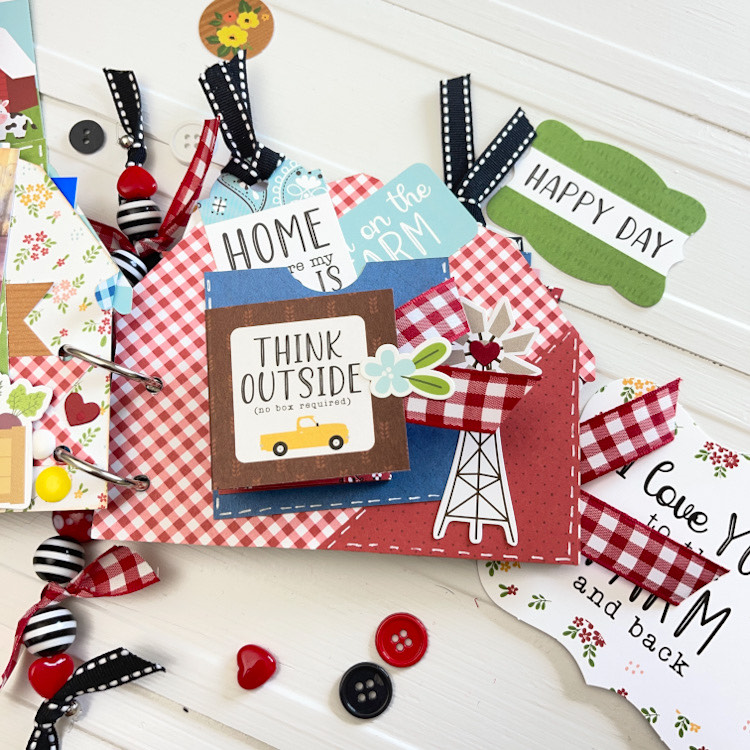
I love how this turned out.  Eeeeeek!  It’s so cute and the Fun on the Farm collection is just adorable and so much fun!

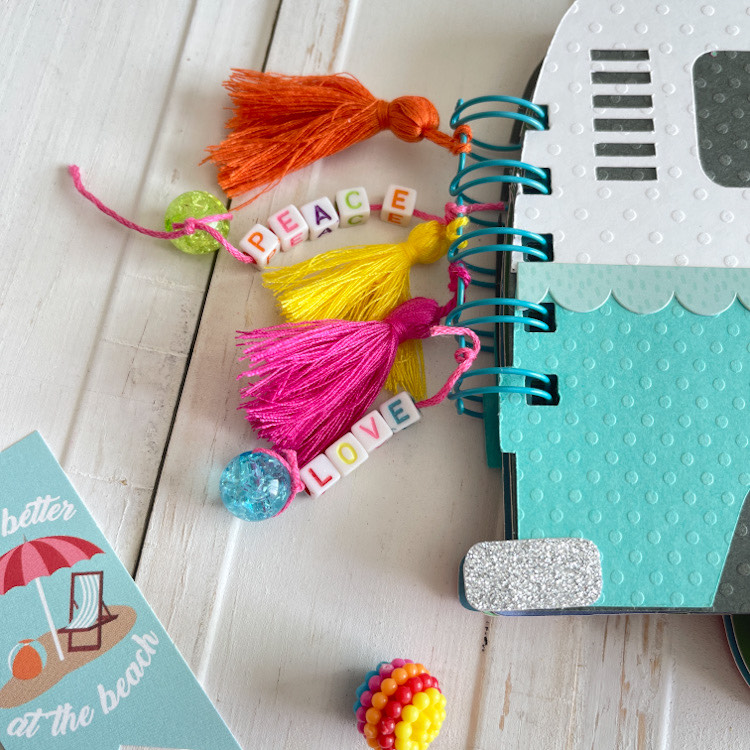
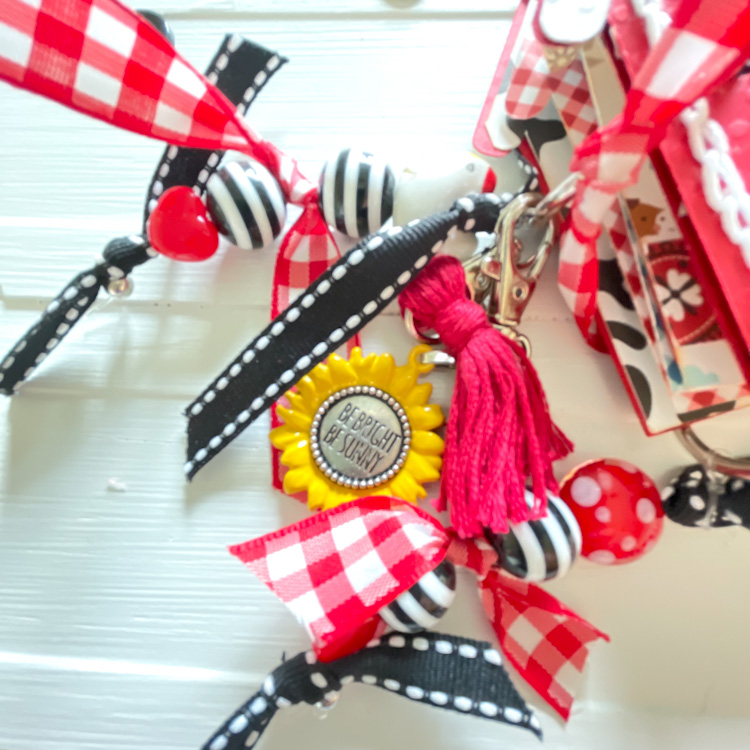
I added lots of fun with ribbon, beads, a fun tassel, sunflower charm and even a cute little chicken bead up on top there!

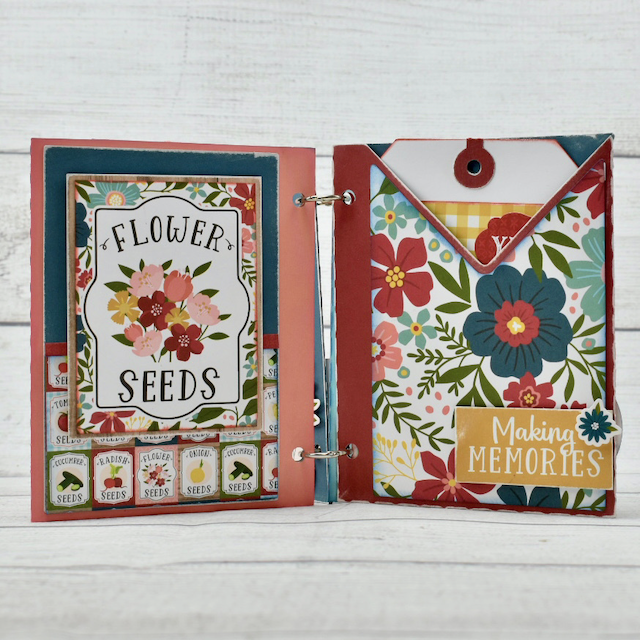
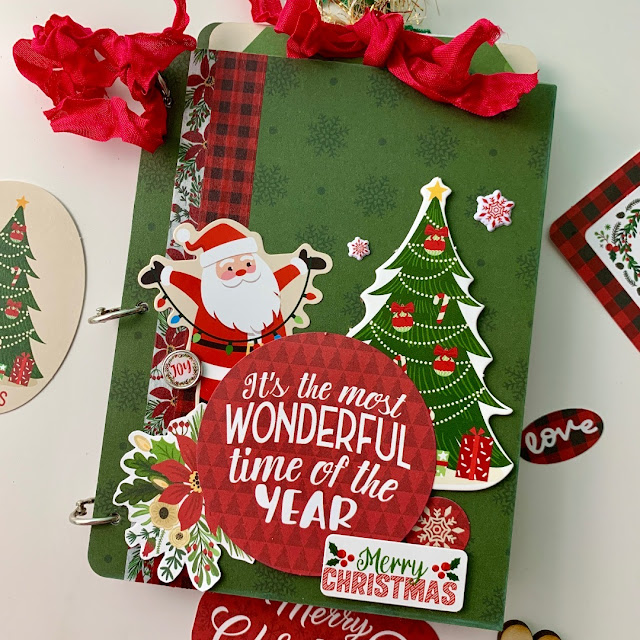
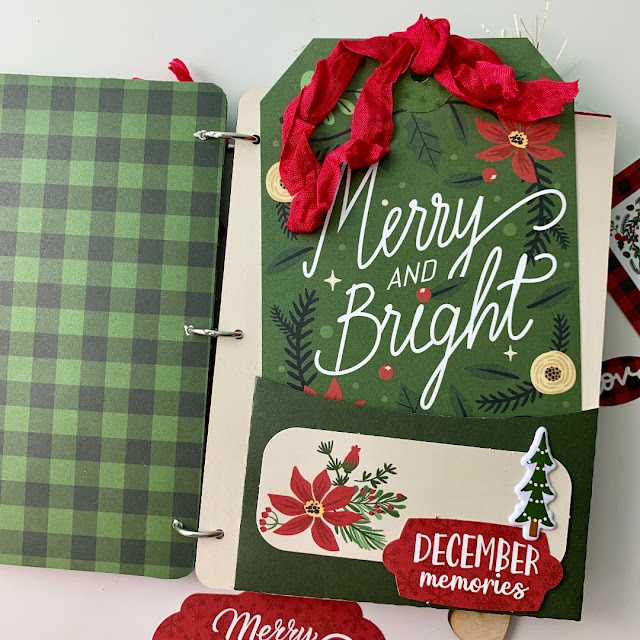
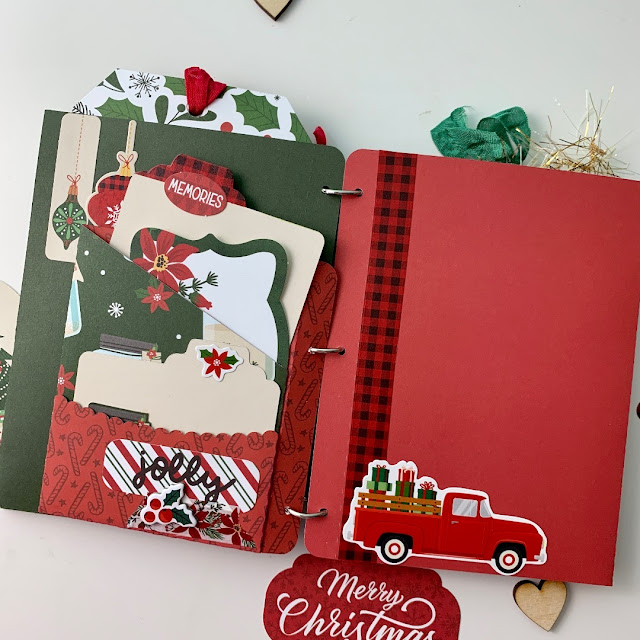
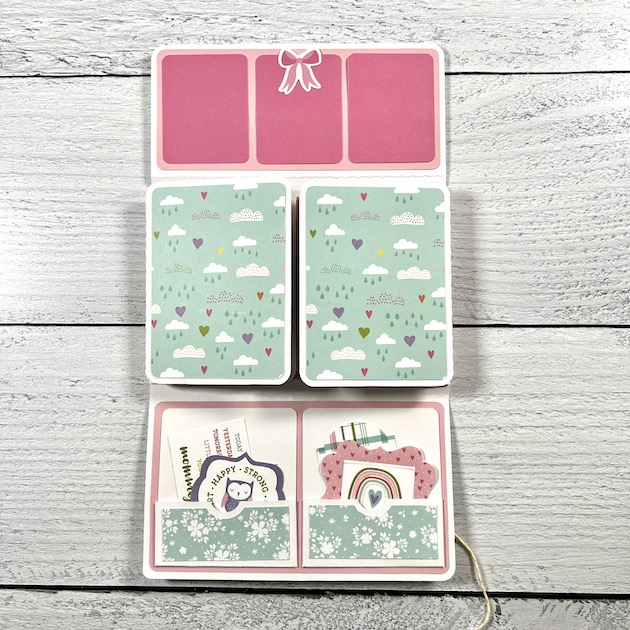
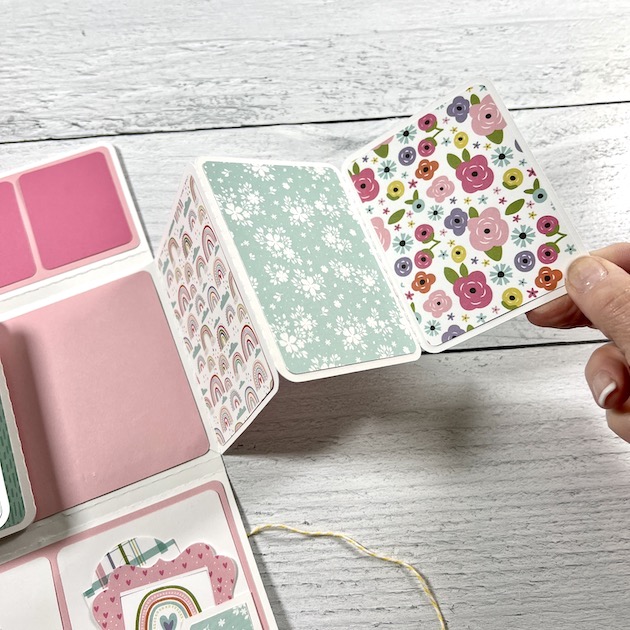
I’ll just share a few of my pages here and I’ll share the rest on my blog.


Thanks for stopping by! ~Cathy

Wallet Mini Album

Hey there! If you follow me, then you know I love making mini albums. All shapes, all sizes, all themes … love, love, love. So for my project today, I made a mini using one of Lori’s cutting files that’s in the shape of an adorable little wallet. This is so cute and interactive, soooo yeah … it’s right up my alley! I’ve added a video over on my blog – so be sure to check it out. 💗

Wallet Shaped Mini Album w/ rainbows
I chose the Echo Park, All About A Girl Collection, also designed by Lori. The pattern papers in this collection are so pretty and girly with flowers, rainbows, plaids, and bows. And to create the little closure, I added 2 brads and some yellow twine.
Wallet Shaped Mini Album w/fold out pages and pockets
The wallet is a tri-fold and once it’s opened you’ll see it has 3 sections. The top part has space for 3 small photos and the middle section has two fold-out pages that open up to either side.
Scrapbook Mini Album w/fold out pages and pockets

Look how cute these are with the girly prints! Each side holds 6 photos on the front and back.

Wallet shaped Scrapbook Mini Album w/fold out pages and pockets

You can add a larger photo or 2 smaller ones to the center pink photo mat and down below, 2 little pockets! 

Scrapbook Mini Album w/folding pages and pockets

I added pieces from the Ephemera Frames and Tags to each pocket. Cute die cut shapes with fun sayings are perfect for journaling on. Just flip them over and add dates, names, locations or sweet stories about the event or photo.

Lori has so many awesome cutting files to play with and I hope you’ll give this one a try. Have fun!

Wallet Album (SVG)

A VW Bus Mini Album

Summer is almost here and Lori has the perfect collection with Echo Park to keep all your summer memories, Endless Summer.  There are so many beautiful papers and just the cutest embellishments with this collection.  Swoon worthy.  I fell in love with the VW bus in this collection and wanted to try to create something special with it.  I decided on a little mini VW bus album.

I chose Lori’s Box Card Van Easter Egg (SVG, Silhouette) and just took out the Easter eggs and kept the van or bus.  I Enlarged the remaining pieces to create a book cover, and then just kept the van shape to create the pages.  I love to get inspiration from Lori’s files and find other ways to use them.  The possibilities are endless when you re-imagine what you could create.


So many fun details to add to the binding!

Sharing just a couple of the inside pages of my project.  I’ll share the whole thing on my blog this week!  These chipboard frames are perfect for making fun shakers!


I really had too much fun to with this little mini album.  Endless Summer is the perfect collection for all your summer memories!  I’ll share the rest on my blog this week!  Thanks for stopping by and enjoy your week.

~Cathy