12 Days of Christmas- Day 9 & Pop-Up Box Card Wisemen Tutorial

Welcome to Day 9 of our 12 Days of Christmas! Each day from December 1-12, there will be a free SVG file of the day, along with a special promotion!  For Day 9 we have this Christmas Tag Snowflake will be free today only, so don’t miss out!

In addition, today only, you can get 40% off all items under the Tags Category in my SVG shop!  Just use code TAGS40 at checkout!

And check out this amazing card and tutorial from Marcia!

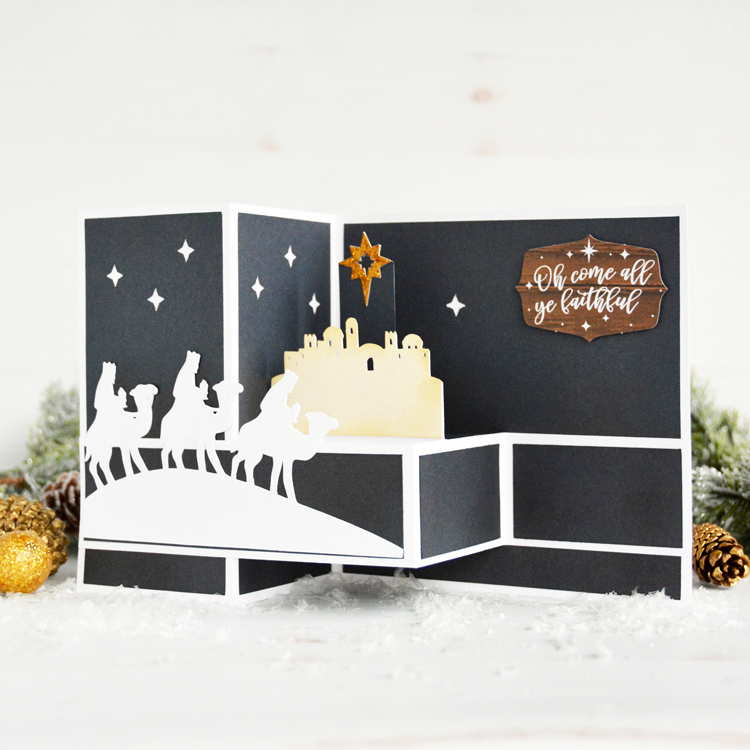
Hello everyone! Marcia here today. I’ve been busy making more Christmas cards to send out to family and friends. Lori designed a new The First Noel Christmas collection and I thought it would be a great idea to use the sentiment phrase ephemera pieces instead of using the print and cut feature in Silhouette. This would also speed up my cardmaking, a huge plus right now! I used the Pop Up Three Wisemen Box Card (SVG, Silhouette) cut file along with the coordinating solid pattern paper from the collection. When the card is closed for mailing it is completely flat.
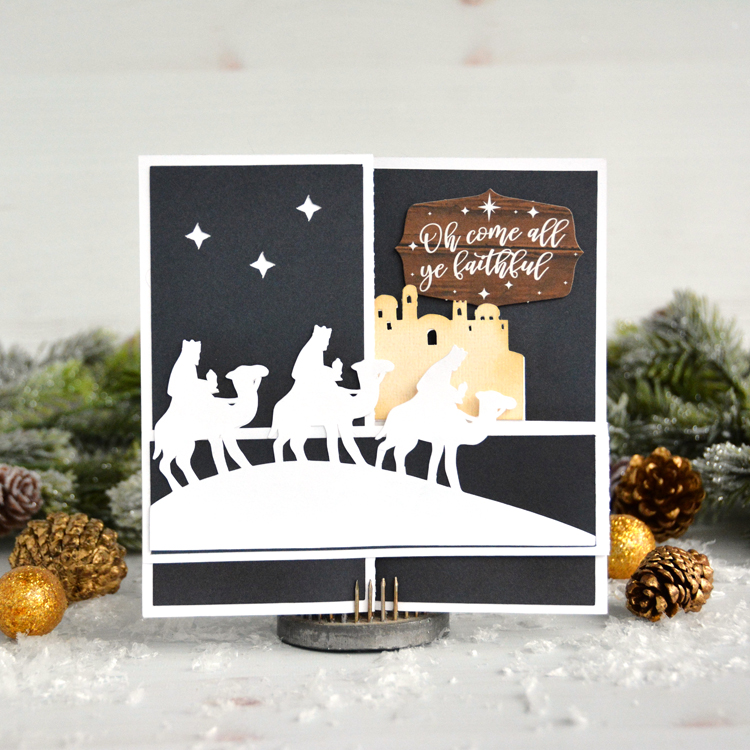
When open, it can stand up by itself. The middle pops out to form a box with a dimensional city scene and star of Bethlehem.
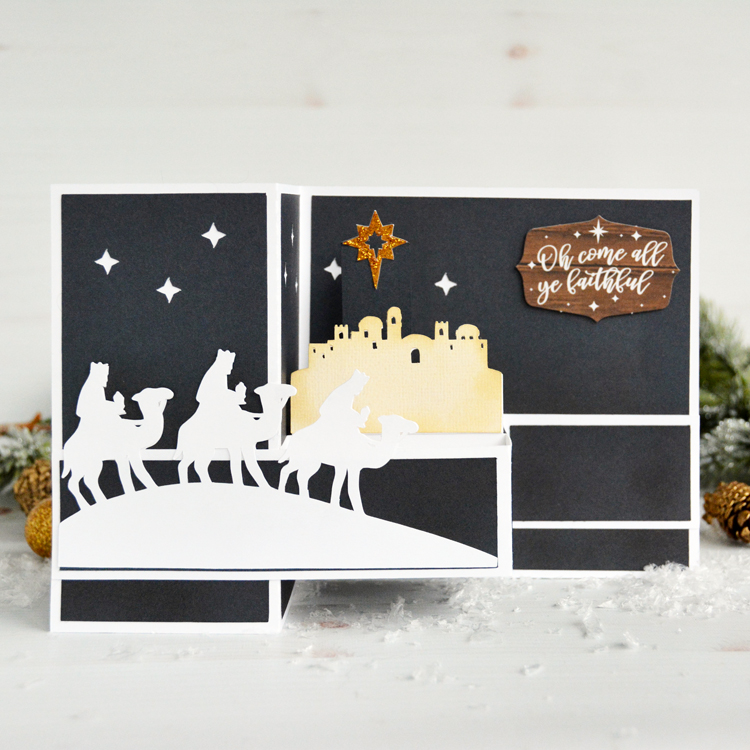
Let me show you how I created mine.

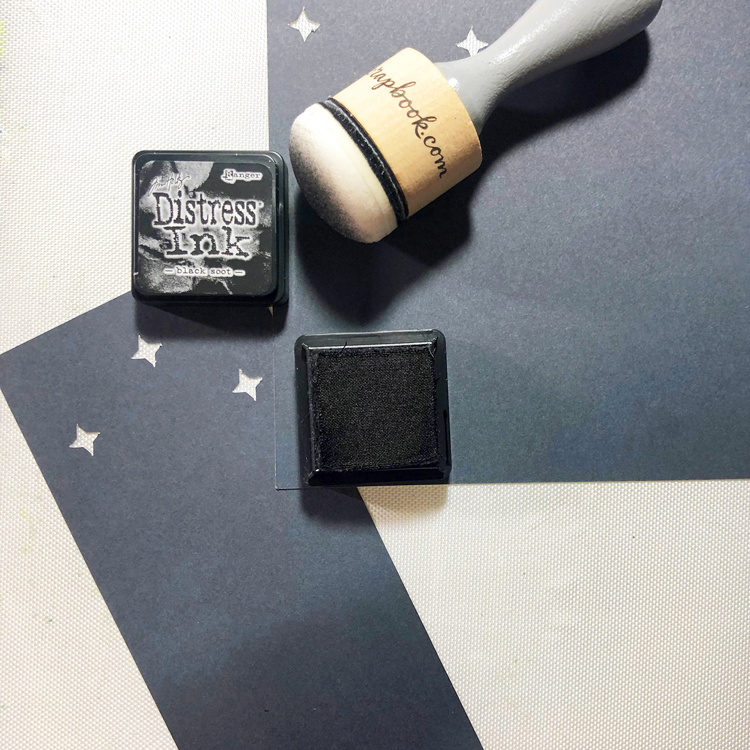
  1. Cut out all the pieces from desired cardstock and pattern papers. I used some Black Soot ink to darken the bottom and middle panel of the blue pattern paper pieces using an ink blending tool.
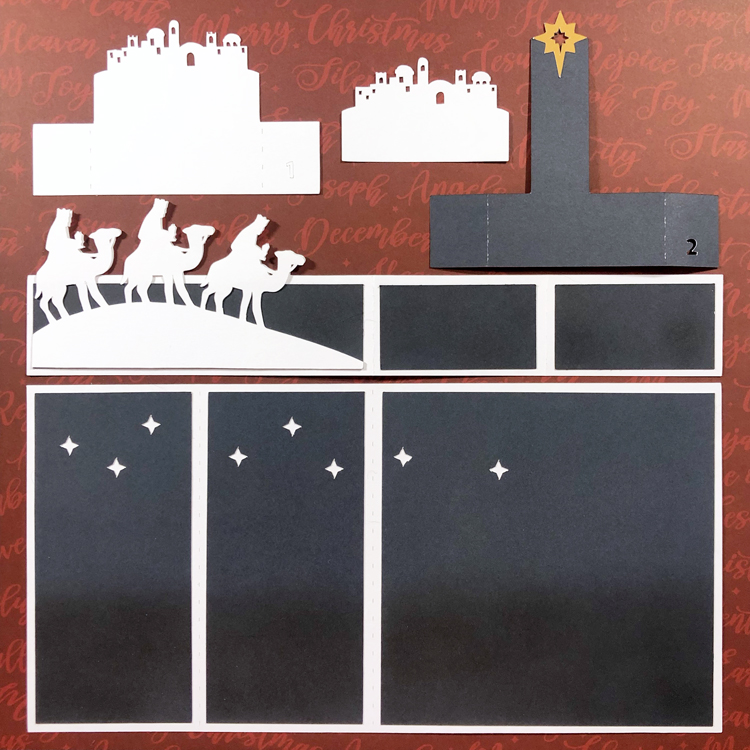
2.  Assemble the panels and box card inserts. The city scene can be left as is, or add another layer of color on top.
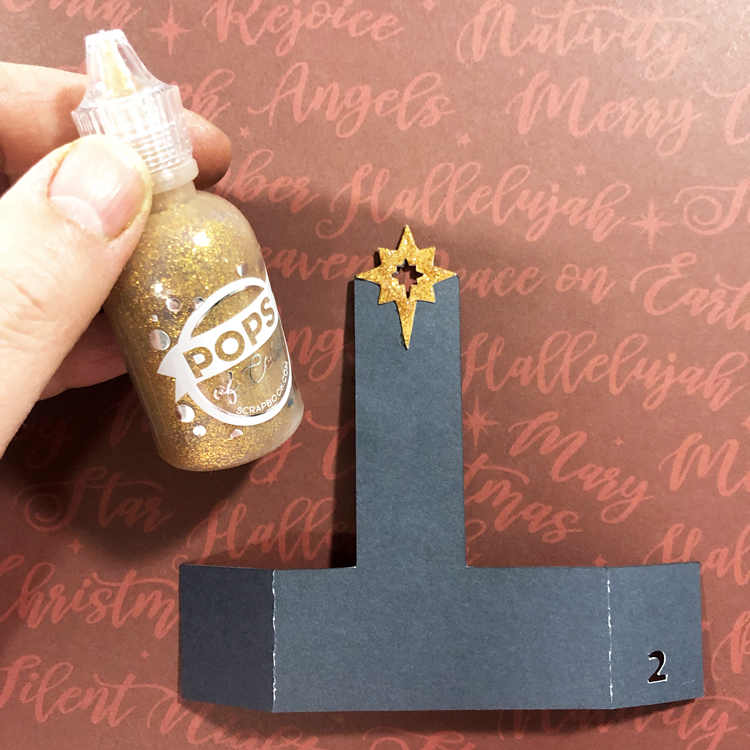
3. I wanted my Star of Bethlehem to really sparkle so I added some gold glitter gel. This needs to dry before you attempt to assemble the card.
4. Glue the panel with the wisemen to the card front about .5″ from the bottom of the card lining up the edges on the left side. The opposite end of the panel is then adhered to the far right .5″ from the bottom lining up the edges on the right side. The middle panel should fold the opposite of the card base to form a box.
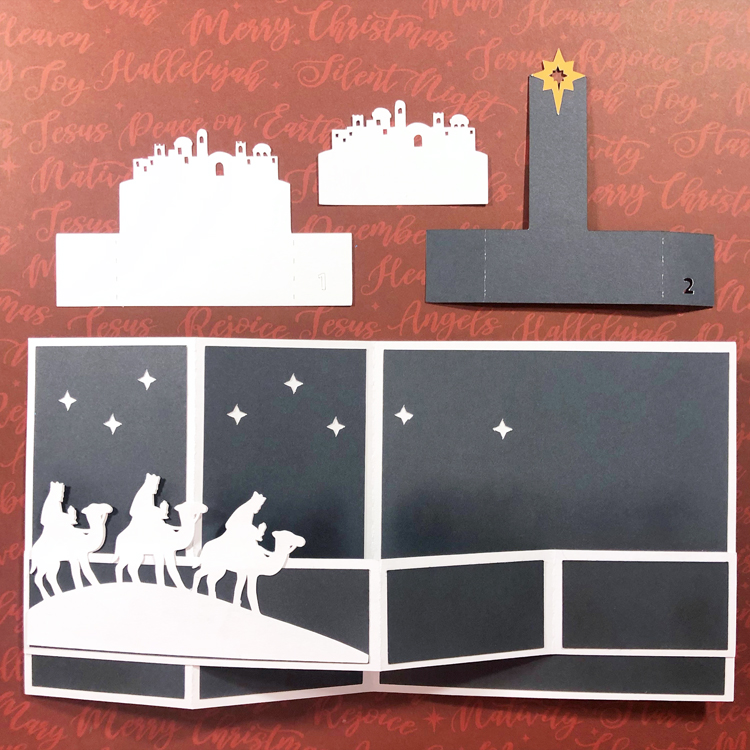
5. Insert the city scene inside the box lining up the tabs to the top of the panel and adhere. Then glue the Star of Bethlehem insert behind.
Lori has lots of Christmas card ideas in her shop. Go check them all out and have some fun making your own Christmas cards!

Thanks so much for stopping by.
~Marcia

Polar Bear Side Step Christmas Card

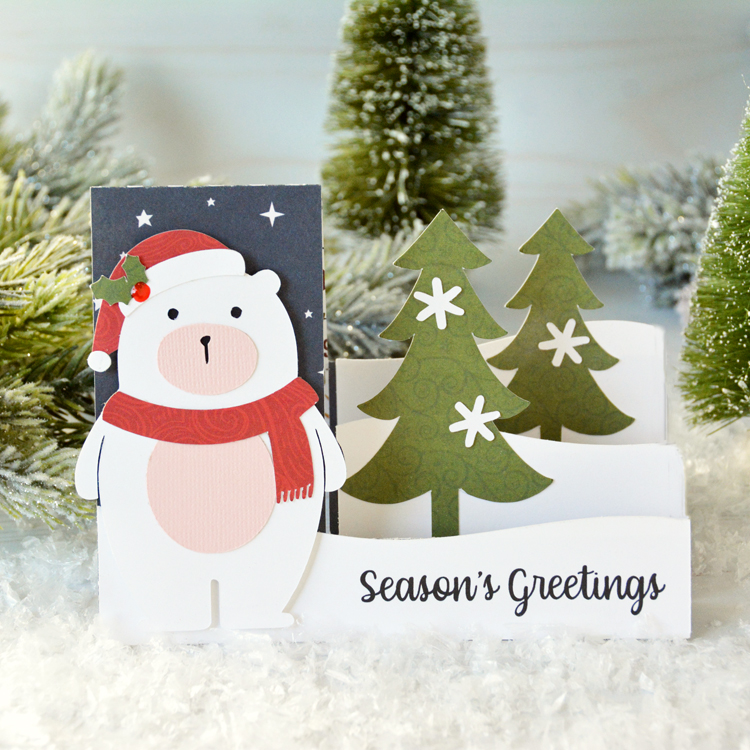
Hello everyone! Marcia here today. I’ve been busy making some Christmas cards to send out to family and friends. Do you still send cards out? I love making cards that can be left sitting out on tables and countertops and was so happy to see that Lori added some step cards recently like this adorable Polar Bear Side Step Christmas Card (SVG, Silhouette). I used the starry sky pattern paper from Echo Park Paper’s The First Noel collection for the base of my card and the Christmas Magic collection for the green and red pattern papers.

No need for a sentiment stamp either. You can use the Print and Cut feature in the Silhouette design studio. The Season’s Greetings sentiment is included with the cut file.

I love how it turned out! There are a lot of other side step cards that were released recently for Christmas card making. Go check them all out. Have a great week.
~Marcia

Double Slider Birthday Card Tutorial

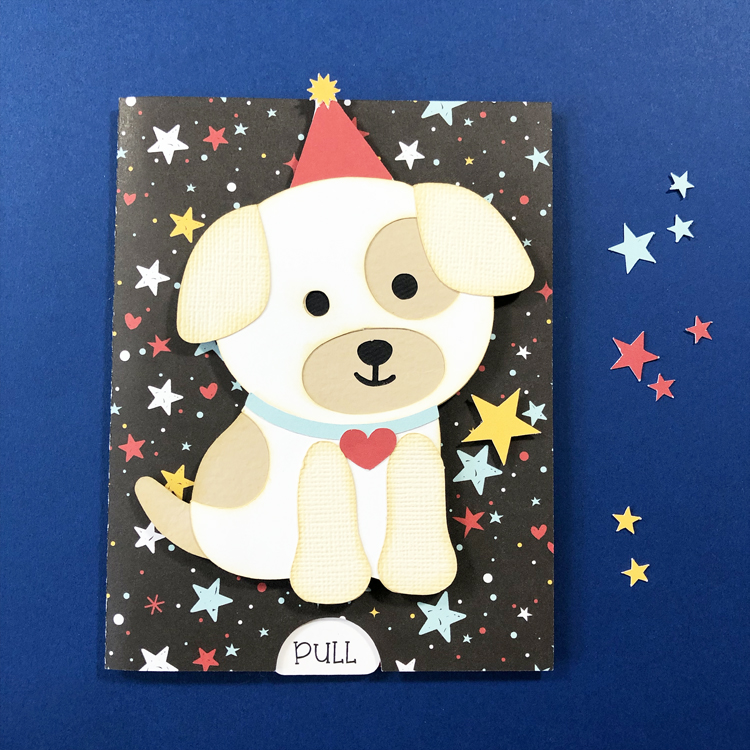
Hello friends, Marcia here today. I have a fun interactive double slider card  tutorial for you today. These are super fun to make as well as receive. There are lots of double slider card designs in the store. I made the Birthday Dog card (SVG, Silhouette) which I thought would appeal to the one year old who received it.

When the “PULL” tab is pulled, the dog’s birthday hat lifts off his head revealing the Happy Birthday sentiment. So cute!

Let me show you how to make one yourself.

1.  Choose your cardstock or pattern papers and cut out all the pieces. I used the Silhouette print and cut feature to print “Happy Birthday” and “PULL” before cutting out these pieces. Assemble the dog, backing the eyes and nose with the black circle, then add the white head and body over the top of the base dog. Top with the dog ears and front paws. Finally add the collar and the heart tag.

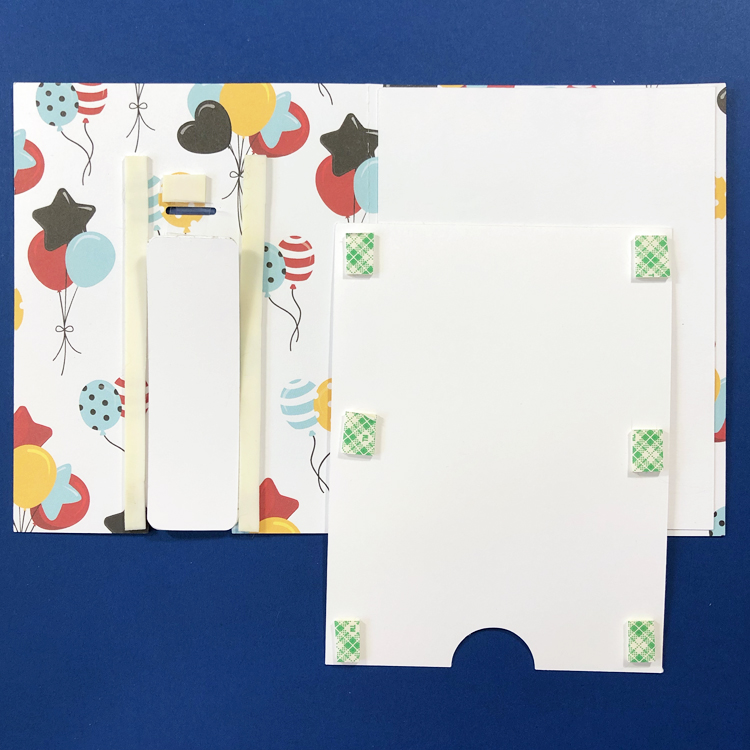
2.  Cut 2 of the Pull tabs. Only one needs to have the printed PULL on it. These will be glued together to make the tab stronger. I also printed two white inserts to allow me to sign the inside of the card since the pattern paper is quite busy. Adhere one of the white inserts to the right inside portion of the card.

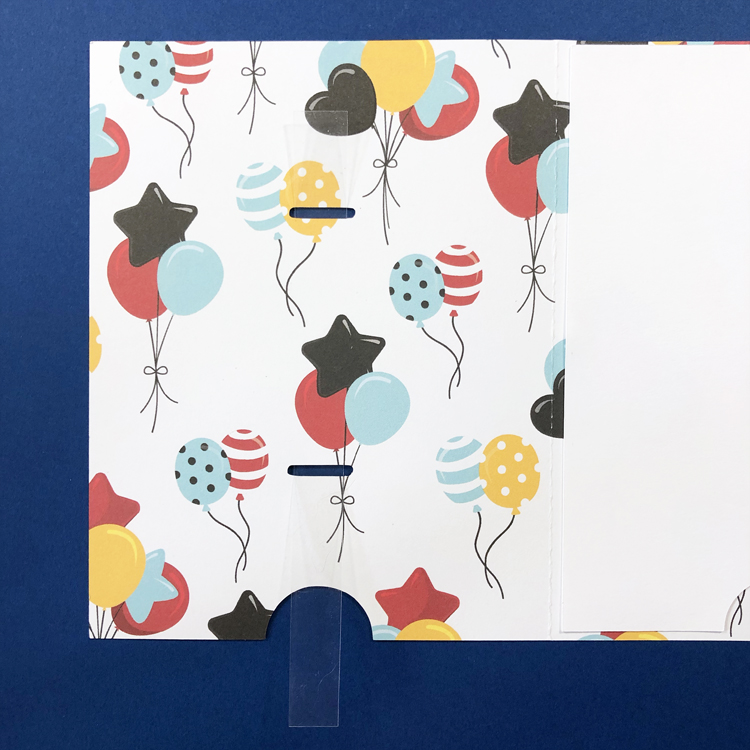
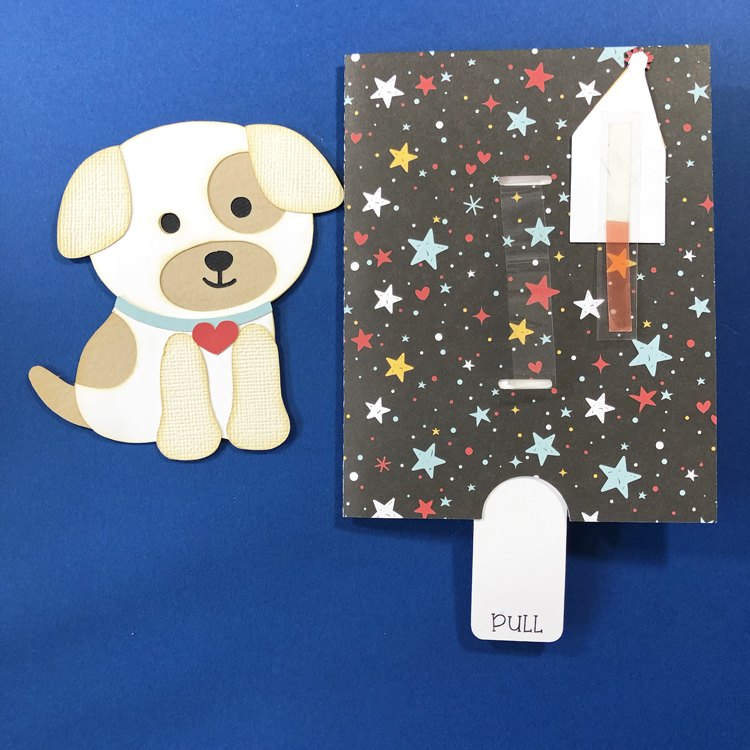
3.  You will need to cut a strip of plastic packaging and insert it into the two slits as shown on the inside front of the card.

4.  Use a piece of double sided tape to adhere the two ends together. The pull tab is attached to the other side of the double sided tape. Make sure the PULL text faces the front of the card. The plastic strip should be loose enough to slide easily. Test the mechanism.

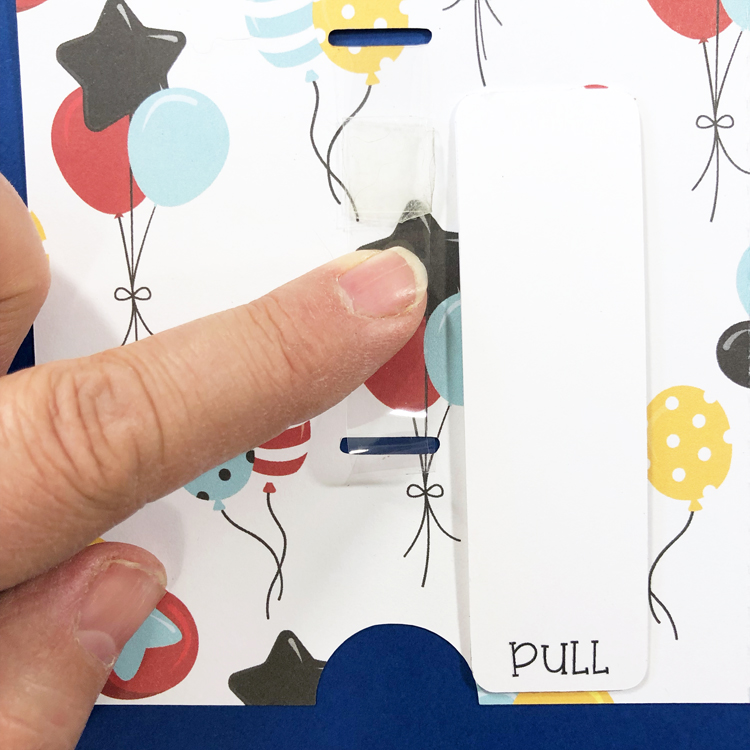
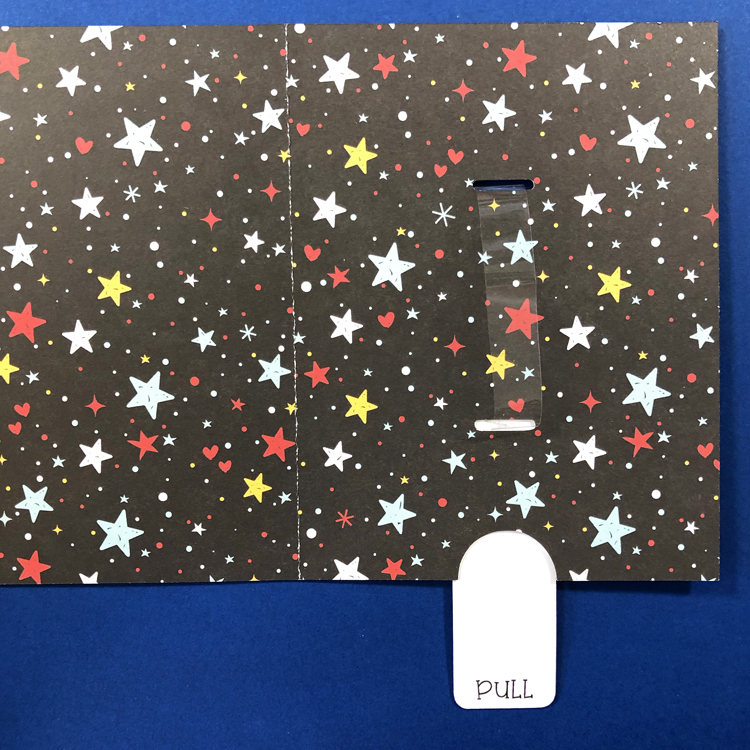
The front of the card now has a sliding plastic strip between the two slits.

5.  To keep the pull tab from wobbling, add foam tape strips on both sides. Mount the white insert to hide the sliding mechanism using more foam tape.

6.  Attach the Happy Birthday sentiment to a strip of stiff clear plastic. With the pull tab pulled all the way out, use double sided tape to attach the hat with the sentiment to the top of the sliding strip. Mount the dog over the top using foam tape. Test the mechanism again to make sure it doesn’t catch on anything.

7.  Add the cut out stars to the front of the card.

If you get stuck along the way, there is also a YouTube tutorial here.

Check out all the other Double slider cards in the store. Thanks so much for stopping by.

~Marcia
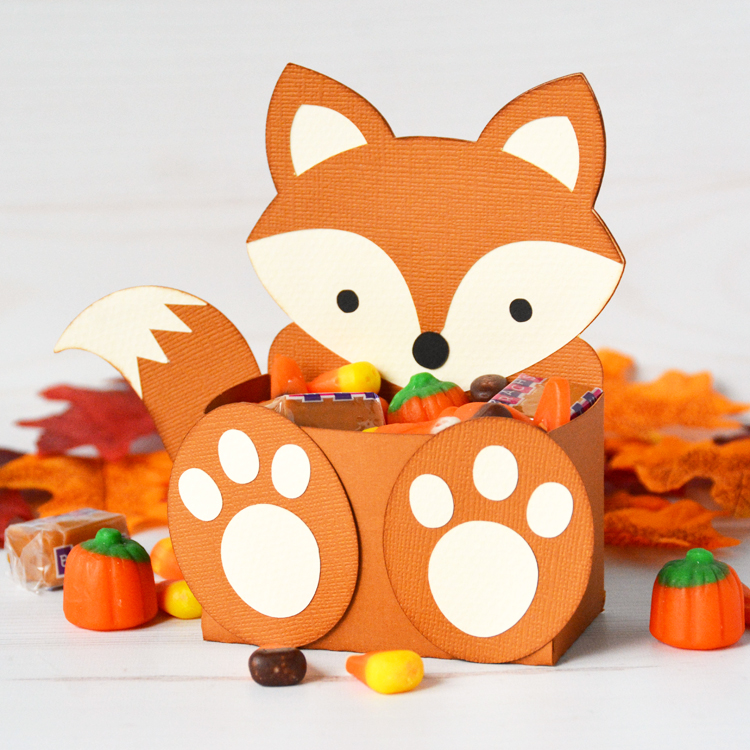
Fox Belly Box

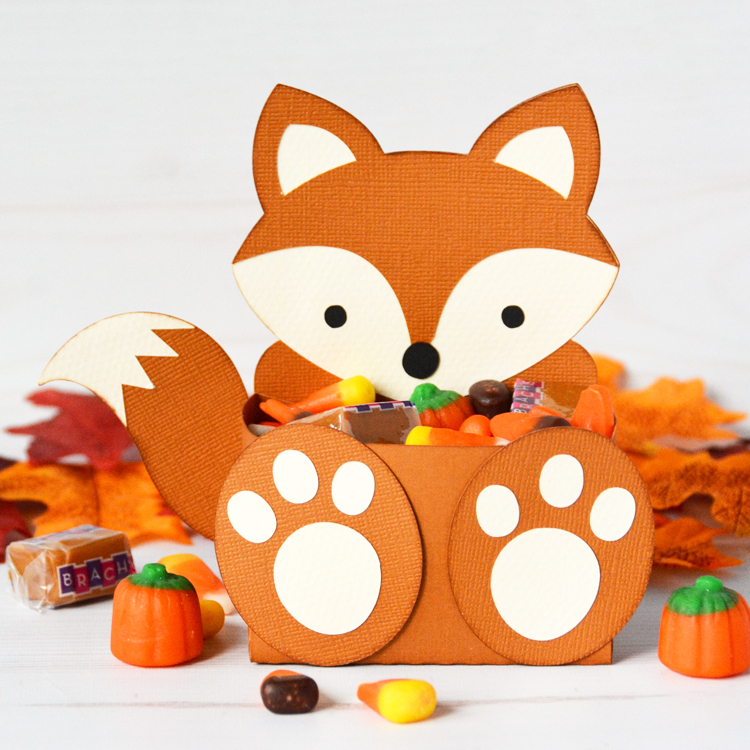
Hello friends! Marcia here today. Now that September is here I am starting to think of Fall papercrafts to make. This little Fox Belly Box (SVGSilhouette) would make an awesome party favor, gift, or adorable table décor.  Fill it’s belly with your favorite fall candy.

If foxes aren’t your thing, there are lots of other animal belly boxes just as adorable. Check them all out in Lori’s store. Thanks so much for stopping by.
~Marcia
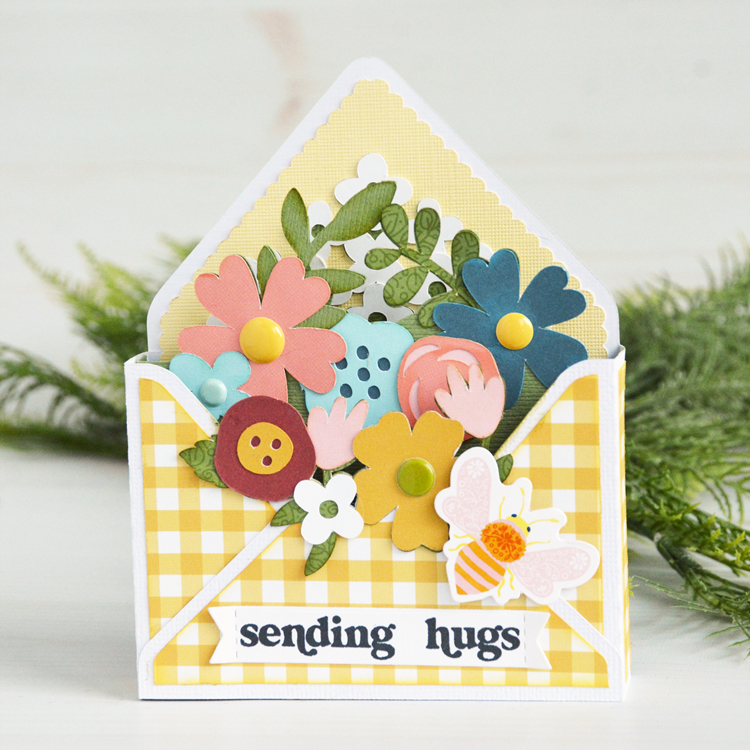
Sending Hugs Floral Envelope Box Card

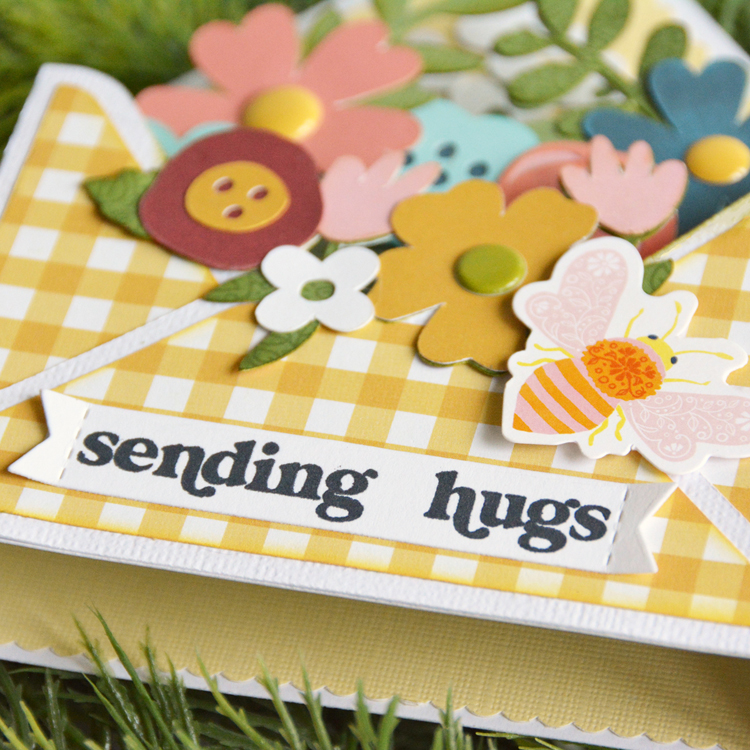
Hello friends! Do you know someone that could use a pick me up? Marcia here today. Sending hugs with this cute Flower Envelope Box Card (SVG, Silhouette) really lets people know you care. I created this card using the new Echo Park Paper Farmer’s Market collection.

The sentiment that comes with this cut file was for a birthday. It is easy to substitute a different sentiment using stamps to suit your needs. You can also add ephemera die cuts and swap out the flower centers with enamel dots to add more dimension.

Check out all the other envelope box cards in Lori’s shop. Thanks so much for stopping by.
~Marcia