Debuting this weekend at JessicaSprague are 3 different kits you can grab for 25% off. That is a great deal! Get them for this price while you can! SALE ENDS SUNDAY!
ARROW BRUSHES SET 1

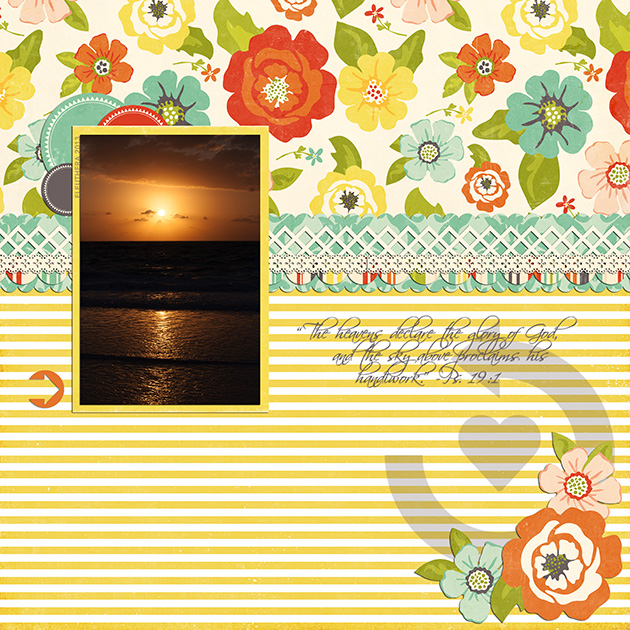
layout by Haley Ney
products used: Arrow Brushes Set 1, Arrow Brushes Set 2, Lori Whitlock Fresh Air Collection, Lori Whitlock Masking Borders 1, Lori Whitlock Masking Borders 2,
ARROW BRUSHES SET 2

ARROW BRUSHES SET 3
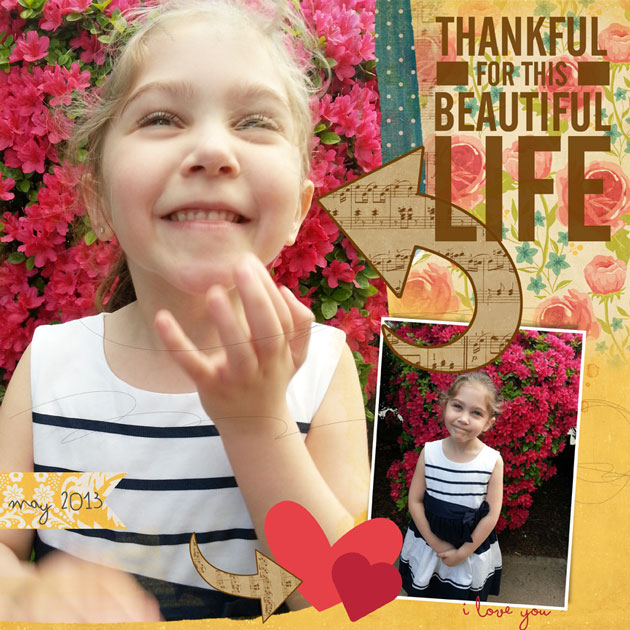
layout by Chrissy Guido
Products used- Arrow Brushes Set 3, Sweet Memories, Date and Time Brushes , Everyday Brushes, Anna Apsnes-Brush/masks #98
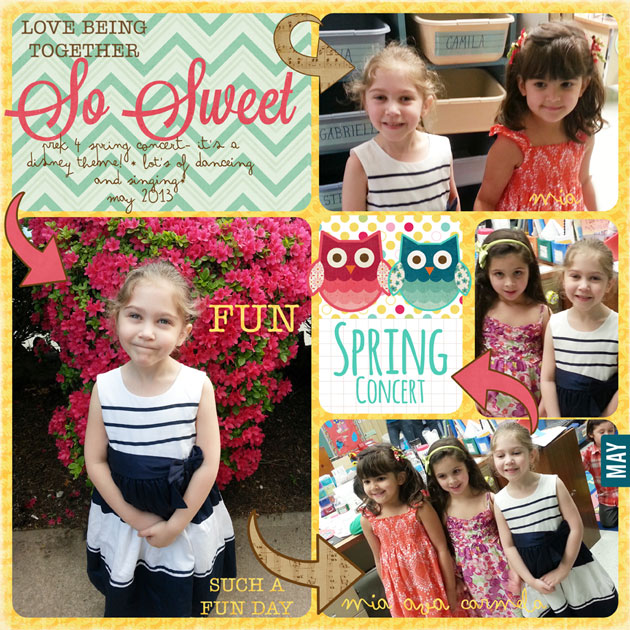
Layout by Chrissy Guido
Arrow Brushes Set 3, Date and Time Brushes, Life Templates Set 16, Sweet Memories, Life Cards-Mother’s Day
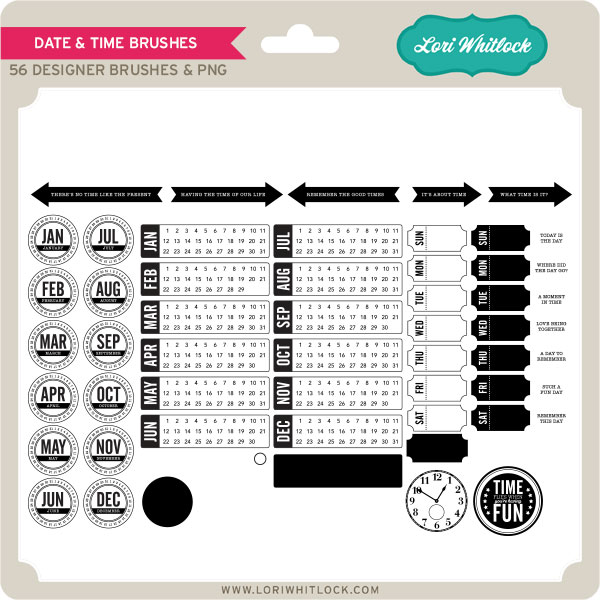
DATE AND TIME BRUSHES
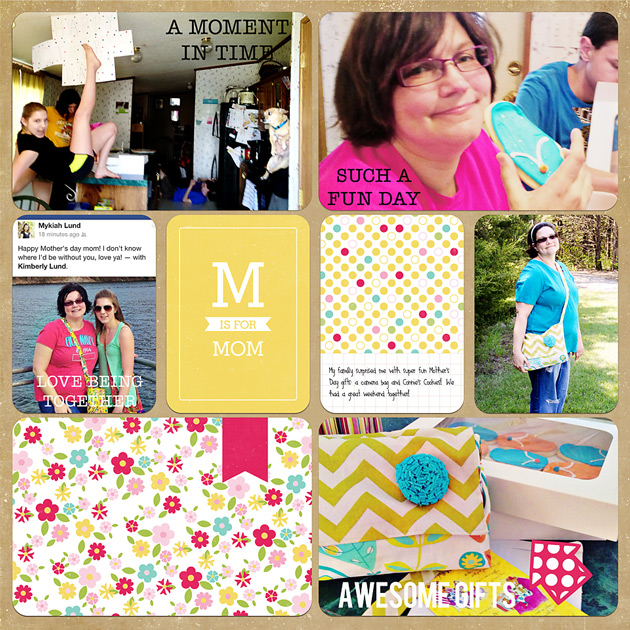
layout by Kim Lund
products: Date and Time Brushes, Arrow Brushes Set 1, Life Templates Set 1, and Life Cards Mothers Day
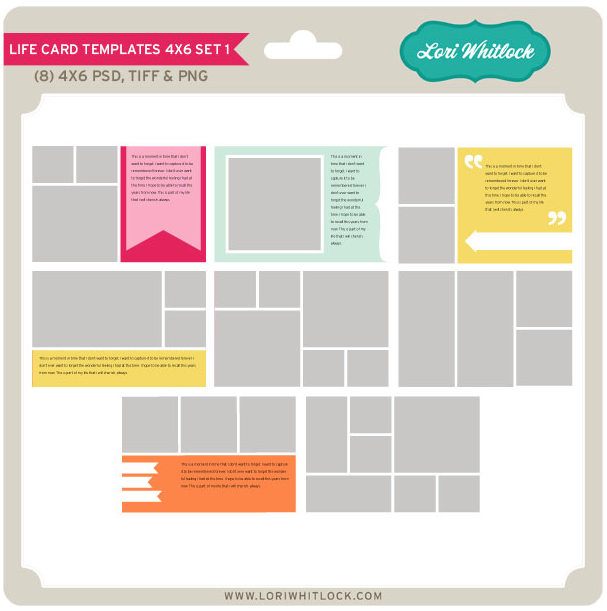
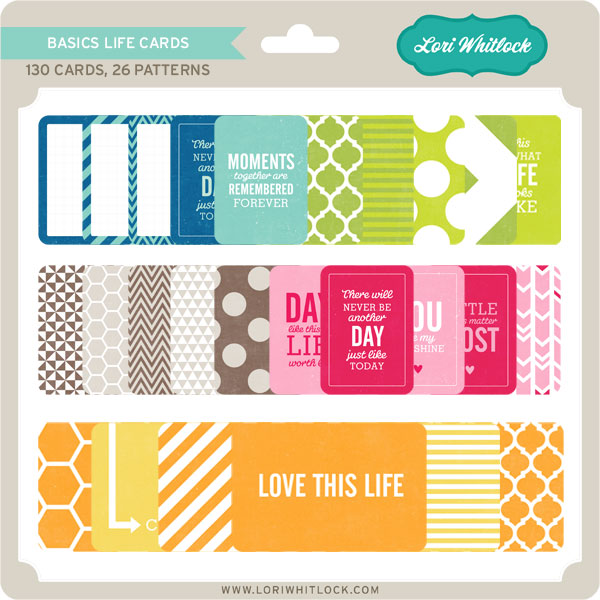
And just incase you missed the excitement last week, there were 3 Life Templates released. I think they are beautiful. These templates will also be on sale this weekend for 25% off.




 So, so, cute!

