A little gum fun!

Creatively packaged gum makes a terrific little holiday gift! And, the best part is… these little wrappers are SO QUICK & EASY to put together!

So simple!! I just used permanent markers to draw the Snowman face.

Don’t they just make you smile? These make great gifts for your kids to give to their friends, door prizes, teacher gifts, stocking stuffers, etc. Watch for the cutting files TODAY in my Silhouette Online Shop and my SVG shop! I used Eclipse® gum, DCWV Jolly Whimsy Stack and the DCWV Holiday Glitzy Glitter Stack for these projects! The glitter cardstock has been super fun to work with!

Thanks for dropping by!

Silhouette Tutorial Bending Text by Traci

Hi everyone!  I’m excited to share a fun and easy tutorial with you today!  These steps will show you how to bend lines of text, either to create a phrase that wraps around an object, or to fit inside a curved shape as I have done on Lori’s adorable hot air balloon.
Here is the card I created with a curved “Thank You” cut out of the band.
First, pull up the shape you want to place your text in and resize it if necessary.
If there are multiple pieces to your shape, ungroup them and move everything to the side except the piece you want the word in.  Zoom in on your shape a bit, and chose the text option on the left tool bar.  As you type your word or phrase, a green box will appear.  Note that there will also be a little circle, with a cross in it, along the green line.
If you place your curser over this circle and click, you are able to drag your word into your shape.  When you hover the word over a line, the letters snap to the shape of the line.  To move your word up into the center of your shape, you will use the grey sliding bar that appears through your letters.  If you place your curser along that bar and slide upwards, your letters will move up.  However, in some cases, the spacing on your letters will also move in and start overlapping.
To prevent this, move your word over to the left so that you can see how much room you will have to increase your character spacing.
Play with the character spacing (found toward the bottom of your text style window) until you like the way the word looks.


Now you should be able to go back to the sliding grey line and move your word up into the center of your shape without the letters bunching up together.  You will notice once you’ve done this however, that your original shape line is now grey (no cut line).  This would be okay if you just wanted to cut out the bent word.

But, for this tutorial, we want to cut out the banner shape for the front of my balloon, so I will need to make this a cut line (red) again.  Highlight your shape and click on the Cut Style icon at the top.  In the Cut Style window, click the button that says “Enable Cut Style”.

Now your entire image is red and will be cut.


This is also a fun technique to use for cutting a phrase to wrap around a circle.  You would just snap your phrase on the outside line of the circle, rather than inside the shape.  I will post another project showing an example of this on my blog today, so I invite you to stop by Artsy Albums to check it out!
Thanks! Traci

One Dollar Wednesday at Jessica Sprague

One Dollar Wednesday at JessicaSprague.com!

Today ONLY you can pick up a couple of digital kits for a an awesome deal…

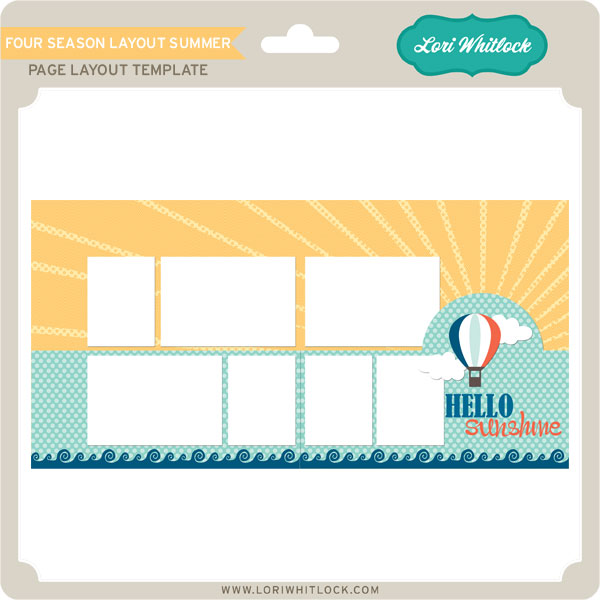
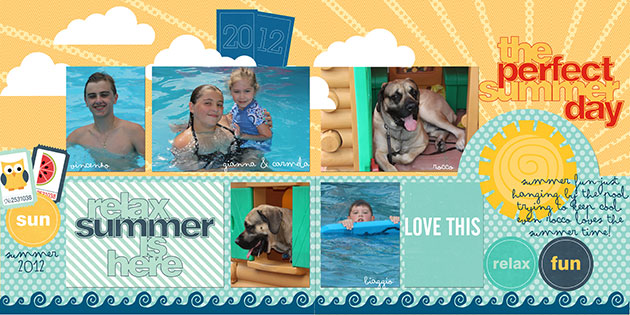
TODAY for JUST $1 you can grab the popular: Four Season Layout: Summer

FOUR SEASONS LAYOUT: SUMMER

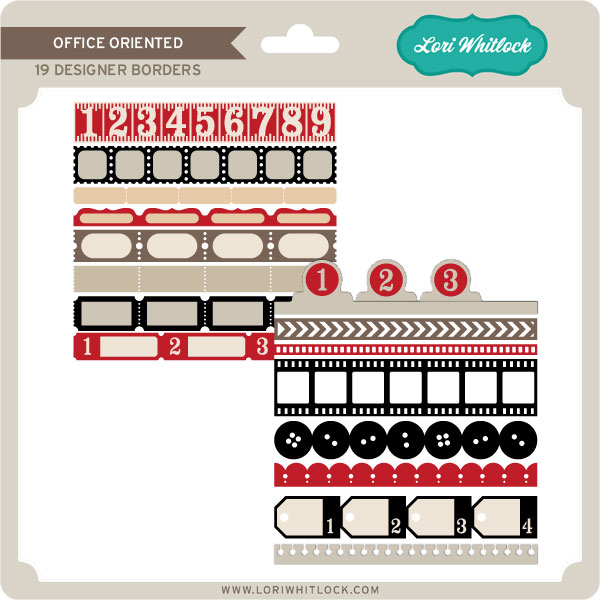
And, you can snag the following awesome product for HALF OFF, which makes it $2… Office Oriented Borders 

OFFICE ORIENTED BORDERS

While you are at jessicasprague.com getting your kits, be sure to check out the samples made with each of these kits at the bottom of each listing.

And, don’t forget, UNTIL MIDNIGHT TODAY  you can pick up this darling flower SVG FREE with ANY purchase. Check it out in yesterday’s post.


Also, the Silhouette fabric promotion is still running until the end of the month.  If you’d like to cut fabric with your Silhouette, this promotion includes all the things you need. It’s a great time to pick the following deals:

1. $29.99 = $25 download card + a fabric blade + heat transfer fabric interfacing sewable + heat transfer fabric interfacing clean cut
2. $129 – includes everything in the first bundle + a Silhouette Portrait
3. $269 – includes everything in the first bundle + a Silhouette Cameo + a 12×24 cutting mat

Make sure to use this link www.silhouetteamerica.com/fabric and use the coupon code LORI to buy these bundles at the sale price.


Favor + Invite from Brigit

Here’s a cute matching set, perfect for a barbecue invite and favor or a summer birthday party.
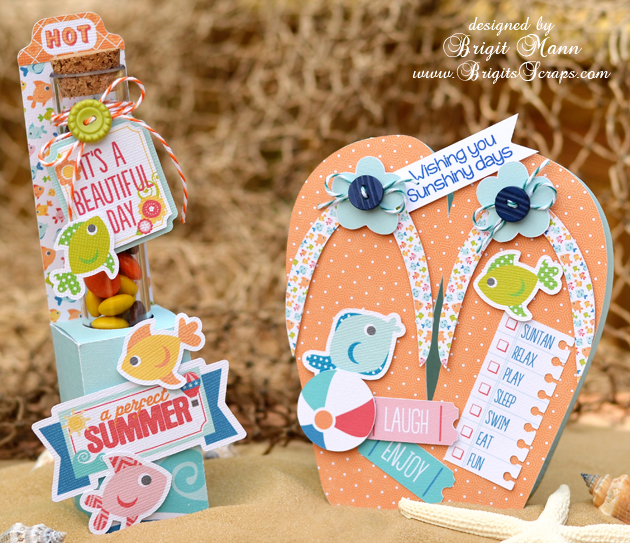
The paper and elements are from Echo Park’s A Perfect Summer collection designed by Lori, I absolutely love it, so bright and cheery!
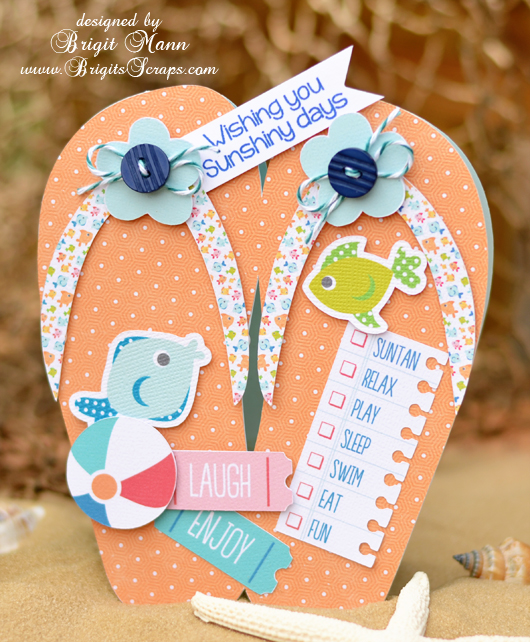
For the card I welded the flipflops together from Lori’s Don’t Bother Me set, Corri has a great tutorial on how to create a shaped card in Silhouette Studio, you can find it here.

The stamped sentiment is from Jaded Blossom’s Happy Summer set and the Trendy Twine is Tickled With Teal.
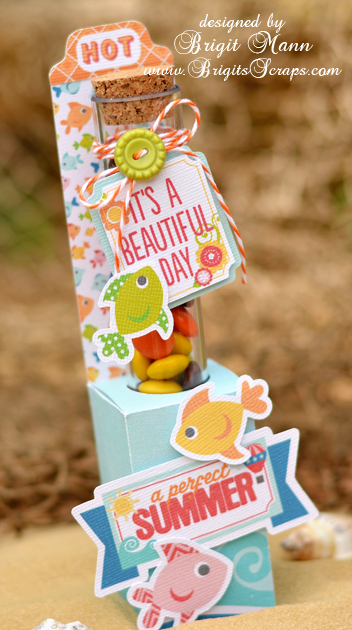
The candy tube holder was so easy to make, I used Lori’s Firecracker Box and sized the whole thing to 13.25w (check lock aspect ratio).

I ungrouped and deleted the other pieces, select all and grouped the box and score marks together again, (it should measure 5.9h x 6.410w.)  Then I centered a 1″ circle on the top flap of the box for the cutout, (depending on the tube you use you may have to make the hole slightly larger.)

The back piece is just a rectangle cut at 1.535w x 6.75h and glued onto the back.  The two top inside flaps have to be trimmed a little so they don’t block the hole.

I used some Orangesicle Trendy Twine on the tube and filled with some Reese’s Pieces.

Thanks for stopping by, I hope you enjoyed my summery project!!

NEW at Jessica Sprague

Debuting this weekend at JessicaSprague are 3 different kits you can grab for 25% off. That is a great deal! Get them for this price while you can! SALE ENDS SUNDAY!

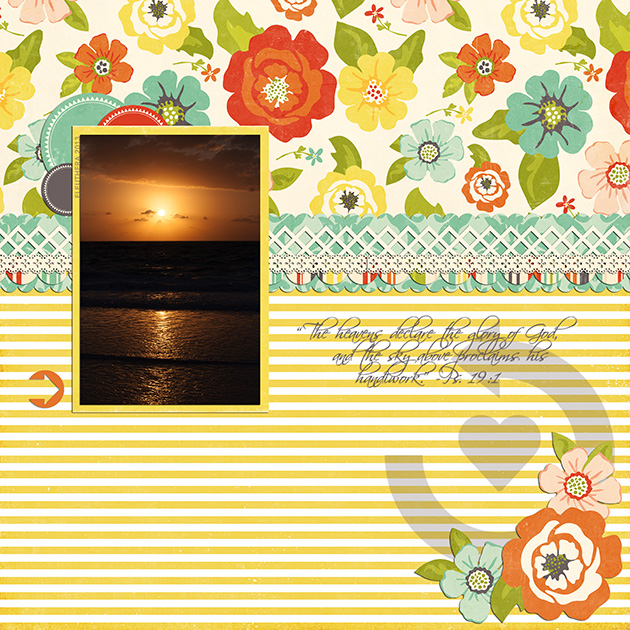
ARROW BRUSHES SET 1

layout by Haley Ney
products used: Arrow Brushes Set 1Arrow Brushes Set 2Lori Whitlock Fresh Air CollectionLori Whitlock Masking Borders 1Lori Whitlock Masking Borders 2,

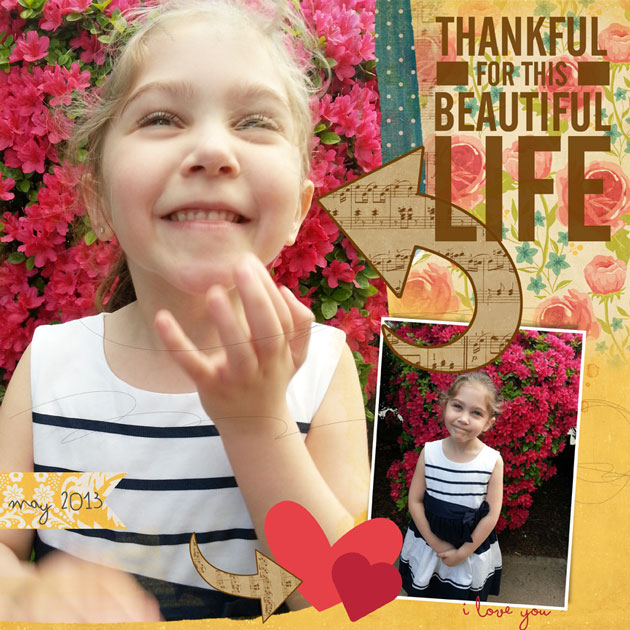
ARROW BRUSHES SET 2

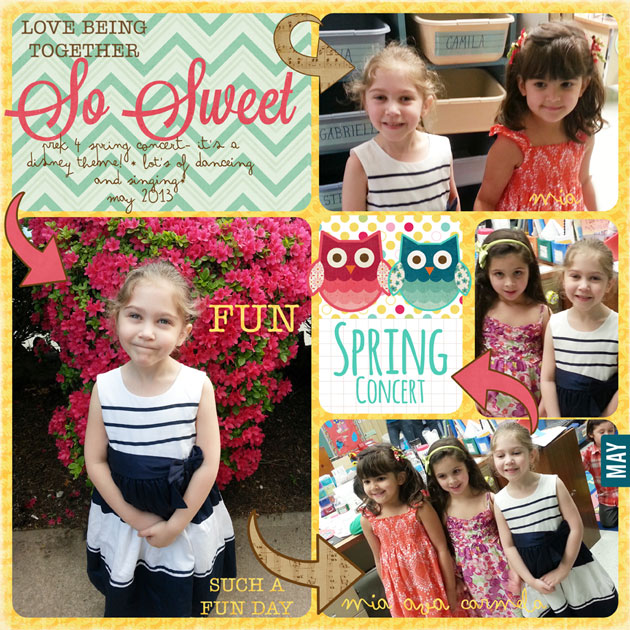
ARROW BRUSHES SET 3

layout by Chrissy Guido
Products used- Arrow Brushes Set 3Sweet MemoriesDate and Time Brushes Everyday Brushes, Anna Apsnes-Brush/masks  #98

Layout by Chrissy Guido
Arrow Brushes Set 3Date and Time BrushesLife Templates Set 16Sweet MemoriesLife Cards-Mother’s Day

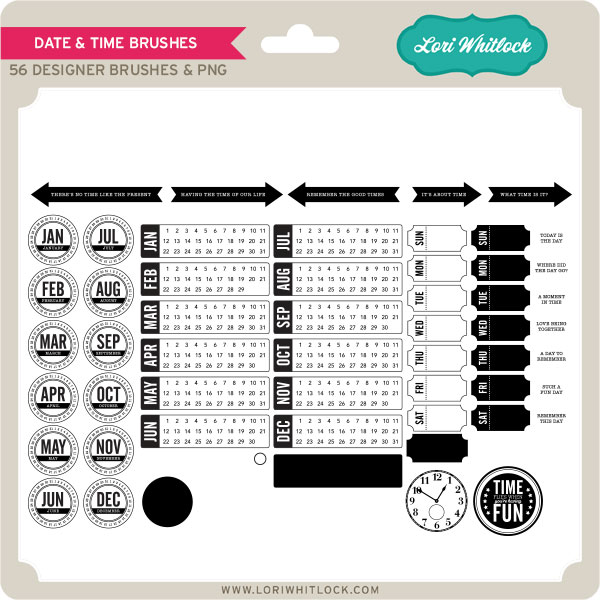
DATE AND TIME BRUSHES 

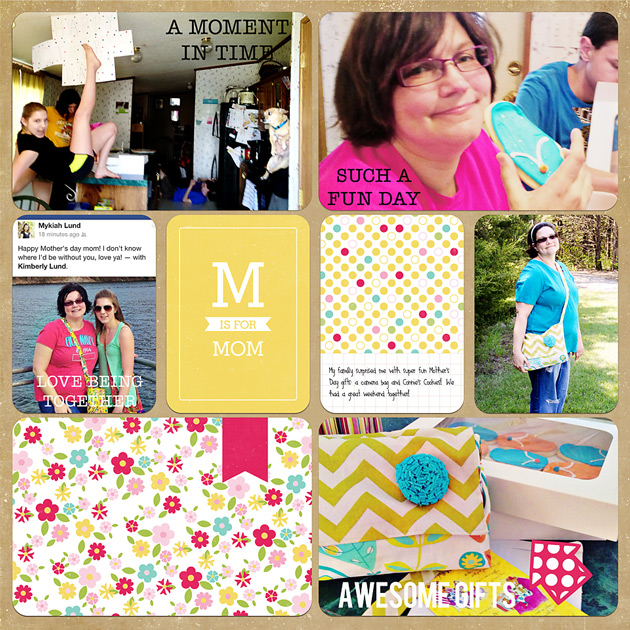
layout by Kim Lund
products: Date and Time BrushesArrow Brushes Set 1Life Templates Set 1, and Life Cards Mothers Day

And just incase you missed the excitement last week, there were 3 Life Templates released. I think they are beautiful. These templates will also be on sale this weekend for 25% off.