DIY Doormat with Ashley

You probably have seen the popular DIY coir doormats around.  I tried my hand at one using a font from Lori’s shop. I used the Monogram Family 7 Font.

SVG  / Silhouette

I didn’t use the circle part, so I just deleted those parts.
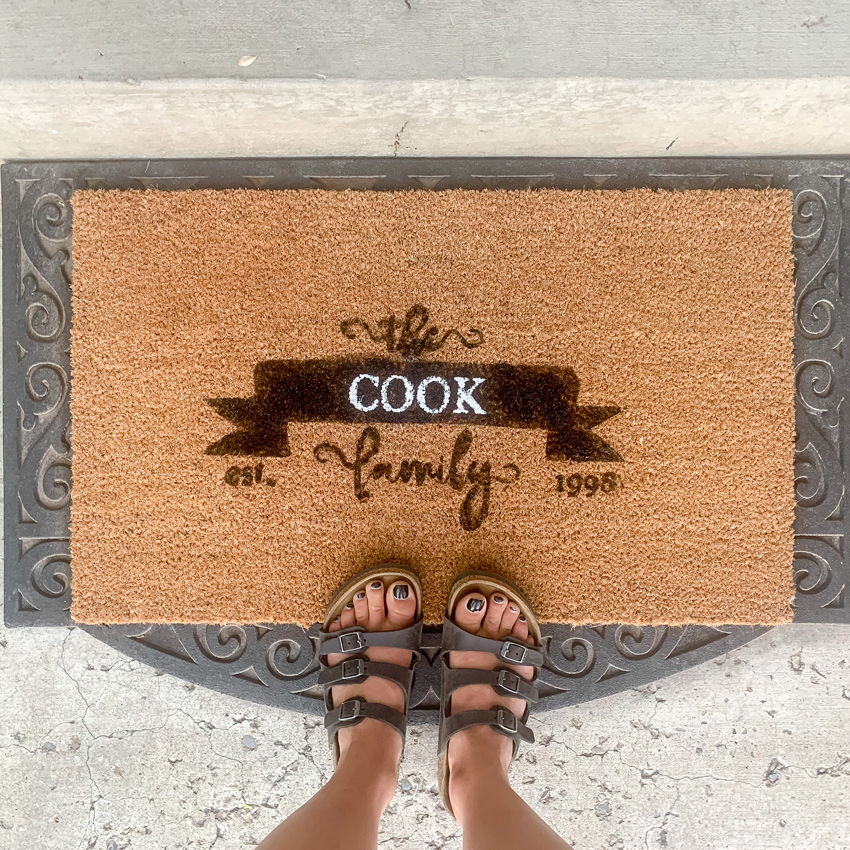
For our last name Cook and the numbers, I used the font Georgia–a font I have in my library. I used freezer paper as a stencil and outdoor paint on the mat. I used a 24 inch long mat, so I could cut the stencil in one piece from the freezer paper.  I carefully removed the freezer paper and placed it on the mat as the stencil.  I then used a stencil brush to paint.  I also used a skinny brush for some of the parts that are very skinny.  I let the black dry, then I used the banner part of the stencil to add Cook in white paint. I used some straight pins to hold down some of the skinny edges and the middles of the letters.  Stick the straight pins down at an angle and push them in as far as you can, so they don’t get in the way of the painting.  And just throw away the freezer paper stencil and straight pins once finished painting.

A fun way to pep up our front porch. Lori has several fonts and quote files that would be great on a doormat!

~Ashley

Fold Tuck Card

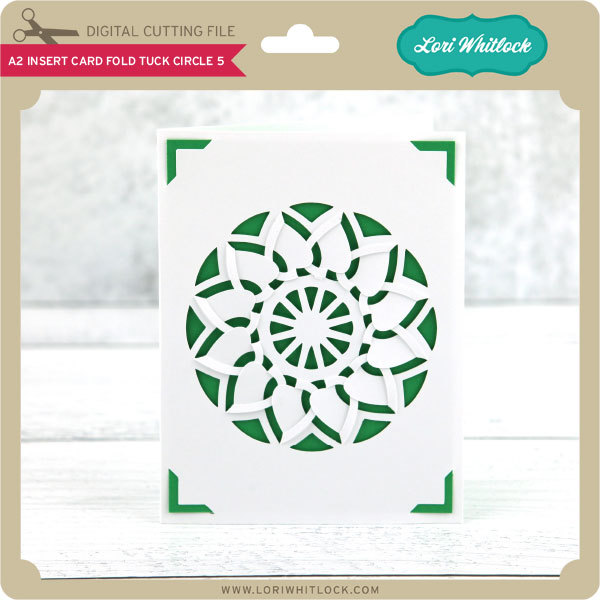
Ashley here today sharing a new card. Lori recently added some new insert fold tuck cards.  These cards are so fun and quick to put together.  All of Lori’s insert cards include files to use with the new Cricut Joy as well as files that work for other Cricut and Silhouette machines.  You will love making these.


SVG, Silhouette

SVG, Silhouette

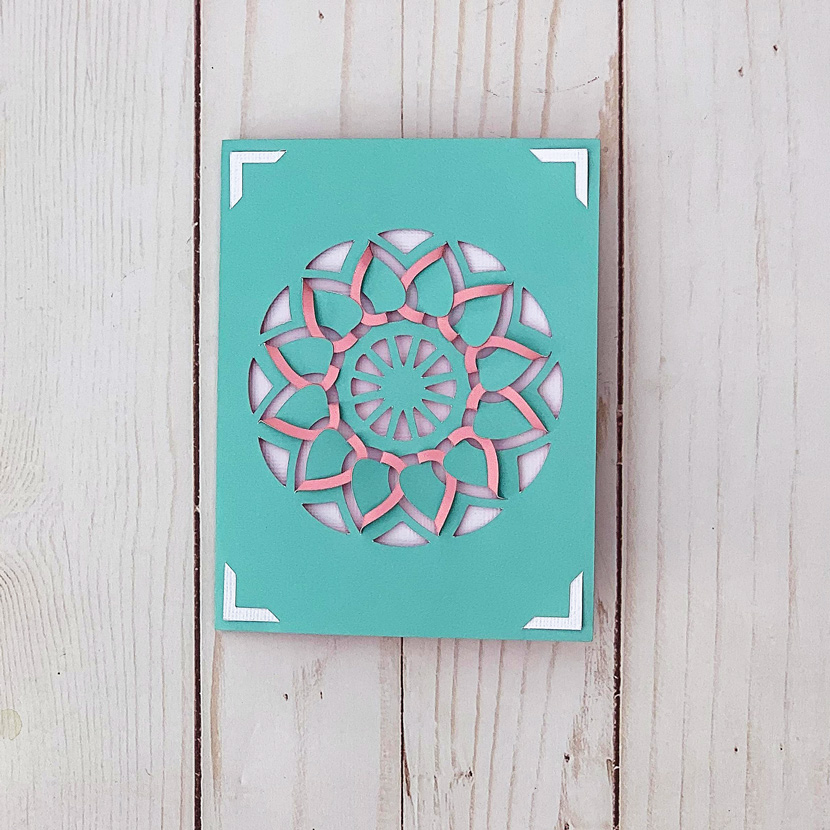
I made this Circle fold tuck card with Echo Park’s double-sided paper.  This looks really neat with the 2 colors.  Lori has a tutorial for these cards here.

Have fun making these cards!

Ashley

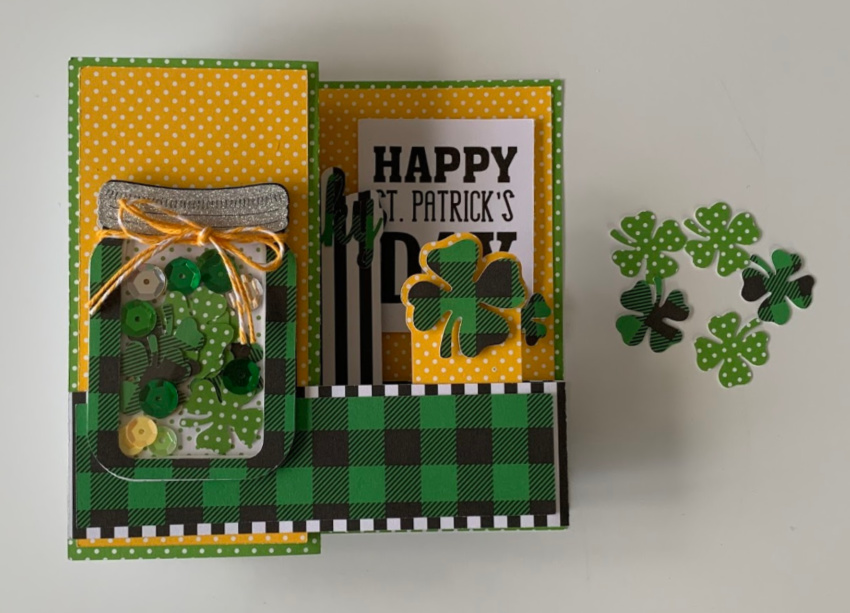
Pop Up Box Card St. Patrick’s Jar Shaker Tutorial

Anita here with a tutorial to make Lori’s lovely cut file for the Pop Up Box Card St. Patrick’s Jar into a shaker card.  You can find the SVG file here in Lori’s shop and here in the Silhouette store.

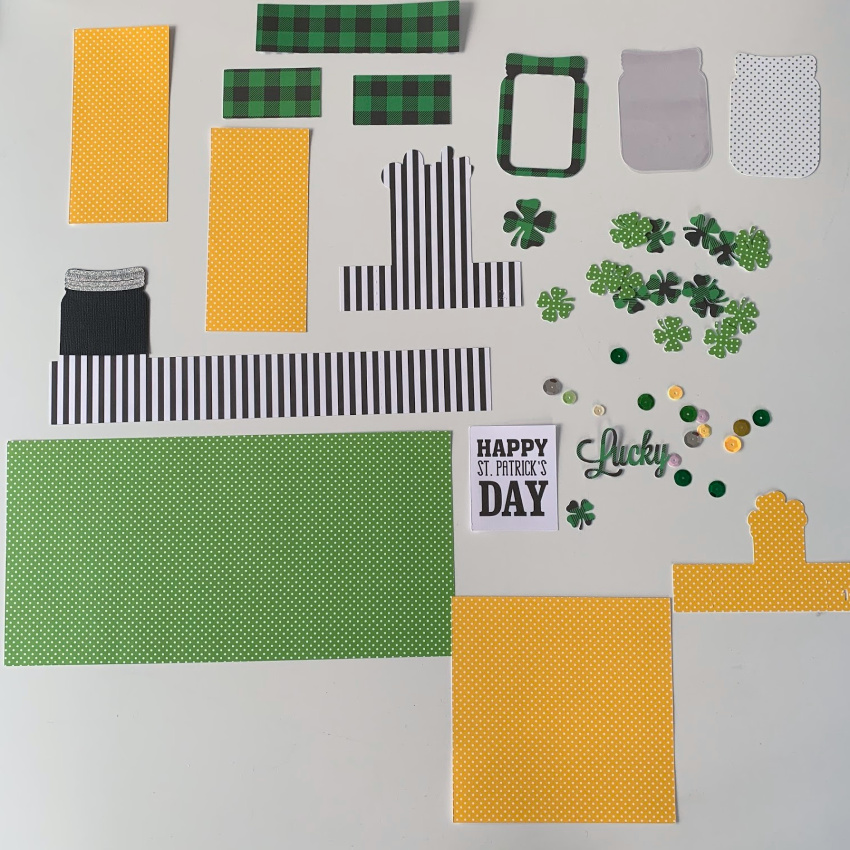
Here is a photo of the parts of the card after I cut them out.  I cut a piece of overhead projector plastic the same size as the jar.  I used the rectangle shape tool in Silhouette to cut out the center of my green plaid jar top piece for the window.  I also cut an extra jar out of black and trimmed it even with the top of the lid so that you could see the details in the jar cover.  Those are shown glued down in this photo.

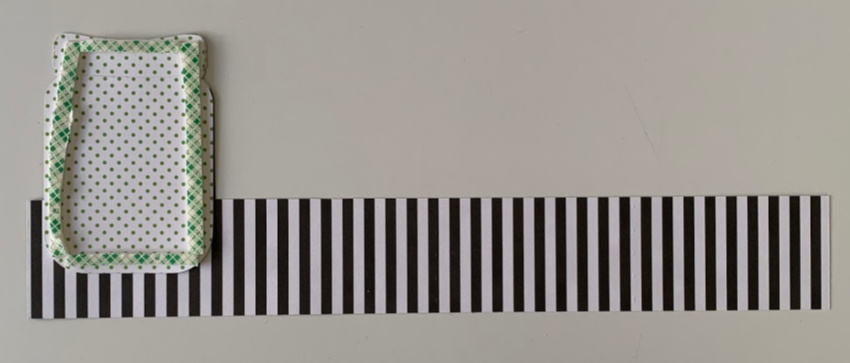
Next, I took the green dot jar piece and used foam tape to create both height and space for the shaker materials as you can see from the photo below.

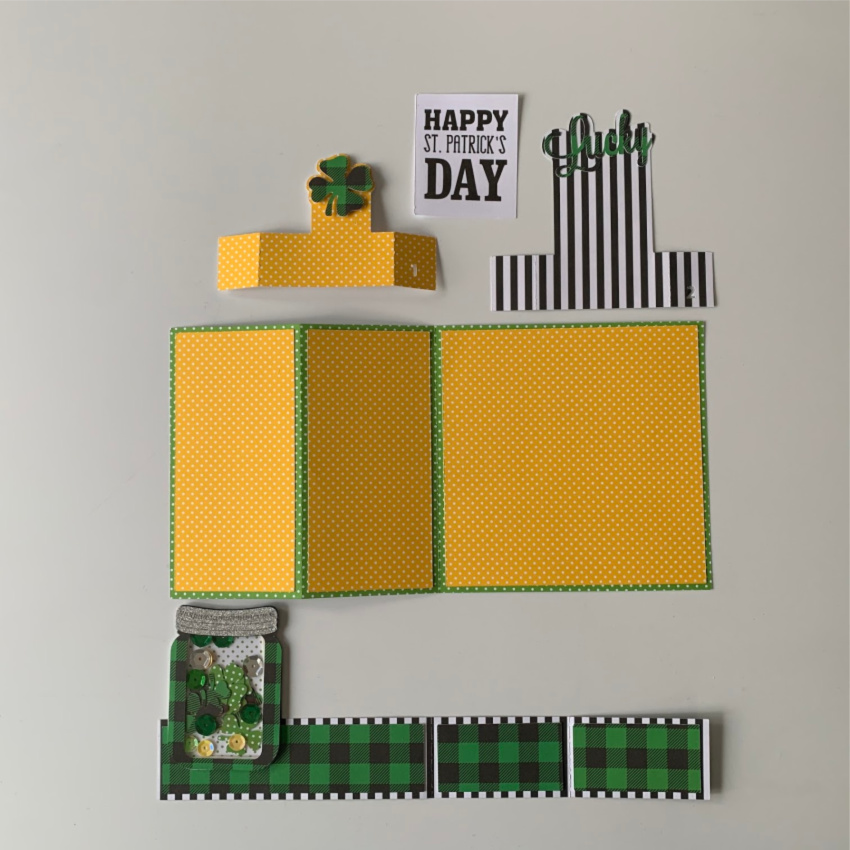
I started to assemble the card which is very easy to put together. (Lori has a Pop Up Box Card Tutorial Here)   I tend to use a wet adhesive as at first it is forgiving and you can move the pieces around a bit and then it holds better than regular adhesive.  I lined up the pieces and then closed the card to make sure everything was where I wanted it.  Here are some photos of the embellished card parts. I added the transparency piece behind the plaid jar outline to create a window.  I filled my shaker with extra shamrocks from the cut file and some sequins.  After filling the jar, I peeled the adhesive from the foam tape and placed the jar with the window on top.   I love how festive it is.

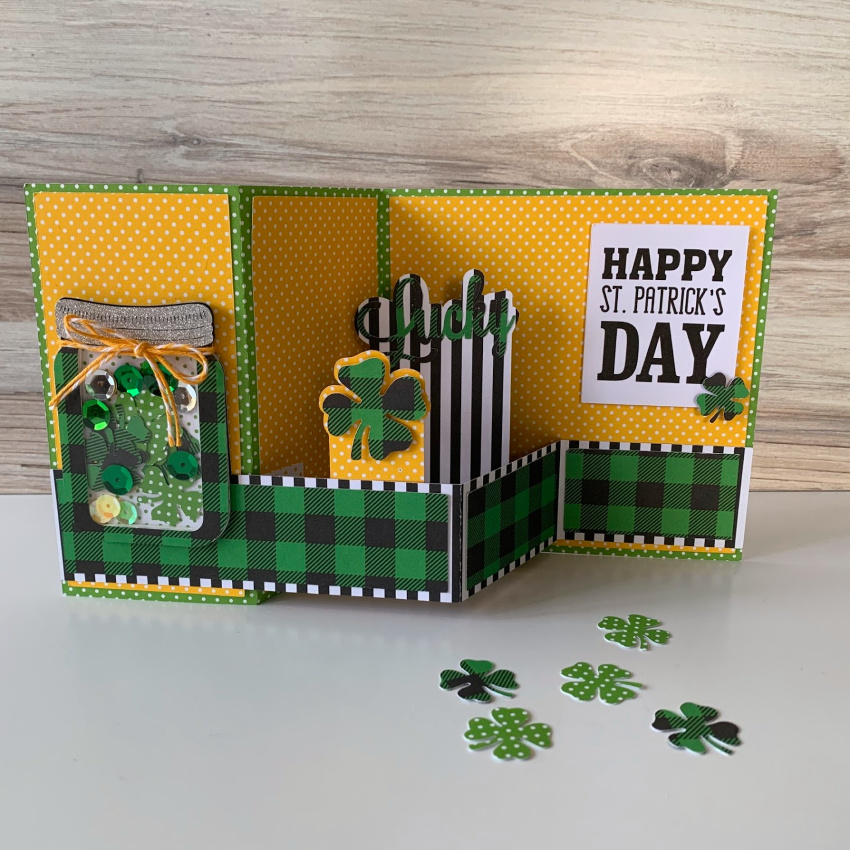
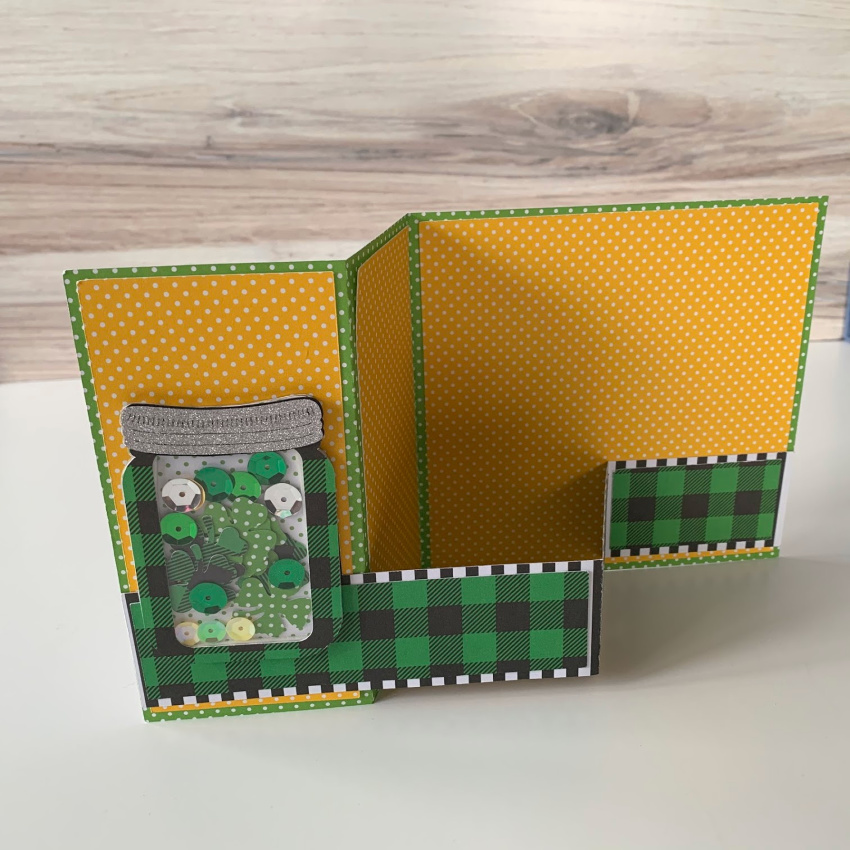
Lastly here is a photo of the card when it is closed.  Lori has many wonderful St. Patrick’s Day files which you can whip up quickly to brighten someone’s day.  Thanks for looking and have a great day.

Hugs,

Anita

Fall Extreme Pop-up Card

As a young girl, I fell in love with origami. From folding paper, it was natural to love pop-up cards and books.  I just love that Lori has these fun Pop-Up Cards in her shop. I made the Fall pop-up card, and I changed the sentiment to be used as a Thank You Card.

The card file can be found in Lori’s SVG Shop and in the Silhouette Design Store.

For papers, I used the Echo Park’s My Favorite Fall Collection designed by Lori.  The inside pop-up part is done using the Print and Cut function of your cutting machine. Once cut, it all comes together easily.  For a tutorial head over to Lori’s YouTube Channel here.

Have a great day!

Kitchen Conversion Chart

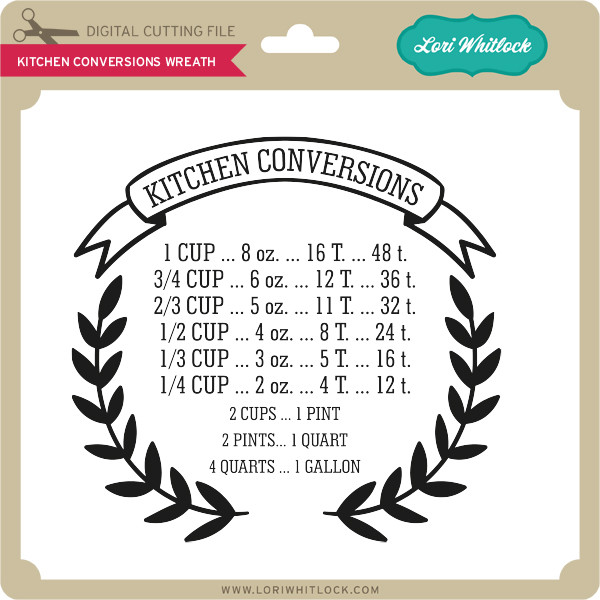
Have you ever needed a quick conversion chart as you are altering a recipe?  How many teaspoons in a tablespoon?  Lori has several Kitchen Conversion Charts in her store.  I decided to use the wreath found here and in the Silhouette Store.

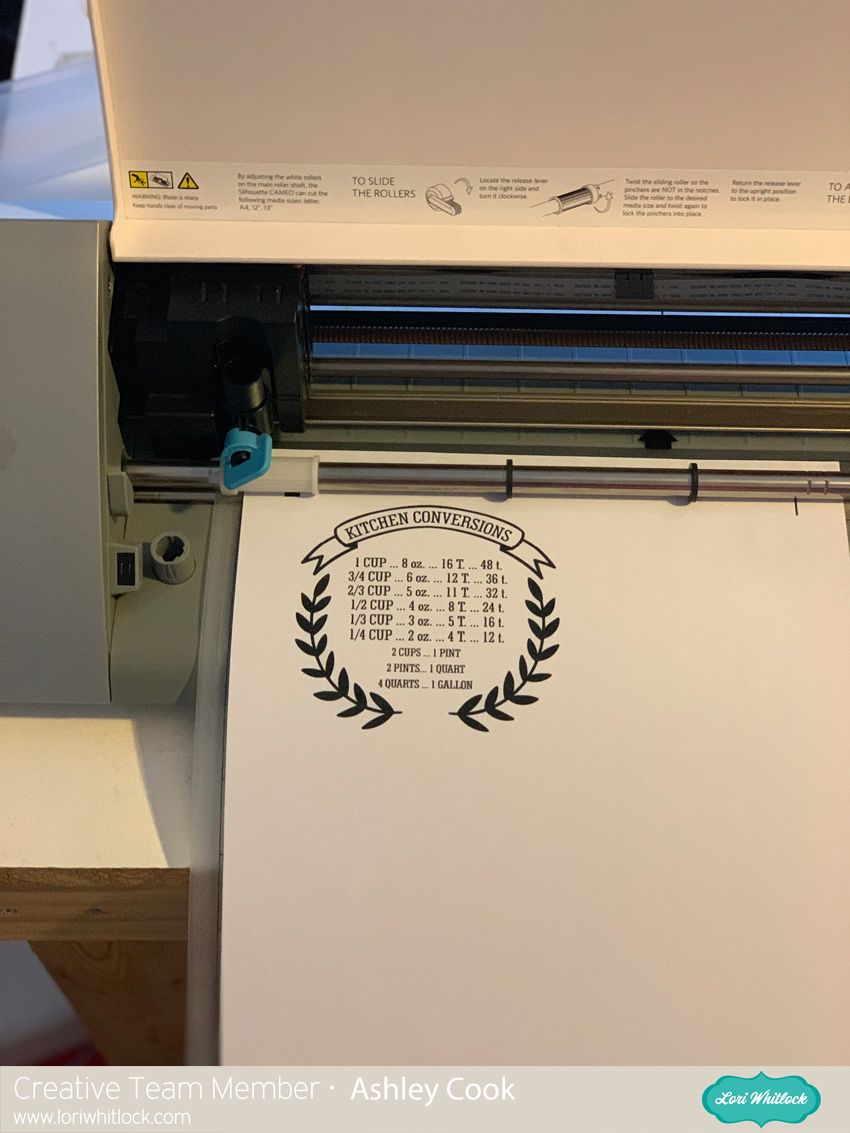
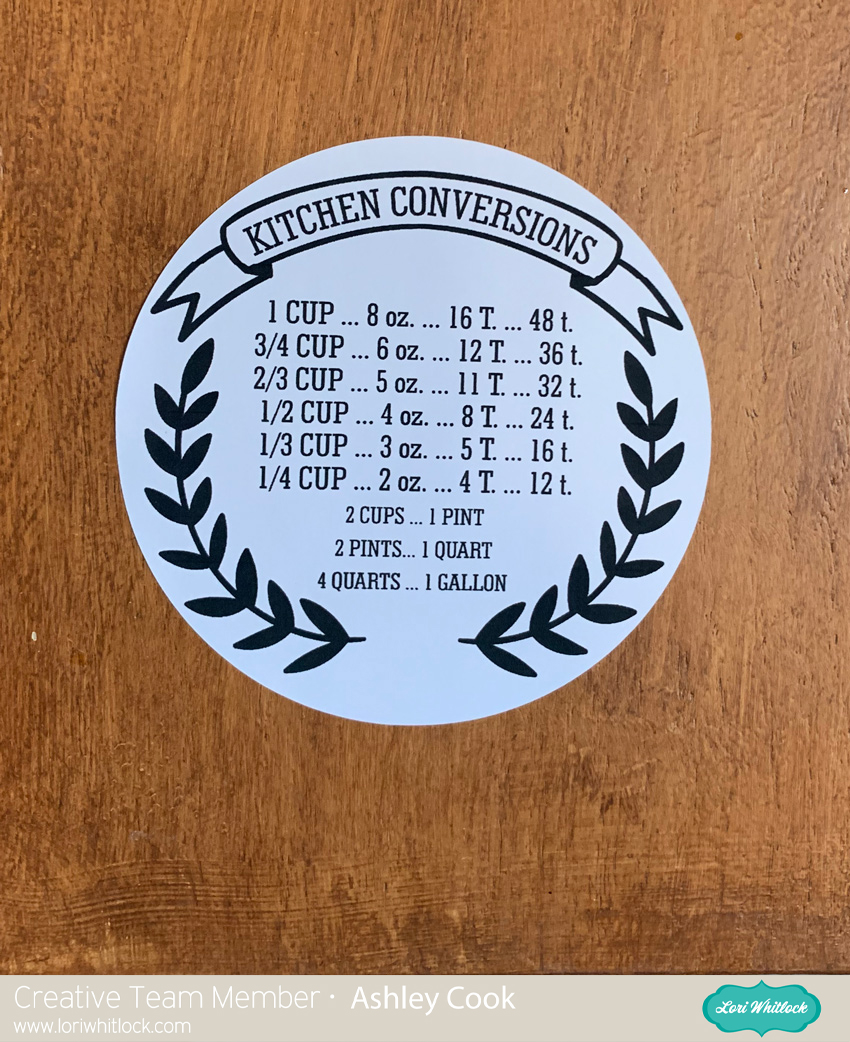
This file comes ready to cut digitally.  I decided that I would love it as a sticker.  So I used the Print and Cut feature in Silhouette.  This would be great on a magnet too.

Here it is on the inside of my cabinet.  It will be handy to reference when needed.
Have a great day!