Perpetual Celebration Calendar Tutorial

Happy Thursday Everyone:

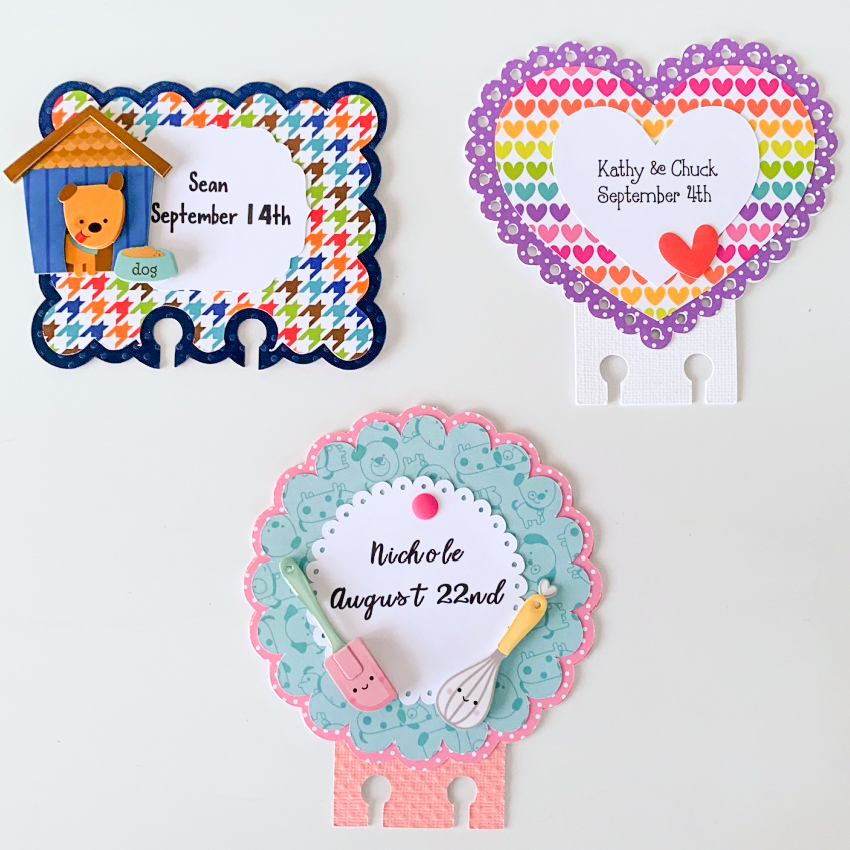
Anita here today with a tutorial for a Perpetual Celebration Calendar.  I have a perpetual calendar which I have been using for years and wanted to replace it with something more fun.  I decided to buy a rolodex and found some great files in Lori’s store that I used to create the pages for my calendar.  I used Memorydex Scalloped Cards (SVG, Silhouette) and used all three included shapes.  Male birthdays got the rectangle shape which can be found in the 4 Cute Tags file (SVG, Silhouette).  I  used 4 Scalloped Shapes (SVG, Silhouette) as the date reminder tags that went on the female birthday cards.  And I used the Nested Hearts file (SVG, Silhouette) for the anniversary cards. For the files without the punch holes in the bottom, I used a memorydex punch to add them.   Please note that each card also has an extra layer on the back of cardstock to give it a bit more stability and to help it to be more stable on the rolodex holder as it spins.

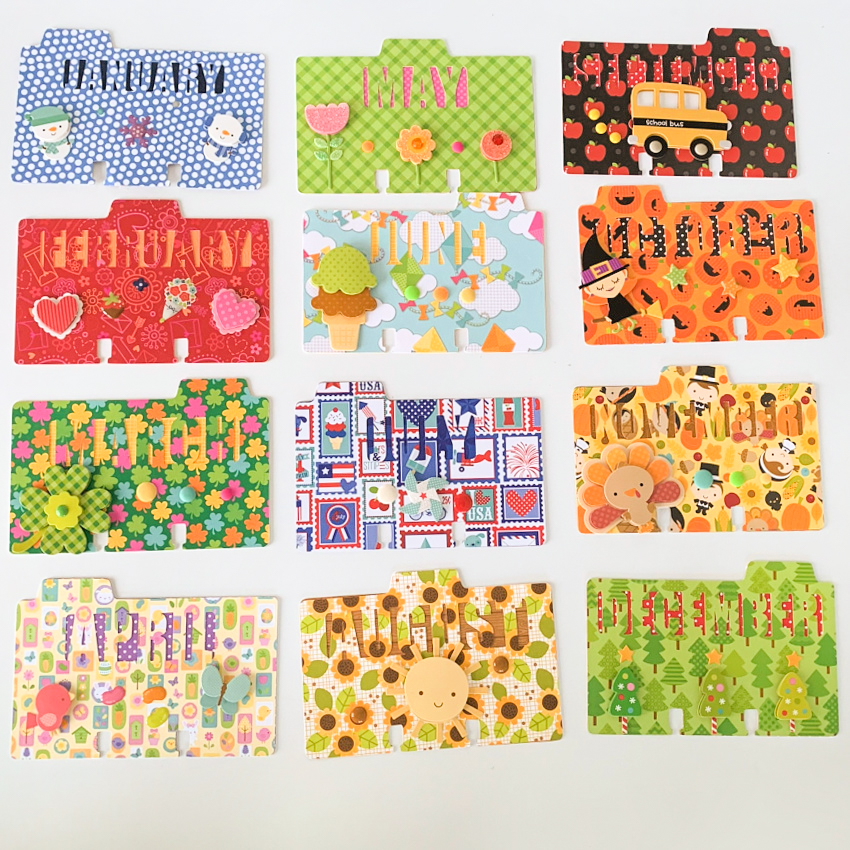
I used the Memorydex Box and Cards (SVG, Silhouette) for the month tab cards.  You can find a tutorial to make the Memorydex Box and Cards here on Lori’s blog.  I also used the Month 4X6 Journaling Cards (SVG, Silhouette)  I resized them to fit on the card and then cut them out.  I did my editing of this file on my Silhouette.   I decorated the cards with ephemera from my stash.

That’s it for me today.  I love how this came out and now each  month I get to flip the pages to see who I will be celebrating that month.

Hugs,

Anita

Impossible Easter Basket Card

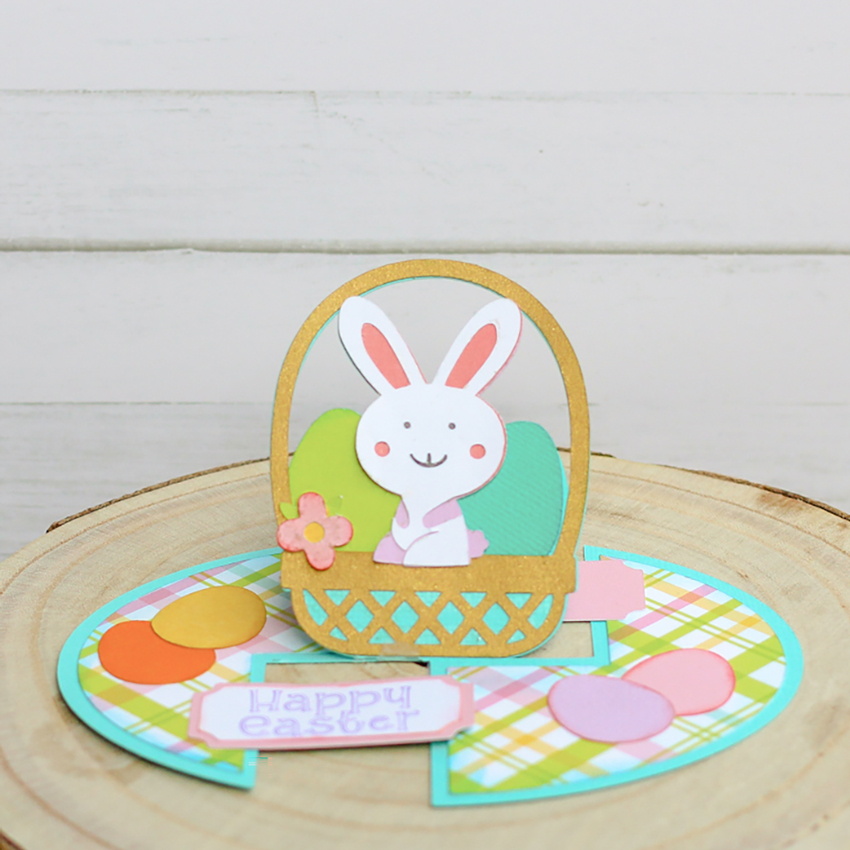
Do you need some Easter Cards?  Lori has many adorable options in the shop.  I am sharing one of the new impossible cards. Find it in Lori’s SVG Shop or on Silhouette.

This card has several small elements, so it is great to use your stash of scraps.


Pro tip: Ink any edges before piecing together.  When piecing the basket and bunny, start with the eggs and build up. Lori has a video tutorial showing how to put together any of her impossible cards here.

Have a great week and Happy Crafting!

Recipe Box with Ashley

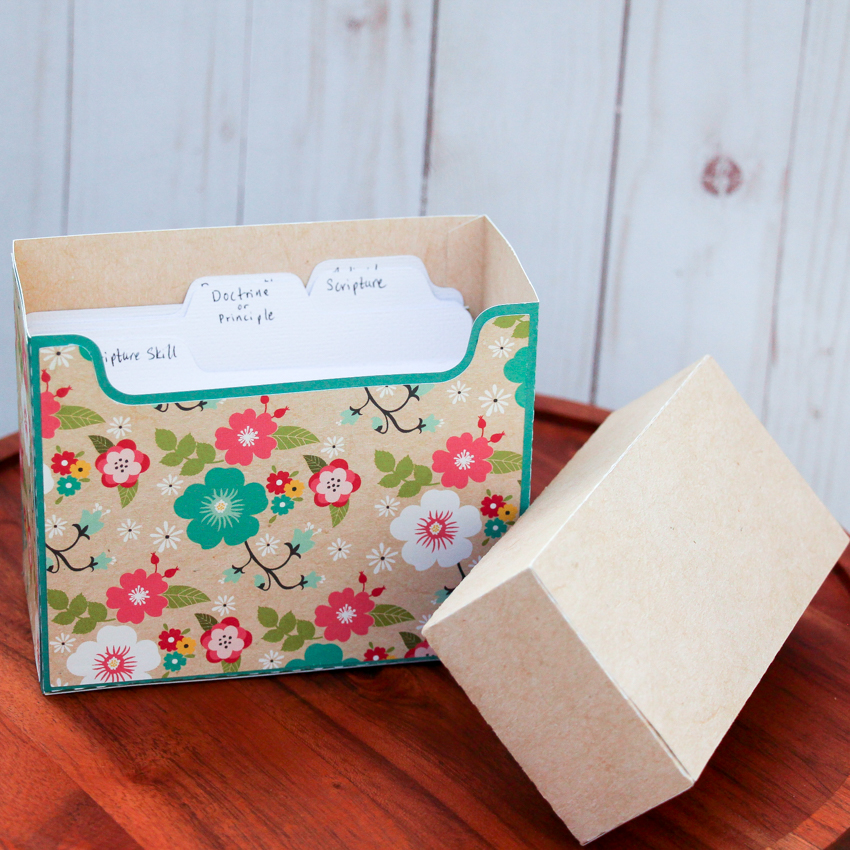
Welcome to the week.  Are you working on organizing things this month? I needed a place for some 3 x 5 study cards, so I made this 4×6 Recipe Box (SVG, Silhouette.)  Since the original size is for 4 x 6 cards, before ungrouping the file, I resized it for my project.  I used paper from the Lori’s Forward with Faith Collection from Echo Park.

Now my study cards have a place.  This box could be used for recipes or school study cards or storing greeting cards. I hope you have a great Monday!

Ashley

Luminary Tutorial

Growing up, there was a Cul-de-Sac near our home where all the houses had luminaries lining their sidewalks. They were the electronic sort of luminary.  I loved the 100 percent participation on that street, it always looked lovely.

This year my neighborhood had an activity where all the neighbors were invited to place paper bag luminaries with tea lights out on a designated night. Neighbors could decorate their bags, or just leave them plain.  I decided I needed to try cutting designs with an electronic cutter.  I chose a variety of Lori’s Christmas files. I’ll share each link with the pictures.

First, to cut the bags, you need to open the bags and flatten the sides like this picture:

flat bag picture

I placed the bag one inch down, so that I could see the inch marks on the mat.  Using the mat grid, figure out where your design should go on the bag. Then select and resize your design and move it to the correct location on your mat in the software. You can do this in Silhouette Studio or Cricut Design Space. I sized each of my designs just less than 4 inches wide and centered the design on my mat.

You may need to try a couple of cut settings depending on the bag thickness and the sharpness of your blade.  In Silhouette Studio, I started with the Vellum setting–which is Blade 1, Force 19, Speed 6.  I think bringing the force down a to 15 will work well too.

Since the bag is paper, I found that the back side of the back always had cut lines, but with less force, the cuts didn’t cut through the whole design.  My first bags were cut through on both sides, and I think they still looked great.

Tree Luminary

Tree from the A2 Christmas Tree Card (SVG, Silhouette )
This Tree Luminary is a great one to start with because of the simple design.  Fine tune cut settings with this one.

Angel Luminary

Angel from the Full Nativity a Child is Born (SVG, Silhouette).  You could use all the individual pieces for luminaries.

 Star from the Nativity Circle Jesus (SVG, Silhouette)  The star from the Nativity above will also work.

Wisemen

Wisemen from the Nativity Circle Wisemen (SVG, Silhouette)

For these next circle designs, you will need to some editing. If you don’t edit, the entire design will pop out of the bag, and you will be left with just a circle.  I’ve outlined the steps to edit in both Silhouette and Cricut below.

In Silhouette Studio

1. Release Compound Path
2. Move and delete the outer most circle
3. Group the remaining pieces and resize.

4. Move design on the screen to match your bag placement on your physical mat.
5. Select Cut Settings (Vellum; reduce force to 15)
6. Send

In Cricut Design Space

1. Select Image
2. Select Contour
3. Click on the largest circle.

4. Resize your image.
5. Click Make It.
6. Move the design on your screen mat to match the bag placement on your physical mat.
7. Select cut settings and cut.

shepherd

Shepherd from Nativity Circles (SVG, Silhouette )

Nativity from Nativity Circles (SVG, Silhouette)

You may need to use scissors just a bit on the seam part of the bag.  I think it would be so fun to get your street to put out luminaries on Christmas Eve.  For the luminaries, place a bit of sand or dirt at the bottom of the bag and  place your tea light candle (or electric versi0n) with the wick straight up.  Then light them for the evening.

I hope you all have a wonderful Christmas

Ashley

Halloween Styled Mother’s Day Hat Box Tutorial

Happy Fall Everyone:

I fell in love with Lori’s new Echo Park Paper collection called I Love Halloween and knew that I wanted to use it for a Halloween project.  We are going to be making the Mother’s Day Hat Box which you can find here in Lori’s SVG Shop and here in the Silhouette Design store.  This is a fun and easy box to put together.  Let me show you how I did it.

Here are the parts all cut out.  I used my Silhouette Rotary Blade to cut the flowers.   It cut the felt beautifully !

You are going to take your two long rectangle tabbed pieces and fold the tabs down.

Next you are going to glue the tabbed end of the rectangle piece to the other end making a circle.  One strip is slightly longer than the other.  The longer one will form the cover, the shorter one the bottom of the box

The file comes with four round circles. The two slightly smaller ones are for the box base.  The two slightly larger are for the cover.   One is glued inside the box and one is glued on top of the box.  I like to glue my inside circle in first as I find it is easier to ease it to fit.  Then I glue the top of the box on.  I use a wet glue when making projects like this where I am asking the paper to be in different shapes.

I made both boxes and then checked to make sure that one slid easily over the top.  I then glued the top on the box and the decorative band around the bottom.

I then glued the bottom of the box onto the scalloped piece centering it.

I brought the ends of the bow pieces on both sides to the center back of the bow and glued it together well.  Then I wrapped the center bow piece around the bow and glued that as well.

I then added the ribbons of the bow to the back of the bow.

Here are my rolled felt flowers.  I cut them easily with my Silhouette Cameo 4 and the rotary blade.  I started at the end of the flower and rolled them up and secured them well with wet adhesive.  (for a rolled flower tutorial see this post)  Be sure that you don’t put your flowers in the way of the box being able to be opened and closed easily.   I added some embellishments to my box and rolled some of the leaves to give them a bit more dimension.

Lastly, here is the box open with some Halloween candy for your favorite sweetie.  I have my hat out as a Halloween decoration and it makes me smile when I look at it.

That’s it for me today.  Be sure to check out all of Lori’s Halloween SVG files and don’t forget all SVGS, Fonts, Pattern Fills and Commercial Licenses are 30% off through Saturday when you use code SEP2020 at checkout!

Hugs,

Anita