3D Lantern Belly Christmas Characters

Hello Crafty Friends, Noelene here today. I wanted to share with you some of the new release Lori Whitlock 3d Belly Lantern Christmas Characters.
The bundle (SVG) comes with 6 characters which include, Gingerbread Man (SVG, Silhouette), Santa (SVG, Silhouette), Snowman (SVG, Silhouette) & Reindeer (SVG, Silhouette), Gnome (SVG, Silhouette) & Penguin (SVG, Silhouette) . Today I have featured 4 of those with a little twist in the Gingerbread Man.
I loved the Gingerbread Man so much I wanted to make a little Gingerbread Girl as well. This was very easy to do. I turned his bow tie into a bow. To do this I just made a copy of the bow tie then using the copy I moved the 2 bow tie pieces together until they touched. I then simply fused them together by using the weld tool in my Silhouette studio. I also wanted to give them some candy so I used some of the candy from the 3 Story Gingerbread Dollhouse (SVGSilhouette).

I also made the Reindeer & Santa. For my Santa I have used white polar fleece on parts of his clothes. I have never had luck cutting fabric on my Silhouette. So I chose a more simple approach. I cut the white cardboard pieces then glued onto them the polar fleece. I placed something heavy on them as they dried to keep them flat. Once they were dry I just trimmed off the excess polar fleece around the shape. Then proceeded putting my Santa together as normal.

Lastly my Snowman

Supplies:
Paper: AC Cardstock & Glitter Cardstock
SVG File: Lori Whitlock – 3d Lantern Belly Bundle Christmas (SVG) Gingerbread Man (SVG, Silhouette), Santa (SVG, Silhouette), Snowman (SVG, Silhouette) & Reindeer (SVG, Silhouette), Gnome ( SVGSilhouette) & Penguin ( SVGSilhouette)
Lori Whiltock – 3 Story Gingerbread Dollhouse (SVGSilhouette)
Accessories: Doodlebug Design Sprinkles
For more inspiration, check out my Instagram!
Thanks for stopping by!
Hugs
Noelene 🙂

3D Lantern Bats Tutorial

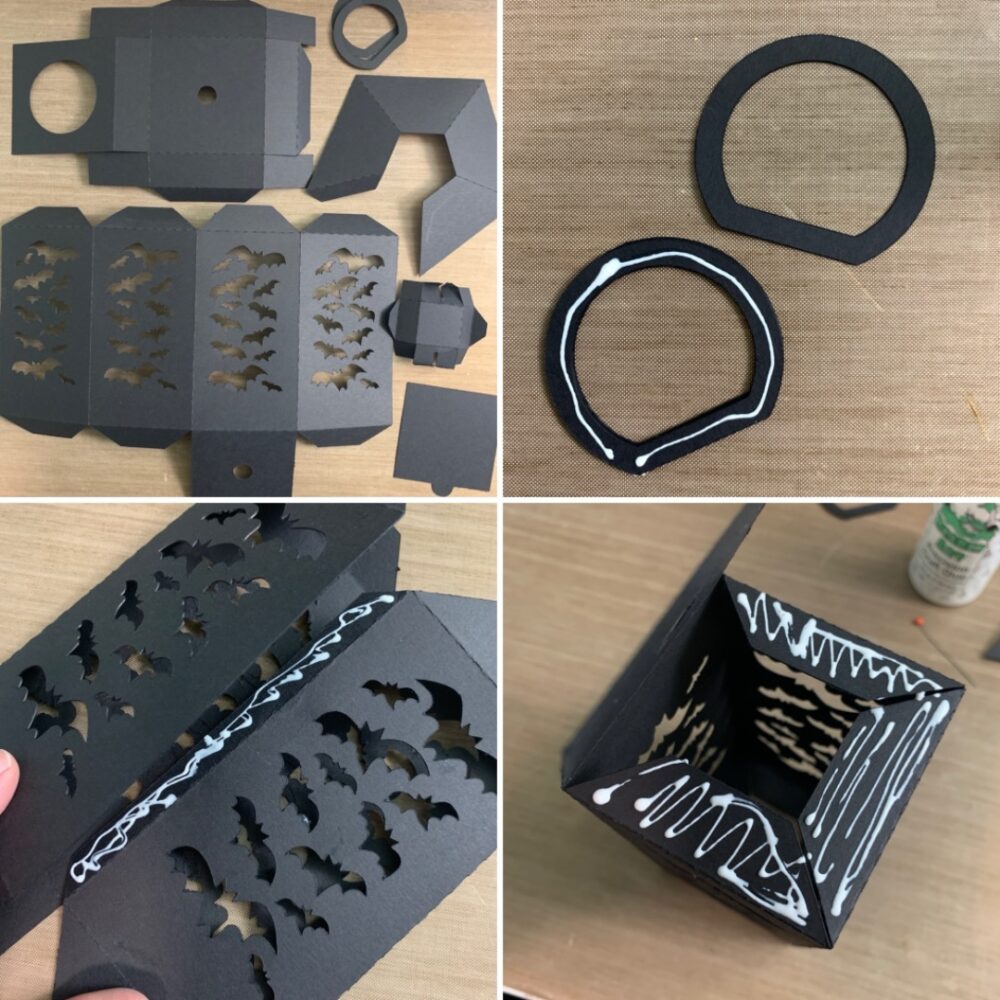
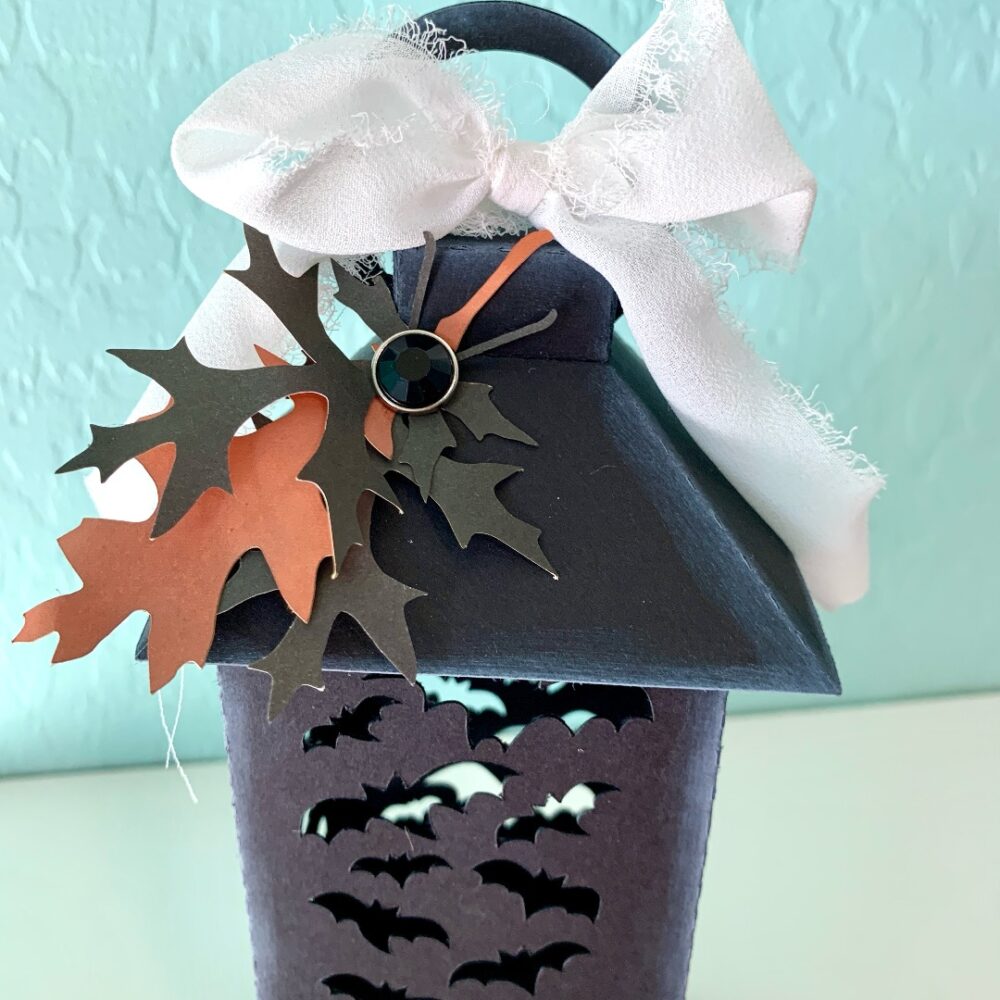
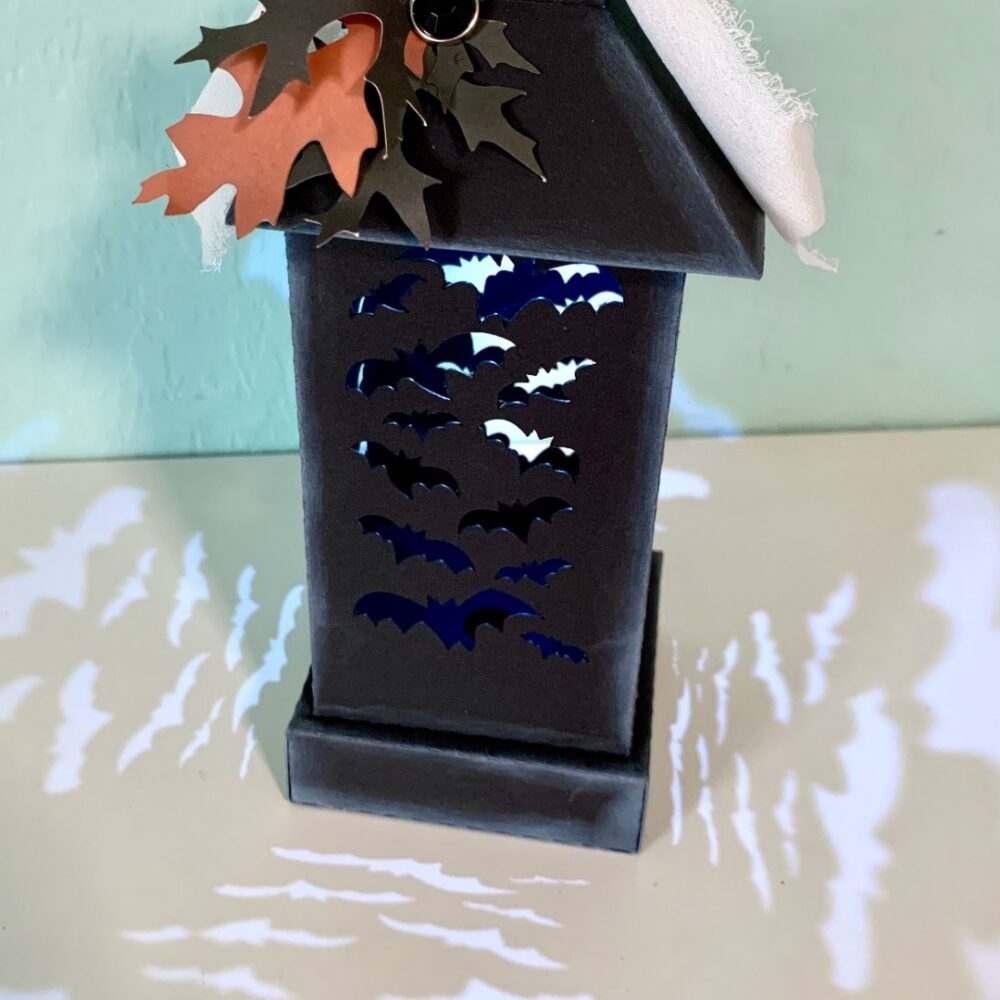
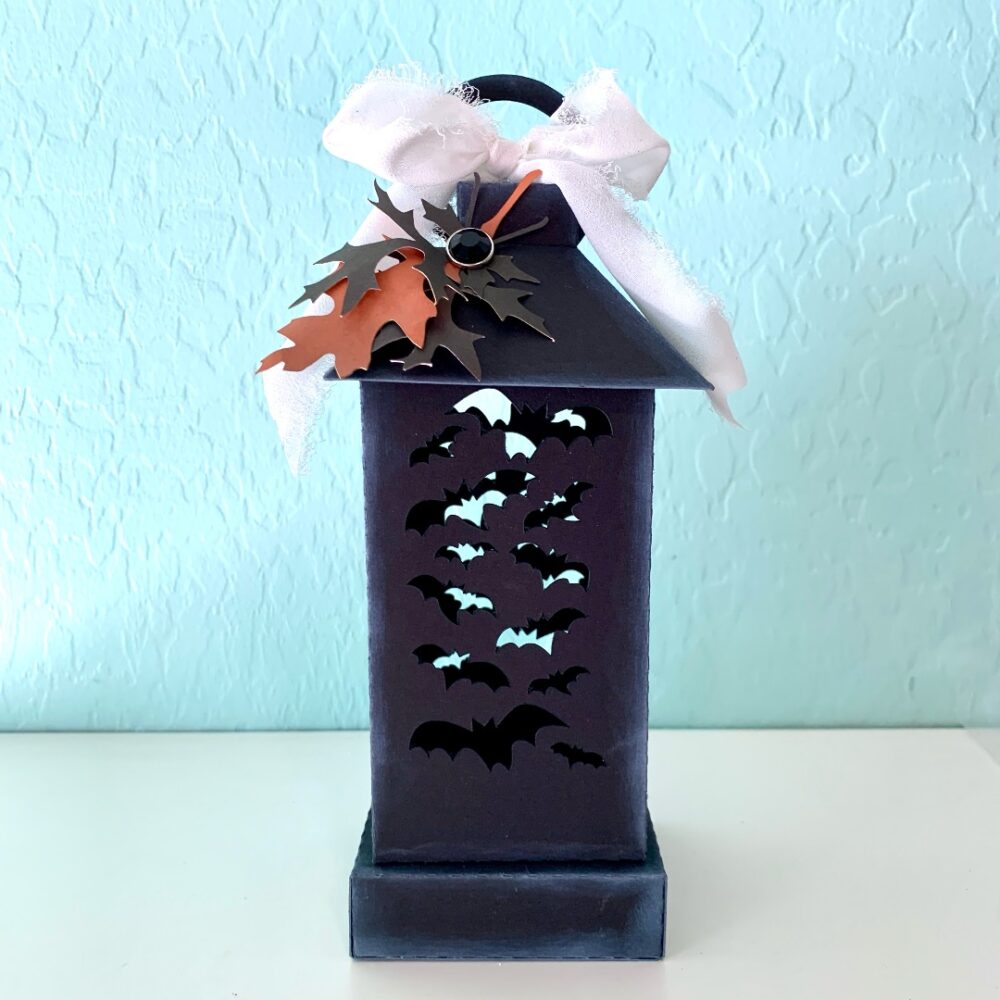
Hi there! Thanks for stopping by today. I am sharing an assembly tutorial for the 3D Lantern Bats (SVGSilhouette) file. This cute lantern has several versions and makes a cute decoration for Halloween. For one lantern you will need two sheets of cardstock. I also used a few scrap pieces of cardstock to make some fall leaves for embellishment.

Once all my pieces were cut, I folded all of the score lines as mountain folds. I then glued all of the D ring shapes together. The lantern body is one piece with one long tab, I added glue to the tab and lined up the opposite edge of the lantern body to the tab. After the glue was set, I flipped the lantern over and added a generous amount of glue to all the bottom tab and folded over the base and applied even pressure while the glue set.

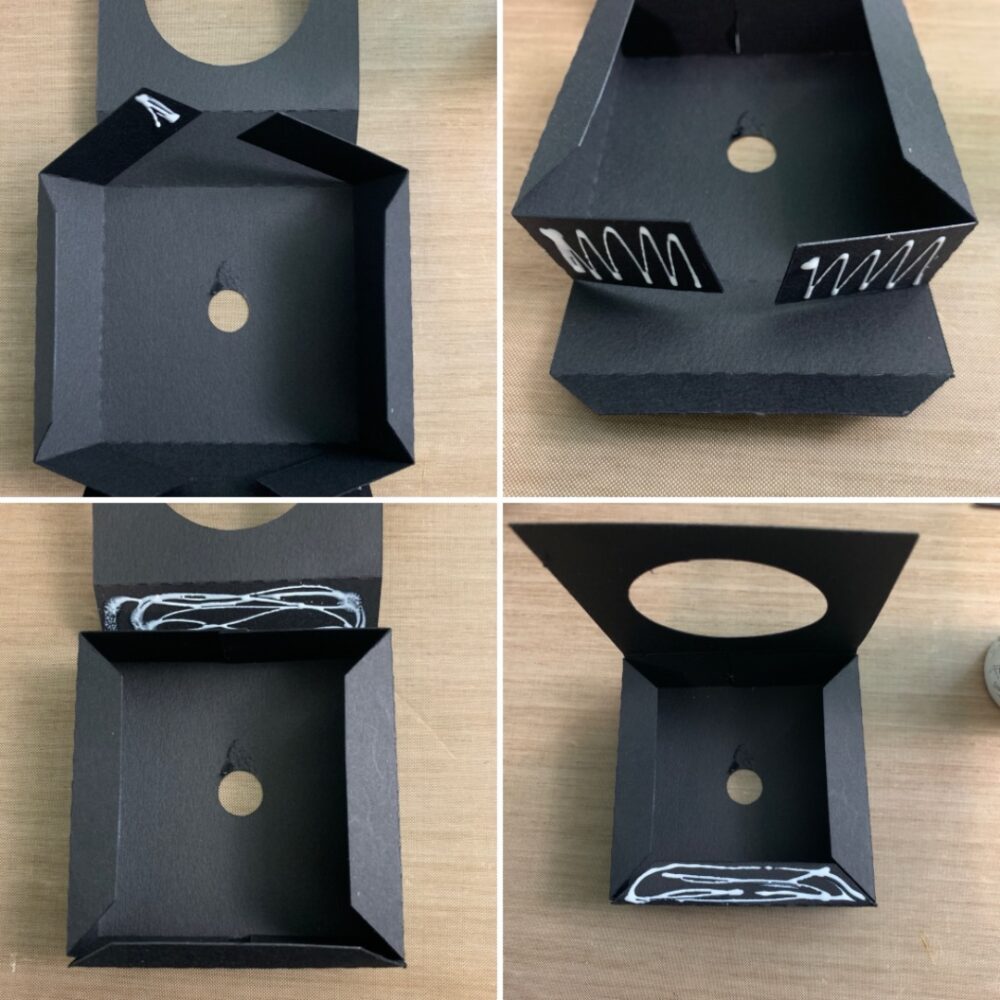
For the base I flipped the base piece over so that the top is on the bottom. I then glued the two longest tabs together. I then added glue to the other long rectangular tabs and folded up the side to secure. Back to the first side I glued I applied glue to the side of the base and held in place. For the flap with the large hole, I only applied glue to the opposite tab. This is to create a sleeve for a battery tea light.

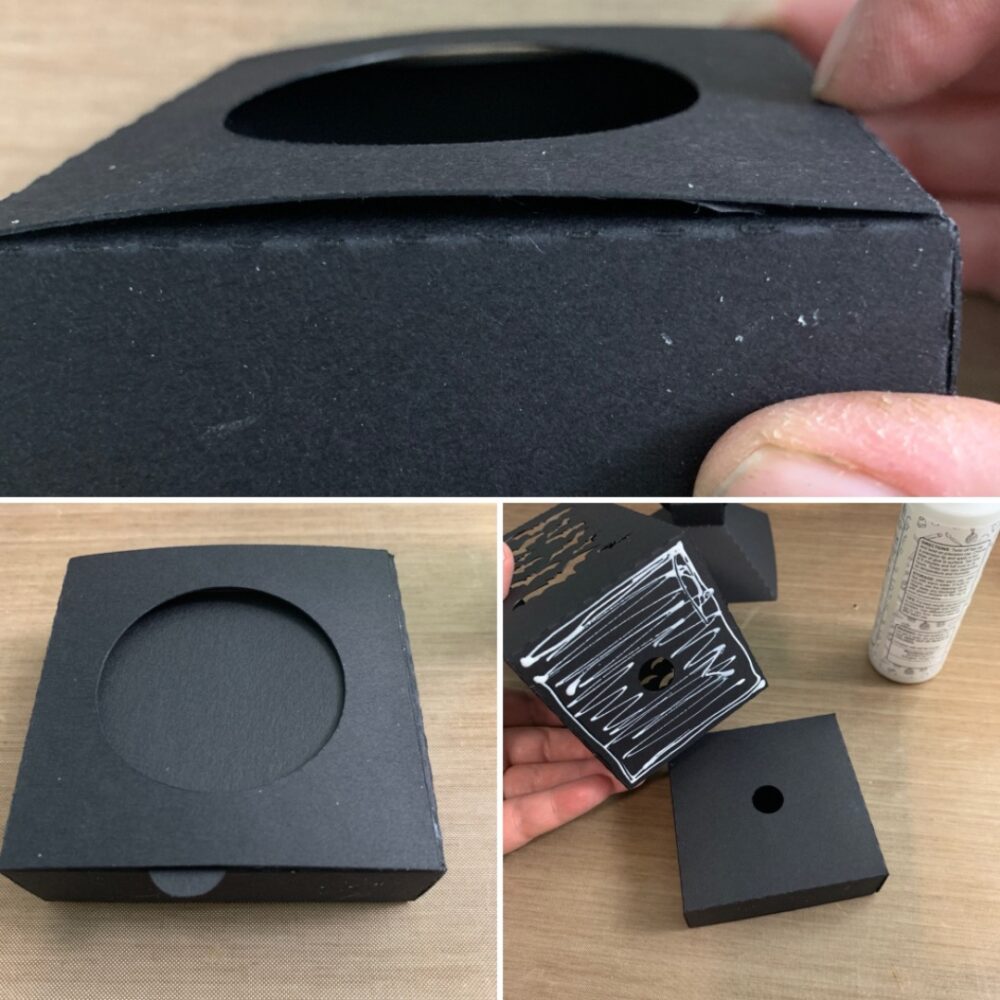
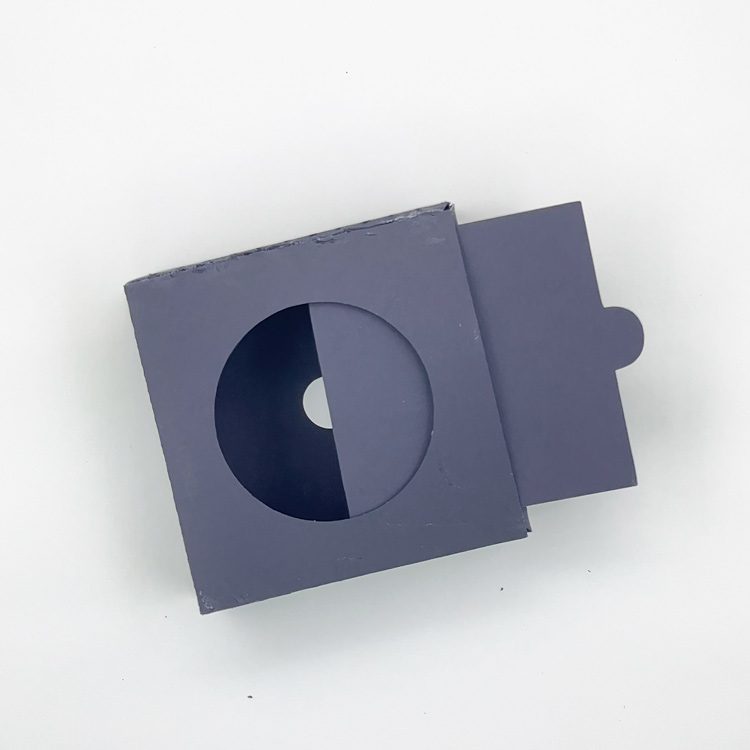
I then slid the square with the small tab through the sleeve to cover the large hole in the bottom. I then flipped the base over and add a generous amount of glue to the bottom of the lantern body and secured the base. I used the two small holes to line up the body to the base.

 
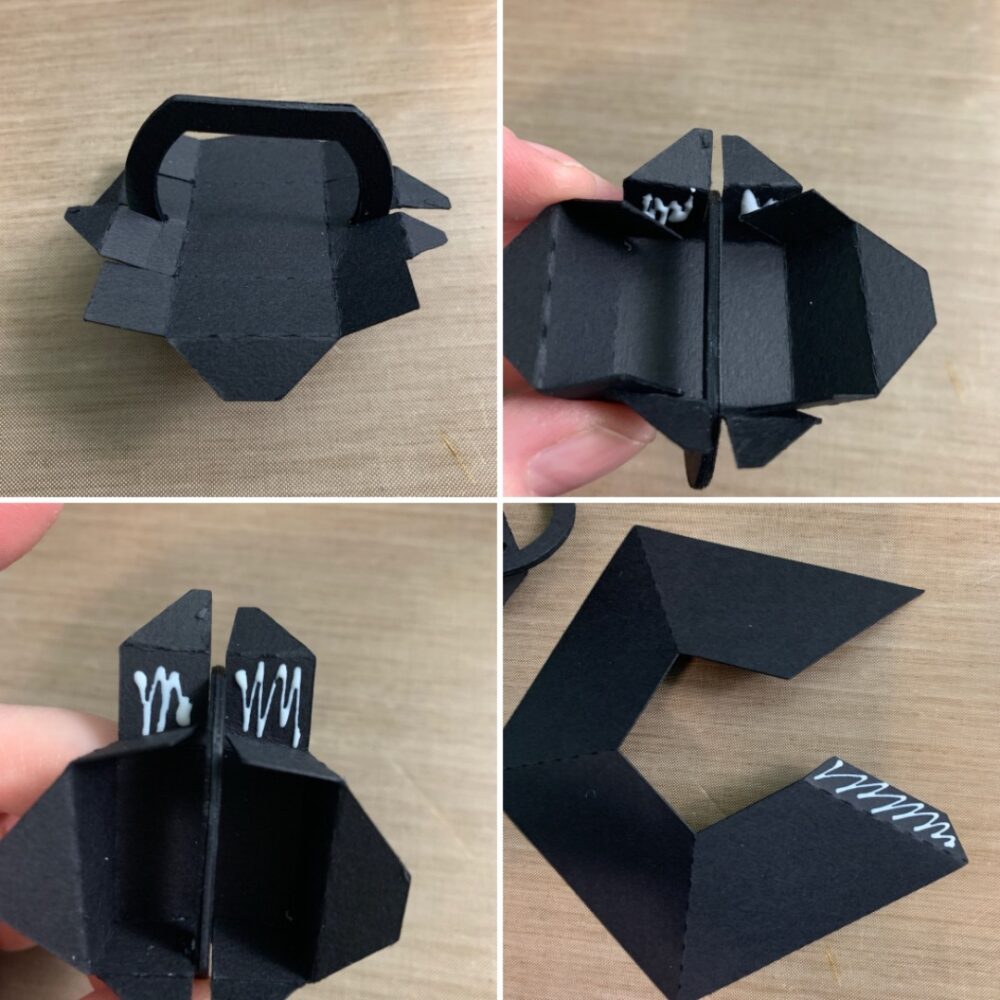
For the top small box for the lid the of the lantern I flipped it over and pushed all of the rectangle shaped tabs back into mountain folds (this helps keep them out of the way while I glue the box together). I added the D ring between the notches. I added glue to the square tabs and held in place while the glue set. I also glued the c shaped piece together by adding glue to just the tab.
Once the small box was dry and set, I pushed all the small tabs through the square in the roof of the lantern and added glue to the small tabs on the inside of the lantern roof. I then added glue to the tabs on the top of the lantern body and held the roof on with even pressure while the glue set.
After the lantern was dry, I cut some oak leaves (SVG, Silhouette) and inked the edges of the lantern. I used some chiffon ribbon for a bow and glued on the oak leaves.

I had a little ballon light to my lantern to get the bats to cast on the walls and shelf.

This would be a fun addition to a Halloween table or tiered tray display. Thats all for me today. Thanks again for being here.

Brandie

Rectangle Pop Up Card Fishing Stand Tutorial

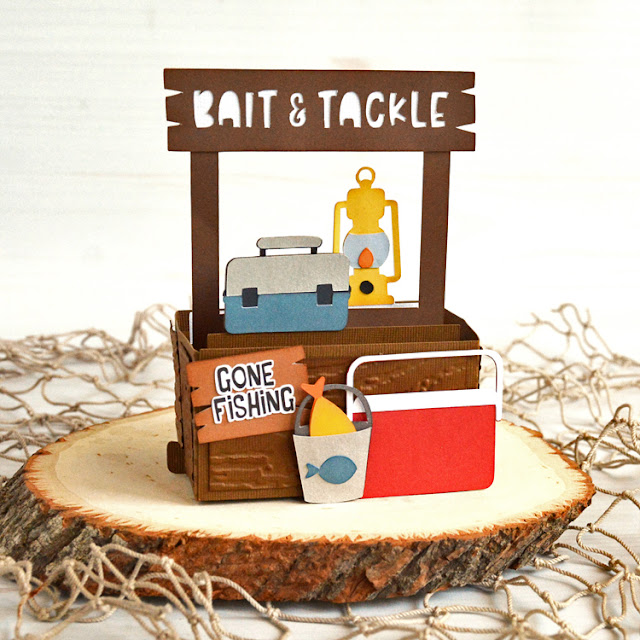
Hello everyone, Marcia here today. I made this fun masculine pop-up card for my son. This Fishing Stand Pop-Up Card is perfect for your fishing enthusiasts and is available here (SVGSilhouette).

This card has a lot of pieces but is not that difficult to assemble, let me show you how…
1. Cut out all the pieces from the desired color cardstock and pattern papers. I like to use cardstock for the base to ensure stability and lighter weight pattern/solid papers for layering. To give your shapes some dimension, ink the edges. We are going to proceed to assemble the card doing the inside inserts first.


2. Use the photo below as a guide for which piece goes where. Take care not to throw away the inside pieces of your sign’s letters if you want to add them back. I forgot to save mine and decided it was ok to leave them out.

3. Next we are going to ink and assemble the icons for the front of the fishing stand.

I used the Print and Cut feature in Silhouette for the Gone Fishing sign.

Be sure to adhere the larger fish in the bucket before adding the front of the pail.

4.  I decided to emboss the panels for the card base with a woodgrain embossing folder from Sizzix.

5. I applied some distress ink to the top of the panels to bring out the woodgrain texture even more and then adhered them to the long base strip.

6.  Let’s assemble the base next. Fold on all score lines and glue the center piece together as shown below.

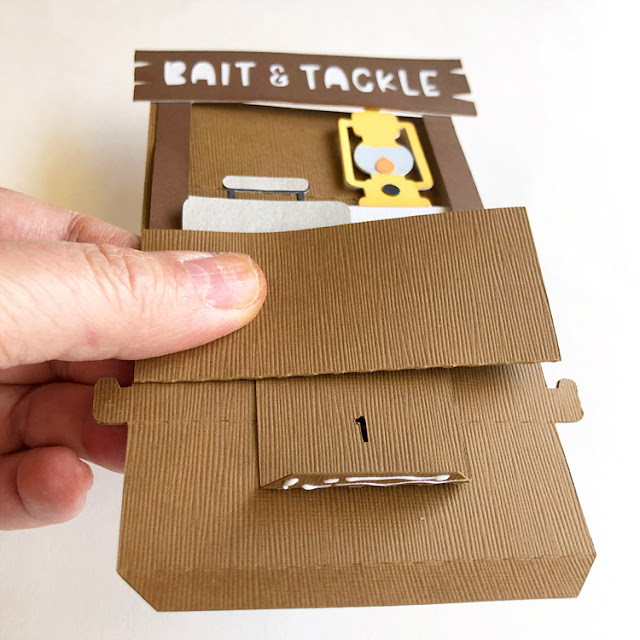
7.  Find the card insert labeled “2” and insert it through the middle slit face down. Adhere the tab to the middle of the base.

8.  Find the card insert labeled “3” and insert it face down through the tab closest to you. Fold the tab up and apply glue to bottom of the tab. Adhere to card base just above the tab at the bottom.

9.  Flip the card over. Find the insert labeled “1” and insert it face up through the slit in the base. Fold the tab up and apply glue to the bottom of the tab. Adhere it to the card base.

10. Your card inserts should be adhered as shown below.

11.  Glue the bottom tabs to the front and back of the card base.

12.  Fold the panel strip creasing the cardstock at all the perforations. We are going to adhere the panel strip lining the edge of the strip up with the edge of the card. Leave the edge unglued about 1/4″ so we can tuck the other end of the panel strip underneath later. Wrap the sides closely around the base sliding the panel into the tab sticking out from the bottom. It helps to fold the card flat by pushing the inserts down into the base so you can ensure a good adhesion when gluing the front and back panel strip to the base.

13.  Adhere the back of the card to the panel strip and continue to wrap it around the other side of the card coming back to the front. Apply glue to both sides of the tab and slide the tab between the front panel strip and the card base.

14. Add the fishing icons to the front of the stand. You can use foam tape to pop some of the icons out from the base.

Lori has lots of other fun pop-up cards in her shop. Go check them all out.

Thanks so much for stopping by
~Marcia

3D Halloween Lantern Tutorial

Hi Everyone!  There are some new Halloween lanterns in the shop.  I thought it would be fun to make some for this weekend!

Halloween Project Bundle 2

Halloween Project Bundle 2 (SVGs)

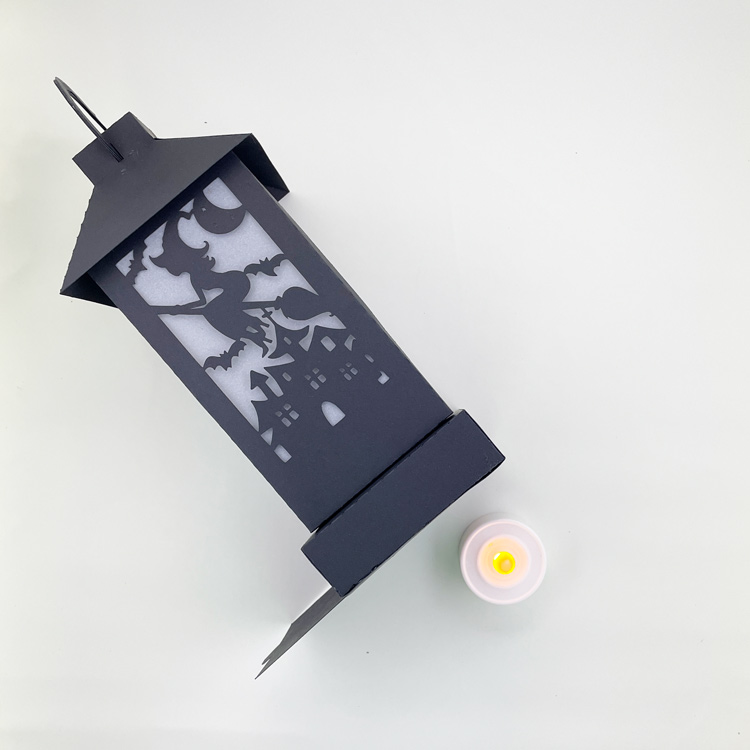
I made the 3D Witch Lantern (SVG, Silhouette )  I’ve put together a tutorial showing how to assemble today.

1. First, cut out all your pieces on your cutting machine.  You can see the pieces below.  I’ve folded them along their score lines.
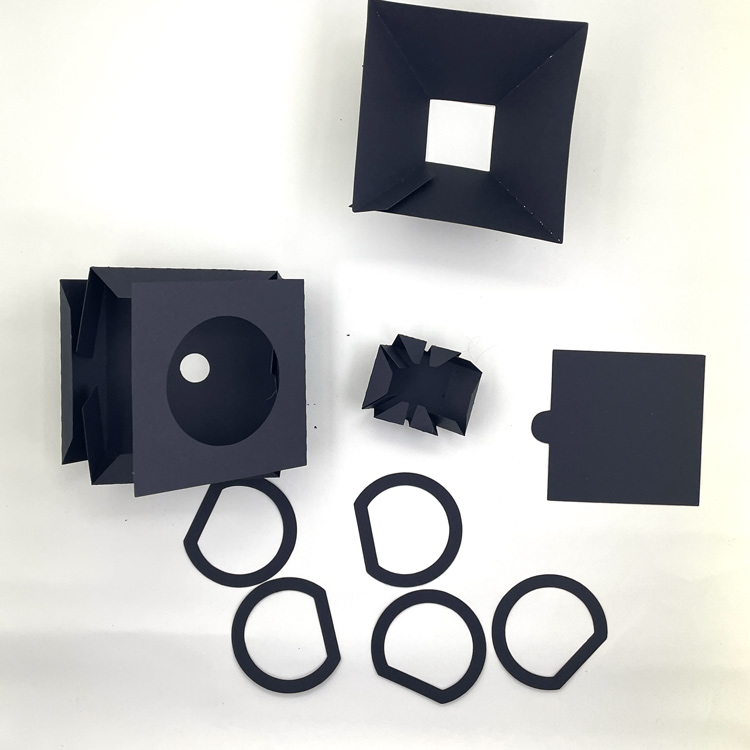
2.  If you wish to add vellum to the insides of the lantern, do this next. I cut the vellum in 2.5″ x 5″  pieces.  I used adhesive on the top and bottom of the vellum to attach the lantern.
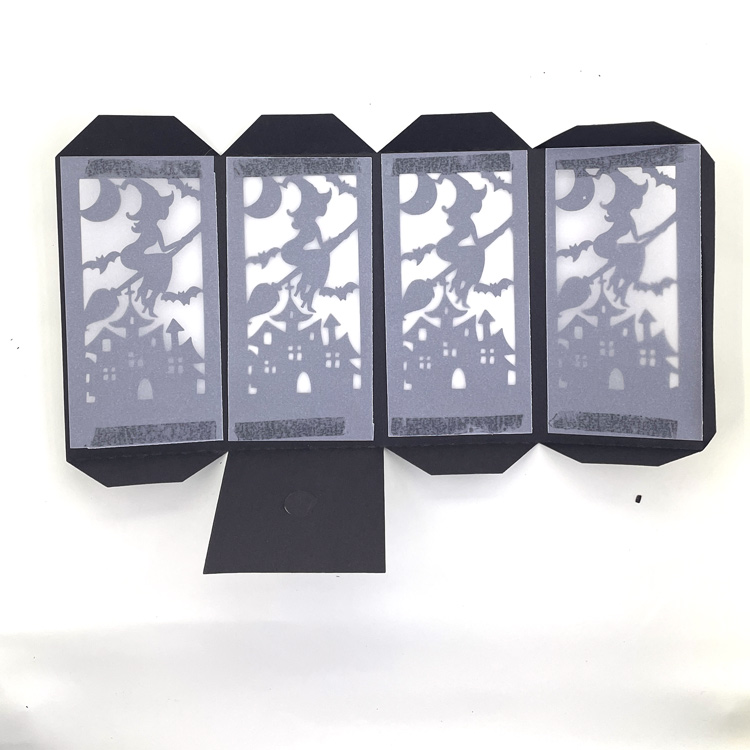
3. Glue the individual pieces into shape by adding glue to the tabs, and folding.  The tabs go on the inside so they are not seen in the final project.
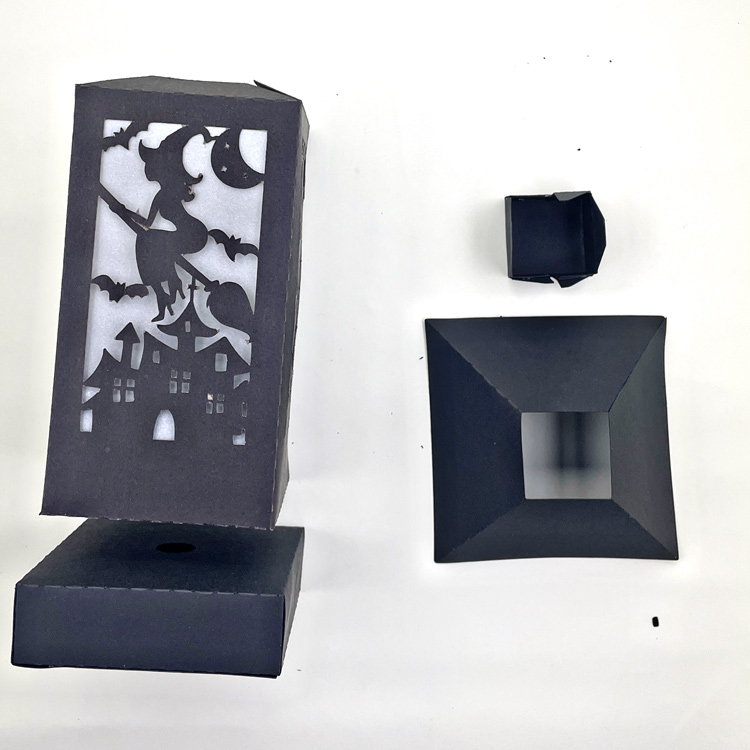
4. Glue all the circle handle pieces together in a stack to make one thick piece.  Thread the stacked circles into the slots in the small square piece.
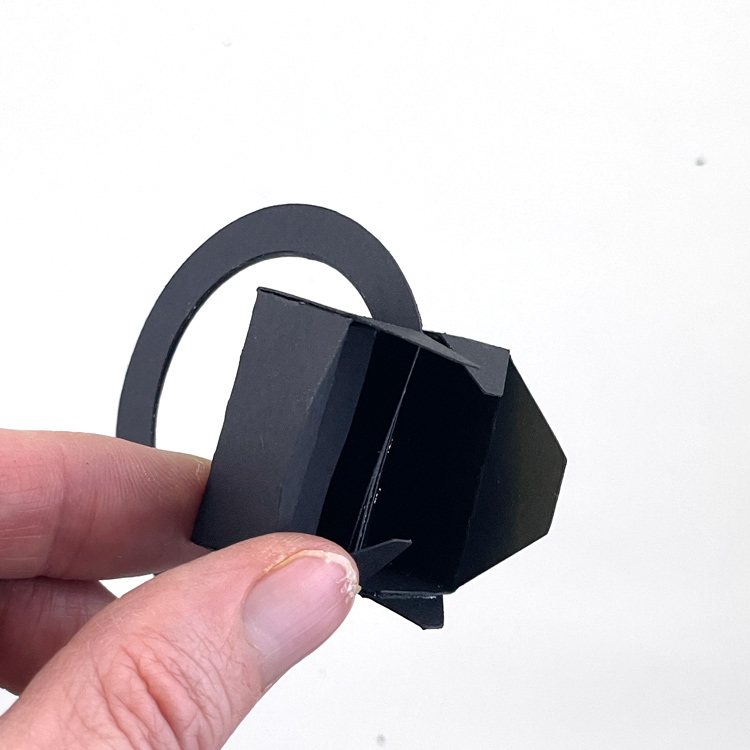
5. Insert the combined handle pieces into the domed top of the lantern, Secure by gluing the tabs of the handle to the inside sides of the dome piece.
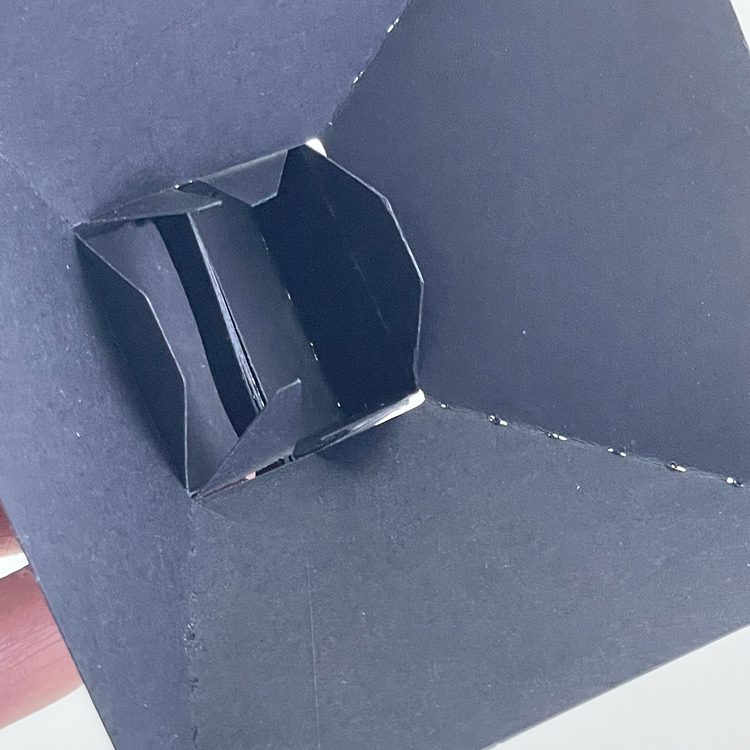
6. For the lantern base, glue 2 opposite sides of the panel with the large hole very close to the edge.  This will allow you to add the slider piece to close the hole.
7. To complete, stack the pieces and glue.  Start with the base, then add the decorative lantern piece, and finally the top with the handle.
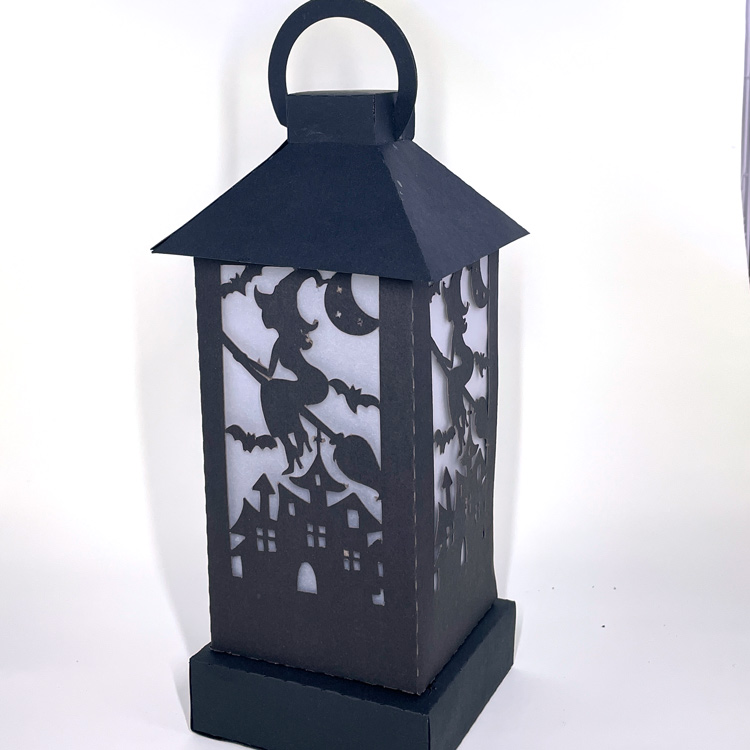
8. Place an electric tea light beneath the lantern. And you are ready to display!
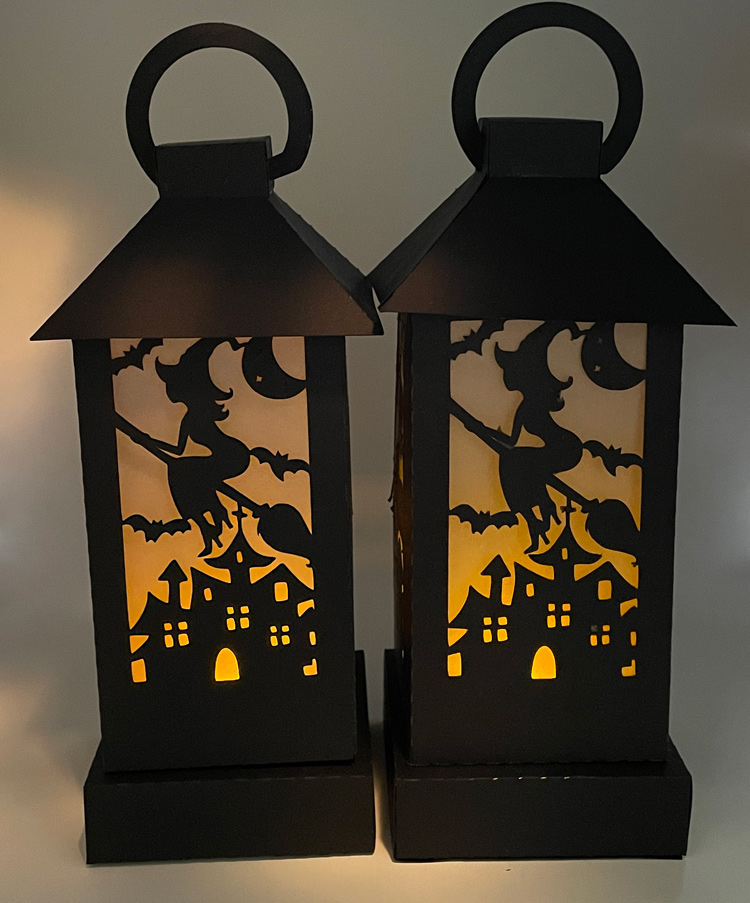
I made a second lantern and sized it just a little smaller, so that all the cuts could fit on three pieces of 8 1/2 x 11 paper. You can see both sizes above.  An electric tea light easily fits in both sizes.
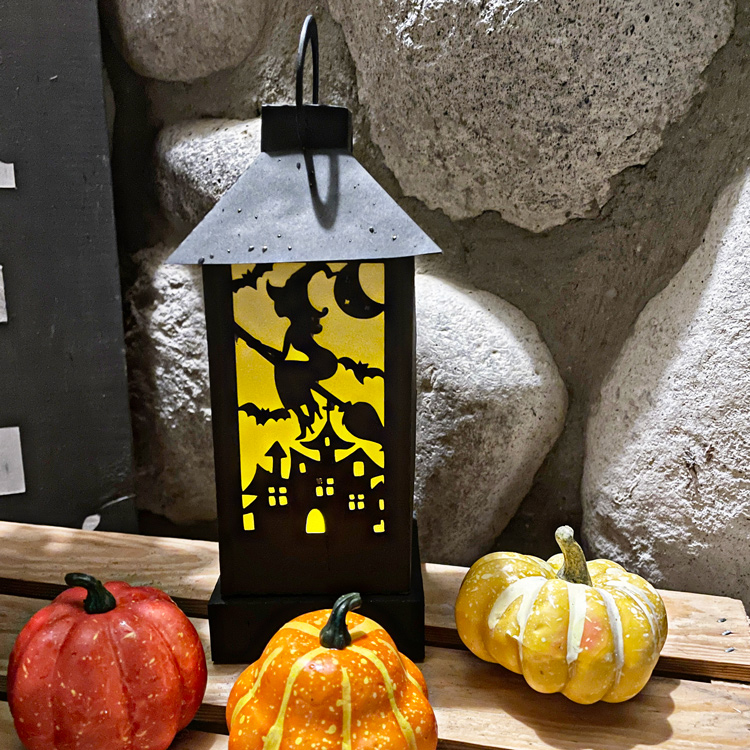
Check out all of the lanterns in the shop this week.  This post has photos and links to Lori’s SVG Shop and the Silhouette Store for each of the designs.  Have a great Halloween!

Ashley