
Hi Everyone! There are some new Halloween lanterns in the shop. I thought it would be fun to make some for this weekend!

Halloween Project Bundle 2 (SVGs)
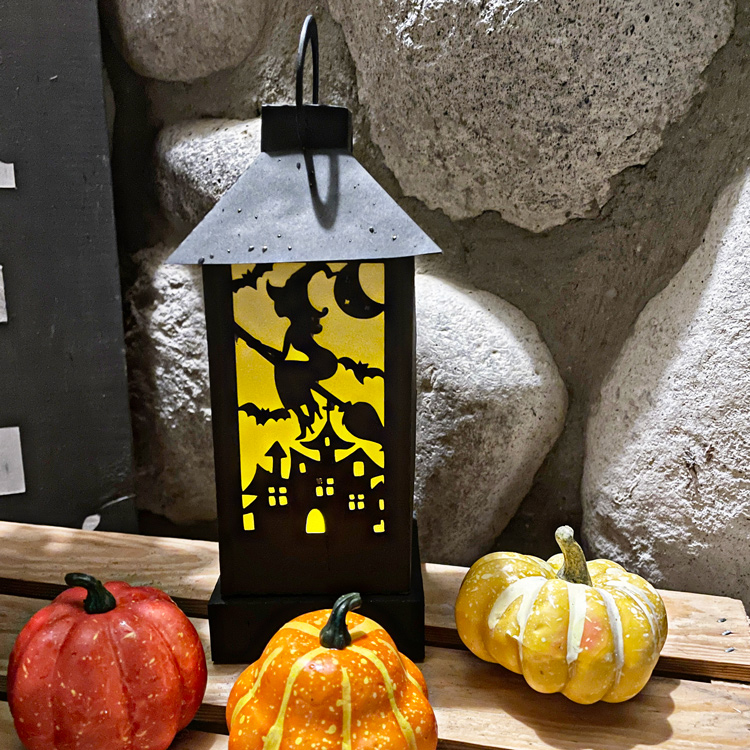
I made the 3D Witch Lantern (SVG, Silhouette ) I’ve put together a tutorial showing how to assemble today.
1. First, cut out all your pieces on your cutting machine. You can see the pieces below. I’ve folded them along their score lines.
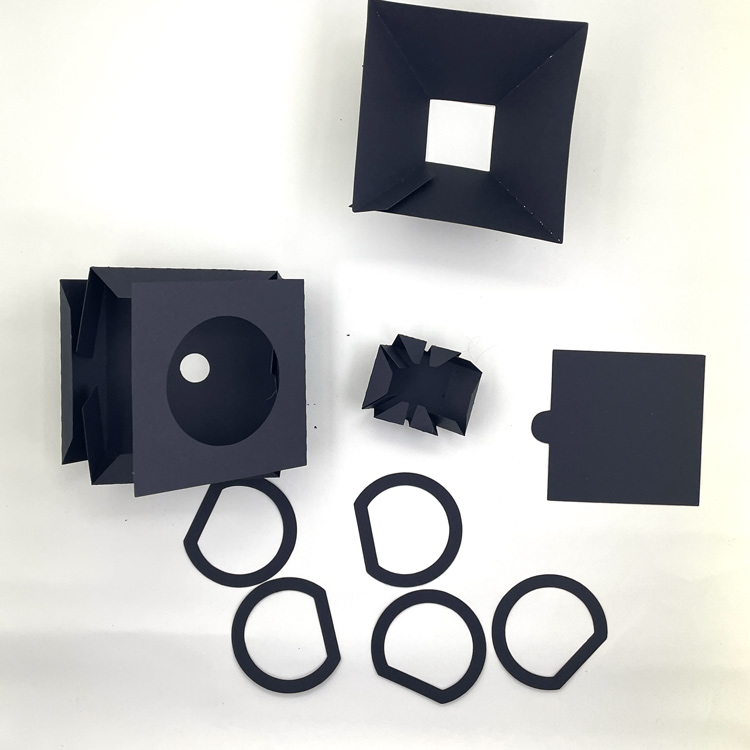
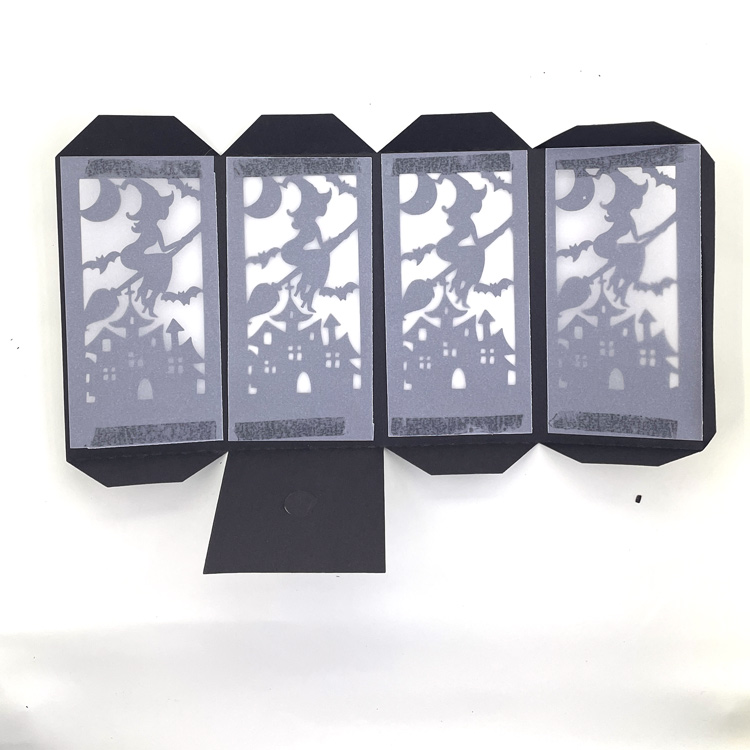
2. If you wish to add vellum to the insides of the lantern, do this next. I cut the vellum in 2.5″ x 5″ pieces. I used adhesive on the top and bottom of the vellum to attach the lantern.
3. Glue the individual pieces into shape by adding glue to the tabs, and folding. The tabs go on the inside so they are not seen in the final project.
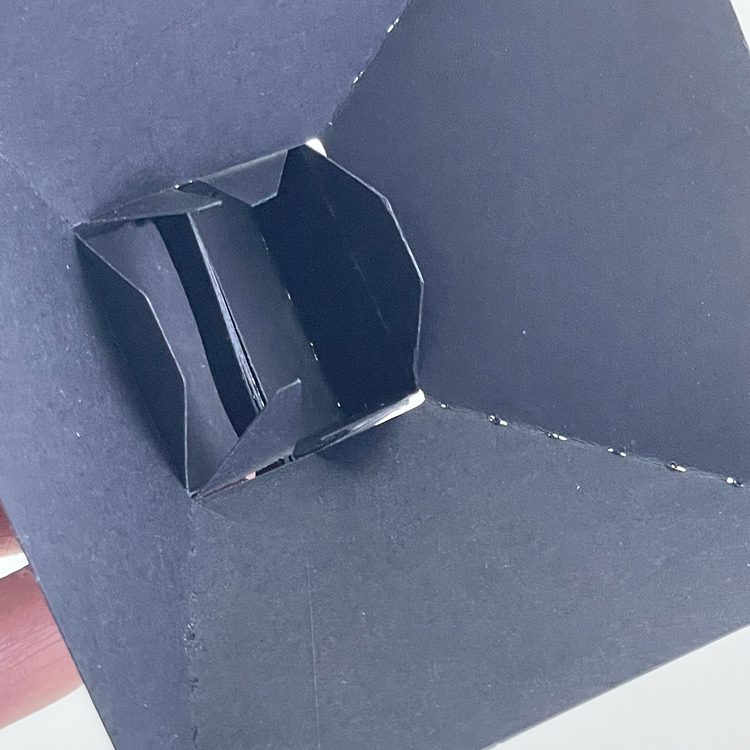
4. Glue all the circle handle pieces together in a stack to make one thick piece. Thread the stacked circles into the slots in the small square piece.
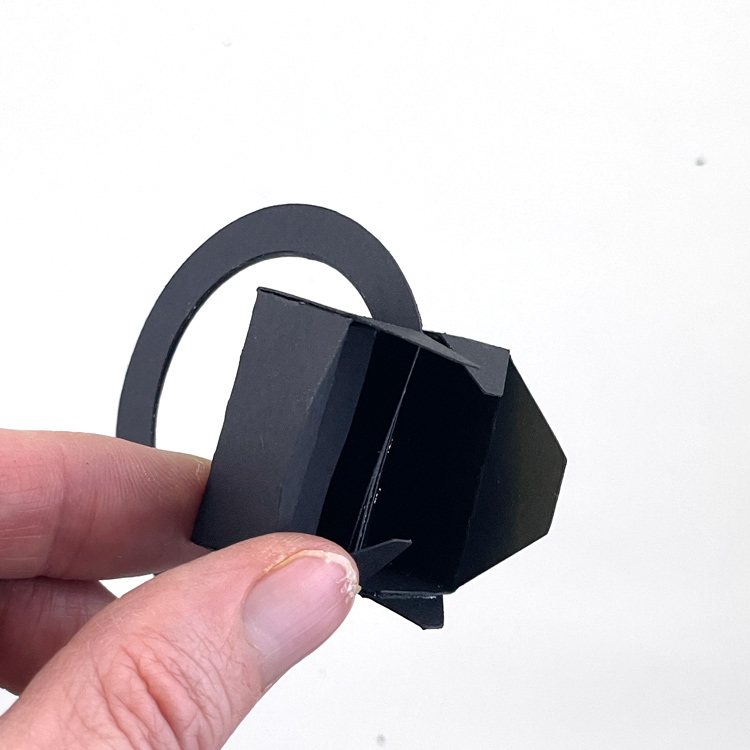
5. Insert the combined handle pieces into the domed top of the lantern, Secure by gluing the tabs of the handle to the inside sides of the dome piece.
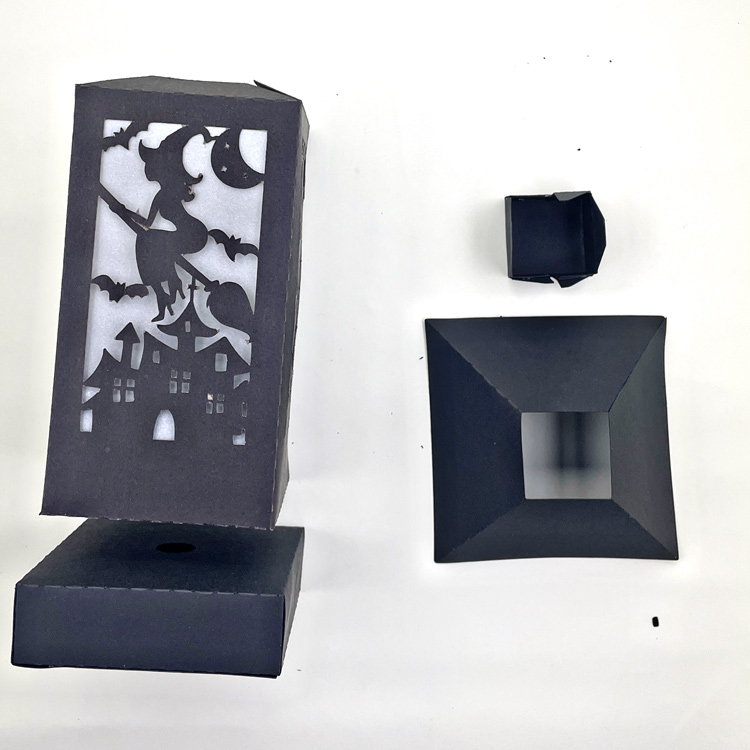
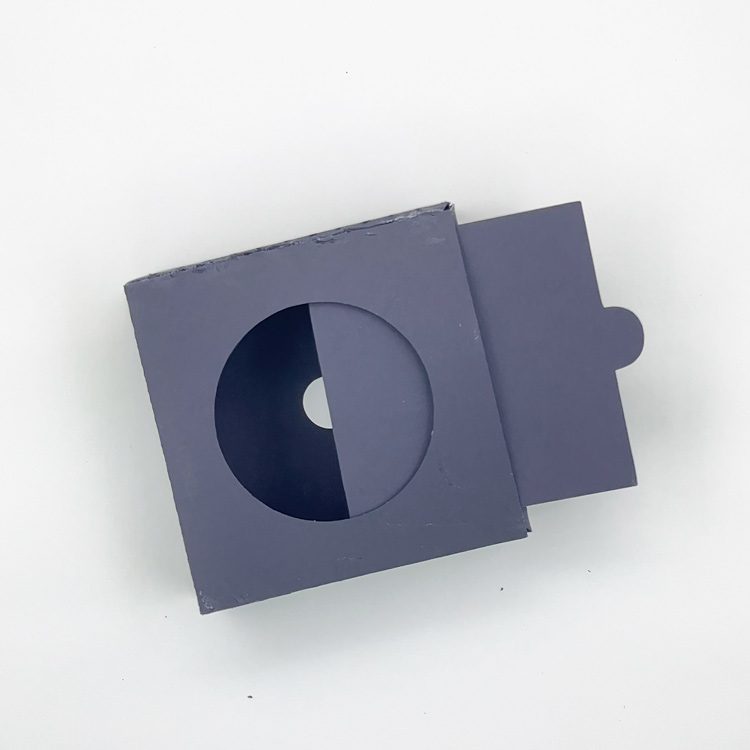
6. For the lantern base, glue 2 opposite sides of the panel with the large hole very close to the edge. This will allow you to add the slider piece to close the hole.
7. To complete, stack the pieces and glue. Start with the base, then add the decorative lantern piece, and finally the top with the handle.
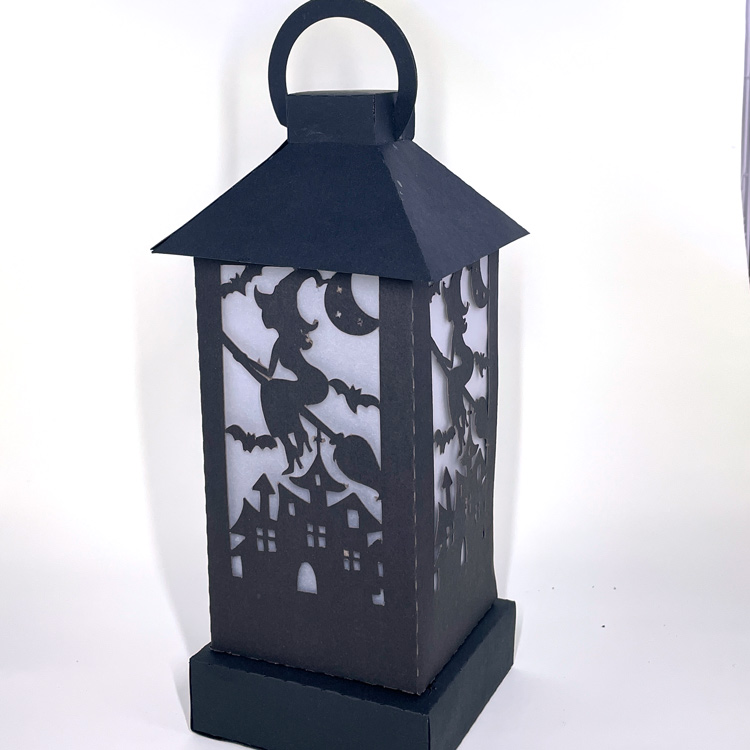
8. Place an electric tea light beneath the lantern. And you are ready to display!
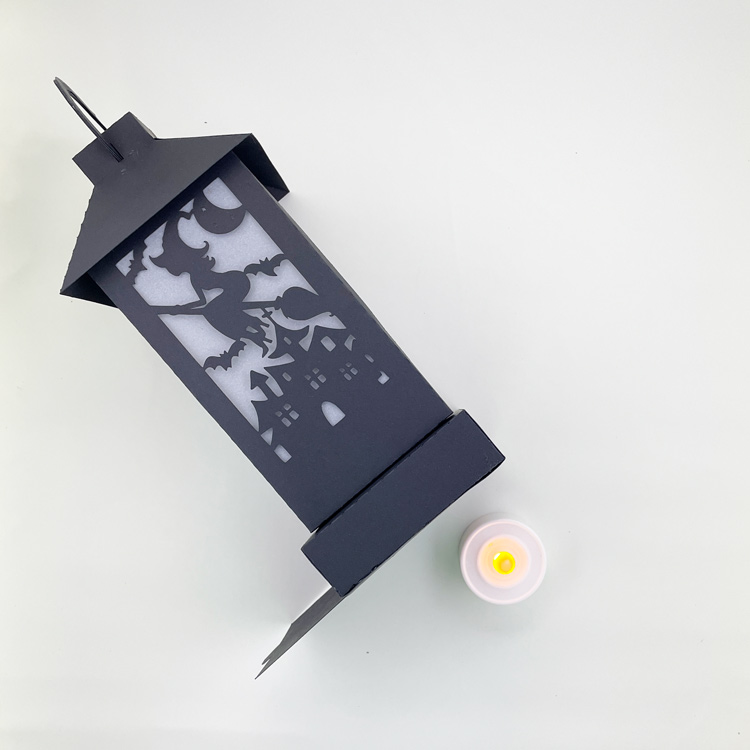
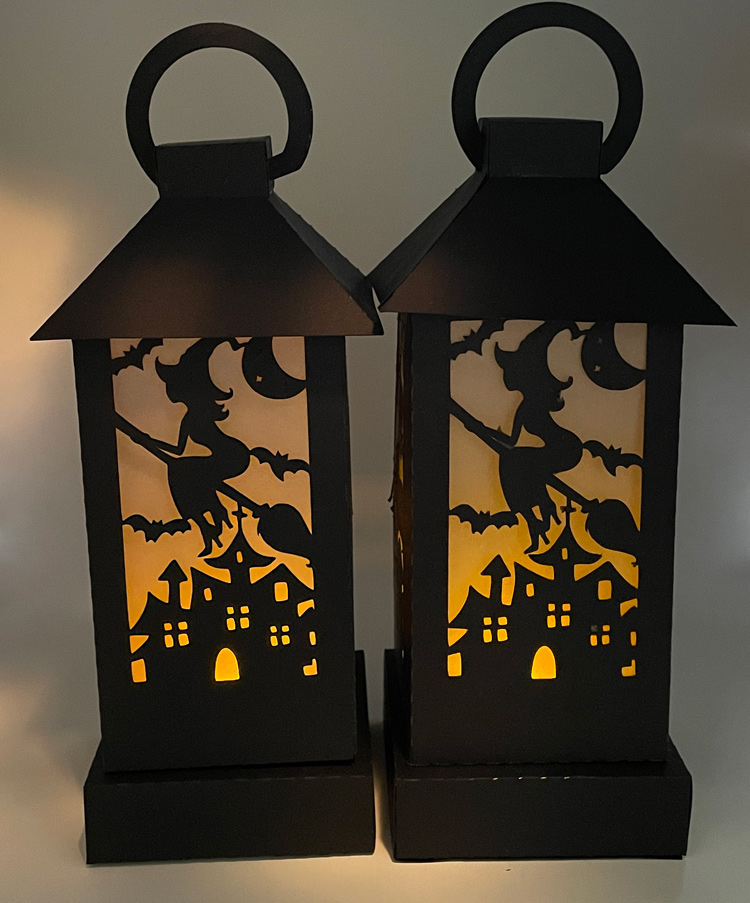
I made a second lantern and sized it just a little smaller, so that all the cuts could fit on three pieces of 8 1/2 x 11 paper. You can see both sizes above. An electric tea light easily fits in both sizes.
Check out all of the lanterns in the shop this week. This post has photos and links to Lori’s SVG Shop and the Silhouette Store for each of the designs. Have a great Halloween!
Ashley