
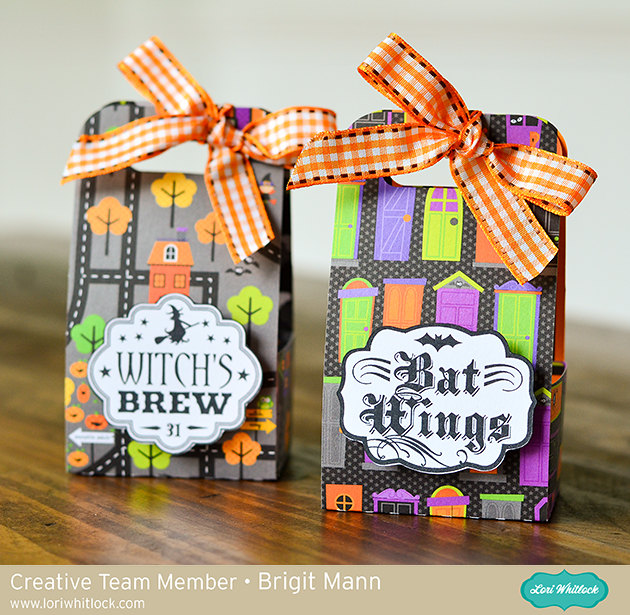
Hello Crafty Friends! I am Michelle Zerull from Pinch Your Chic and I’d like to share a fun tutorial for these adorable Haunted House Ornaments.

The ornaments are made using Haunted House Ornament SVG digital cutting files from the Lori Whitlock SVG Shop, or you can find the same Haunted House Ornament files at the Silhouette Design Store. The files come with many fun little Halloween elements to make your house as spooky as you want.

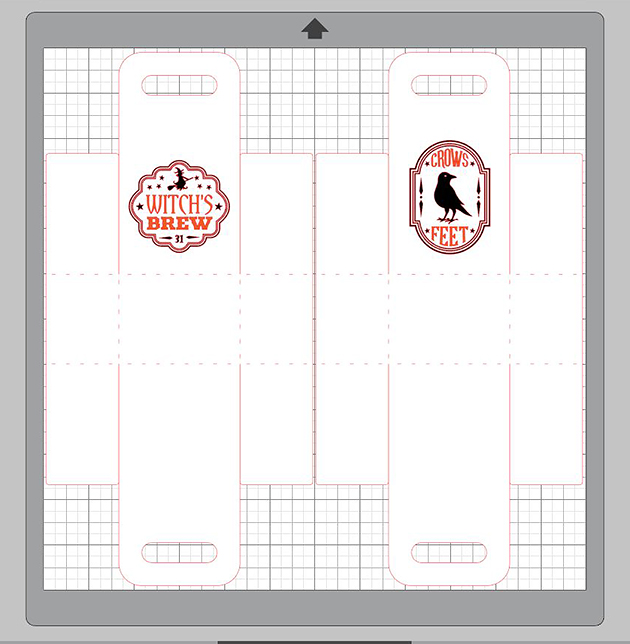
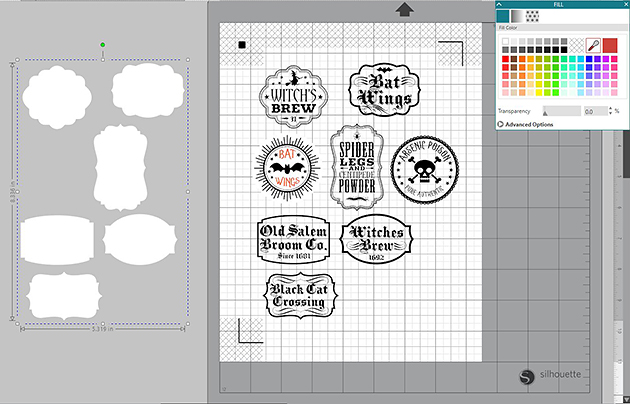
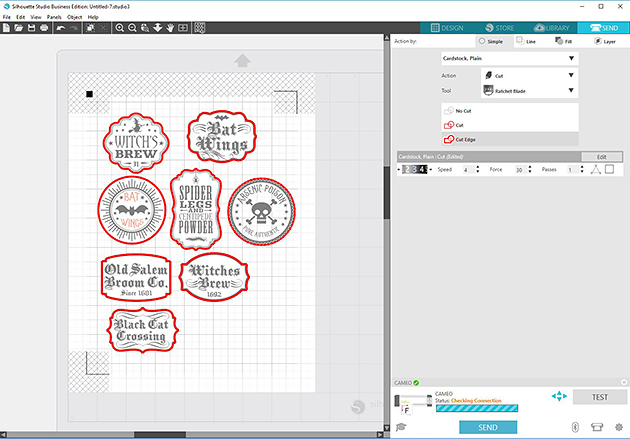
After downloading your files, cut your pieces on your Digital cutting machine using whatever colors and patterns appeal to you. (This project is also Silhouette Portrait compatible for those users!)

You will also need glue and string or ribbon to hang your ornaments. Optional: If you would like to place paper on the inside of the windows, cut this also. I cut four squares of 1 1/2″ vellum for the inside of mine. If you would like to ink, paint, or glitter any of your house elements, this would be the time to do that.

Glue the window, doors and other house elements to your main house piece. It is easier to glue these now, rather than waiting until it is assembled.

- Fold sides of House structure and glue tabs inside. this will create an open ended rectangle.
- Fold in the bottom and glue closed.
- Fold the three roof pieces in half and glue together to form one piece. Set aside. Cut a 6″-8″ piece of string or ribbon. Fold the string in half, knot and set aside. The knot will need to be bigger than the hole in the roof piece. Now fold the “triangle” roof pieces inward. Also fold the roof top tabs inward.
- Run the string through one of the roof holes. Make sure that the knot is on the inside.
- Press the knotted tab inward. Fold under the opposite tab.
- glue the two tabs together. This forms the roof peak.
- Add glue to the roof. Push the strip loop through the roof sections from step #3 and adhere the roof.
That’s it! As you are working with the pieces, you will find that the assembly is much easier than it appears…and lots of fun too!

This was such a fun and easy project to assemble! As you can see, I made several of these little Haunted Houses. Lori Whitlock has other fun paper houses at her SVG Shop. Be sure to check them out. I know that I will!

~Michelle


 I added some cute critters and embellishments since we don’t really do “spooky” at our house. The patterned papers you choose really make this house. Match it to your mood!
 I added some stitching to the tree to give it personality. And I stitched around the house pieces as well.
 Honestly, this chimney had me at hello. I loved it in green for the example and wanted to keep it that way. Its wonky nature and how the owl is looking scared of the spider = LOVE. I would advise cutting the back tree out of chipboard or thick cardstock a could of times. I want to reinforce mine before giving it to the kids! 🙂
 Here it is! Check it out in


