Scalloped Pocket Gift Card Album Tutorial

Hey there friends! Traci here and today I’m sharing a fun project that makes an amazing present for someone special. It’s a cute mini album made of pocket pages that are sized perfectly for gift cards. You could also add a sweet note, photos, tickets, or money. I created mine with a graduation theme, but … you could embellish this for ANY occasion! I’ve added a video below so you can see just how easy this was to make!


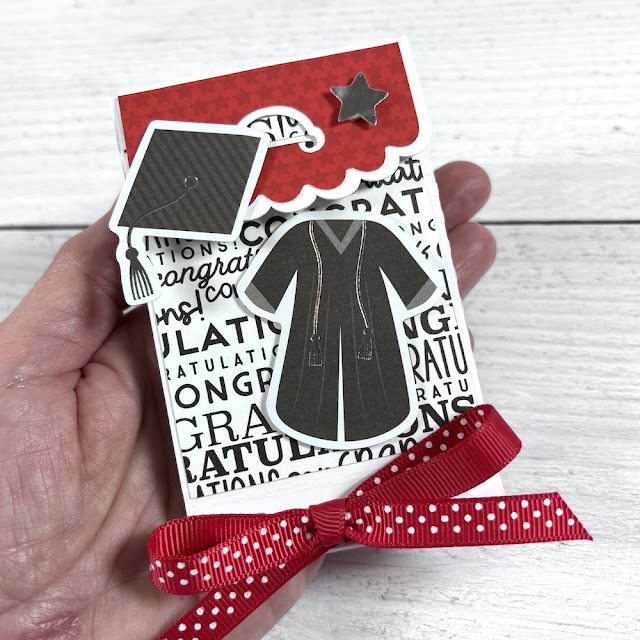
Graduation gift card holder with pockets, a star, and a cap and gown


I
 chose Lori’s amazing cutting file called Scalloped Pocket Gift Card Albu(SVGSilhouette) and decorated it with paper and ephemera from the Bella Blvd, Cap and Gown Collection.


Graduation gift card holder with pockets, a star, and a cap and gown


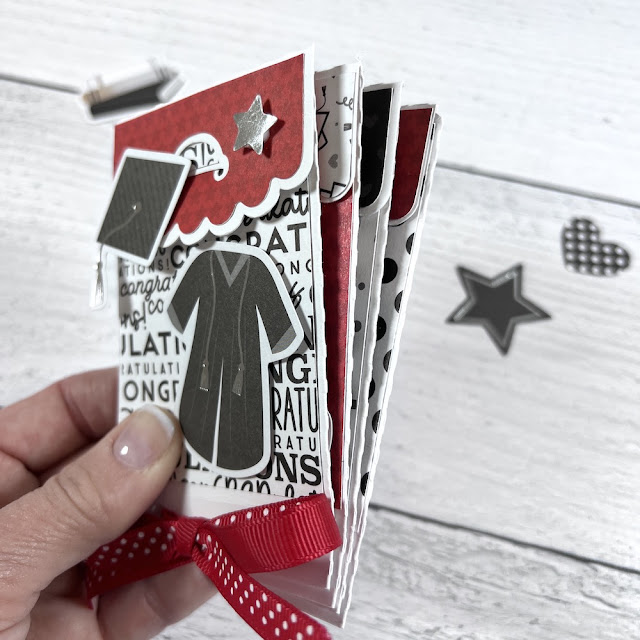
The cutting file is one pocket page but you could cut as many as you’d like. I made 4 so that I could add a variety of gift cards and notes.


Graduation gift card holder with pockets and a ribbon


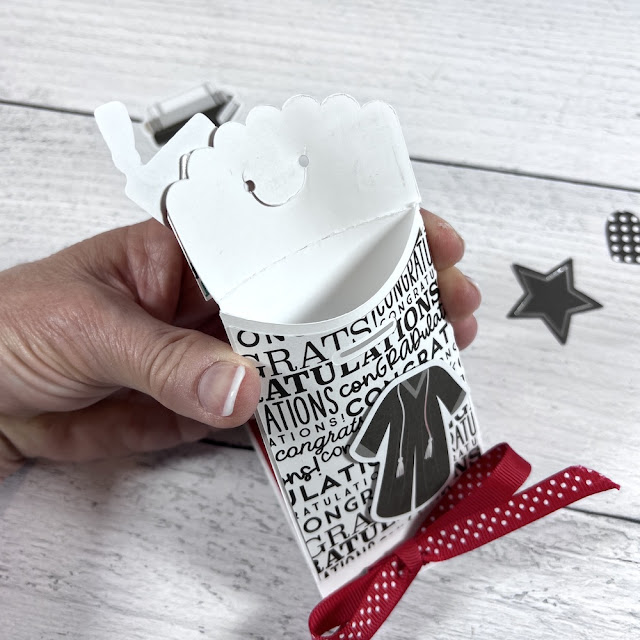
Each page has a self closing pocket that will securely hold your gift cards or other items. At the bottom of each, there are 2 holes where you thread a piece of ribbon or twine to bind the book.


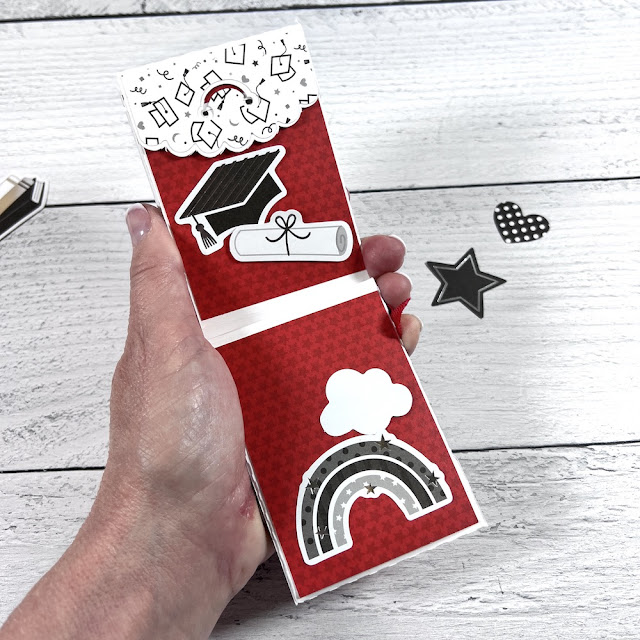
Graduation gift card holder with pockets, a cap, a diploma, and a rainbow


I love the curved scalloped edge on the flap of each pocket. Such a cute detail.


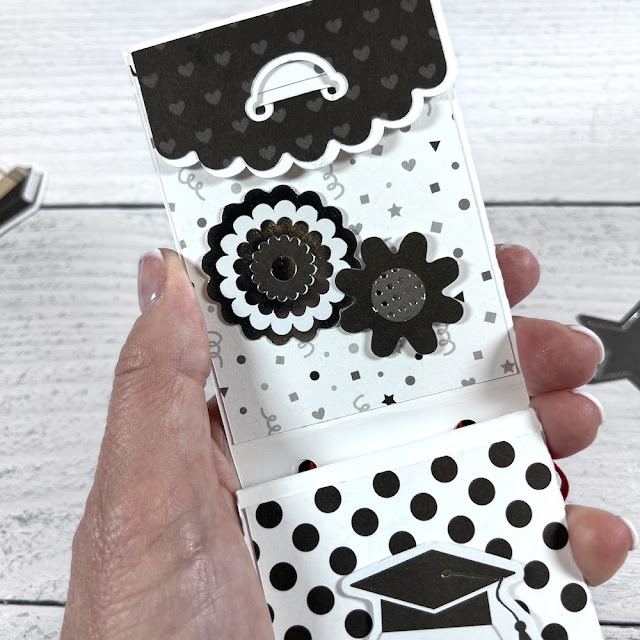
Graduation gift card holder with pockets, a cap, flowers, and polka dots


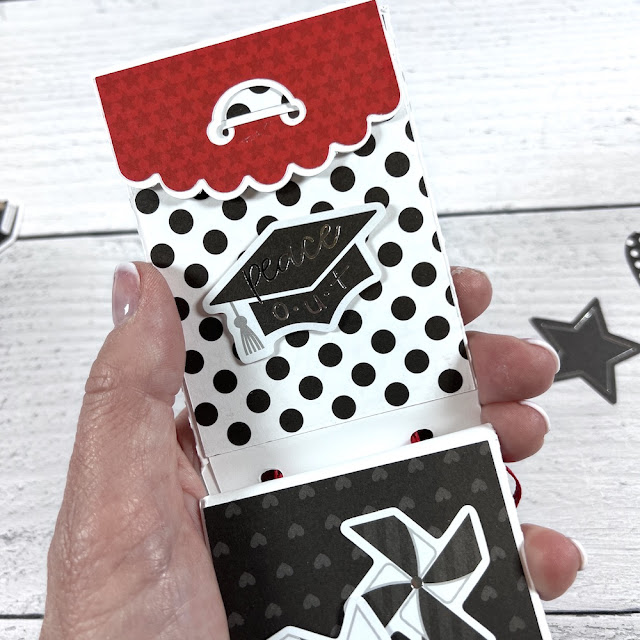
I embellished each page (front and back) with die cut pieces, but … you could add photo mats and pictures instead for a more personalized design.


Graduation gift card holder with pockets, a cap, polka dots, and pinwheels


Check out the video below to see how I put it all together…

I hope you like my graduation version of the Scalloped Pocket Gift Card Album. It’s a simple and fun project that can hold lots of gift cards! Great idea for ANY occasion. Happy crafting!

Blog * Shop * Facebook * Instagram * Pinterest

Graduation Tassel Tutorial

It’s graduation season and you may need a tassel for one of Lori’s many great graduation cards. The card that I’m making a tassel for is Lori’s 5×7 Gate Fold Graduation Card (SVG, Silhouette). Here is how I make them. I start with a yellow-gold color. Of course, you can choose your own color that will coordinate with your graduate’s school colors.

I then cut TWO 6-inch pieces. These pieces will be used to attach the tassel to the card and to assure that the tassel stays together. Set those aside.
Next, I start to wrap the thread through my fingers so that I can hold the end piece securely. This is also when I decide the appropriate length of my tassel for my project. For this project, the tassel is about 4 inches long. make sure to add about half an inch as you will trim the ends to even them up.
Then I wrap the thread around my fingers until I feel like I have enough thread to make a good tassel for my project. For this card, I did about 15 wraps.
Then I tie one of those 6-inch pieces at the top, doubling the thread so that I have 2 3-inch pieces after knotting the the thread. This will be the piece that gets threaded through the card’s hat top.

Then I will add the second 6-inch thread to wrap the threads together. I will tie this in a secure knot. If I feel like the thread isn’t feeling too secure I will put a small dot of super glue on the knot to help secure it.

Then I will cut the bottom thread pieces as well as the tied and knotted threads to evenly trim them up.

To help thread the tassel through the cap, I use some of my favorite liquid glue and add a small dot of glue to the ends and then twist the threads together. Set this aside to dry for a few minutes to make a “needle”.

When the glue is dry, go ahead and thread it through the hole in the cap, knotting the thread on the underside of the cap. I will usually knot it a couple of times to make a big enough knot so that it doesn’t slip through the hole.

This is how the card looks when finished. I love it! Lori makes the best designs. She puts great thought into her products.

Enjoy!
Teri

Graduation Hat Box Card Tutorial

It’s almost time for all the Graduation announcements to start rolling in and Lori has all the perfect cards for the new Grads.  I have a tutorial to share with you today with one of her new files, and you guessed it…a box card.  It’s the Box Card Graduation Hat in Lori’s Shop or here in the Silhouette Design Store.

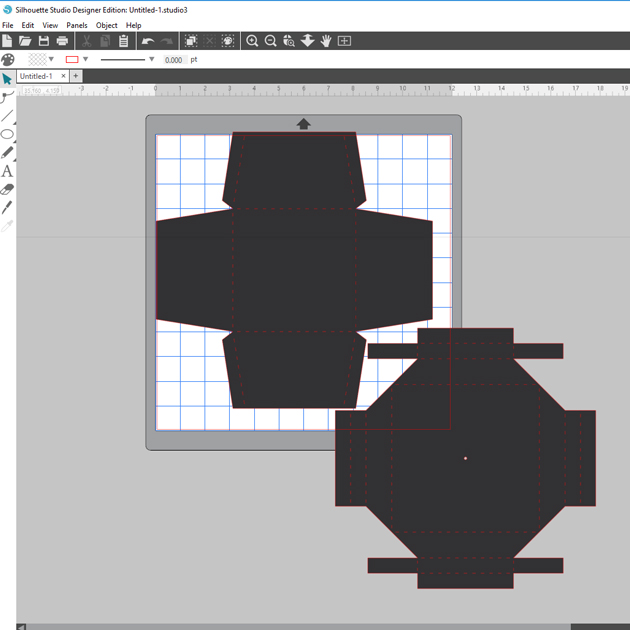
First, I chose my colors of card stock and cut everything out as you can see below.  I love that Lori colors all of her files.  It just makes it all so easy,

After I get all of my pieces cut out, I find it easier when making box cards or envelope cards, to adhere all the bits and pieces to the main parts while everything is still flat. Not dimensional yet. So here you can see that I have all three of my box card pieces layered and adhered.
Then I add scor tape to all of the tabs, a nice strong double-sided tape works best for these cards.
You can see the scor tape on the tabs, it’s the white strips.
Next, assemble your box and then add your two layers…the hat and the stars.
You can see below how they are adhered inside the box.
These are so much fun to create and give such a WOW factor. Remember they fold flat for mailing too!
I adore how this turned out. Just so fun for the Graduate!
Thanks for joining us today!
Cathy

NEW! Graduation Project Bundle!

This school year is going quickly. While graduation is an exciting time, this year it will be closing a chapter in our family book as our youngest child walks across the stage. I am so proud of my daughter and her accomplishments – she is such a hard worker. This is what has inspired this new bundle of graduation SVG files. This week I designed a cute and useful new Graduation Project Bundle AND it’s on sale 25% off this week. Go grab it while you can, make some cute projects, and put a smile on a graduates face. There’s a new graduation explosion box, hexagon pop up card, box card, money sleeve, a box, and some adorable cards. All the files are available individually or in the bundle. Check out the projects below…
One thing that makes these projects superfun is that you can change the colors to match your graduate’s school colors.

Have a wonderful day!

~Lori


3D Graduation Cap Favor Box by Aimee

Hi crafty peeps!! Aimee here with you today with a tutorial on how to assemble and create the new Graduation Cap Favor Box. I made this box for my niece Katie who will soon be receiving her Masters in Early Education and I couldn’t be more proud of her!

This fun and adorable box svg is available at the Lori Whitlock store *here* and at the Silhouette Store *here*. I also added some of the beautiful Lori Whitlock flowers after seeing a lot of graduates are now decorating the top of their caps which is a fabulous idea!! Wished that was a thing when I graduated!! (Rolled Flower 11 – Lori Whitlock or Silhouette, Rolled Flower 20 – Lori Whitlock or Silhouette)

Alrighty, let’s get started! I resized the original file to create a bigger sized box.

Since each piece was so big I used 2 sheets of cardstock…1 for the top piece and 1 for the bottom piece.

After I had each piece cut out, I folded each cut line.

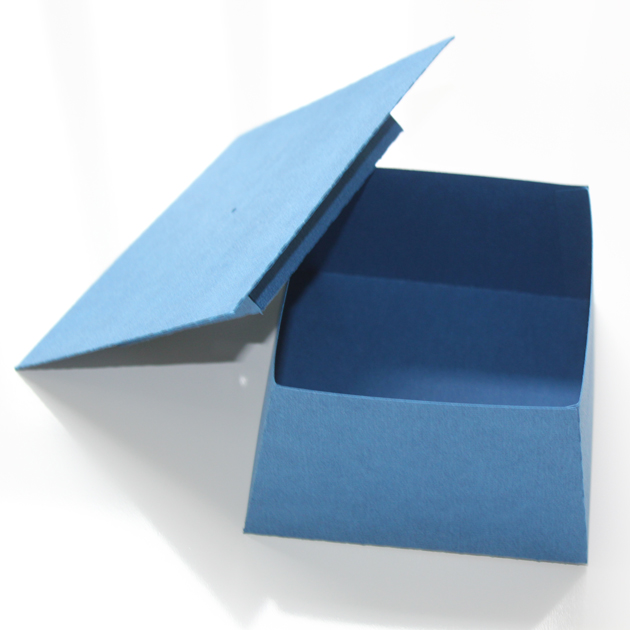
The bottom piece is easily assembled by adhering the gluetabs to the inside of the box.


For the top piece, start with the 2 sides with the extra gluetabs and adhere them down to the base of the hat. Follow along as I step you through it in the following pictures.

And this is what the underside of the top piece should look like after you’ve adhered all pieces down.

Now comes the fun part of decorating the top of the Graduate Cap!
That’s it for me today! I hope you enjoyed this tutorial and Congrats to all those graduates!!

Aimee