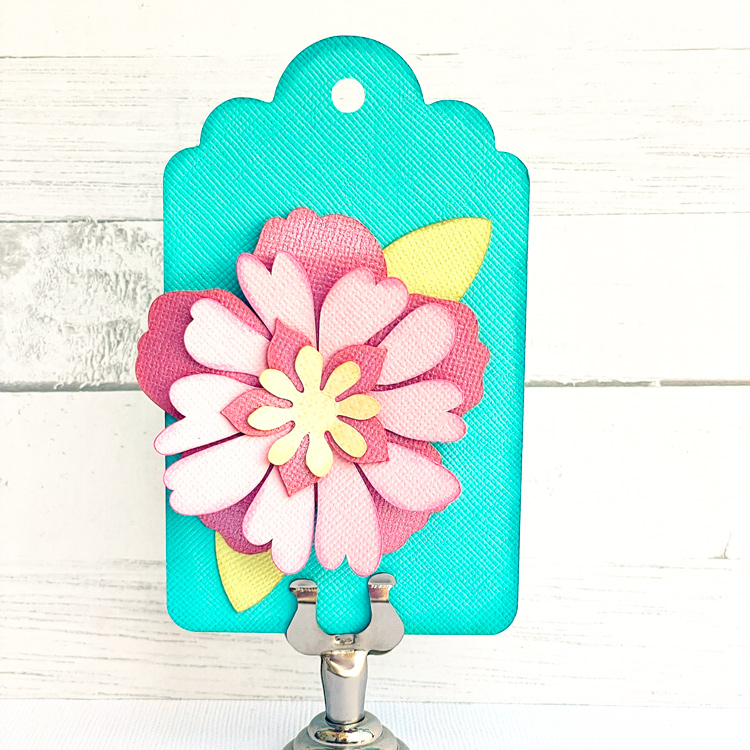
Lori has some fun new button cards in her shop. The whole collection can be found here. They are also available individually in the Silhouette Design Store.

This card is called the Flower Card Button (SVG, Silhouette). I’m going to share a quick tutorial using Cricut Design Space. You can create this card with the Silhouette as well. When you upload and open the image in Design Space, it looks like this:

Ungroup the pieces of the card. Now let’s look at the button sentiment. Lori has included a circle that is the size of the medium We R Memory Keepers button (37 mm). A smaller circle is also included that could be used instead of a button if you did not have a button maker. Both Mom and Mum are included in the file.

If you want to change any of the colors on the button, this is the time to do that. Once you have the colors, it is time to flatten the image for Print then Cut. Select one of the circles and all the pieces in it like shown, and click Flatten (bottom right of screen).

You know you have the file flattened correctly when it looks like this on your screen:
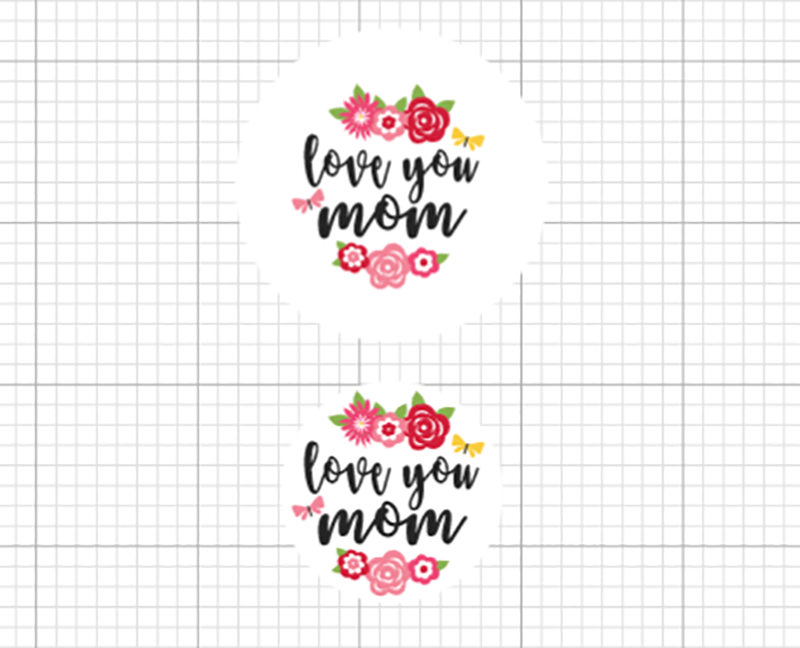 And in your layers, the image looks like this.

Sometimes when flattening files, you might need to ungroup before you flatten. This file is ready to print then cut. After printing and cutting, you have all your pieces:
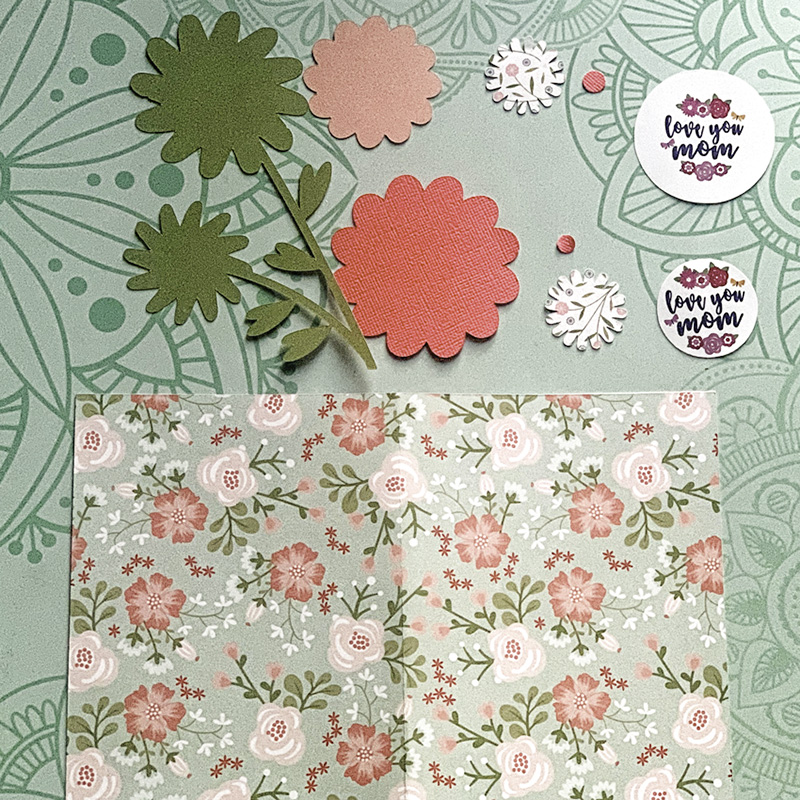
The flower parts are easy to assemble on the card. If you have a Button press, make a button.

You can make the button with the pin in the back so it can be worn or attached to something else. Or you can take the pin out, so it will just be an embellishment on the card. I made both to show you.

I decided to use the button without the pin back for the card. I love the dimension it adds. If you don’t have a button press, you can use the included smaller circle and mount it to chipboard and/or a pop dot.
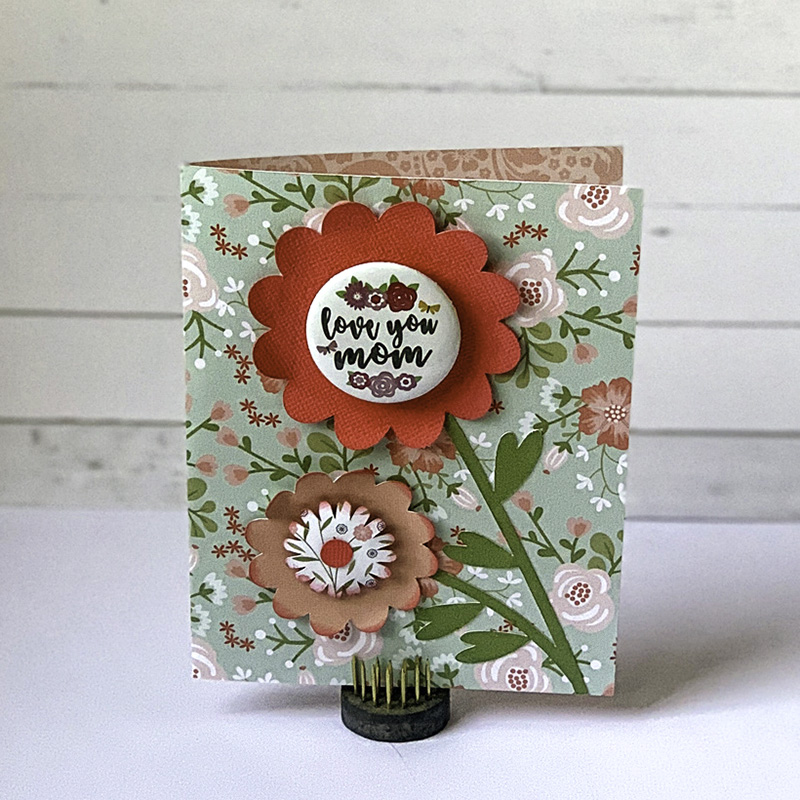
I used papers from Lori’s Our Wedding Collection. I hope you enjoy this tutorial for the Button card. The real question is, Do you call the item in this file a button or badge? Or something else?
Have a great day!
