Hello Crafty Friends! Michelle here with you today to share a paper flower tutorial to make what could be the world’s easiest paper flower, but no one will know that except for you! You don’t need any tools or any experience to create this full, lush, dimensional bloom. You just need your electronic cutting machine and Lori’s cute cut files! Let’s get started!

For this flower, I used “3D Flower 43” that can be purchased at the Lori Whitlock SVG Shop or at the Silhouette Design Store. The flower looks different in the photo, but that’s only because we’re using the super easy construction method. Download all of the files and cut them out in your choice of colors. I made mine pink to coordinate with the paper from Lori’s “I Love Summer” Echo Park Paper Collection. Even the tag matches. Isn’t that the cutest?

Cut out all of your petals and group them by size. You should have five groups of three.

Starting with the smallest group, curl the petal strips that are the same size, upward with your fingers and glue them on top of each other as shown. Don’t stress about the curling them because we have more to do with them anyway and the curling will barely show. Use whatever glue you’re comfortable with. A fast drying glue, or hot glue is recommended. Glue all five groups in this manner.

Place your index finger in the middle of each petal, and gently pinch the petal ends so the form a “cup”. Do this to each group and set aside.

Pinch the “leaves” together just as you did with the petals. Your groups will look like the above photo. But we still need to complete the center!

The center will be completed in two steps. First, glue the two sides together. Do not fold a crease in the strip. Instead gently hold the the sides together until the glue sets, and move down along the sides until it is all glued together.

Add a line of glue down the cut edge and gently roll the strip. I tried to keep my roll tight. You can roll it tight, or loose. It’s up to you! When it’s all rolled up, set it aside to dry.

While your center is drying, start combining your petal sets. I started with my smallest set and glued it to the set that’s a little bigger, by placing a drop of glue in the middle and holding it down with finger as shown. Make sure your glue has taken hold before adding your next set. For best results, stagger the petal placement so that they are not right on top of each other.

Finish the flower by placing your center in the middle and by adding your leaf piece to the back.

I cut my flower in the dimensions shown when I opened my file. It makes an impressive size! You can scale the size of your flower up or down depending on the project. These would be great for wall decor or used in place of a bow like I made mine. In fact, I scaled up the size of my gable box in order to accommodate the flower’s width. I used the Gable box here in the Lori Whitlock SVG Shop, and also found in the Silhouette Design Store.

That’s it! You are going to impress everyone with your flower making skills!
Have fun!




 I used paper from Lori’s Spring Fling Collection with Echo Park. Have a great day!
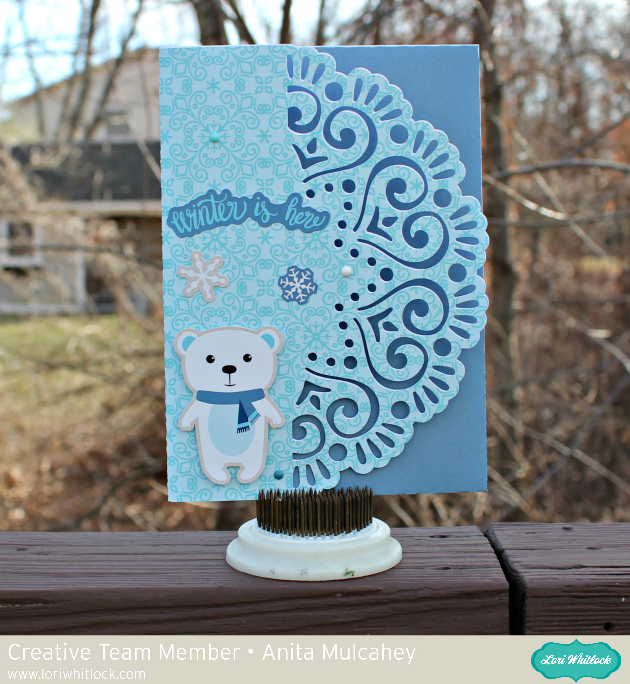
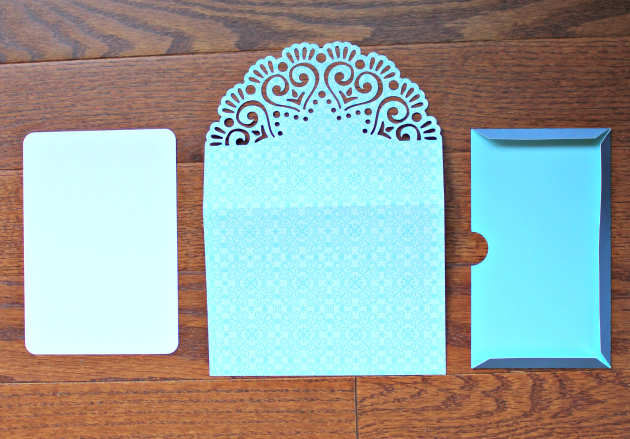

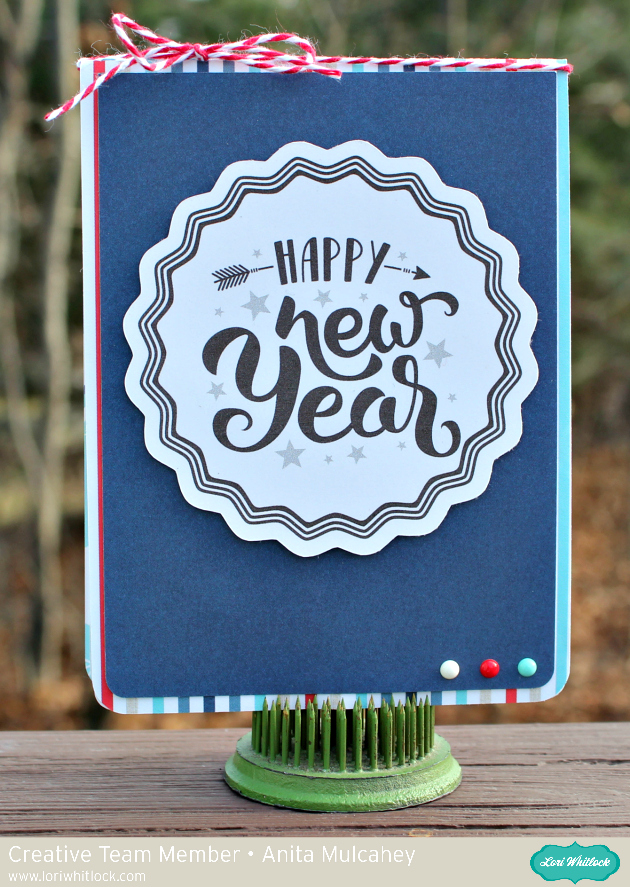 Happy New Year’s Eve everyone. Anita here to share with you this awesome and easy to make twist pop card. I used Lori’s new Echo Park collection
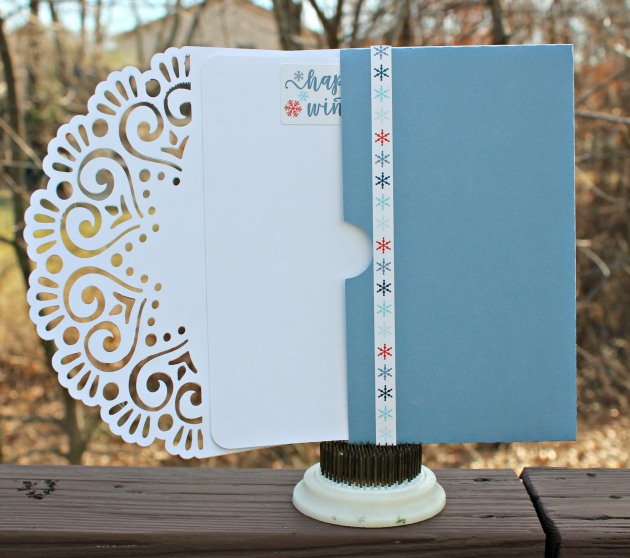
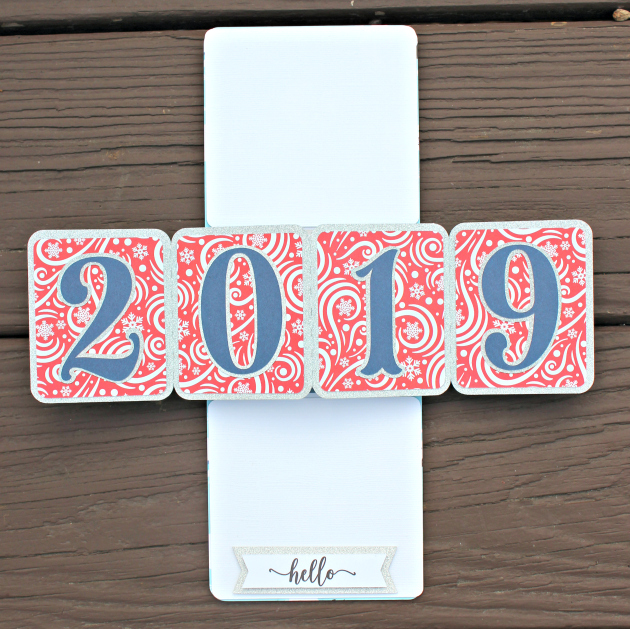 When you open the card the center pops out!
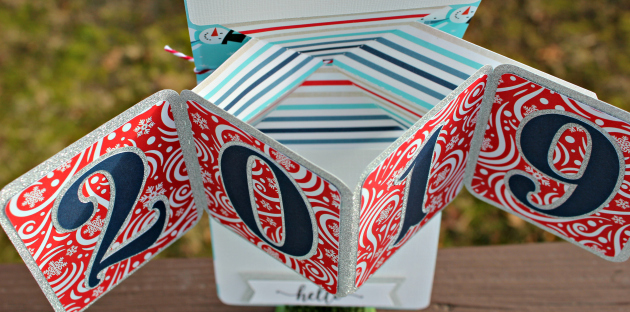 Here is the view from the top down while the card is open.
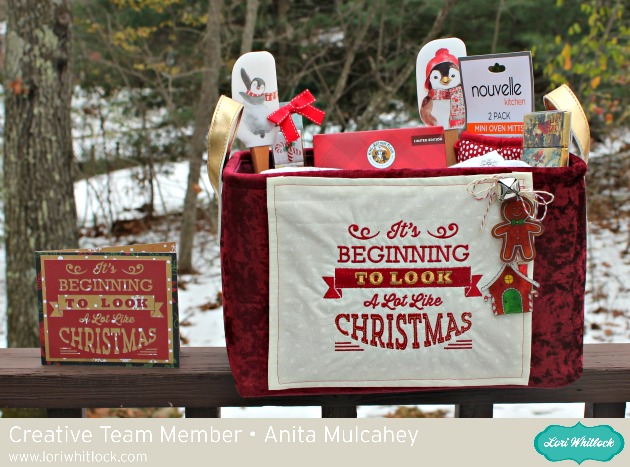 Anita here with a fun tutorial to make this gift set. I love to quilt and embroider as much as I love to paper craft and I was thrilled to recently discover that Lori Whitlock has embroidery files that she has designed, many of which mirror her paper craft SVG files. You can find her gorgeous embroidery files at
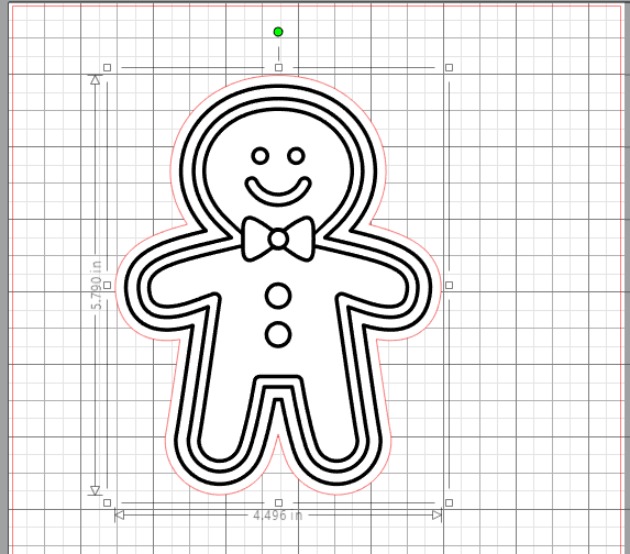
 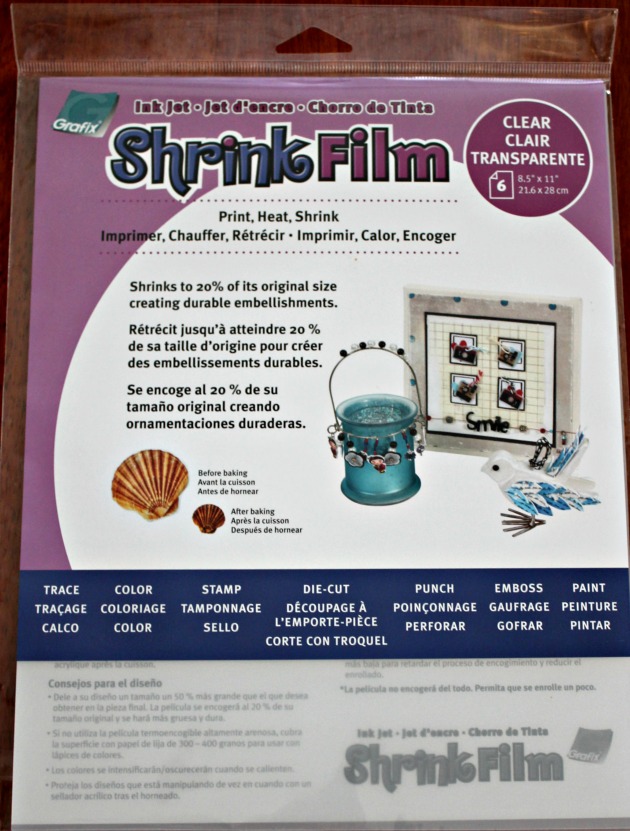 I bought shrink film from Amazon and used Lori’s Print & Cut Stamps Christmas Cookies which you can find
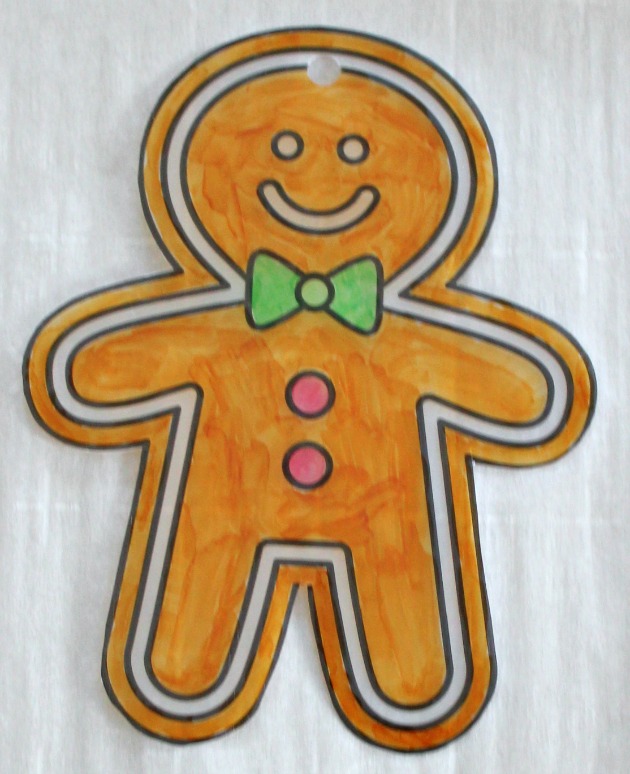
  I then used my Copic markers to color the shrink film. I knew that the colors would deepen once I shrunk the image so chose my colors with that in mind. I used R37, E11, G14, G07, E99 for the gingerbread man and Y08, E99, R37, G07 for the Gingerbread house. Be sure to punch a hole in your shrink film before you put it in the oven and remember that the hole shrinks also. The directions say to bake the film on parchment at 300 degrees for 2-3 minutes but I found that my heat gun worked much better as I could control the plastic as it shrank. Below is the before picture.
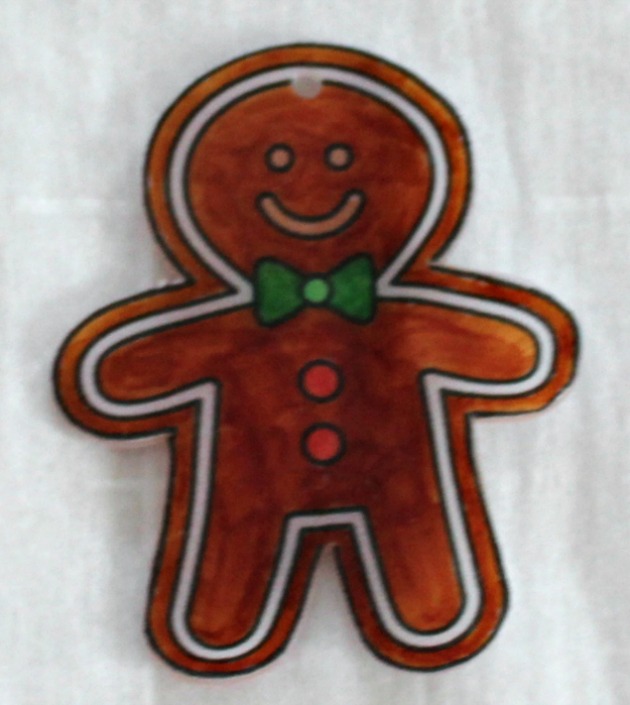
 Here is the photo of the shrink plastic after it was done.
 I went to Embroidery online and bought the bundle which had all the Christmas embroidery files that I wanted to use for this project. It is called
 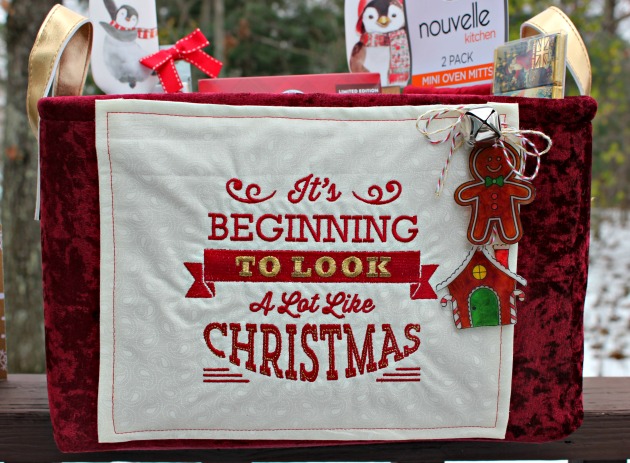 I then strung my two adorable gingerbread embellishments on some yummy twine, added a bell and glued that down as well.
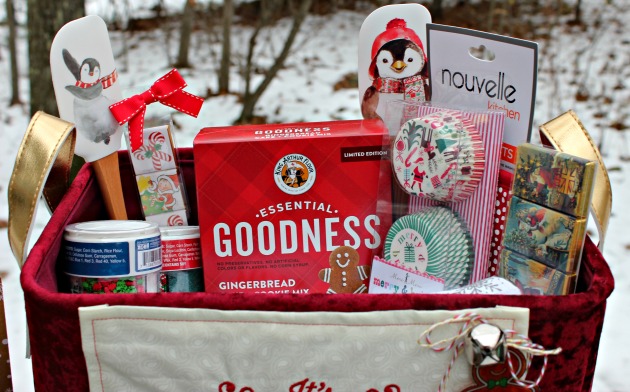 The last thing that I did was made a card that used the SVG cut file which matched the embroidery. I used Lori’s new Christmas collection called Celebrate Christmas. The cut file can be found here in Lori’s store and
  That’s it for me. Hope that you have a wonderful holiday season.