The Physical Products Sale in the Lori Whitlock SVG Shop ends at Midnight (MST)! Get 15% off Paper Collections when you use code SAVE15 at checkout! It’s the perfect time to pick up some fun holiday collections! Don’t miss out!
**These are physical paper collections that will be mailed to you and are only available to U.S. Residents. You may not use store credit for any physical products. Thank you for understanding.
Have a great day!
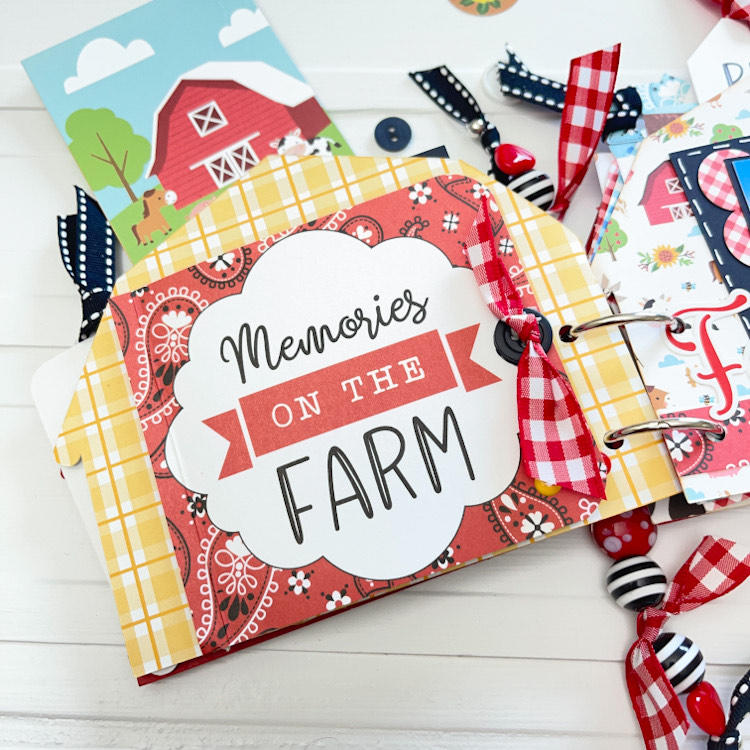
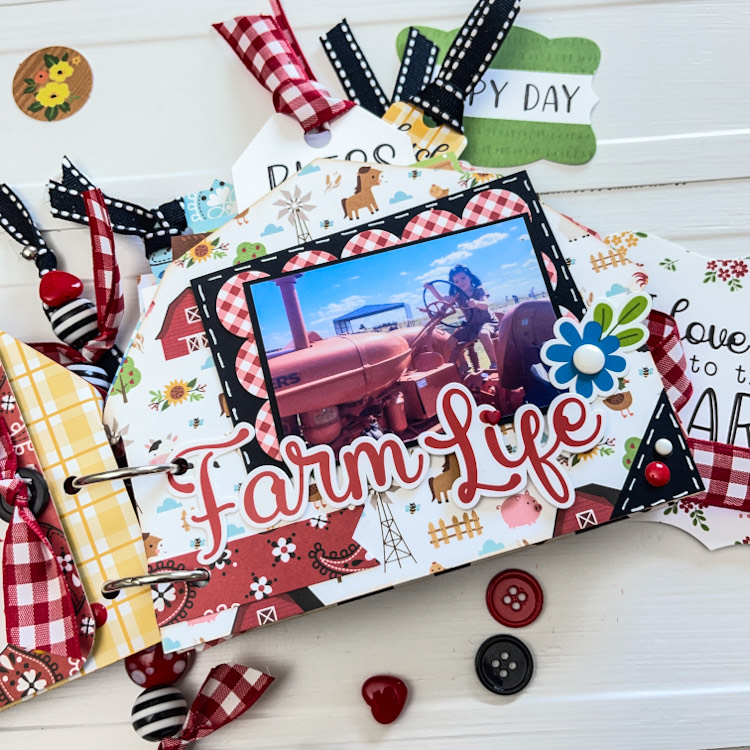
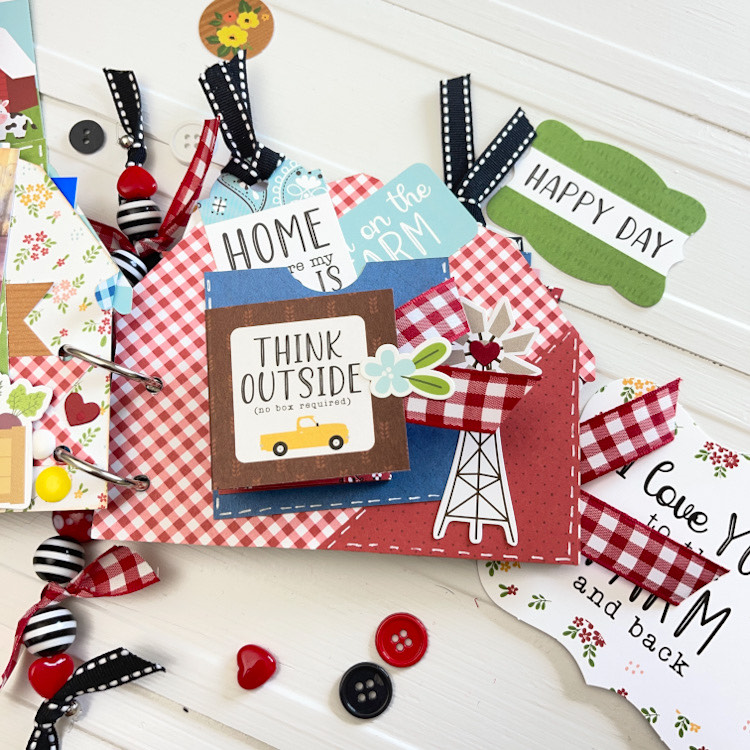
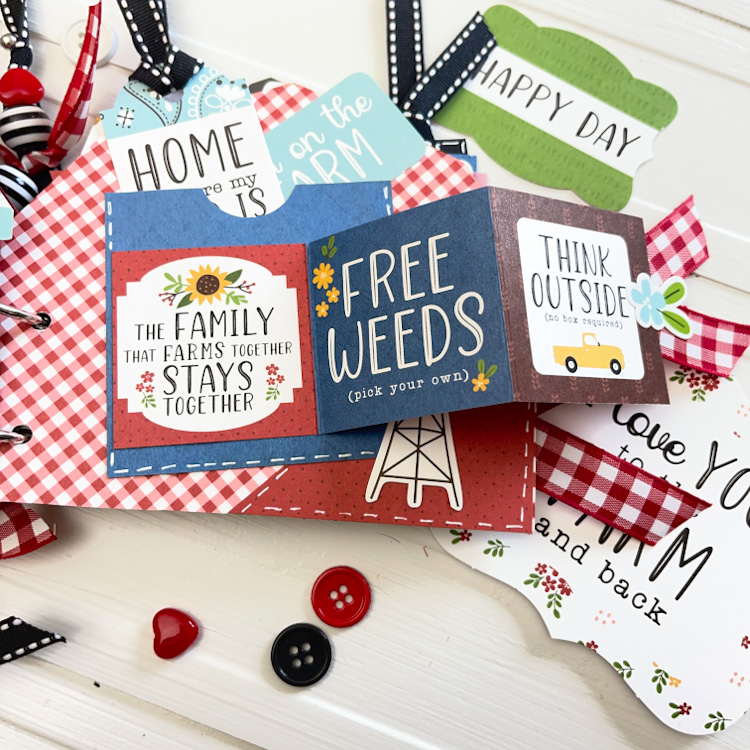
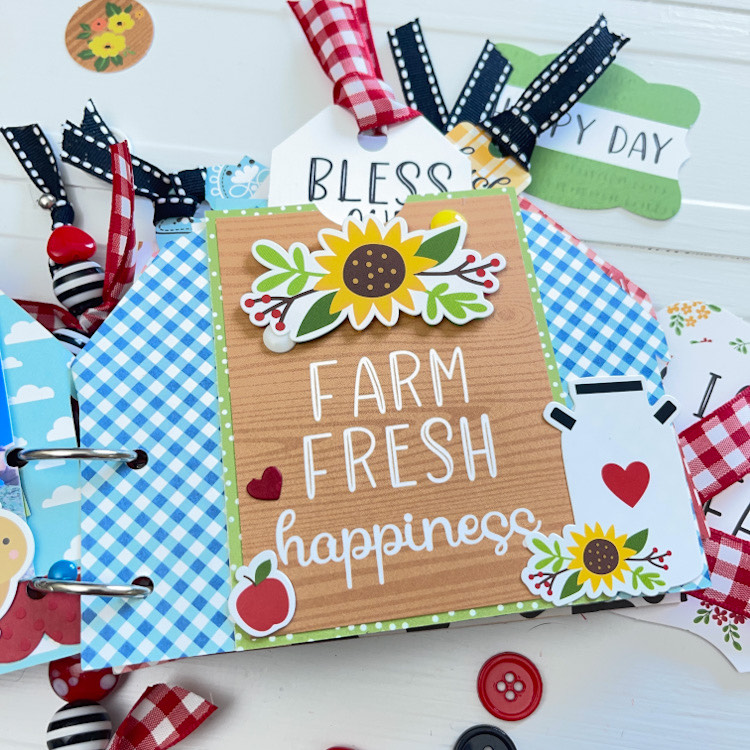
Hi everyone! I’m so excited to share this little mini album created from Lori’s Pop Up Barn Card (SVG, Silhouette). I had so much fun creating this and added so many fun details! I used Lori’s Echo Park Fun on the Farm collection for my project!
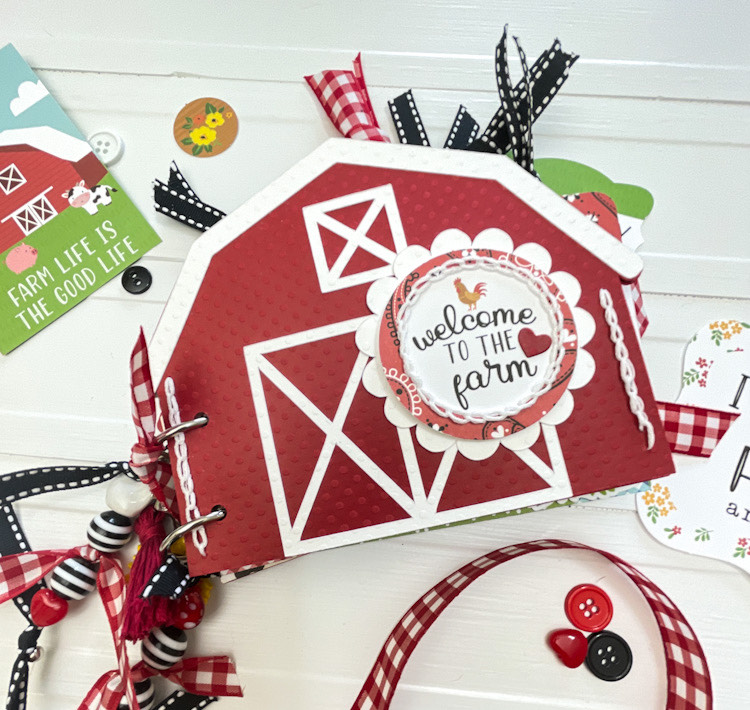
I started by opening the file and ungrouping it, saving the barn shape, the white doors and window. I enlarged the card to be 4.5 x 6 inches. You will need to cut 4 red barn pieces and two sets of the white doors and window. One is your front cover, one is the inside of the front cover, one the back cover and the other will be for your stitching template and book ring template!
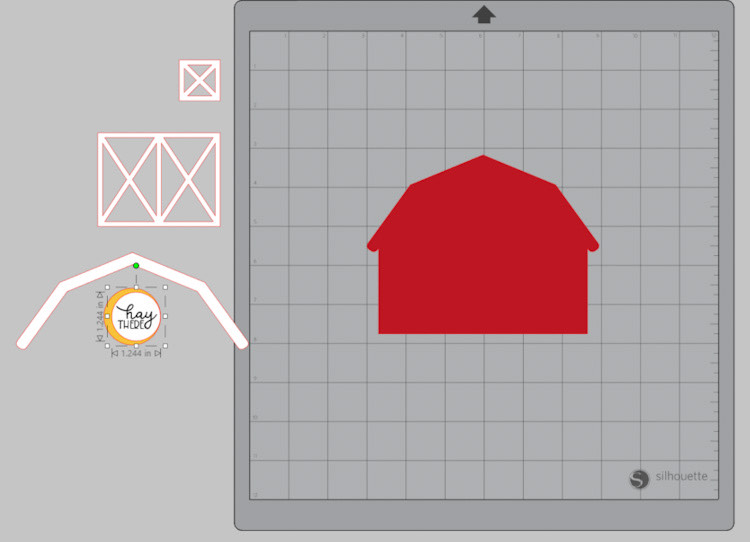
On of your template barn shape, you will do an internal offset and then go to line style, change it to the biggest stitched line.
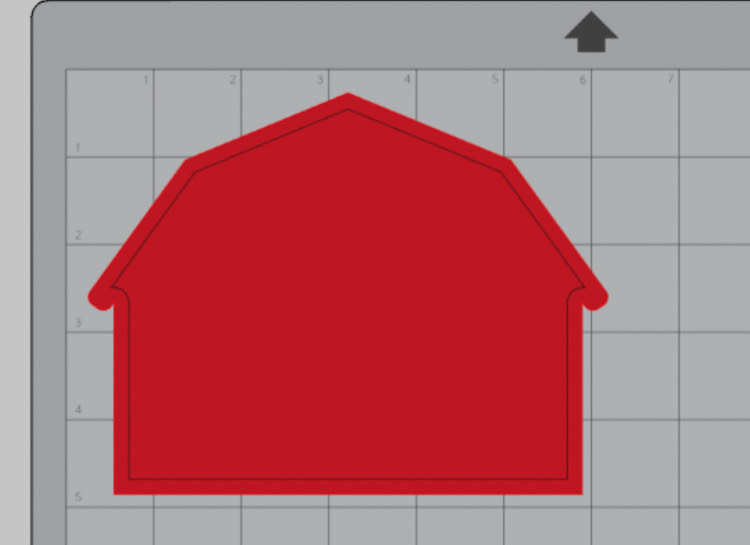
Then using a Silhouette Sketch pen, I used black so that I could see it well, send it back through to draw the stitched lines. This will create your template for stitching. You can use the stipple on your machine too to create stitching holes but my cardstock was to heavy to really see the stippled holes….my eyes are getting old! Lol. So this is what worked best for me.
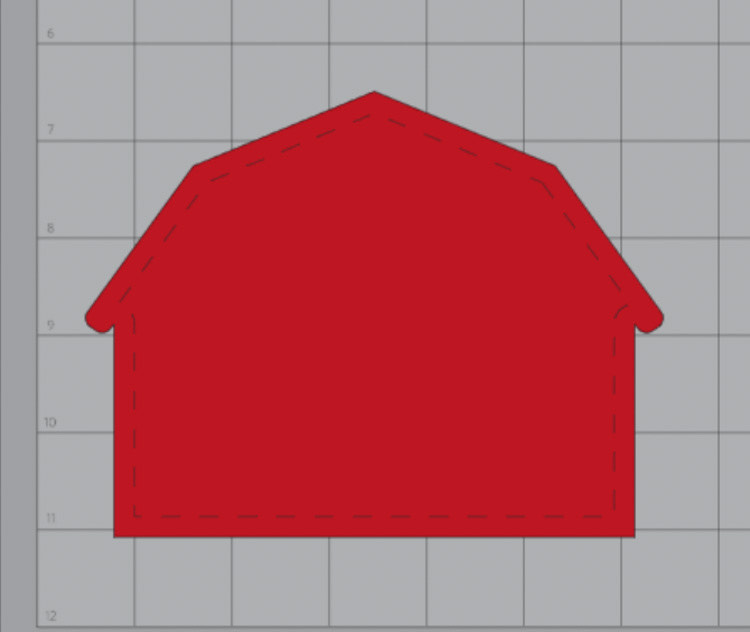
I just pierced the lines on the sides of the barn so that I could add a bit of chain stitching to accent the cover. Place the barn piece with the stitched lines over another barn shape and pierce your holes. I recently attended an event with the amazing and beautiful Paige Taylor Evans and she taught us to chain stitch. I am head over heels in love with the stitch and technique. I added the chain stitching to the little “Welcome to the Farm” tag too. I just pierced the holes evenly around the circle!
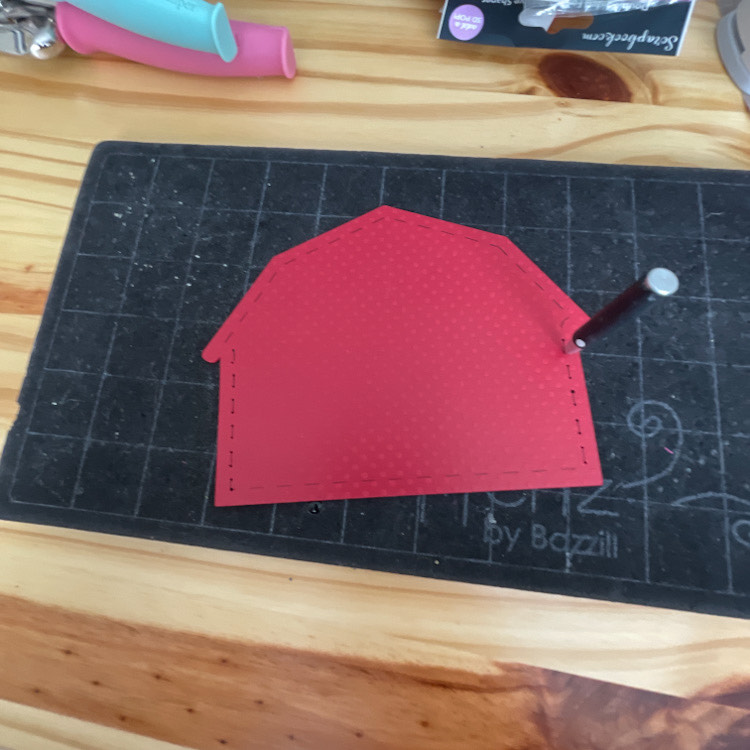
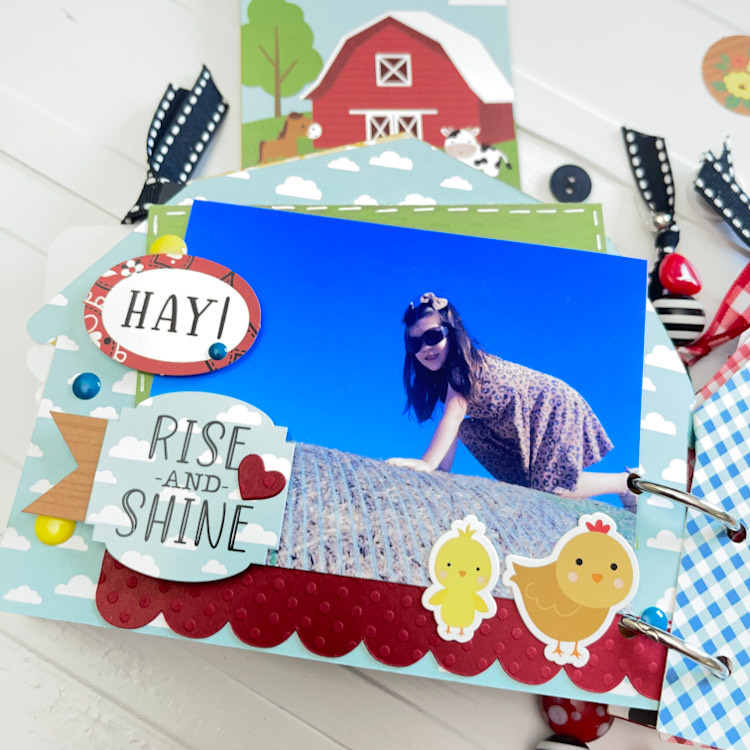
After I was done stitching, I adhered one of the barn pieces to the back for the front cover, so it has a nice finished look to the inside, and that way you can’t see the back of the stitching. Next, it was time to punch my book ring holes. Again, place the barn piece with the silhouette sketch pen lines over all your pages, one by one, and punch your holes. I punched in 1/2 inch for my two book rings. I have seven pages in my book, but you can make more or less. I just had that many photos of my grand daughter’s visit to a farm.
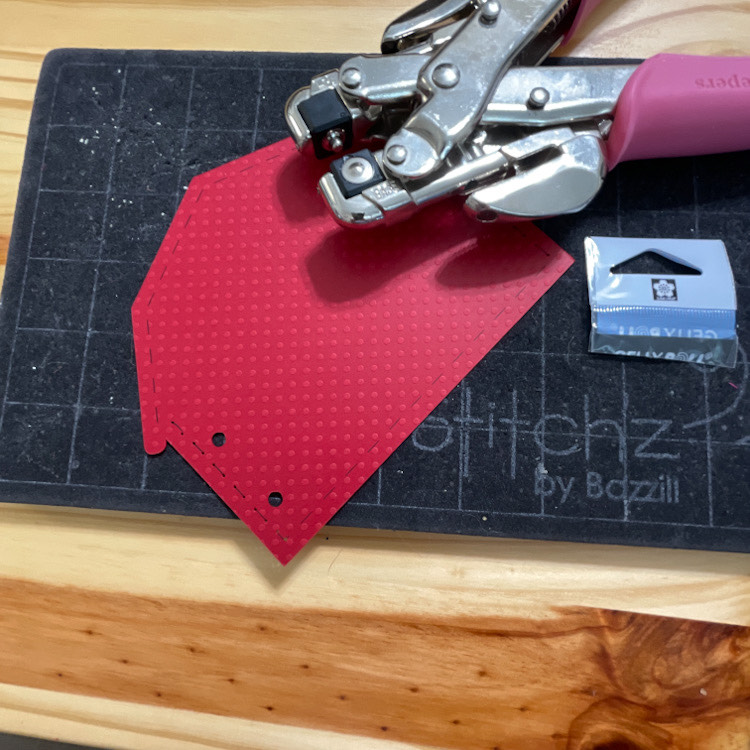
I love how this turned out. Eeeeeek! It’s so cute and the Fun on the Farm collection is just adorable and so much fun!

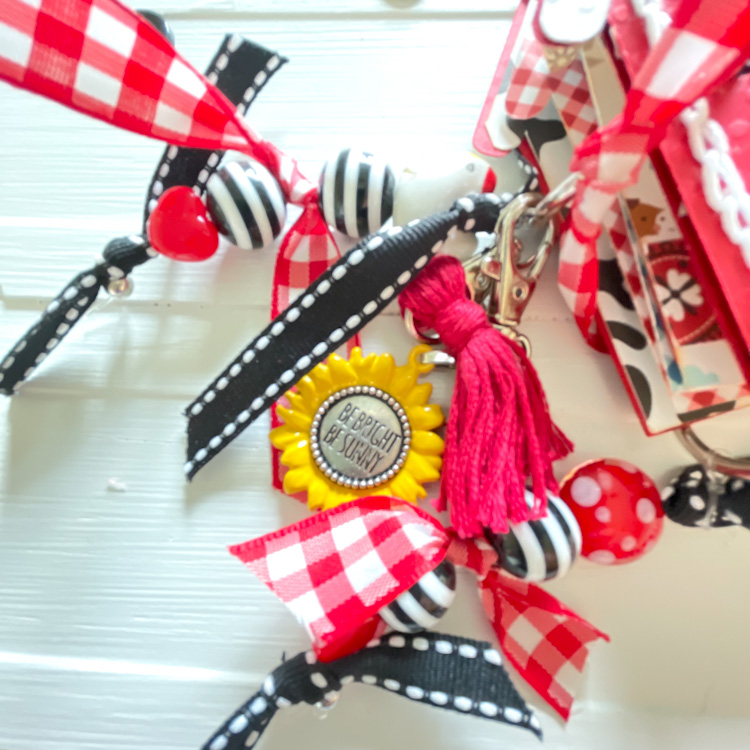
I added lots of fun with ribbon, beads, a fun tassel, sunflower charm and even a cute little chicken bead up on top there!
I’ll just share a few of my pages here and I’ll share the rest on my blog.
Thanks for stopping by! ~Cathy
Hello there! I always like to do a Christmas in July project and one of my favorites and most used are tags. Everyone in the family needs them so I usually do a bunch of Print and Cut tags this time of year. It’s so nice to have them done and on hand ready to go.
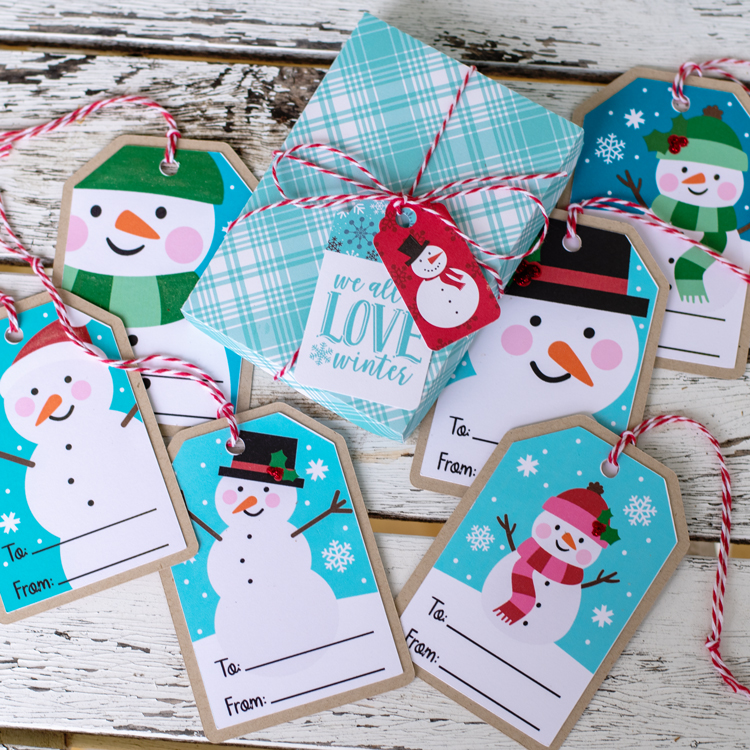
I used the Print and Cut Christmas Tags Bundle 5 (SVG, Silhouette) and made an offset for the bottom layer. To keep the set together I made a cute little box using the 3D Candy or Tag Box, (SVG, Silhouette).
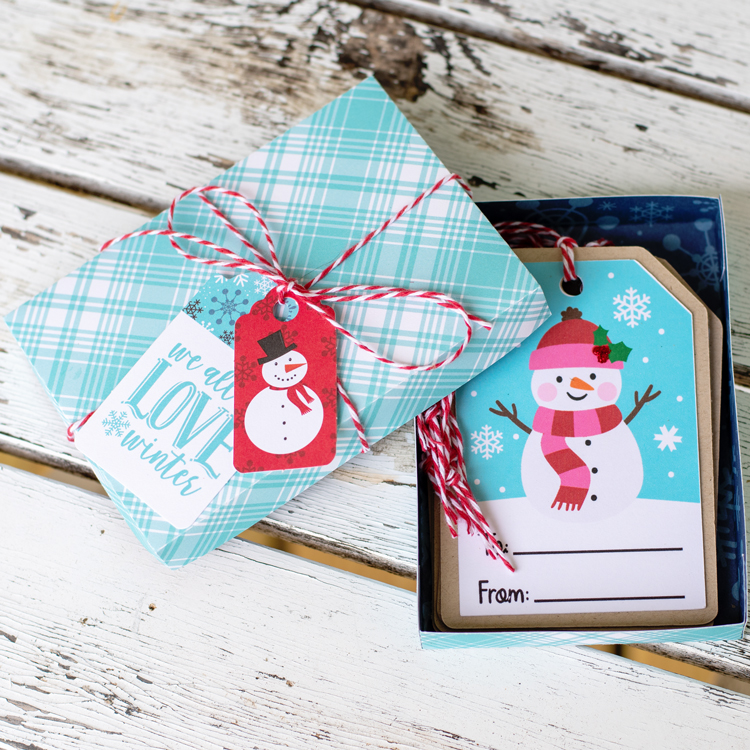
I only used the box in the file and resized it to fit the tags, this came out perfectly.
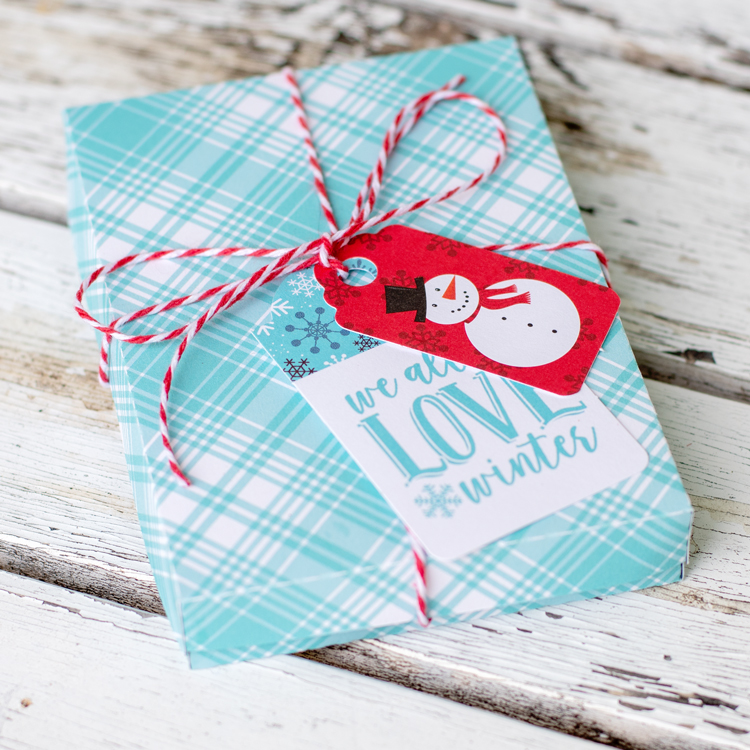
Patterned Paper and embellishments are from Echo Park’s Celebrate Winter collection. This would make such a nice gift set!

Hello everyone, I have a quick and fun tutorial to share with you today, the canoe-shaped box, (SVG, Silhouette). This makes such a cute gift box filled with marshmallows, chocolate, and graham crackers, what little camper wouldn’t want to receive this! I used Echo Park’s Summer Adventure collection of papers and stickers to decorate.
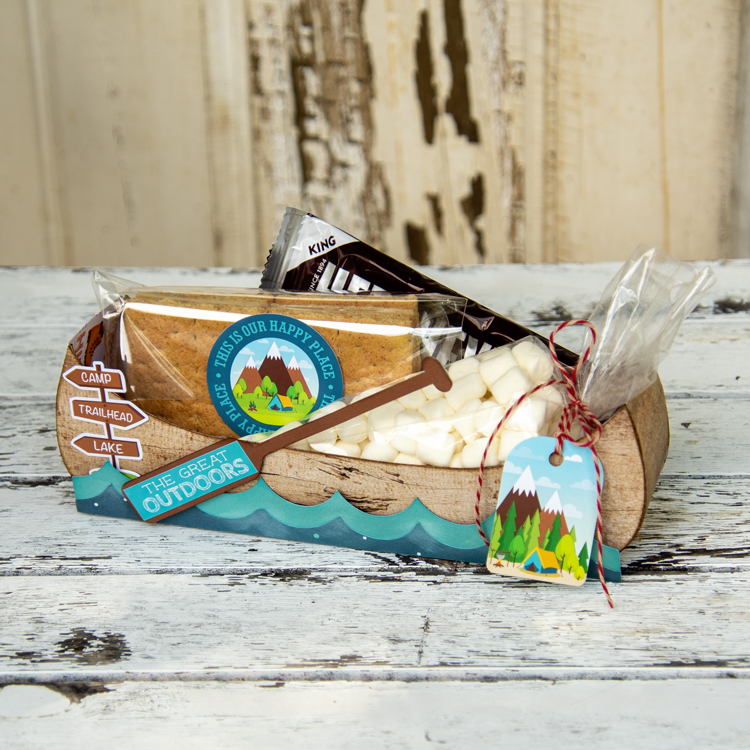
I was able to get all the canoe pieces on one sheet of paper as you can see below. I also made two of the oars and glued them together so it would be sturdier.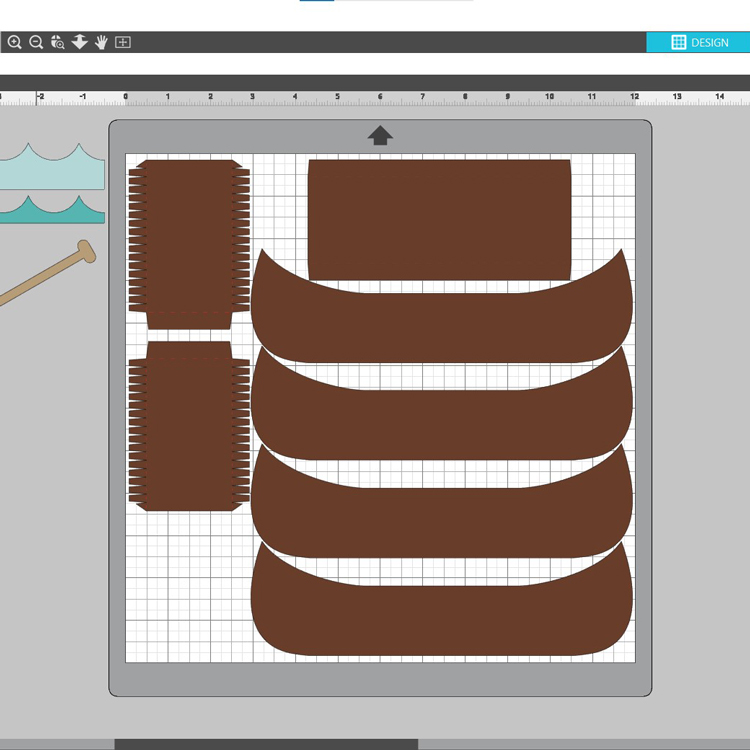
After cutting all the pieces I folded all the score lines and inked all the edges.
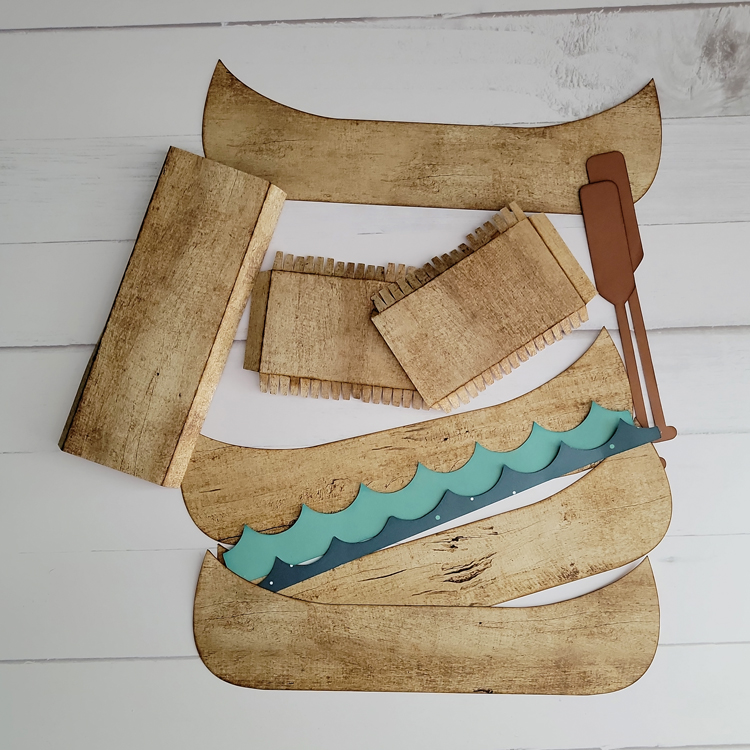
I glued the three bottom pieces together and then added one of the side canoe pieces inside. So you wrap the flaps around the piece as you can see below. I find you get such a nice fit when you do it this way.
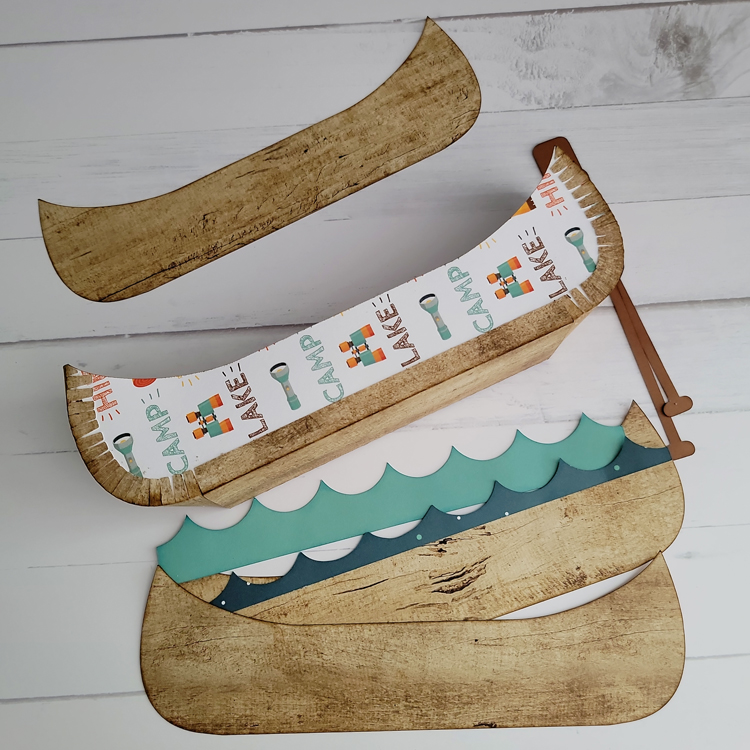
Then I add the other inside piece which forms the canoe.
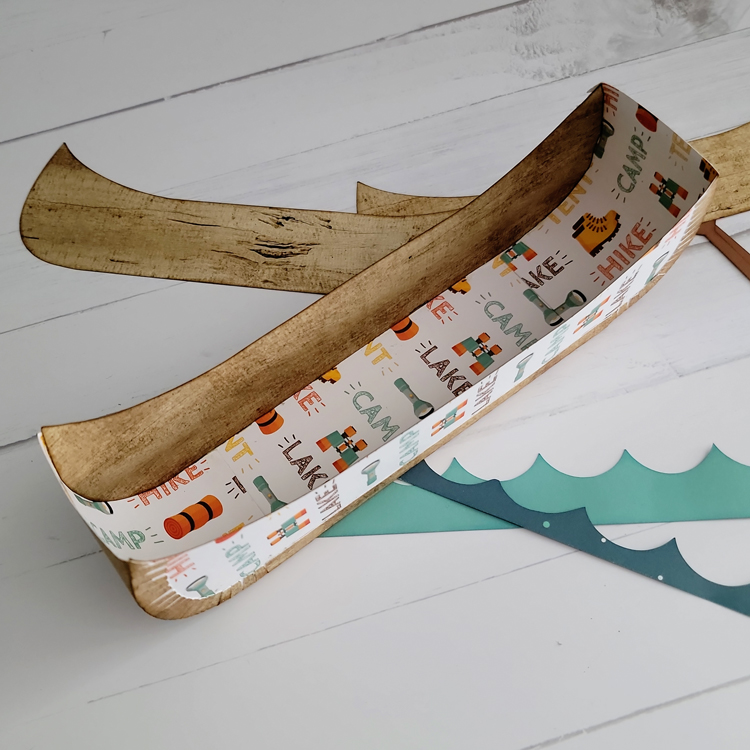
Then I added the outer canoe sides which fit perfectly!
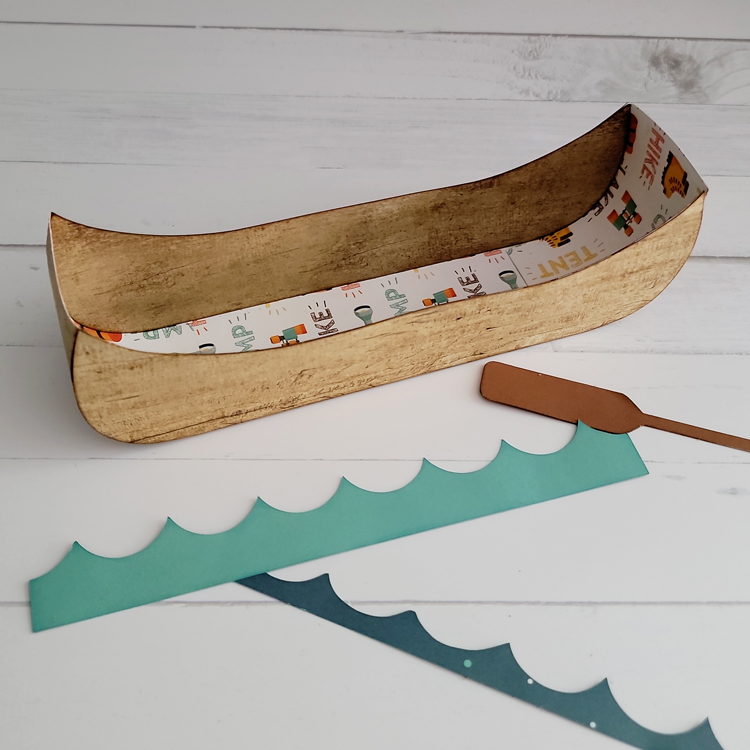
Last the waves and oar is added. I really enjoyed putting this together it came out so cute I think!
And don’t forget, this file and all SVGs in the Lori Whitlock SVG Shop are 30% off through Saturday when you use code JUN2022 at checkout~

