One Buck Wednesday at Snap Click Supply and Digital Inspiration with Ashley

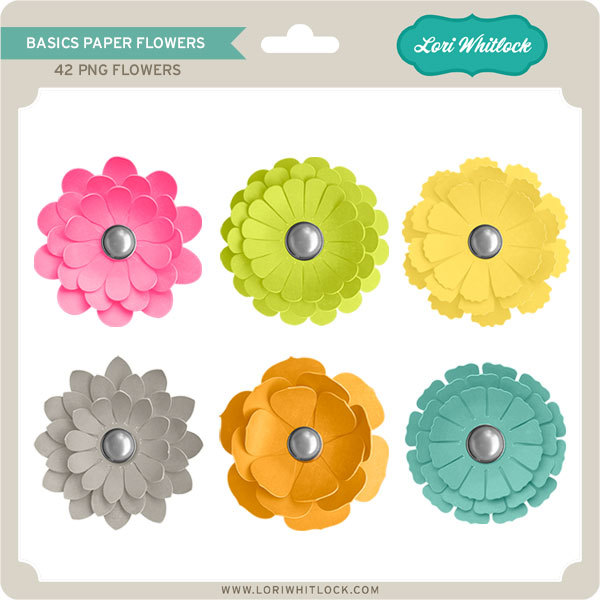
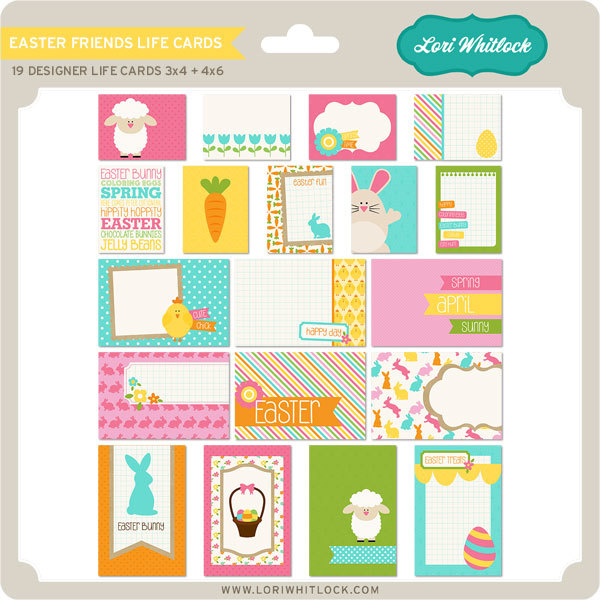
Today at Snap Click Supply I have two items featured for $1 on Wednesday!. That means you can pick up 2 of my digital scrapbooking products at a steal. TODAY ONLY!

Basics Paper Flowers


Easter Friends Life Cards


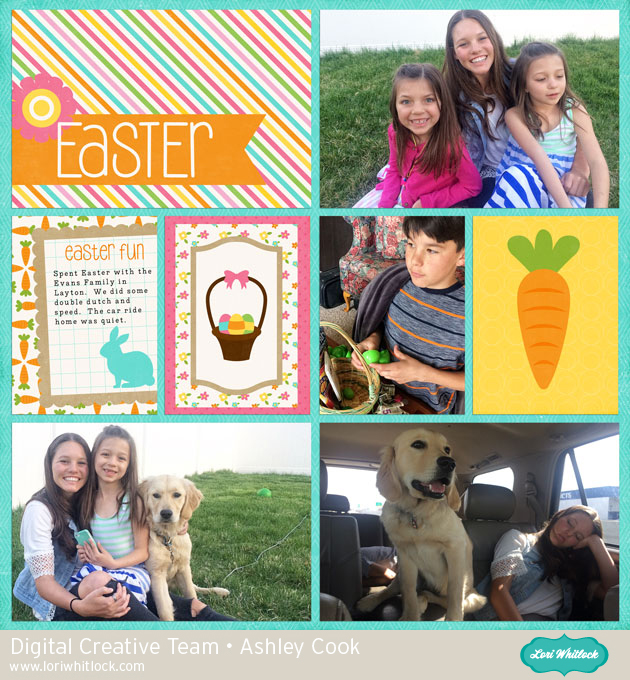
Be sure to go grab these great deals while you can. These offers will end at midnight!  Ashley used this week’s files to make this fun Easter layout!

Welcome to Wednesday.  With Easter just around the corner, it’s time to craft up all that Easter goodness.  And when the day is over document all the fun! Lori’s Easter Friends Life Cards are the perfect companion for your Easter pictures.

Find these cards for $1 today!

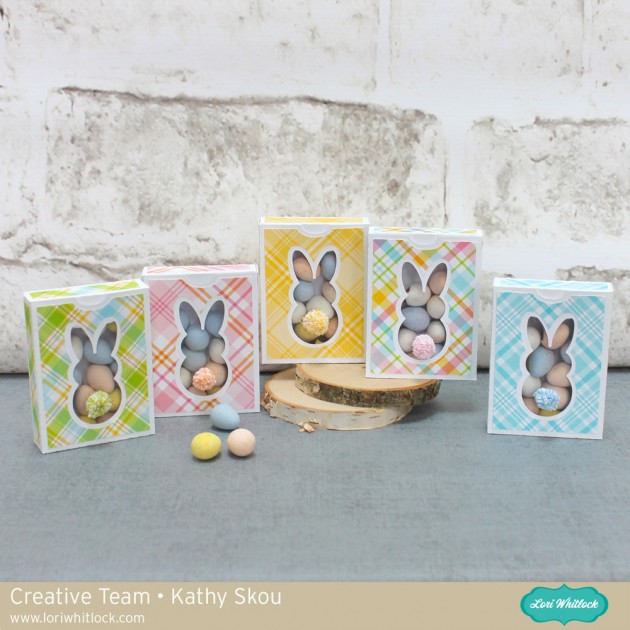
Bunny Window Treat Boxes with Kathy

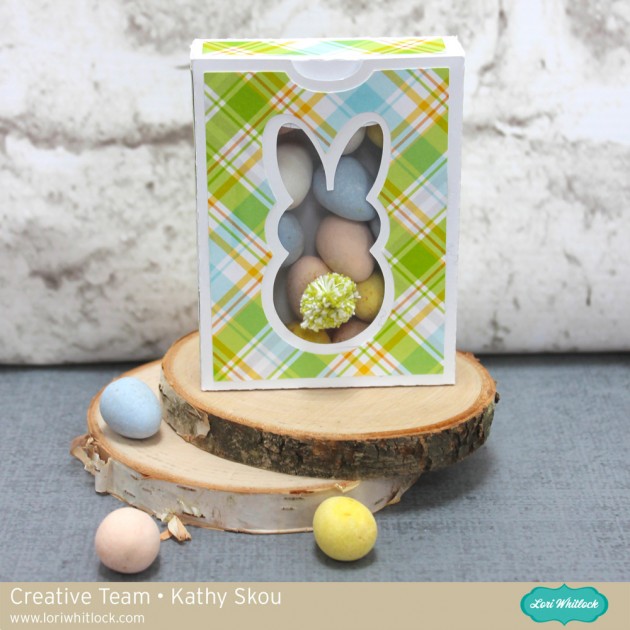
Hi Everyone!  I can’t believe Easter is in 2 weeks!  Since it’s so early this year,  I had to get my act together much more quickly to make these fun little treat boxes for my college sophomore and her dorm-mates!

I used Lori’s Easter Window Box Bunny (SVG File, Silhouette File) and added a fun little pop-pom tail to the window!  (The pom-poms were made with baker’s  twine and a pom-pom maker).

I filled them with some chocolate eggs and sent them off to the girls!  Head over to Lori’s shop for a great variety of Easter files!  That’s it for me today, thanks for stopping by to peek!

*** Blog * Instagram ***

Rainbow Palette Carrot Boxes


Hello, Crafty Friends!! Winter is almost behind us and with all the rain we’ve been getting here lately the flowers will soon bloom! If Spring will be here soon, then so will Easter!! Time for pretty colors and lots of sunshine and BUNNIES!! I consider all my kiddos my little bunnies… they’re quick, bounce around a lot, and so stinking CUTE!!  So, I made these adorable carrot Easter baskets using Lori Whitlock’s Easter Basket with Carrots File for each of them… because what little bunny doesn’t like carrots, right??!!

Image 1

You can find this Easter Basket with Carrots box file in Lori’s SVG Shop, HERE.

OR in the Silhouette Design Store, HERE.

I used my Sizzix eclips to cut out my project. And when you first load it into the ecal software it downloads onto your window, the shapes are displayed stacked on each other. I usually separate my pieces by color.

Then, if I’m making multiples, I add and cluster my multiple shapes together so that I can cut more at one time.  Depending on how large the shape is I may also separate them further into multiple pages.

Then, I cut. The box piece was too big to cut multiples so I just cut one box at a time, multiple times.

I love rainbows. It makes a wonderful Spring palette. It’s bright and cheerful! And since I’m using a multi-color color scheme I chose to tie them all together with my patterned paper. I used a rainbow gingham pattern that contained all the colors I used for my boxes. This way I don’t have to worry about finding matching paper for each color and still have them coordinate with each other.

I cut out all my pieces except the WHITE pieces (the scalloped circles and tags) and I’ll show you why…

I cut my white pieces from the same piece of cardstock. Except, my tags are printed with HAPPY EASTER on them first.

For the tags, I decided to use my machine’s PRINT-2-CUT option. First, I printed my tags.

Go to FILE, then click PRINT from the menu. Don’t forget to print with the registration marks!! That is very important!

Once it was printed, I lined up my print out sheet to the very left of my cutting mat.  Line it up with the corner.

Then, go to the CUTTER tab, click on PRINT-2-CUT. You’ll be taken to the PRINT-2-CUT menu screen. Click NEXT.

Before you proceed, THIS PART IS SUPER IMPORTANT, make sure you HIDE all the text in the tags.

If you do not do this it will CUT each of those letters… and we don’t want that!! So make sure all your tags are blank!

You’ll notice that there are registration marks on your print out.

When you choose NEXT on your PRINT-2-CUT window, it will ask you to align the laser dot with the registration mark. Get it the closest to the center of the registration mark as possible for BOTH registration marks. Then, CUT!!

For the main boxes, I folded at the crease lines, all go the same direction, toward the center of the box.

I added a little line of glue to the tabs and adhered them to the side walls and set aside to dry.

I shaded my carrots using my ColorBox PetalPoint ink pads in Pinwheel and sponge daubers to shade the edges of my carrots. Then, added details using the fine tip ends of similar colored markers. This part is totally optional and for a much quicker project, you can totally SKIP it!!

I ran my carrots, carrot stems, and background pieces through my Xyron 3″ Sticker Maker for quick and easy adhesion.

Then attached them to my cut out scalloped circles and sent them back through my Sticker Maker.

Attached the backgrounds onto the boxes, then attached the scalloped circles with carrots to the centers.

Then topped off each box with iridescent ribbon that I tied to create multi-looped bows and attached my tags.

And here are my finished boxes…

These just make me so giddy!! With the bright rainbow color palette, I can’t help but be HAPPY!

I know my little bunnies (my 4 kids) will absolutely love these! They’d love the box just by itself but I’m a super awesome mom so I’ll stuff it full of goodies!! LOL

Hope you loved this tutorial!

REMEMBER… Easter is April 1st!! Very fast approaching… so get going and get creating!!

HAPPY SPRING, HAPPY EASTER, & HAPPY CRAFTING EVERYONE!!

~ Mitsyana Wright

Easter Cross Card Tutorial with Courtney

Hello everyone! Courtney Lee from Court’s Crafts here with an A2 Pop Dot Easter Card tutorial!

This card is very special as my friend is being confirmed into the Catholic Church this Easter. She loves to travel and this season of her life has been such a journey. So there is so much symbolism here. I chose wood for the crosses. I put an airplane in with the flowers. I chose to emboss the whole thing with the world as Jesus came to save the world and there is a world map behind the crosses.

Without further adieu here is my tutorial! This is how it looks when you import it. I copied and pasted the layer with the three crosses as I wanted to cut it out of two different colors to make the crosses really stand out.

Here it is after I colored the layers how I was going to cut them out. I do this as I have three little “helpers” and it’s easy to forget which papers I picked out. 

This is what it looked like after I cut it out.

I used my X-acto knife to cut out the crosses.

I put all three layers together and embossed them at the same time with the world embossing folder from the Go See Explore collection for Echo Park Paper by Lori Whitlock.

Isn’t this world embossing folder fabulous? I just love it.

Here is what it looked like after it came out. I kind of had to pull it apart so I could put foam dots in between the layers.

I was careful how I aligned the embossing folder so that once the card was assembled you could tell that it was a world map.

I glued the crosses to the green layer.

I glued the world map to the back of the green layer. In hindsight I wish I would have popped that layer as well to give the crosses some depth.

Time to break out those pop dots!

These enamel shapes are awesome. I grabbed one for my sentiment.

Now it is time to decorate. Enamel shapes and dots galore.

I love these clouds and stars.

I tucked an airplane in the flowers.

Here it is all finished. I hope you enjoyed my tutorial today and that you make a special card for someone for Easter or to bring to Easter dinner as a thank you. This one is beautiful in all white or in many colors!


A2 Pop Dot Card Easter Cross in Lori’s shop

A2 Pop Dot Card Easter Cross in Silhouette shop

Tulip Easter Basket Tutorial with Anita


Hello Everyone:

Anita here with a fun tutorial for putting together Lori’s fun 3D Flower Tulip which you can find here in her SVG Shop and here in the Silhouette Design Store.  My dear friend Kathy loves the Cadbury Cream Egg candies so I made this for her.  I bought a basket at Target and decorated it with Lori’s Echo Park collection called Celebrate Easter.  I used the patterned paper for the flowers and leaves and the stickers and enamel dots to decorate the basket.  Such a cute collection!

Here are the items that you are going to need for your project.  I also used some florists foam which I cut to fit into the basket, Zip Dry Glue, some Scotch tape and a pair of wire cutters.

First, fold your flower pieces along the score line so that the fold makes a valley on the flower petal.

Glue two of the pieces together on to form the left and right petals.

Add the third petal and you’re ready to add the wire.

I cut my wire 16 inches long and then folded it in half. The flowers are two inches tall and my basket had foam and needed a 2 inch clearance to reach the top of the basket.  I added four inches to allow for them to stand up and that is how I arrived at the 16″long, 8″ folded measurement.

I flipped the tulip petal group over and taped on the wire.  This seemed to hold better than glue.

I added the remaining 2 tulip petals, for a total of 5 for each tulip.  You are now ready to wrap the wire.

For the samples in the shop, Lori used floral tape to wrap her tulip stem.  I decided to use washi tape which had the same pattern as the leaves.  I wrapped the whole stem to the bottom.

Once I finished wrapping the stem I added one leaf at a time with some wet adhesive and nestled the second leaf into the first.

I then wrapped some washi tape around the bottom of the leaves to hide where they come out of the stem.

Here is a close up of the basket with my completed flowers.  These tulips were so quick and easy to make!  I hope that you have a chance to check out Lori’s SVG Shop to see what other adorable Easter items she has created.

Hugs,

Anita