Hexagon Easter Basket Tutorial

Hello and happy crafty Thursday! Aimee here with you today sharing a tutorial on how to assemble the adorable Hexagon Easter Basket (Lori’s SVG ShopSilhouette). These little baskets are so cute and look great in a rainbow of colors!

First thing to do is match up some 12×12 papers for each basket. And pull the SVG file up on your screen.

This particular SVG file requires you to cut 2 each of the base of the basket and the layering pieces. I cut out 2 of the handles as well. I wanted the handle to be solid colored instead of being able to see the underside of the patterned paper.

Here are the pieces of the basket that I started assembling.

Adhere the two pieces that make the base of the basket. To make it easy, I adhered the side tabs on each piece and laid them flat to make sure that both pieces were even along the top edges. Then I added the layered pieces and then started assembling the bottom tabs to complete the bottom part of the basket.

Glue the two handle pieces together and lay aside to dry.

Adhere the bottom tabs of the basket to the hexagon piece to complete the base of the basket.

Attach the handle to the basket. There are holes in the handle and the basket to add a brad to attach the two together. Last thing to do is assemble the bow and adhere it to the handle.

Then you get to fill your baskets up with some Easter grass and something decorative or some Easter yummies! Add them to your Easter decor or to your Easter dinner table with a chocolate bunny.

Thanks for stopping by today! Hope you find these Easter baskets just as adorable as I do and give them a try!

Aimee

Easter Treat Boxes

Spring is almost here and Easter is on the way. Lori has lots of fun treat boxes for everyone on your Easter Bunny’s list.  I have just a couple to share with you today.

Here are all three of the little cuties that I made.

This is the little Baby Carrot Box, just too adorable.  I added curling ribbon for a fun touch.  You can find the file here at the Silhouette Design Store or here in Lori’s SVG shop!

And these two little cuties are brand new from Lori.  They come set up as a print and cut file.  I chose to cut the little parts separately and add little bits of patterned paper, googly eyes and a bit of pen work.  They are just too sweet and so easy to do.  You can find the file here in the Silhouette Design Store or here at Lori’s SVG shop!  I loved making these and hope you will try them out.

Thanks for joining us today!

Cathy

Easter House Ornament Tutorial with Brandie

Hi there friends! Brandie here with a tutorial for the Easter house ornament. These little ornaments are darling hanging on spring branches but I also think they would make cute place settings for your Easter dinner table.

I used the  House Ornament Easter Bundle from Lori’s shop. Each ornament is also in the Silhouette store. Easter basket, Easter lamb, Chocolate bunny, Easter chick. and Easter bunny. The paper is textured cardstock in spring colors.

I uploaded all of the houses into Cricut Design Space, attached the score lines, and flattened the décor pieces (turned them into a print and cut) to make the decorating easier.  I also color synced the white and yellow items.

Once everything was cut I folded the score lines. Most of the score lines are mountain folds except for the roof peaks, they are valley folds. Valley folds shown below. I also inked the edges of my windows and doors.

While the house was still flat I glued the windows and doors first, then the grass. I added glue to the sides tabs then folded the house in half and tucked the tabs in to glue into place.

I then shaped the roof on the house. Folding  the top tabs down into the house and pushing the sides of the house towards the center to create the eaves.

I then added glue to the inside corners then pinched together until dry. I applied  glue to the top of house then lined up the hole in the roof with the whole in the house and held together while the glue dried.

For the chimney I added glue to the outside tab and folded in half to create a box. Then added glue to remaining tabs and held down on roof until dry. (for my other houses I cut a small rectangle from scrap paper and glued to the bottom of the chimney then glued to the house.)

I then tied some decorative yarn into a loop and threaded through the whole in the roof.

I then folded the bottom tabs in adding glue to each layer to secure the bottom of the house. I then repeated the steps for the remaining houses.

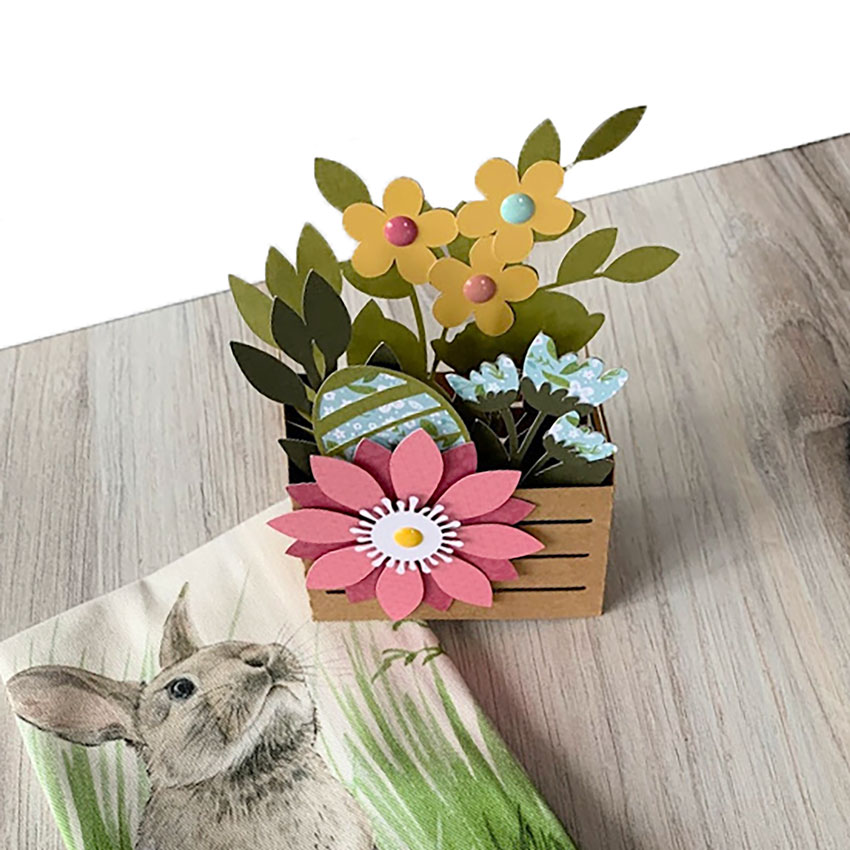
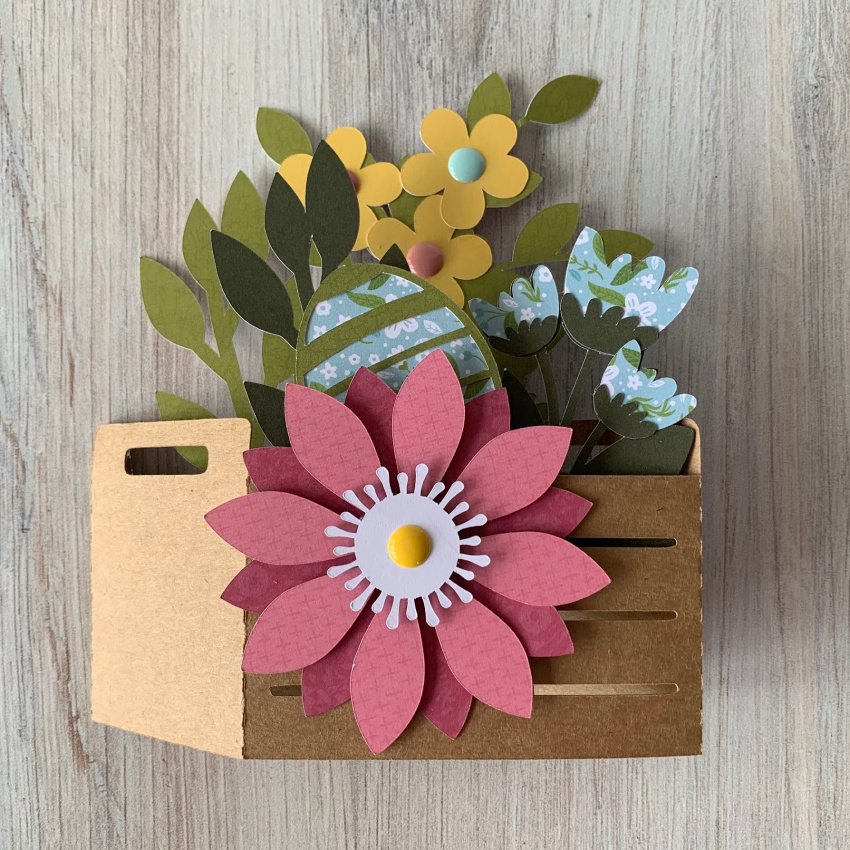
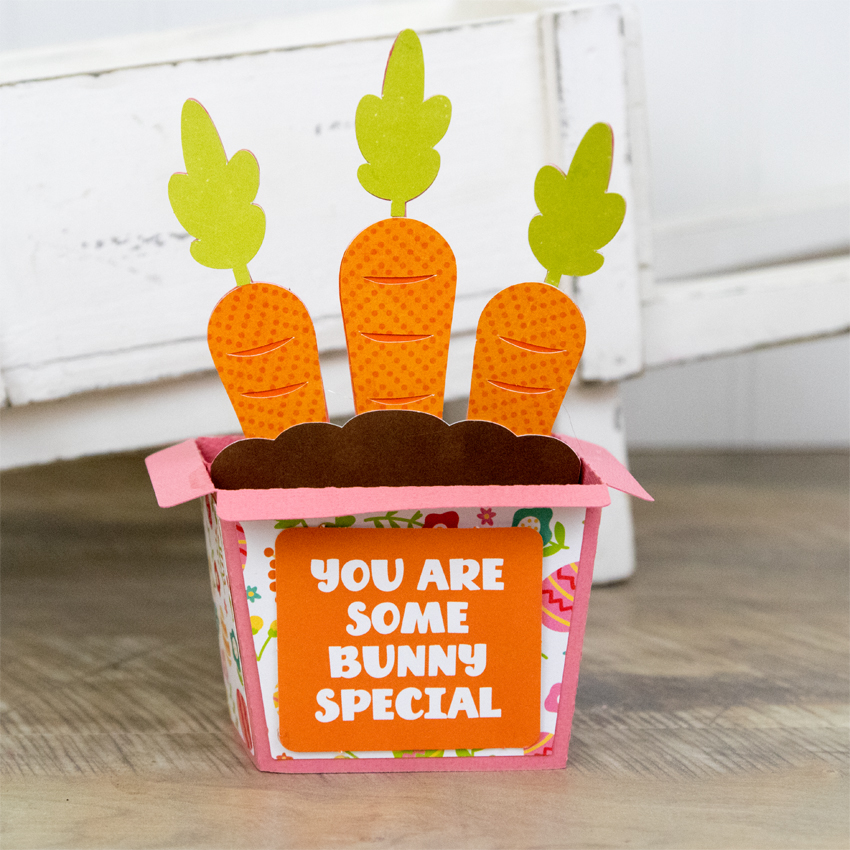
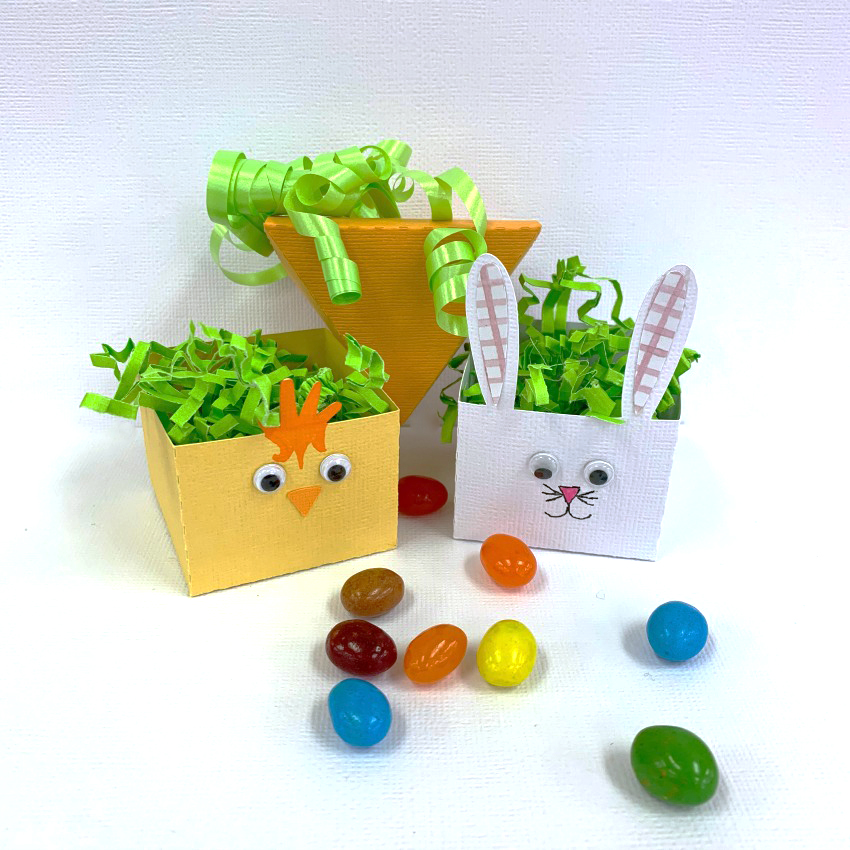
I then decorated the houses with the cute characters, eggs, and flowers.

Thanks for stopping by today and  I hope you enjoy your holiday weekend!

Brandie

Easter Treasure Treat Boxes with Aimee

Happy Wednesday friends! Easter is here and I am getting ready for our family dinner. I love having little name cards for the table but when I saw the Treasure Chest (SVGSilhouette), I knew I could combine name cards with treats.

These adorable little boxes came together quickly which left the fun part of decorating them. I used the checked patterns that are in Lori’s Easter Wishes and Spring Fling collections as my color inspirations. Then I dug through my ribbon and button stash to find some coordinating colors.

I originally wanted their names on the boxes but came up with the idea to add their initial on this sweet little bunny from the 3 Easter Bunny Rabbits (SVGSilhouette). The initials came from one of Lori’s new fonts called Spring Fling Font (SVGSilhouette).  The inside pieces of the bunny’s ears and the initials were cut from the same cardstock that I cut the boxes from to keep with the color scheme.

If you are looking for a quick and fun project for your Easter table give the Treasure box a try!

Hope everyone has a beautiful and blessed Easter!

Aimee

Easter Egg Diorama Tutorial with Kathy

Growing up I always loved those sugary Easter egg dioramas…they were so cute, with their little spring scenes!  When I saw Lori’s Easter Egg Diorama cut file (SVG, Silhouette)  I knew I had to make it!  The egg looks complicated but it really is easy to assemble, and it makes the cutest table decoration!  Take a peek…

To start, cut your pieces and lay them out.  I found it was easier to add the decorative panels to the egg base before assembling.

Start by folding all the pieces along the score lines. Then, for each of the egg pieces, glue the tabs that help curve the pieces into an egg shape.  (see blue circle)  Do this for both the tops and bottoms.  There are tiny tabs around the diorama’s opening, make sure to glue them as well.

Next you want to form the top and bottom pieces of the egg.  Start with the bottom two pieces.  Glue them to form the egg bottom using the tabs.  Once dry, glue on the bottom piece.


Repeat with the two top pieces of the egg.

Next you want to assemble the insert portion of the egg.  To make the bunny, glue both pieces back to back, making sure to add the white eye piece in between and do not glue the bottom half-circle pieces.  These will be split open to use as a base to glue the bunny to the insert.  I didn’t want a chocolate bunny in my egg, so I used a bunny cut out I had in my stash.  I created my own base by cutting two circles, folding each in half and gluing to either side of my cutout.

Insert the grassy piece through the front slot in the insert base and glue the inserted piece to the back side of the insert.  Next, fold the other grass piece, glue the eggs to the front, folding out the rounded half circles.  Glue to base.  Finally add your bunny by inserting the half circle pieces into the back most slot, opening up the circles and gluing to the backside of the insert.  See pictures for details.

Once your insert is complete,  add a little adhesive to the “spokes” and fit it into the bottom of the egg, spokes down as shown.

Add adhesive to the bottom tabs of the egg top and fit the top and bottom together.  You will want to press from the inside of the egg to secure.

Lastly you want to create the bow for the top.  Start by cutting the bow pieces and curling them as shown.  I ran a pencil along the pieces to do this.

Assemble each of the bow pieces by first gluing the end tabs into the center.  Then wrap the middle tab around the bow center and glue.  Stack the bow pieces and glue together.

Glue bow to to top of the egg.

So cute!

If you make one of these cute little eggs, be sure to tag Lori Whitlock on Facebook and Instagram.  We would love to see what you create!  That’s it for me today, thanks for stopping by to peek!

BLOG * INSTAGRAM