

Hi everyone! Corri here.
I have a quick tutorial for you today using the Offset feature in Silhouette Studio software. The offset feature is great for creating a shadow layer around your image.
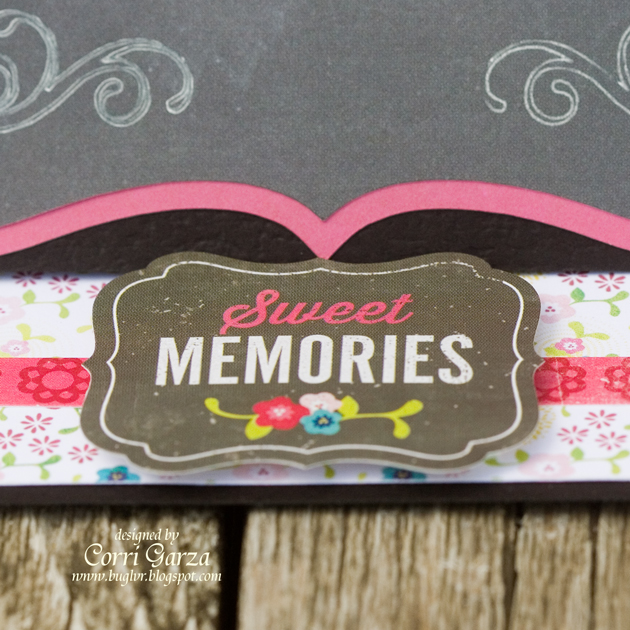
I used paper and a sticker from the Echo Park “Here & Now” Collection . I love the chalkboard paper!
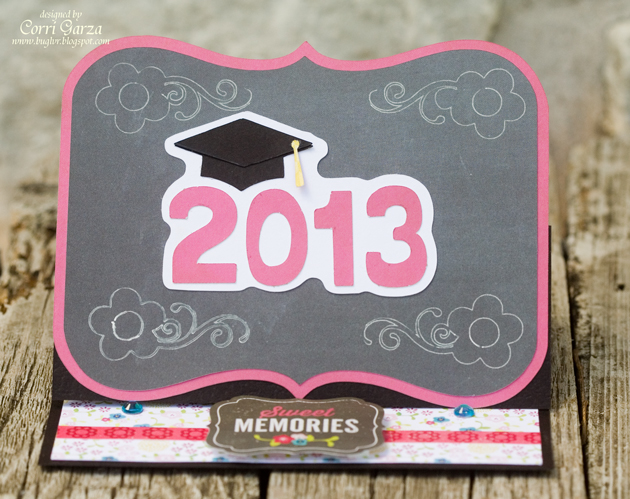
First, I typed 2013 in Lori’s Happy Font at 1.5″h.
Next, I opened this graduation cap file, ungrouped and deleted the 2012. I sized the cap file (including both layers) to 1.75″h and positioned the cap’s base layer on top of the numbers. Select the offset menu from the tool bar in the upper right of the screen and click offset.
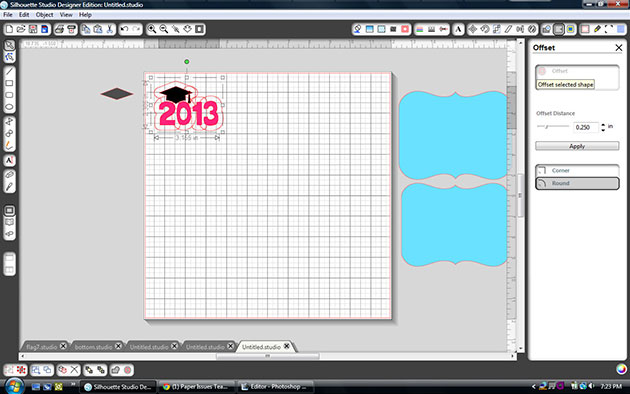
You can adjust the slider to make the shadow smaller or larger. I left it at .25 so that I wouldn’t get a cut out in the middle of the “O”.
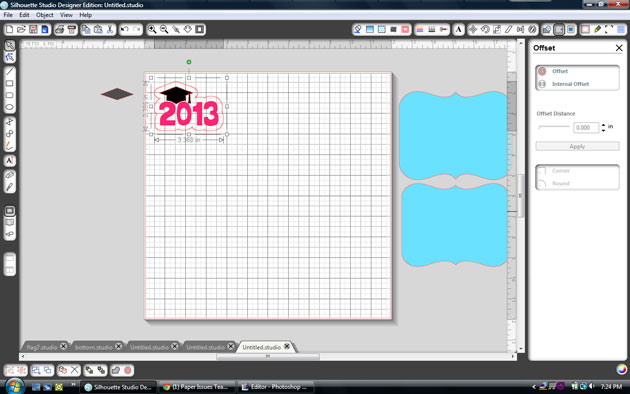
Click apply.
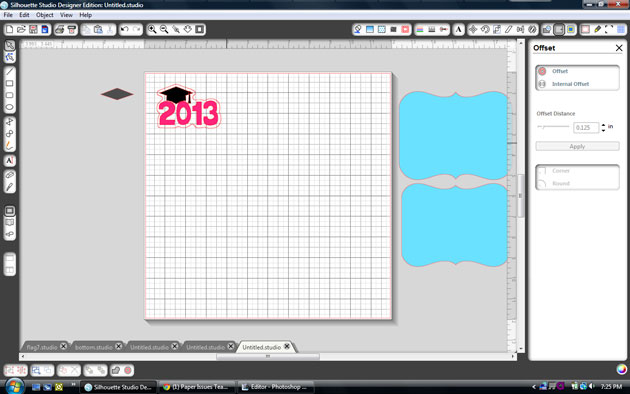
To create a little tighter shadow, click the new offset layer that you just created and click internal offset and then apply. Now you can drag the layers apart and cut.
For the base of my card, I used the Easel Bracket Card. I used my new sketch pens to draw this pretty flower flourish in each corner.
To get your Cameo to sketch the flourish, first select the bracket shape.
Click the cut style menu at the top of your screen and select no cute.
Replace your blade with a sketch pen and select sketch pen in your cut settings.
Click cut.
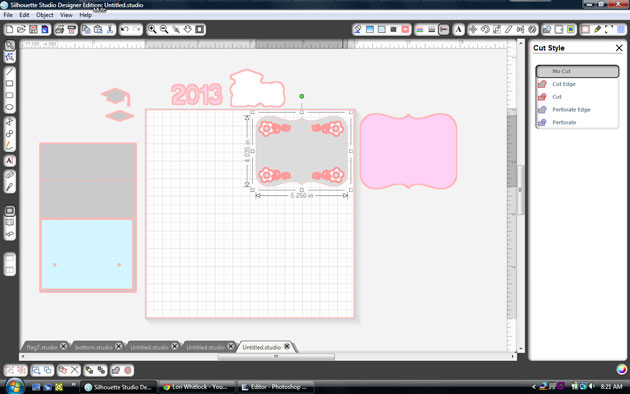
Do not unload your mat. Replace the pen with the blade.
Select the bracket again, go to the cut style menu and change it to cut.
Select the flourishes and change them to no cut. Adjust your cut setting back to pattern paper and then cut.
Here’s a cute matching set, perfect for a barbecue invite and favor or a summer birthday party.
The paper and elements are from Echo Park’s A Perfect Summer collection designed by Lori, I absolutely love it, so bright and cheery!
For the card I welded the flipflops together from Lori’s Don’t Bother Me set, Corri has a great tutorial on how to create a shaped card in Silhouette Studio, you can find it here.
The stamped sentiment is from Jaded Blossom’s Happy Summer set and the Trendy Twine is Tickled With Teal.
The candy tube holder was so easy to make, I used Lori’s Firecracker Box and sized the whole thing to 13.25w (check lock aspect ratio).
I ungrouped and deleted the other pieces, select all and grouped the box and score marks together again, (it should measure 5.9h x 6.410w.) Then I centered a 1″ circle on the top flap of the box for the cutout, (depending on the tube you use you may have to make the hole slightly larger.)
The back piece is just a rectangle cut at 1.535w x 6.75h and glued onto the back. The two top inside flaps have to be trimmed a little so they don’t block the hole.
I used some Orangesicle Trendy Twine on the tube and filled with some Reese’s Pieces.
Thanks for stopping by, I hope you enjoyed my summery project!!


First of all, I must mention, Lori and I were SO overwhelmed by all the applications for our Creative Team. We are working on it, I PROMISE, but not quite there yet. When that much talent invades your inbox, you need some extra time. We haven’t forgotten you and will have an answer soon.
Today on the blog we have Mendi sharing her talents with us. (Lisa)
