Tote Organizer with Corri

Hi everyone!  Corri here today to share an assembly tutorial for the new Tote Organizer that Lori recently added to her SVG Shop.

This little tote could be used for so many gift ideas.  I used mine to old some crayons and markers.

This would be so cute for party favors or a small birthday gift.  You could stick a gift card to the craft store for a sketch pad or more art supplies.

When you cut out the pieces, this is what you will have.

To create the tote, fold the base pieces along the score lines and apply glue to glue tabs to form the boxes.

Glue the two pieces back to back to form the tote handle.   The two additional pink pieces are cover panels to hide the seam and add stability to your tote.

The remaining pieces are for decoration.  I used paper from the Echo Park Paper – Let’s Be Mermaids Collection.

That’s it!  It’s a quick and easy project that has tons of uses.

Be sure to check out all Lori’s newest files in her shop!

Oven Cookie Box Assembly

Hi everyone!  Corri here today with a quick assembly tutorial for Lori’s adorable oven cookie box.   This cute box can hold a stack of cookies plus something else in the drawer.  So fun!

Let’s get started.

The pieces in the file are sorted by color.  These are the light pink pieces which form the base of the oven box.

Fold along all the score lines, apply glue to the  tabs to make the individual boxes that form the oven.

You will end up with the lid, the oven, the two pieces that make up drawer and the little part where the oven dials go.   You can add some brads or enamel dots where the little holes are before closing up the tabs.

Glue the oven portion on top of the drawer part.  You will use cover panels to hide the seams in the next step.

Next you can cut the cover pieces (they are dark pink in the file). These can be from patterned paper.  You can cut them all on one 12 x 12 sheet.    I used this cute polka dot print from the Echo Park’s Happy Summer Collection.

Match the cover pieces up to the base layer and glue in place.

These extra panels give the box a nice finished look.

There you have it!  I hope you’ll give this fun box a try.  Be sure to stop by Lori’s SVG Shop to check out all the newly added files.


Lovebug Box with Corri

Hi everyone!  Corri here today sharing my take on Lori’s ladybug slip lid box.

To turn my ladybug into a “love”bug,  I  used the “release compound path” feature to remove the polka dots and replace them with hearts.

This little box would be great for classroom Valentine’s Day treats.  It’s  adorable on it’s own so I added just a couple of embellishments.  I cut a pieces of glitter cardstock to fit behind my hearts for a little sparkle and added a sticker from the Doodlebug – Sweet Things Collection and a twine bow.

Head over to the Lori’s SVG Shop to find more adorable treat bags and cards for Valentine’s Day.

Ornate Pull Out Card with Corri Garza

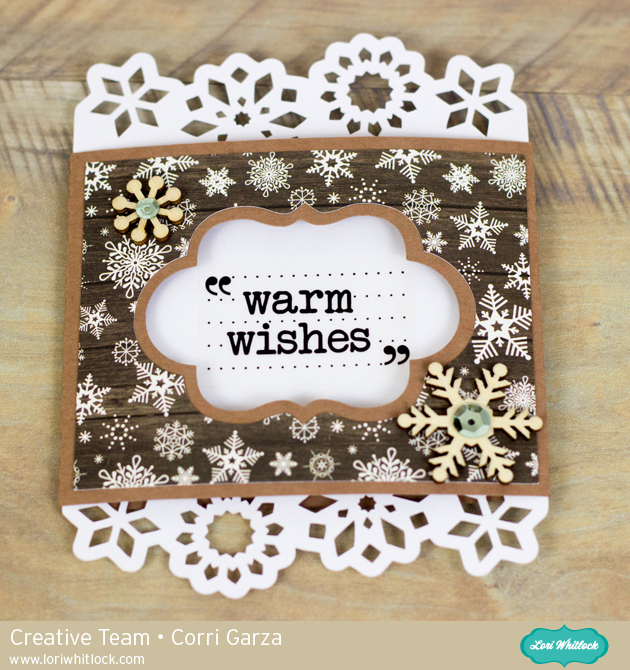
Hi everyone!  Corri  here today sharing one of Lori’s new Ornate Pull Out Cards.     These cards are all beautiful with their die cut borders but are very easy to put together.

I used paper from the Story of Christmas Collection from Echo Park.  I used a clear sticker for my sentiment and added a couple of wood veneer snowflakes to finish it off.  Check out all the new pull out cards in the shop!

A Chalkboard Tutorial

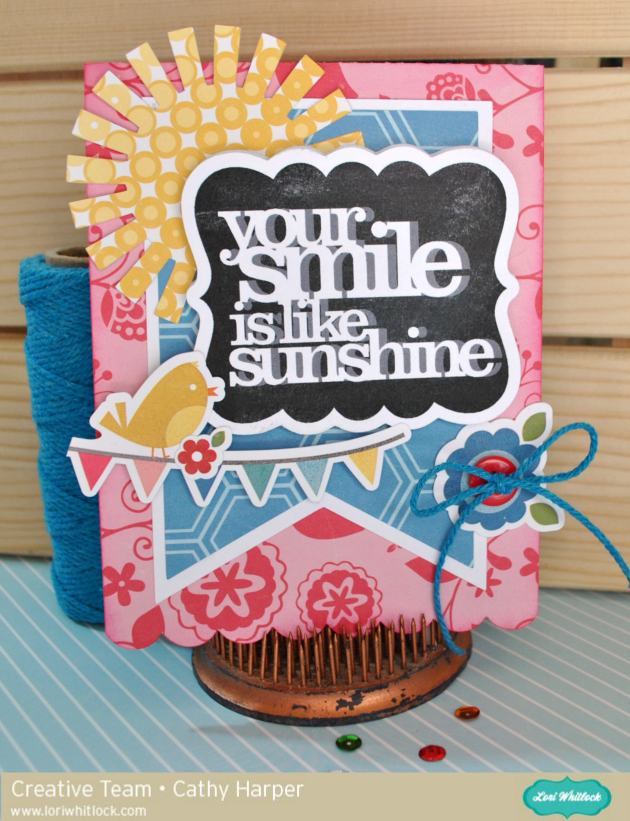
Happy Spring everyone!  Cathy here with you today and I have a quick chalkboard tutorial to share with you.  The chalkboard look is all the rage in almost everything right now, from home decor to scrapbooking and cardmaking.  Lori Whitlock has so many fabulous phrases that are perfect and easy to create that chalkboard look.  I created a springy card in no time at all with a few Lori Whitlock files, and the awesome print and cut feature with the Silhouette Cameo!

I used Lori’s Echo Park Fine And Dandy Collection along with some plain smooth white card stock to create my card!

First, I cut my card base using A2 Banner Card.

Next, change your mat setting to 8 1/2 by 11 on your Cameo.  This way you have it set for when you need to print!  I used  the 7 shapes label set and  Quote Set 1, using the Your Smile is like Sunshine phrase.  I kept my label the same size and sized down the phrase to fit inside.

Now fill in your label with black and your phrase with white.  I also, change my cut lines to the colors I am using, just so I can visualize it a bit easier.

Now, make a duplicate of your phrase and pull it off to the side!
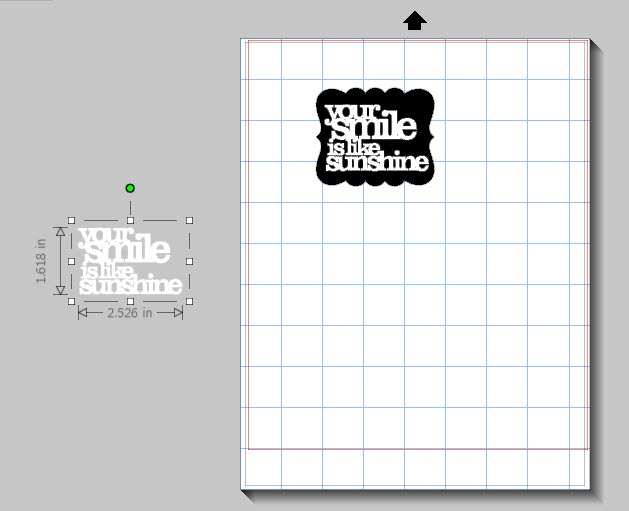
Next, go back to the Fill Color window and scroll down a bit to the Advanced Options…there you will see that you can change the Transparency of an image.  I changed mine to about 60%…this gives your image that chalky shadow.

After you change the transparency, simply layer your phrase back over the original, just slightly offsetting it!

(Sorry for the blurry photo, but I wanted you to be able to see how I offset it.)  Layering and changing the transparency really gives it that chalkboard look!  Now group your image!

I duplicated the image so I had two…just in case!  Now add registration marks for the print and cut feature and print your images.  Once printed, go back and add the cut lines for the label.  I slightly offset mine to match the white border behind my banner!  Then send it through your Cameo to cut!

After your images are cut, just for a bit more fun, I just went over it with some real chalk and smudged it with my finger.  It really helps pull off that true chalkboard feel!

Really, this takes no time at all once you have figured out the steps and layering.  Now just layer and embellish your card.  I added a cute sun with some of the patterned paper from the Fine and Dandy Collection using Summer Icons and then a couple of stickers from the Fine and Dandy collection.  So cute.  I hope you give this technique a try.  The possibilities are endless with all the files from Lori’s Shop.