Hi Everyone, Today I’m sharing the new Pop Out Birthday card. Such a fun card to send and easy to assemble!
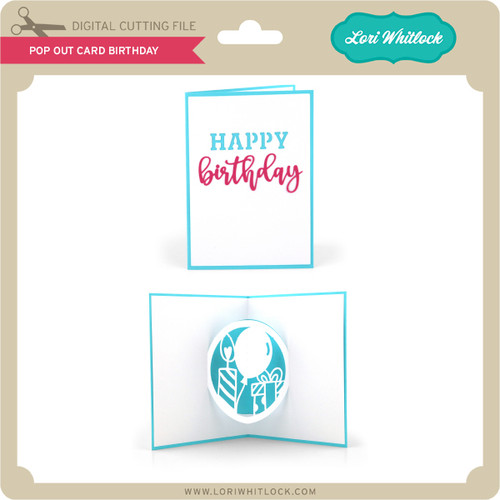
You can find this card in Lori’s shop and in the Silhouette Store. 

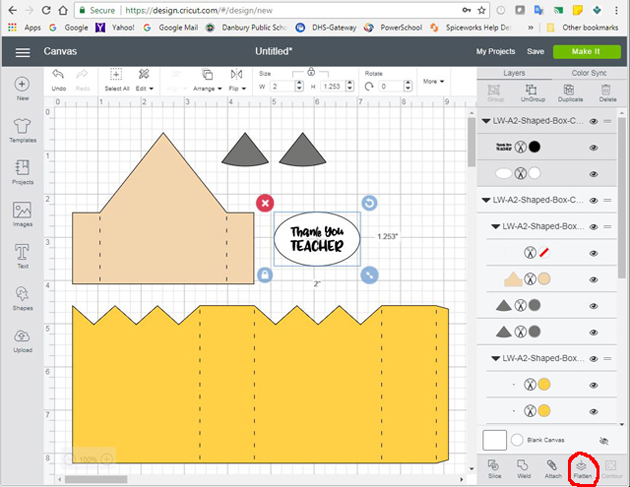
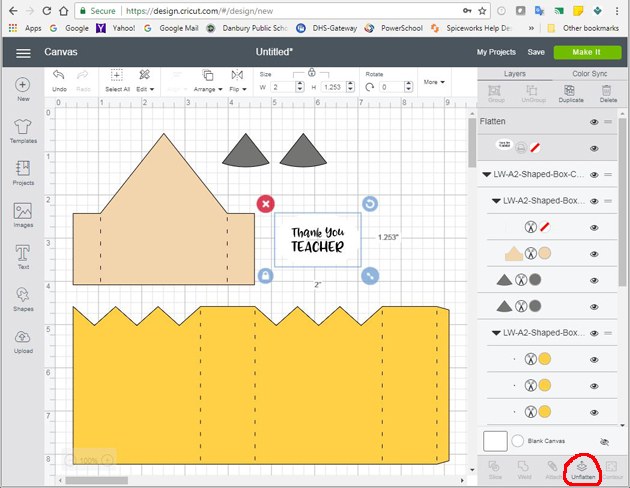
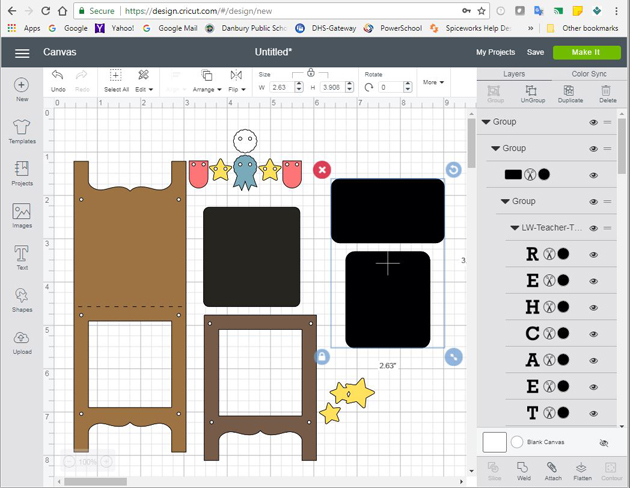
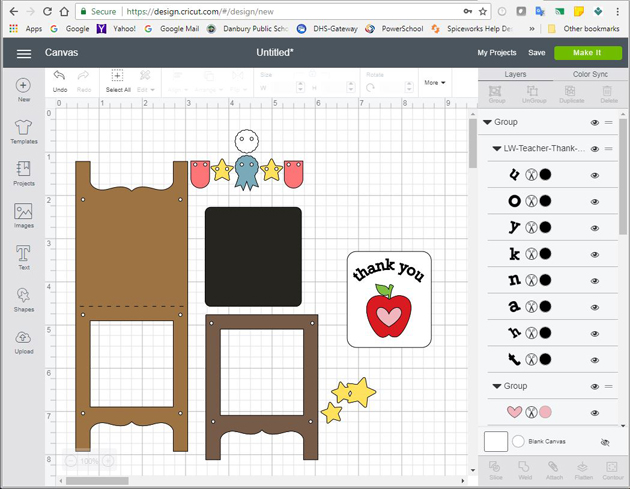
When you open this file in Cricut Design Space, there are a few steps to take before you cut.
1. Ungroup the file.
2. Optional: I changed out the dashed cut lines to score lines. To do this, select the score line which is grouped in Shapes. Align the score line with the dashed cut line and resize as necessary. Repeat for all the score lines on the white layer.
3. Group the 3 score lines you created and delete the original dashed cut lines.
4. Select the score lines and the white card and then select Attach.

5. Repeat the processwith the blue card–replace dashed cut line with Score Line, Attach the the Score line with the blue card.
6. Now you are ready to cut.
You don’t have to replace the dashed lines if you are not using a Cricut Scoring wheel or scoring tool. The dashed lines will be cut instead of scored. But you will still need to attach the dashed lines to the appropriate layer.
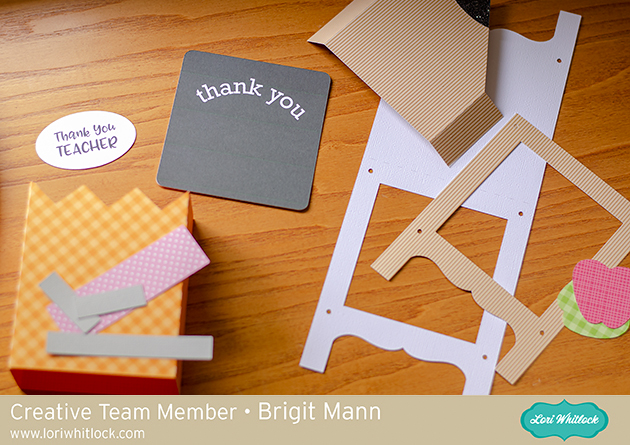
Once you’ve cut the two card pieces, simply adhere the pop out portion of the card to the base, careful not to glue under the pop out section. Then decorate the front.
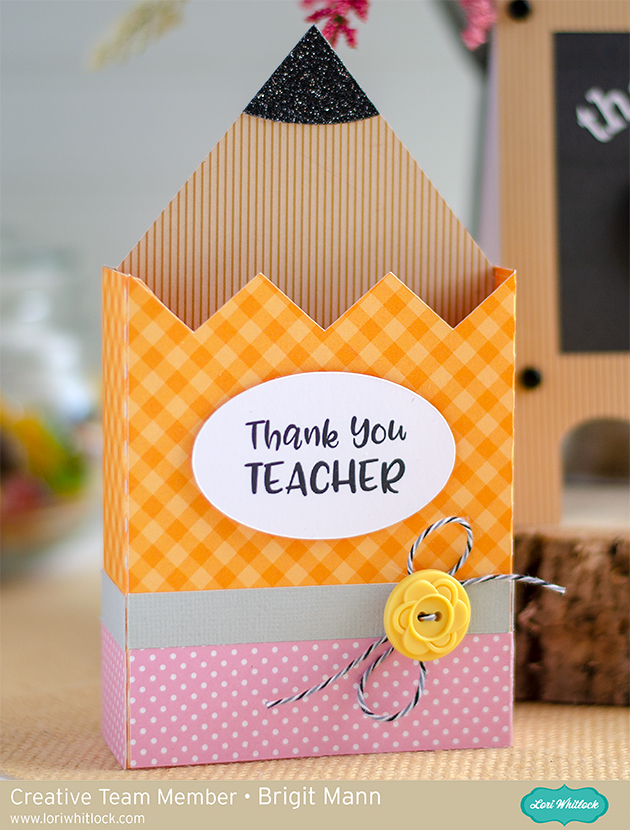
 I used paper from Lori’s Spring Fling Collection with Echo Park. Have a great day!

