Favor + Invite from Brigit

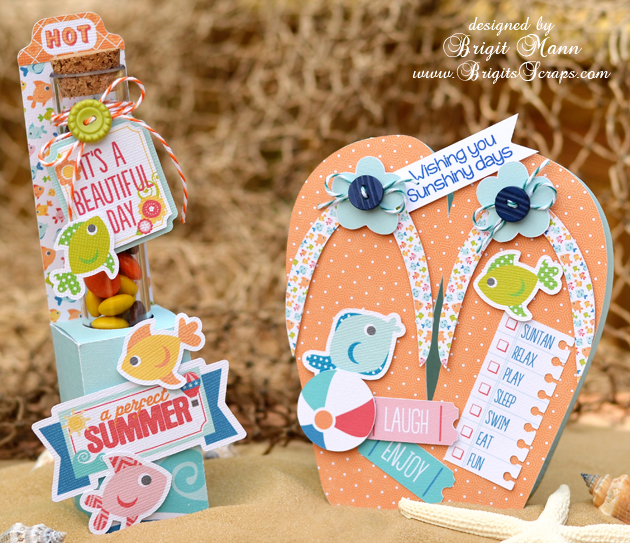
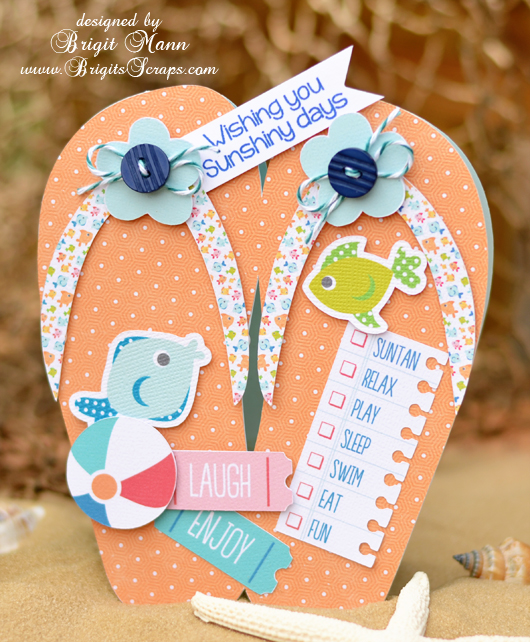
Here’s a cute matching set, perfect for a barbecue invite and favor or a summer birthday party.

The paper and elements are from Echo Park’s A Perfect Summer collection designed by Lori, I absolutely love it, so bright and cheery!

For the card I welded the flipflops together from Lori’s Don’t Bother Me set, Corri has a great tutorial on how to create a shaped card in Silhouette Studio, you can find it here.

The stamped sentiment is from Jaded Blossom’s Happy Summer set and the Trendy Twine is Tickled With Teal.

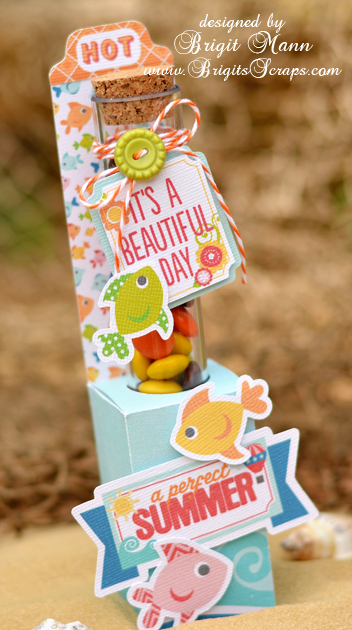
The candy tube holder was so easy to make, I used Lori’s Firecracker Box and sized the whole thing to 13.25w (check lock aspect ratio).

I ungrouped and deleted the other pieces, select all and grouped the box and score marks together again, (it should measure 5.9h x 6.410w.)  Then I centered a 1″ circle on the top flap of the box for the cutout, (depending on the tube you use you may have to make the hole slightly larger.)

The back piece is just a rectangle cut at 1.535w x 6.75h and glued onto the back.  The two top inside flaps have to be trimmed a little so they don’t block the hole.

I used some Orangesicle Trendy Twine on the tube and filled with some Reese’s Pieces.

Thanks for stopping by, I hope you enjoyed my summery project!!

Stationary Set by Traci and Centerpiece by Corri

Today we have some fabulous projects by Traci and Corri
Hi Lori fans!
I’m so excited to be on the blog today sharing a really fun, and pretty quick, project with you.  As many of you may know, I’m a mini album girl.  They are my all-time favorite project.  Despite my mini love, I also love giving fun gifts with cute packaging.  So today I decided to share my love of little gift notes.  A 3×3 gift note is the perfect little “accessory” to a perfectly wrapped present.  I make several at a time so that when I have a birthday, wedding, or new baby gift to wrap, I already have a cute little hand-made gift enclosure to go with it.
Here is some gift note inspiration for you — complete with Lori’s adorable 3×3 stationary box to keep the cards in until you need them.
I love all of Lori’s digital cutting files, so it’s never hard to find the perfect addition to any card or project.  For this one, my favorite part of each card are the sentiments.  Lori designed the “Happy Birthday”, “Thank You’ and “Hello” pieces with an adorable font and a great background piece.  The ability to cut a white background allowed each of my sentiments to “pop” off any pattern paper I layered it onto.  I also love the cupcake for this card…especially with the little heart cut out.
I have always been a fan of Echo Park…especially the paper and embellishments that Lori designs for them.  Most of the papers I’ve used in this card set are from the “My Girl” Collection.  For the card below, I added a fun little branch from the sticker sheet and set an adorable bird up on pop dots for dimension.
For the “Thank You” card, I found Lori’s mason jar cutting file
This design can be used for so many things — I cut the design and then added a flower sticker and brad from the “My Girl” collection and finished it off with a knot of twine.
For the 3×3 box, I cut the file and also created an “inset” shape for each side.  After adding the inset accent pieces, I cut one of Lori’s new 3D flower designs for the front.  The flower also serves as a little accent to tuck the tab behind so that the lid stays closed 🙂  So, so, cute!
Thanks so much for visiting today!  Please stop by my personal blog, Artsy Albums, to say hello!
Traci
Next we have this adorable center piece by Corri.
I have a fun project for you today that would be great for a Memorial Day or July 4th table decoration.
I cut Lori’s Octagon Flower Pot as sized in the file from some kraft card stock.
For the rim of the pot, I used the red wood grain paper from Echo Park’s “Perfect Summer” collection which Lori designed.
I cut 3 of the Spiral Stars (size reduced to 2.795″h) and 2 Spiral Flower 1 from some navy card stock and some pattern paper from the “Perfect Summer” collection.  I cut an extra base layer for each flower, then hot glued a wooden skewer to one of the base layers and mounted the assemble flower to that with foam dots.
To add some stability, put something with a little weight in the bottom of the flower pot.  I used a few tokens from Chuck E. Cheese!   I used some more hot glue to glue a 4″ foam ball in the pot and then arranged my flowers and covered with some paper shreds.
You could change up this cute project for all kinds of summer parties.  Add some graduation caps and 2013 on your sticks for a cute graduation party center piece. Corri

Card Sets by Christine and an International Giveaway

Please give Christine a warm welcome on the blog today! She has created an adorable card set sure to make anyone happy. Take it away Christine…
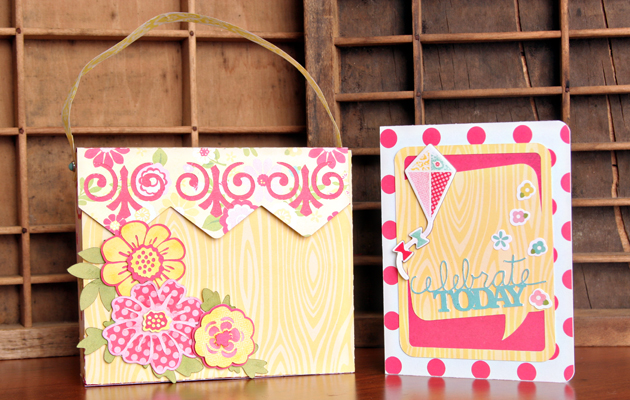
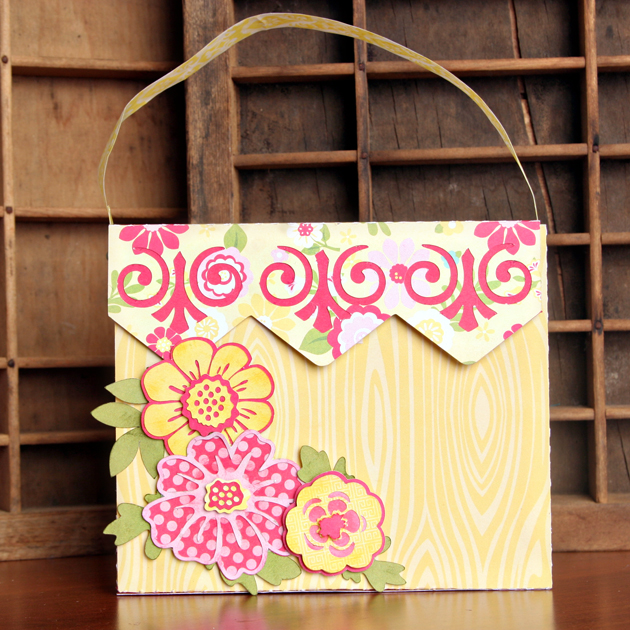
I love giving sets of cards as gifts and I like when I have a cute box to put them in.  This Stationary Box is the perfect solution.  It’s very easy to put together and you can decorate it for any occasion.  I used the Sweet Girl paper collection to cut it out, and the Layered Flowers Set 2 to decorate the front.

The box doesn’t have a handle to cut out so I decided to make my own from washi tape.  There are 3 different patterns in the Sweet Girl collection and I chose the light yellow one.  To make the handle I tore off a long piece probably about 20 inches long and did my best to keep it laying down on my desk, sticky side up.  Then I took another piece approximately the same length and stuck to the other piece so they were back to back.  The washi tape makes a really cute little handle that is strong but flexible and also matches perfectly.  After the handle was put together, I folded back the edge on both ends, punched a hole in these double layered ends with a 1/16 inch hole punch and then put a brad through the holes.  I also prepunched holes in the sides of the box so that the brads are secure inside.

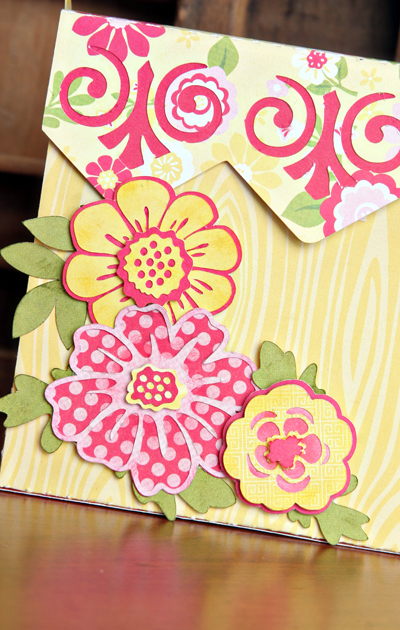
Here is a closeup of the Layered Flowers.  I used some foam adhesive under some of the layers to get them dimension.  I really love the way they turned out.  I know these are files that I will be using over and over again.
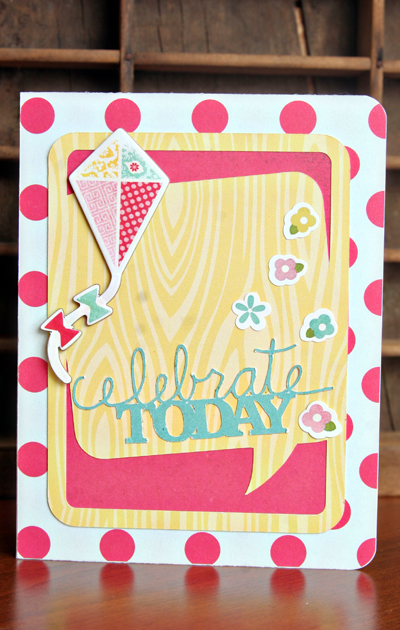
Here is a card that I made to go along with the set.  The box will hold many other cards plus envelopes.  I’ll have to get busy to fill it up.  For my card, I used the 3×4 Quote Cards as the focal point.  I use these cards in my Project Life layouts but I wanted to challenge myself to use them in a different way.  I really like that it makes a perfect background for the card’s sentiment.  (Please excuse the spots on my card.  My digital camera needs to be cleaned.)
Thanks for stopping by.  I’ll be posting more pictures of my project on my blog here.
Lori Whitlock Supplies used:
Celebrate Today phrase (Silhouette store, Design Id #9382)
Other Supplies:
Sweet Girl paper paper collection by Lori Whitlock for Echo Park
Sweet Girl Cardstock stickers by Lori Whitlock for Echo Park
Sweet Girl Chipboard Shapes by Lori Whitlock for Echo Park
Sweet Girl Brad collection by Lori Whitlock for Echo Park
Sweet Girl Washi Tape by Lori Whitlock for Echo Park
Silhouette Cameo
Before you leave, let me share with you a giveaway for our INTERNATIONAL customers only.  For National Scrapbook day there is a huge giveaway going on at Scrapbooker’s Inner Circle. She shares all the details of the contest over there so be sure and check it out if you are across the seas and good luck to you!

February Blog Hop

Have you missed seeing our Creative Team goodness this week? Well, we have a lot of talent to share with you today. Lori has recently released some double page layouts in both SVG and Digital Scrapbooking/PSD format. I want you to see what you can do with these different files and our creative team has so happily obliged, told you they were the best.

First the SVG’s, these files are designed to be used with Silhouette machines and can be found here in Lori’s shop. After opening the file you will see how the layout is assembled. Ungroup the pieces, sort and cut from your favorite pattern paper/cardstock. Assemble all pieces onto background paper (not included in cutting file) and VOILA, a beautiful layout to add to your scrapbook. Pieces can be moved around and placed/used any way your heart desires.

SVG FILES in Lori’s Shop

IF you are not a die cut kind of paper crafter, these files also come as digital scrapbooking kits, and are found at here at Jessica Sprague . They have been created as layered PSD’s, which means you can use the pieces as clipping masks in Photoshop Elements and Photoshop. These are ready for you to add your favorite pattern papers, ribbons and photos and the layouts are done.

PSD FILES in the Jessica Sprague Store

We created these layouts with the idea that you could throw these into your Project Life albums and mix it up a bit. The smaller photos slots are 3×4, which is a perfect fit for any of Lori’s Life Cards in her shop both here and at Jessica Sprague.

Without further ado, please let me show you the order of our blog hop today. These ladies are truly amazing and have shown you different ways to use these layouts, both digital format and SVG’s.  When you are done be sure to come back here and leave a comment so you can be entered in our drawing for a $20 gift card to Lori’s shop. She has amazing shapes there and more coming each week.

Lori Whitlock
Natalie Graham 

Corri Garza 
Joy Dickson 
Lisa Bell 
Mendi Yoshikawa 
Christine Ousley 
Lisa Barrie
Roelien VanDenBerg 

Don’t forgot to leave a comment here about your favorite project for a chance to win a $20 gift card to Lori’s shop!

all banners were created using Lori’s Love Story Collection by Echo Park, available both in paper and digital formats.

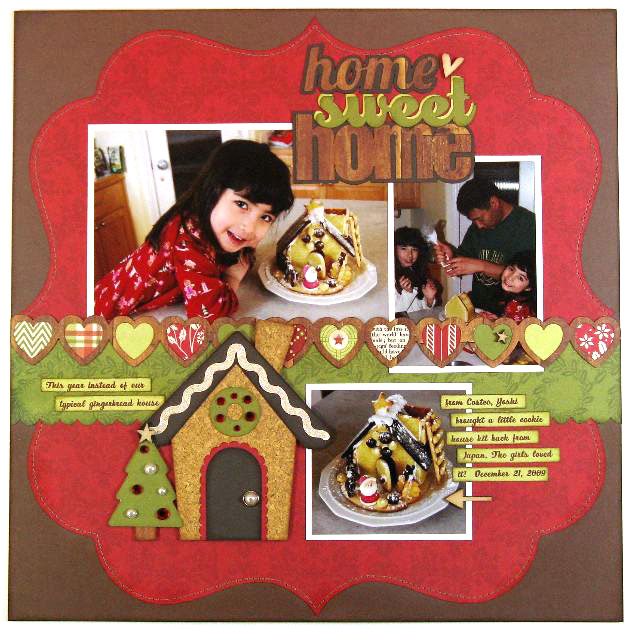
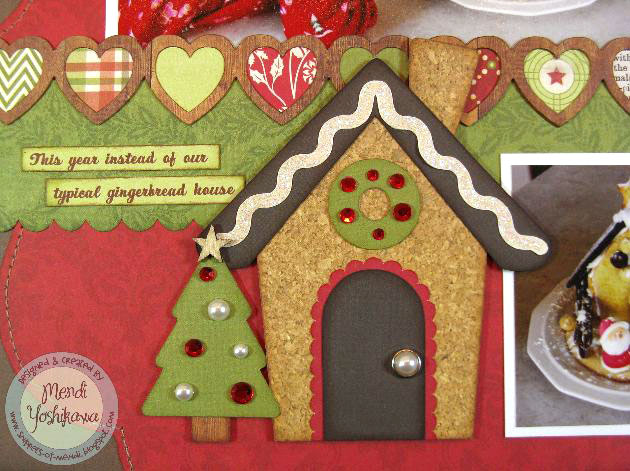
Christmas Traditions with Mendi

Today Mendi has an adorable layout showcasing her Christmas traditions. Thanks for giving us a sneak peek.

Mendi says, “For this layout I had so much fun using Lori’s shapes in unexpected ways to work perfectly for me.  I was able to transform a Valentine’s day border and give it a Christmas spin.  For my title, I pieced together three of Lori’s separate titles to create a completely new phrase to match what I had envisioned in my head.  Lastly I took a basic label shape and enlarged it to serve as my page background.  It’s so rewarding when you can get extra mileage out of the shapes you’ve purchased!  I hope I have inspired you to play with your cutting files and look at them in a new light.” 


As always Mendi, this is beautiful. Be sure to check out her blog as she has pictures and info on her blog.