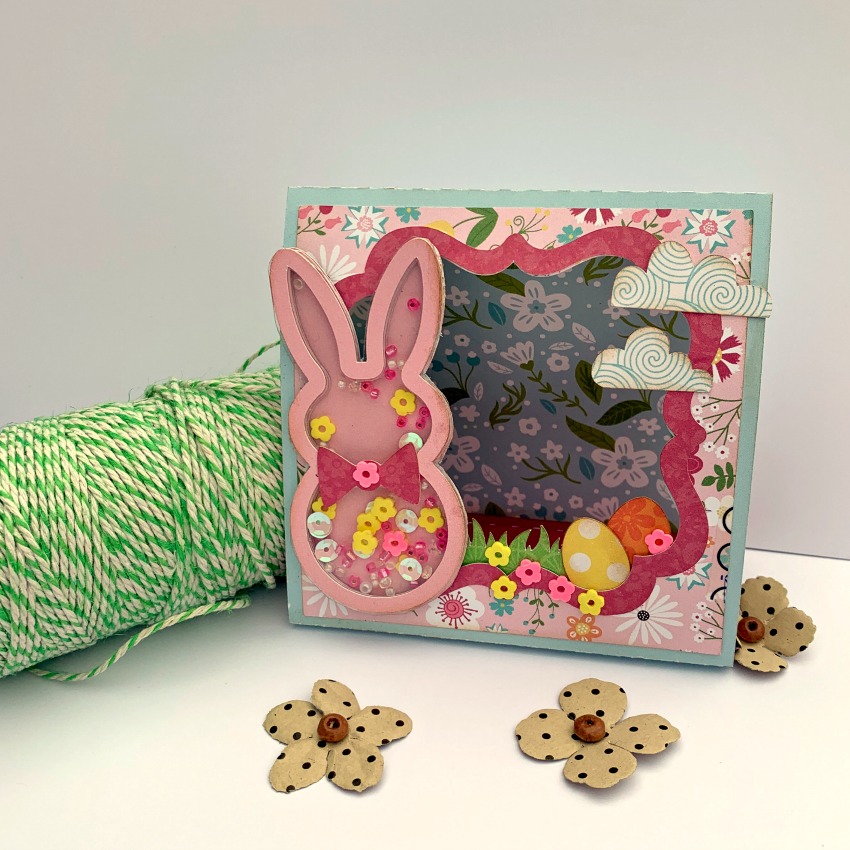
Bunny Shaker Card Tutorial

Hi everyone!  I know we are all trying to navigate through what’s going on in the world today, I hope you are all safe and well!  I am spending my time creating, it relaxes me and gives me focus in this uncertain time.  So with all that said, I have a little project to share with you.  It takes a bit of time, but I promise it’s worth the effort.  I love using Lori’s shaker card files.  She has lots, but I wanted one for Easter, so I decided to create my own.  After making several of Lori’s shakers, I’ve kind of figured out how to make my own.
I started with a this Easter Bunny Candy Wrap (SVG, Silhouette) in my Silhouette Software.  First bring up the box in the design page of your machine (box 1). Next release the compound path and ungroup.  You should be able just to select the bunny shape and bow now, (box 2 and 3).  Enlarge your bunny and bow to whatever size you need (box 4).

Now use the internal offset button and set to .145, move that little inset bunny over now from the original bunny.  On the inset bunny, now click the offset button and set to .145 and group the together.  Now your bunny perfectly matches up with the original shape (box 5).  Now keep your solid bunny shape and duplicate your outline shape 8 times (box 6).  You need 7 bunny shapes to make your shaker deep enough to fill with little sprinkles.  Now cut your shapes (box 7).  Layer 7 outline bunny shapes to the original bunny shape with liquid glue, stacking them on top of each other, box 4. Save one outline bunny to glue over the acetate.

Your stack of bunnies should be thick like below, make sure to let it dry really well (box 8).

Now for the fun part….add all your favorite little bits and glue a piece of acetate on.  Let it dry really well before trimming the acetate away.  Finish with your last bunny outline shape to make a nice finished shaker.

After my shaker was complete, I attached it with scor-tape to Lori’s 3D Stand up Easter Card (SVG, Silhouette) .  I just removed the original brown bunny and added my shaker bunny.  I used Echo Park Paper’s All Girl and I Love Sunshine papers.

Stay safe and well ~Cathy

Easter Treat Boxes

Spring is almost here and Easter is on the way. Lori has lots of fun treat boxes for everyone on your Easter Bunny’s list.  I have just a couple to share with you today.

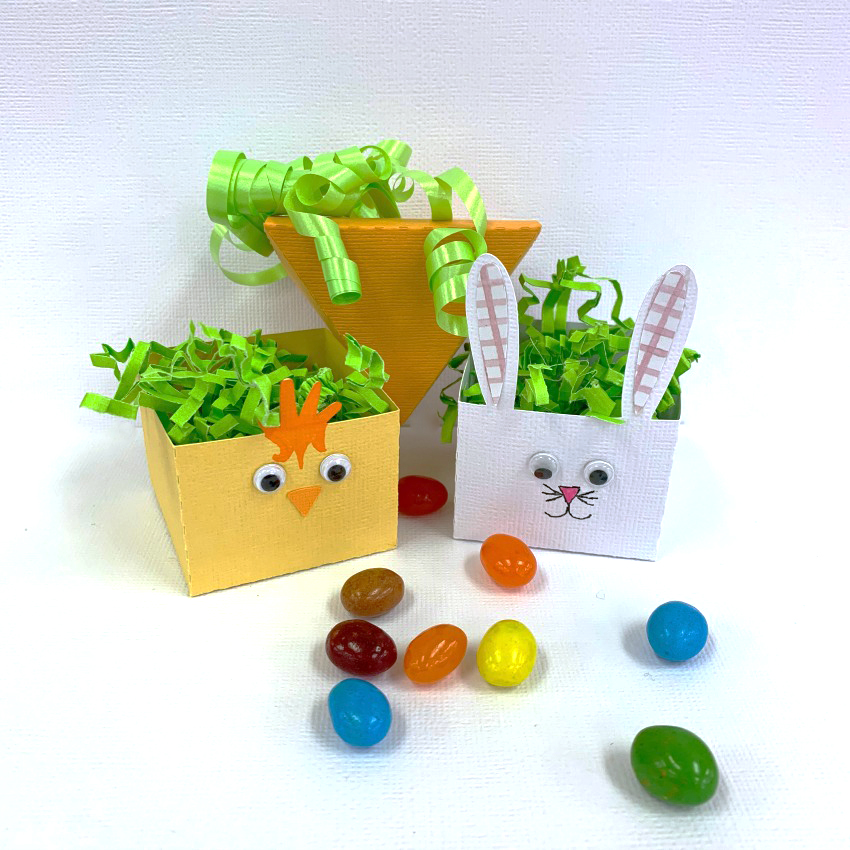
Here are all three of the little cuties that I made.

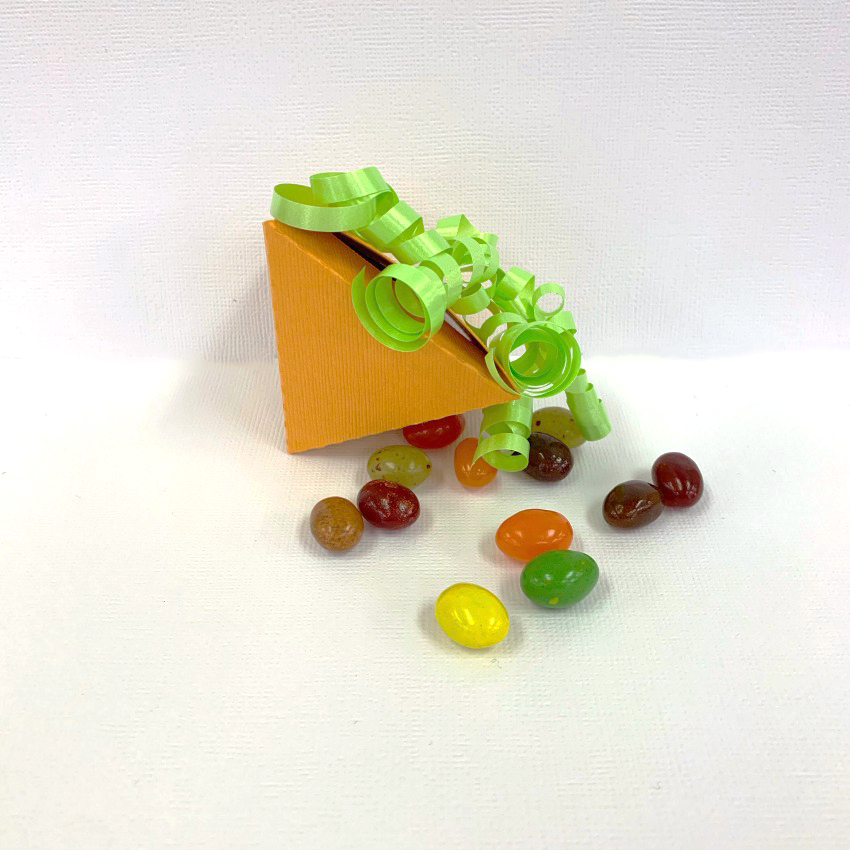
This is the little Baby Carrot Box, just too adorable.  I added curling ribbon for a fun touch.  You can find the file here at the Silhouette Design Store or here in Lori’s SVG shop!

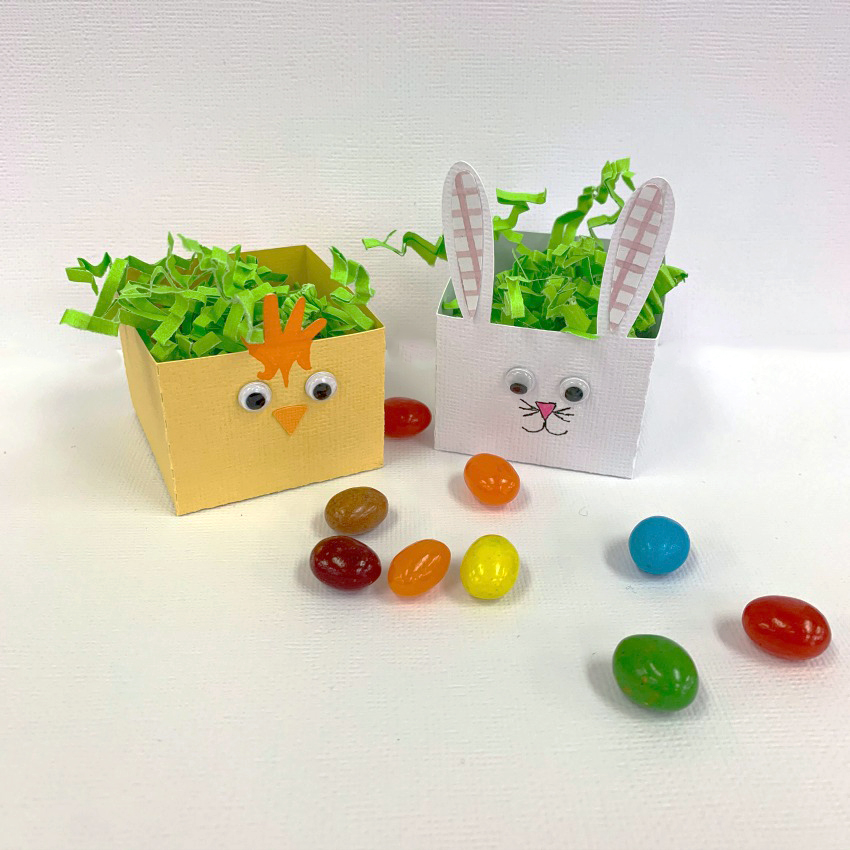
And these two little cuties are brand new from Lori.  They come set up as a print and cut file.  I chose to cut the little parts separately and add little bits of patterned paper, googly eyes and a bit of pen work.  They are just too sweet and so easy to do.  You can find the file here in the Silhouette Design Store or here at Lori’s SVG shop!  I loved making these and hope you will try them out.

Thanks for joining us today!

Cathy

A Mini Notebook

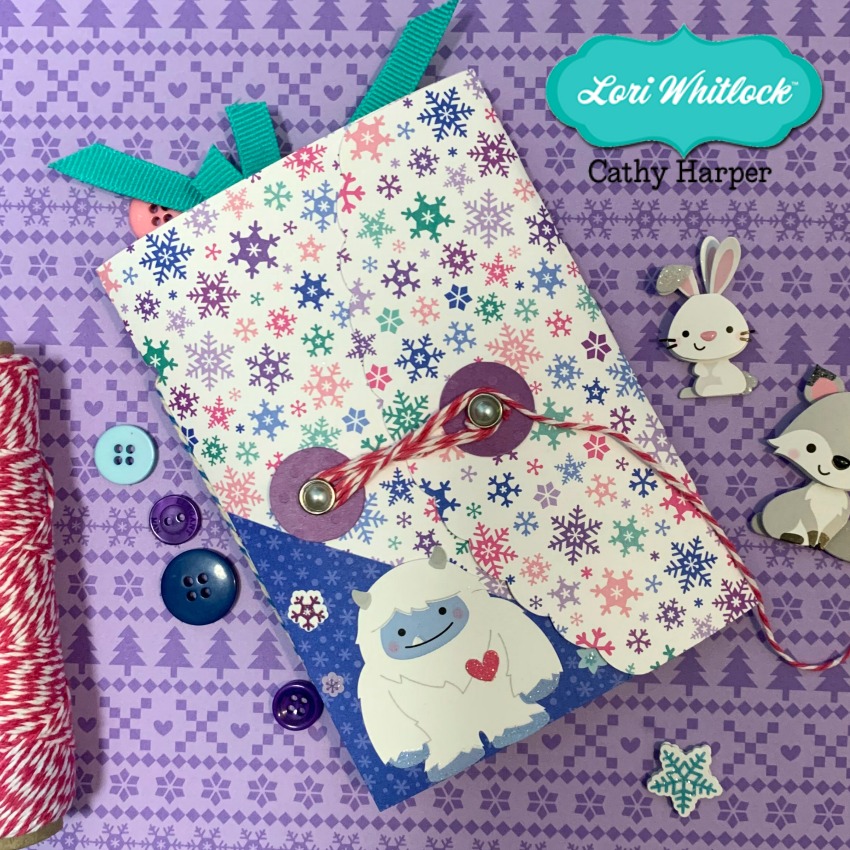
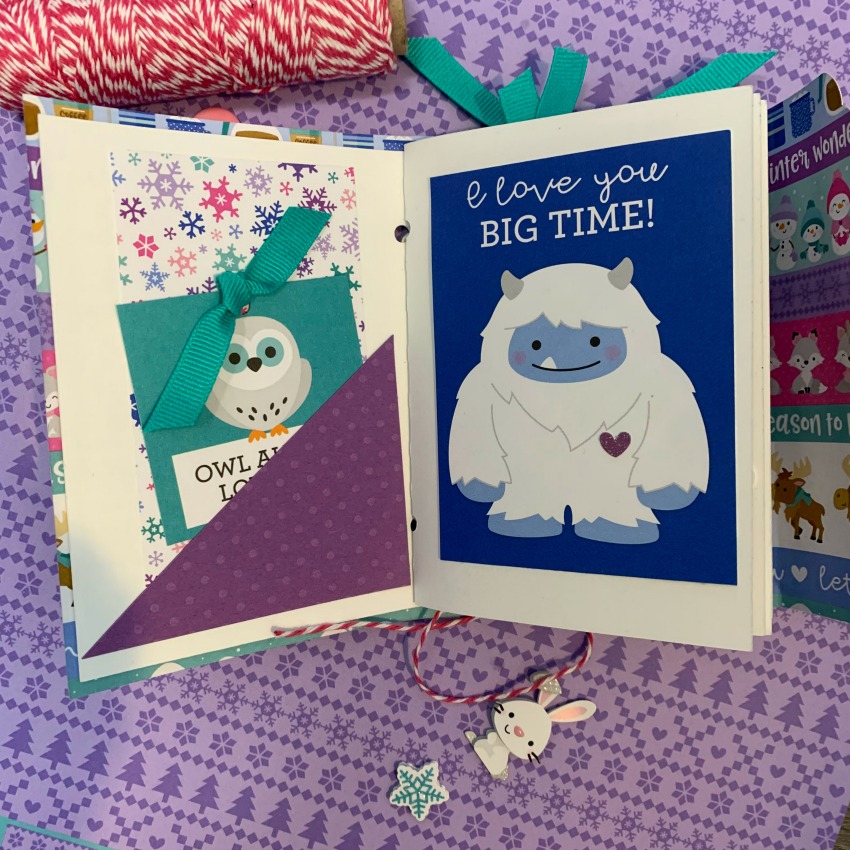
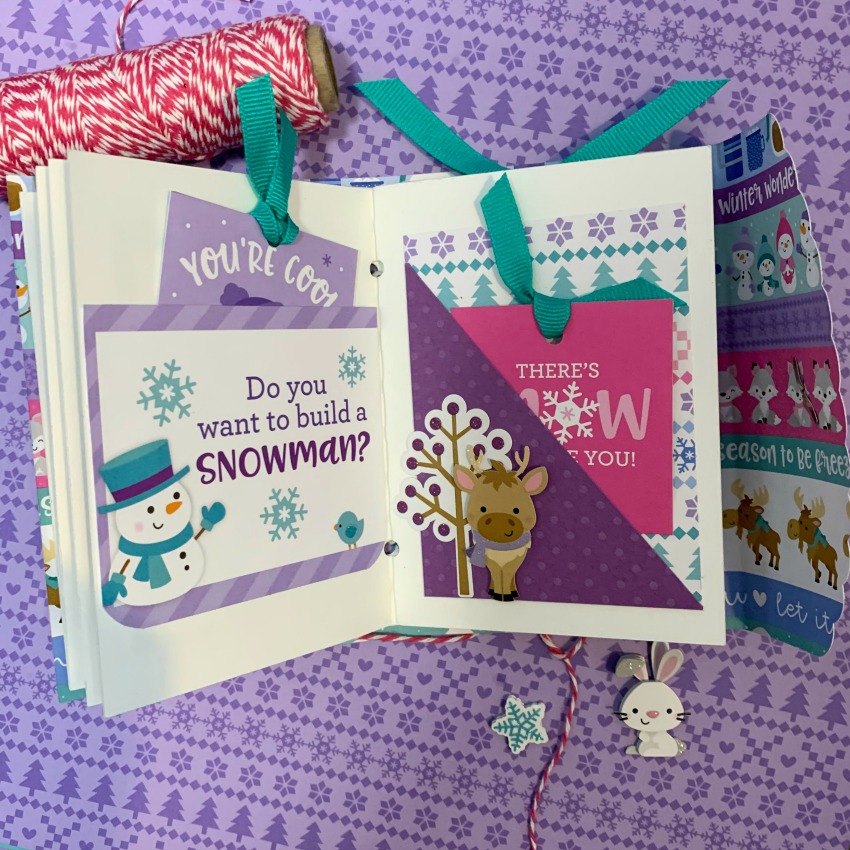
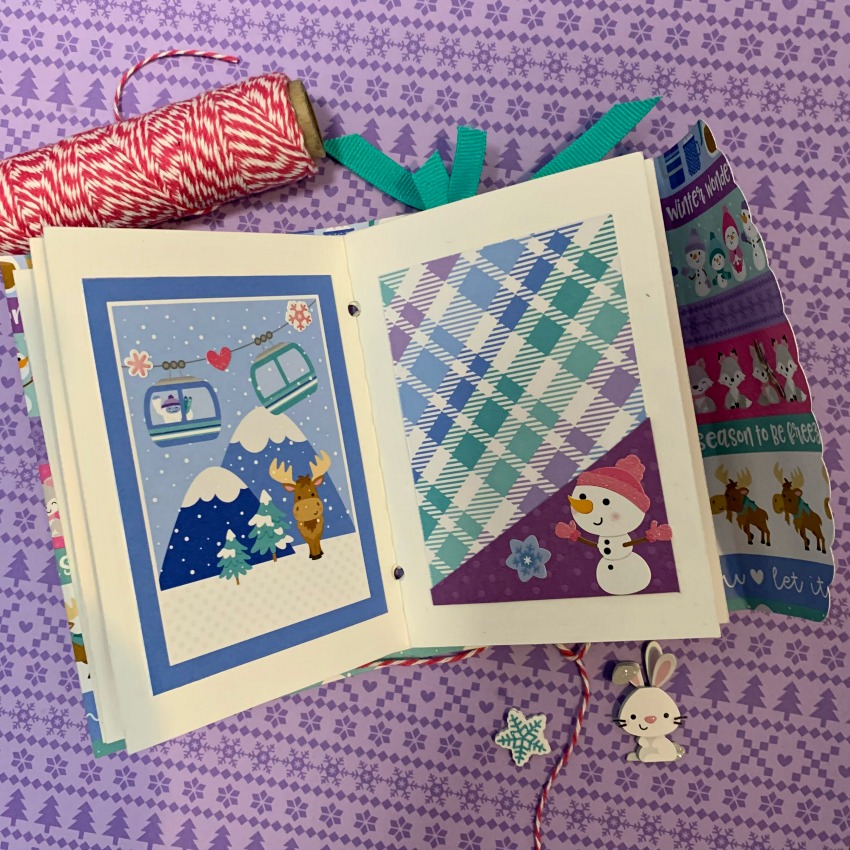
Happy 2020 everyone!  I have a fun little Winter Wonderland mini notebook to share with you today.  I created this little book to inspire me to write down motivational quotes through out the year. It has tons of pages and little pockets and little fold up pages that I added. I will share a few pages with you today.

You can find the SVG for the mini notebook here in Lori’s Shop or here at the Silhouette Design Store. It was super easy to put together and will fit in my purse easily.

Lots more pages to write all those little motivational quotes this coming year.  I’m just in love with this little project!  Wishing you a Happy 2020 and inspiration filled year!

Gnome Last Minute Ideas

Merry Christmas everyone!  I am still obsessed with all the little gnomes this season and Lori has so many files to choose from, I needed a couple last minute gift holders…so I used some of Lori’s files to get the job done.

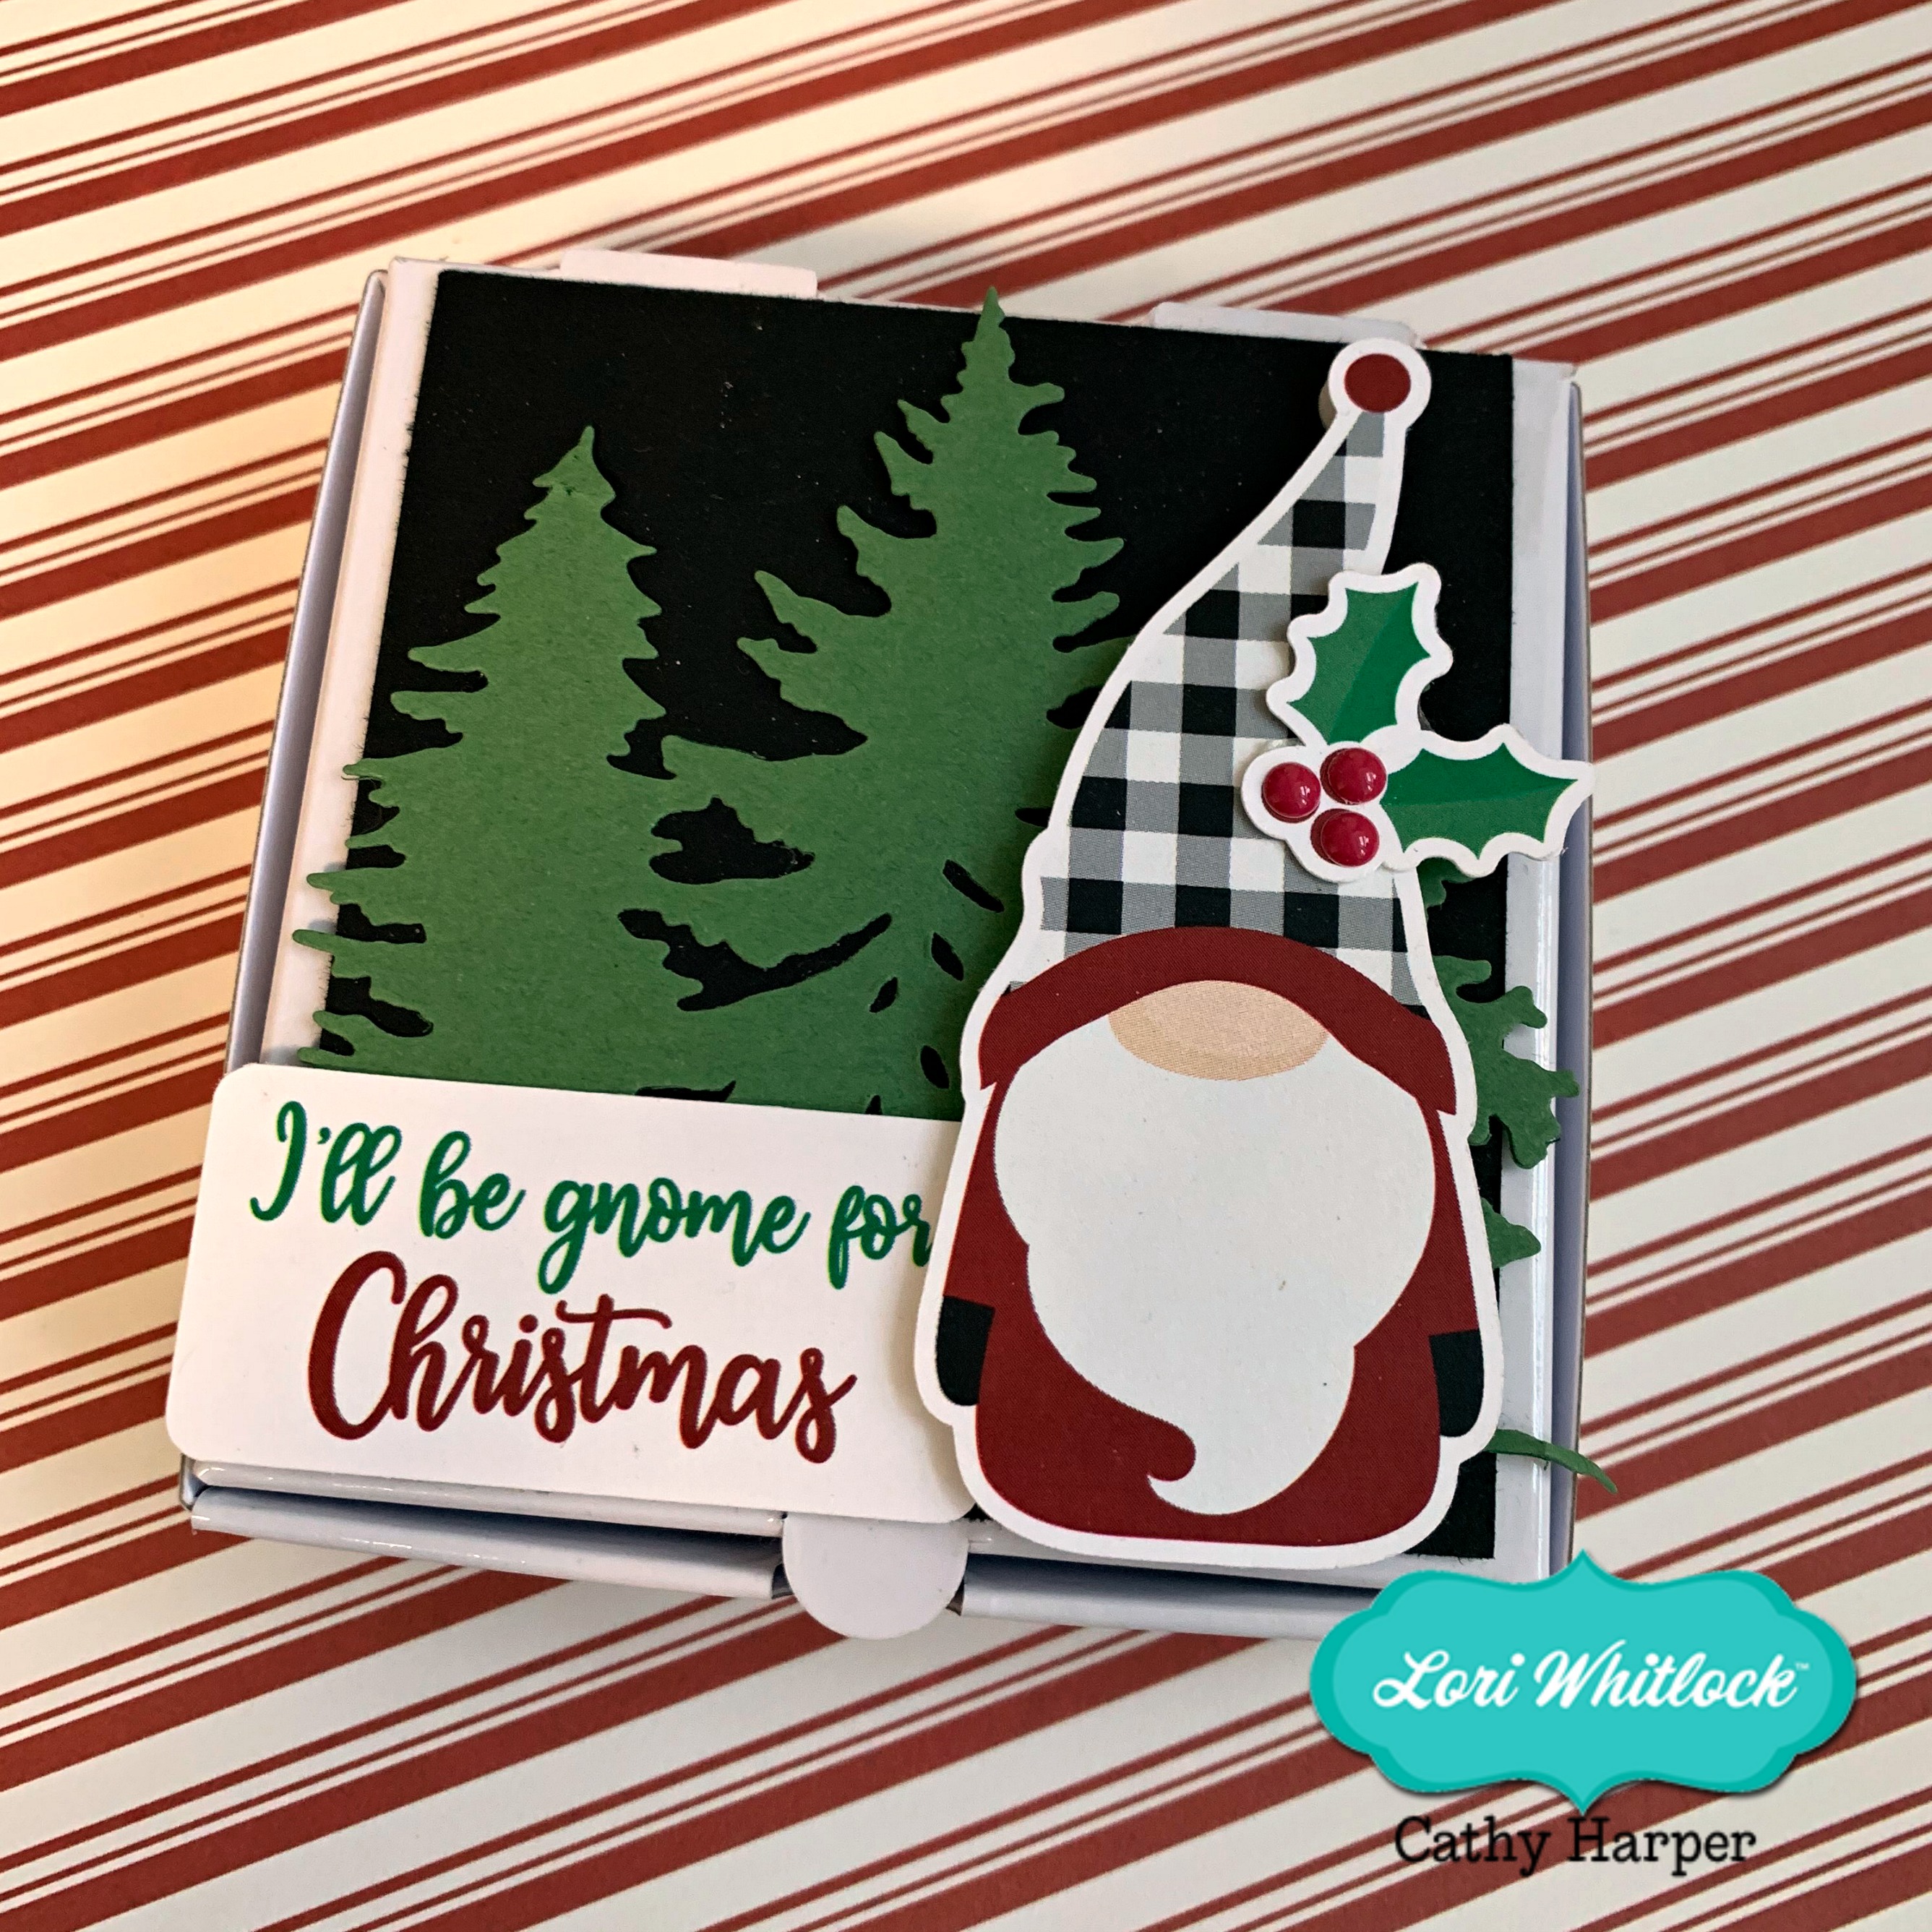
First up a little gnome pizza box, find the box here on the Silhouette Online Design Store  and here in Lori’s SVG Shop .  Lori’s Gnome Stickers are here on the Silhouette Online Design Store and here in Lori’s SVG Shop .  He turned out so cute, I just love the print and cut designs!  So fast and makes life so much easier.  The little pizza box is perfect for a gift card and a couple chocolates.

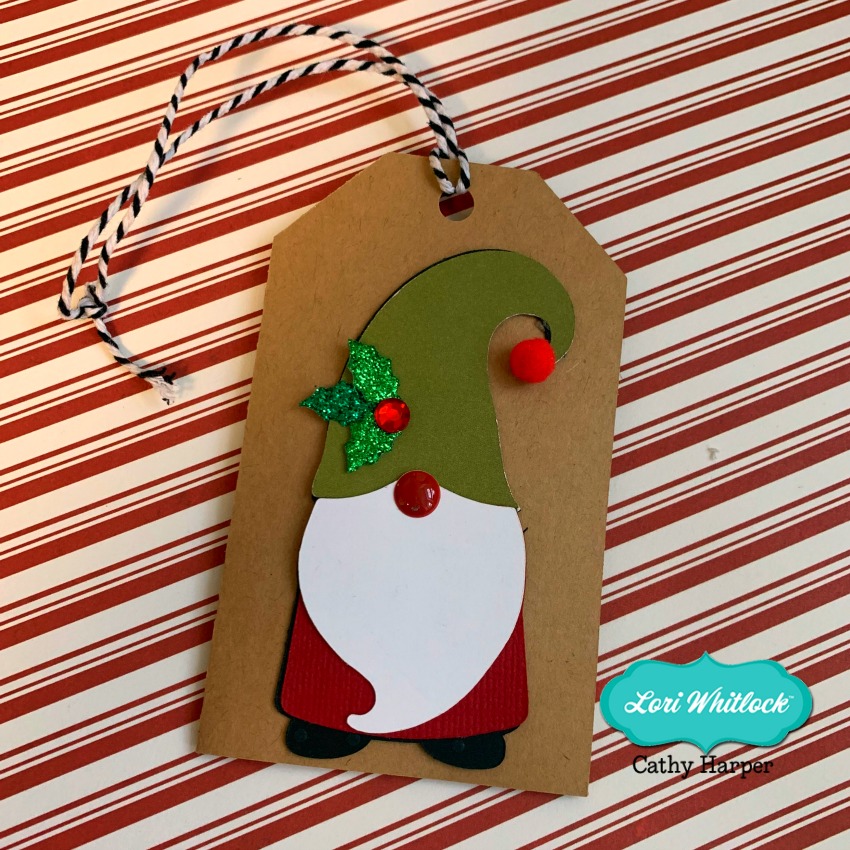
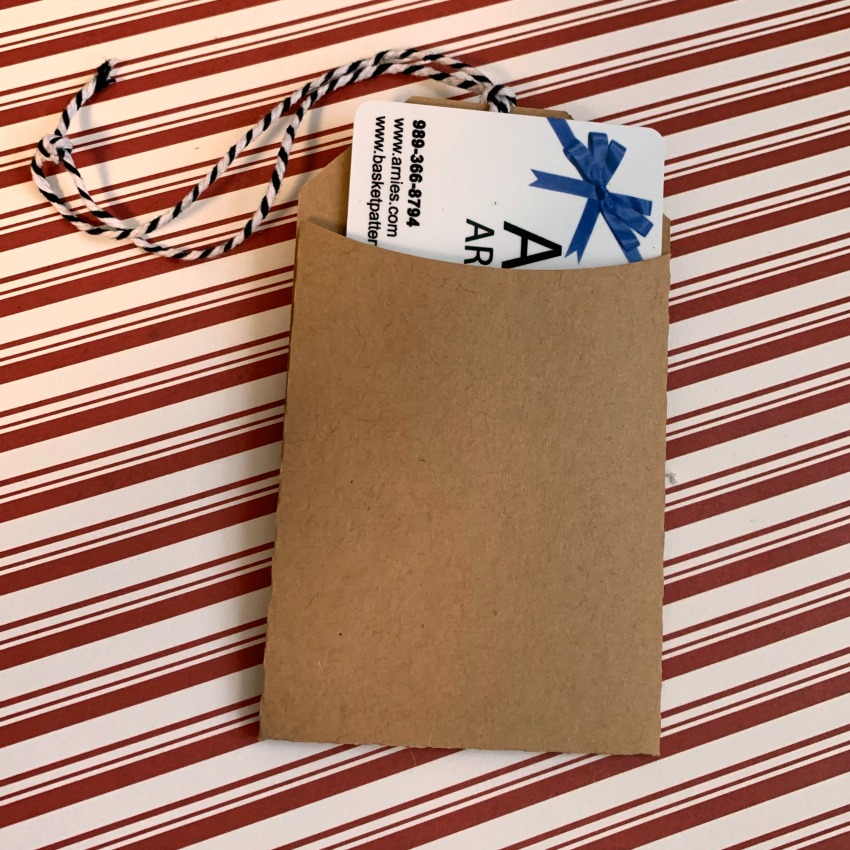
For my second little gift card holder, I used the brand new Gift Card Gnome Tag that you can find here on the Silhouette Design Store or here in Lori’s SVG Shop .This little tag went together in just a matter of minutes.  Yep, I will continue to be obsessed with all these little gnomes….can’t wait to see what Lori has in store as this trend continues.

Thanks for joining us today and Merry Christmas to you and your families!

Winter Mini File Folder Album

fI’m sharing a little mini file folder album with you today created with Echo Park’s My Favorite Winter collection.  I taught a class just before Halloween that was created by Jana Eubank , it used full sized file folders that you scored and folded to created a mini album.  I loved it so much that I decided to create another with a bit simpler version using Lori’s files.  I used the 4×6 File Folder Set (SVG, Silhouette) this tag from Pebbles in My Pocket.

I cut 4 plus one file folders in different colors.  You will use 4 complete file folders and the top of one more. Cut your last file folder so that you just have the tabbed top.  This is your cover.  I used the file folder with the top tab for this one. Then you can see that I used scor-tape to layer my folders together, creating side and top pockets between the folders.  I used 1/4 inch scor-tape to do this.  Layer all the folders on top of each other creating a mini book with top and side pockets.

Next I cut a couple 4×4 pieces from the My Favorite Winter Elements sheet and then cut 5 scallop tags.  Two of these tags will become pages and the other 3 will be tags for the pullouts along with the 2 four x four elements.

Score two of these tags at an inch to create those fold out pages.  You’ll see where they go in the pictures below.  Once you have the book all put together the fun part begins.  Embellish, embellish, embellish with all the fabulous goodies from the adorable collection.  I used the chipboard, stickers, enamel dots, tags and frames and a bunch of ribbons.  It’s a fun, fast little project with all kinds of room for photos of winter fun!

Thanks for joining us today! ~Cathy