Shamrock Heart Pop Up Card

Happy St. Patrick’s Day!  It’s a super fun day to get your green on.  It’s always been a special day for me, as my parents met on St. Patrick’s Day at a church dance.  They have been together 56 years now, isn’t that amazing ?  So for me,  shamrocks and hearts kind of go together.  This Heart Circular Pop Up Card  you can find in Lori’s shop or here in the Silhouette Design Store, reminded me of a shamrock.  You can either cut four of the designs and get a square shape or cut five and get this wonderful flower shape.  I love how cute it turned out.  Lori has a tutorial that you can view and see how easy these pop up cards are to put together.  I have made a couple of these now and I just love them.

Tie your little album shut and then they just explode with happiness!

Isn’t this just too fun?

I cut five sets and embellished the pages.  I will go back and add some photo’s and tags when I find the perfect pictures to add.  You can just adhere the bottom of the patterned paper hearts, that way they become pockets to add little tags too.  You can find another example of the pockets and tag idea here.

This little album just makes me happy.  I hope you all have a Happy St. Patrick’s Day and may we will all find that Pot of Gold at the end of a Rainbow!

Unicorn Coffee Cup Gift Card Holder

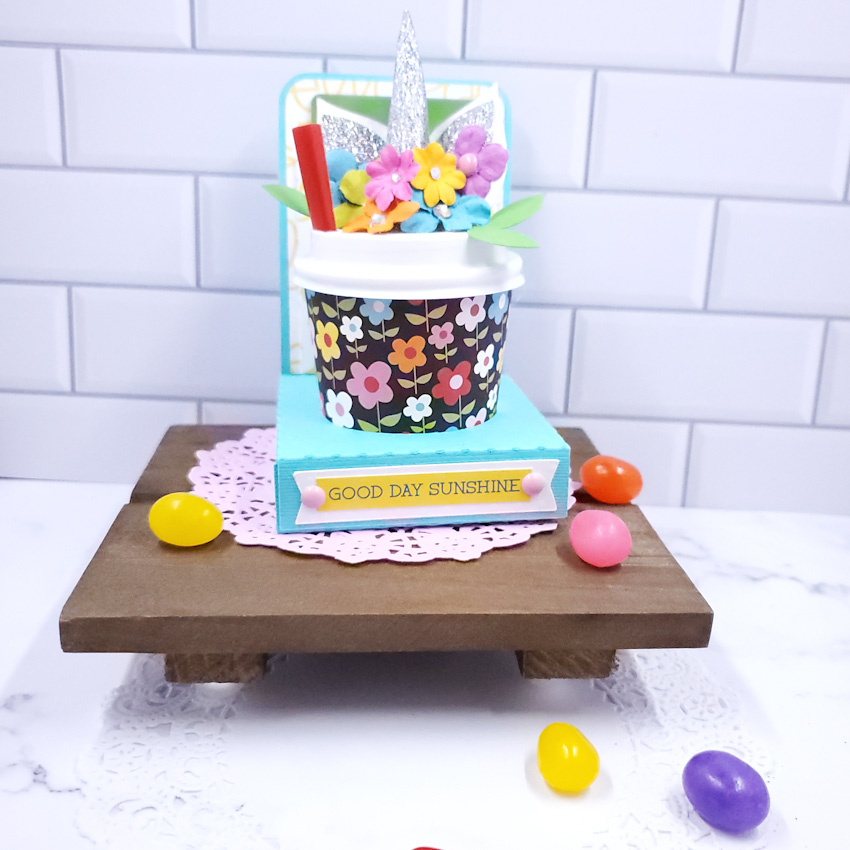
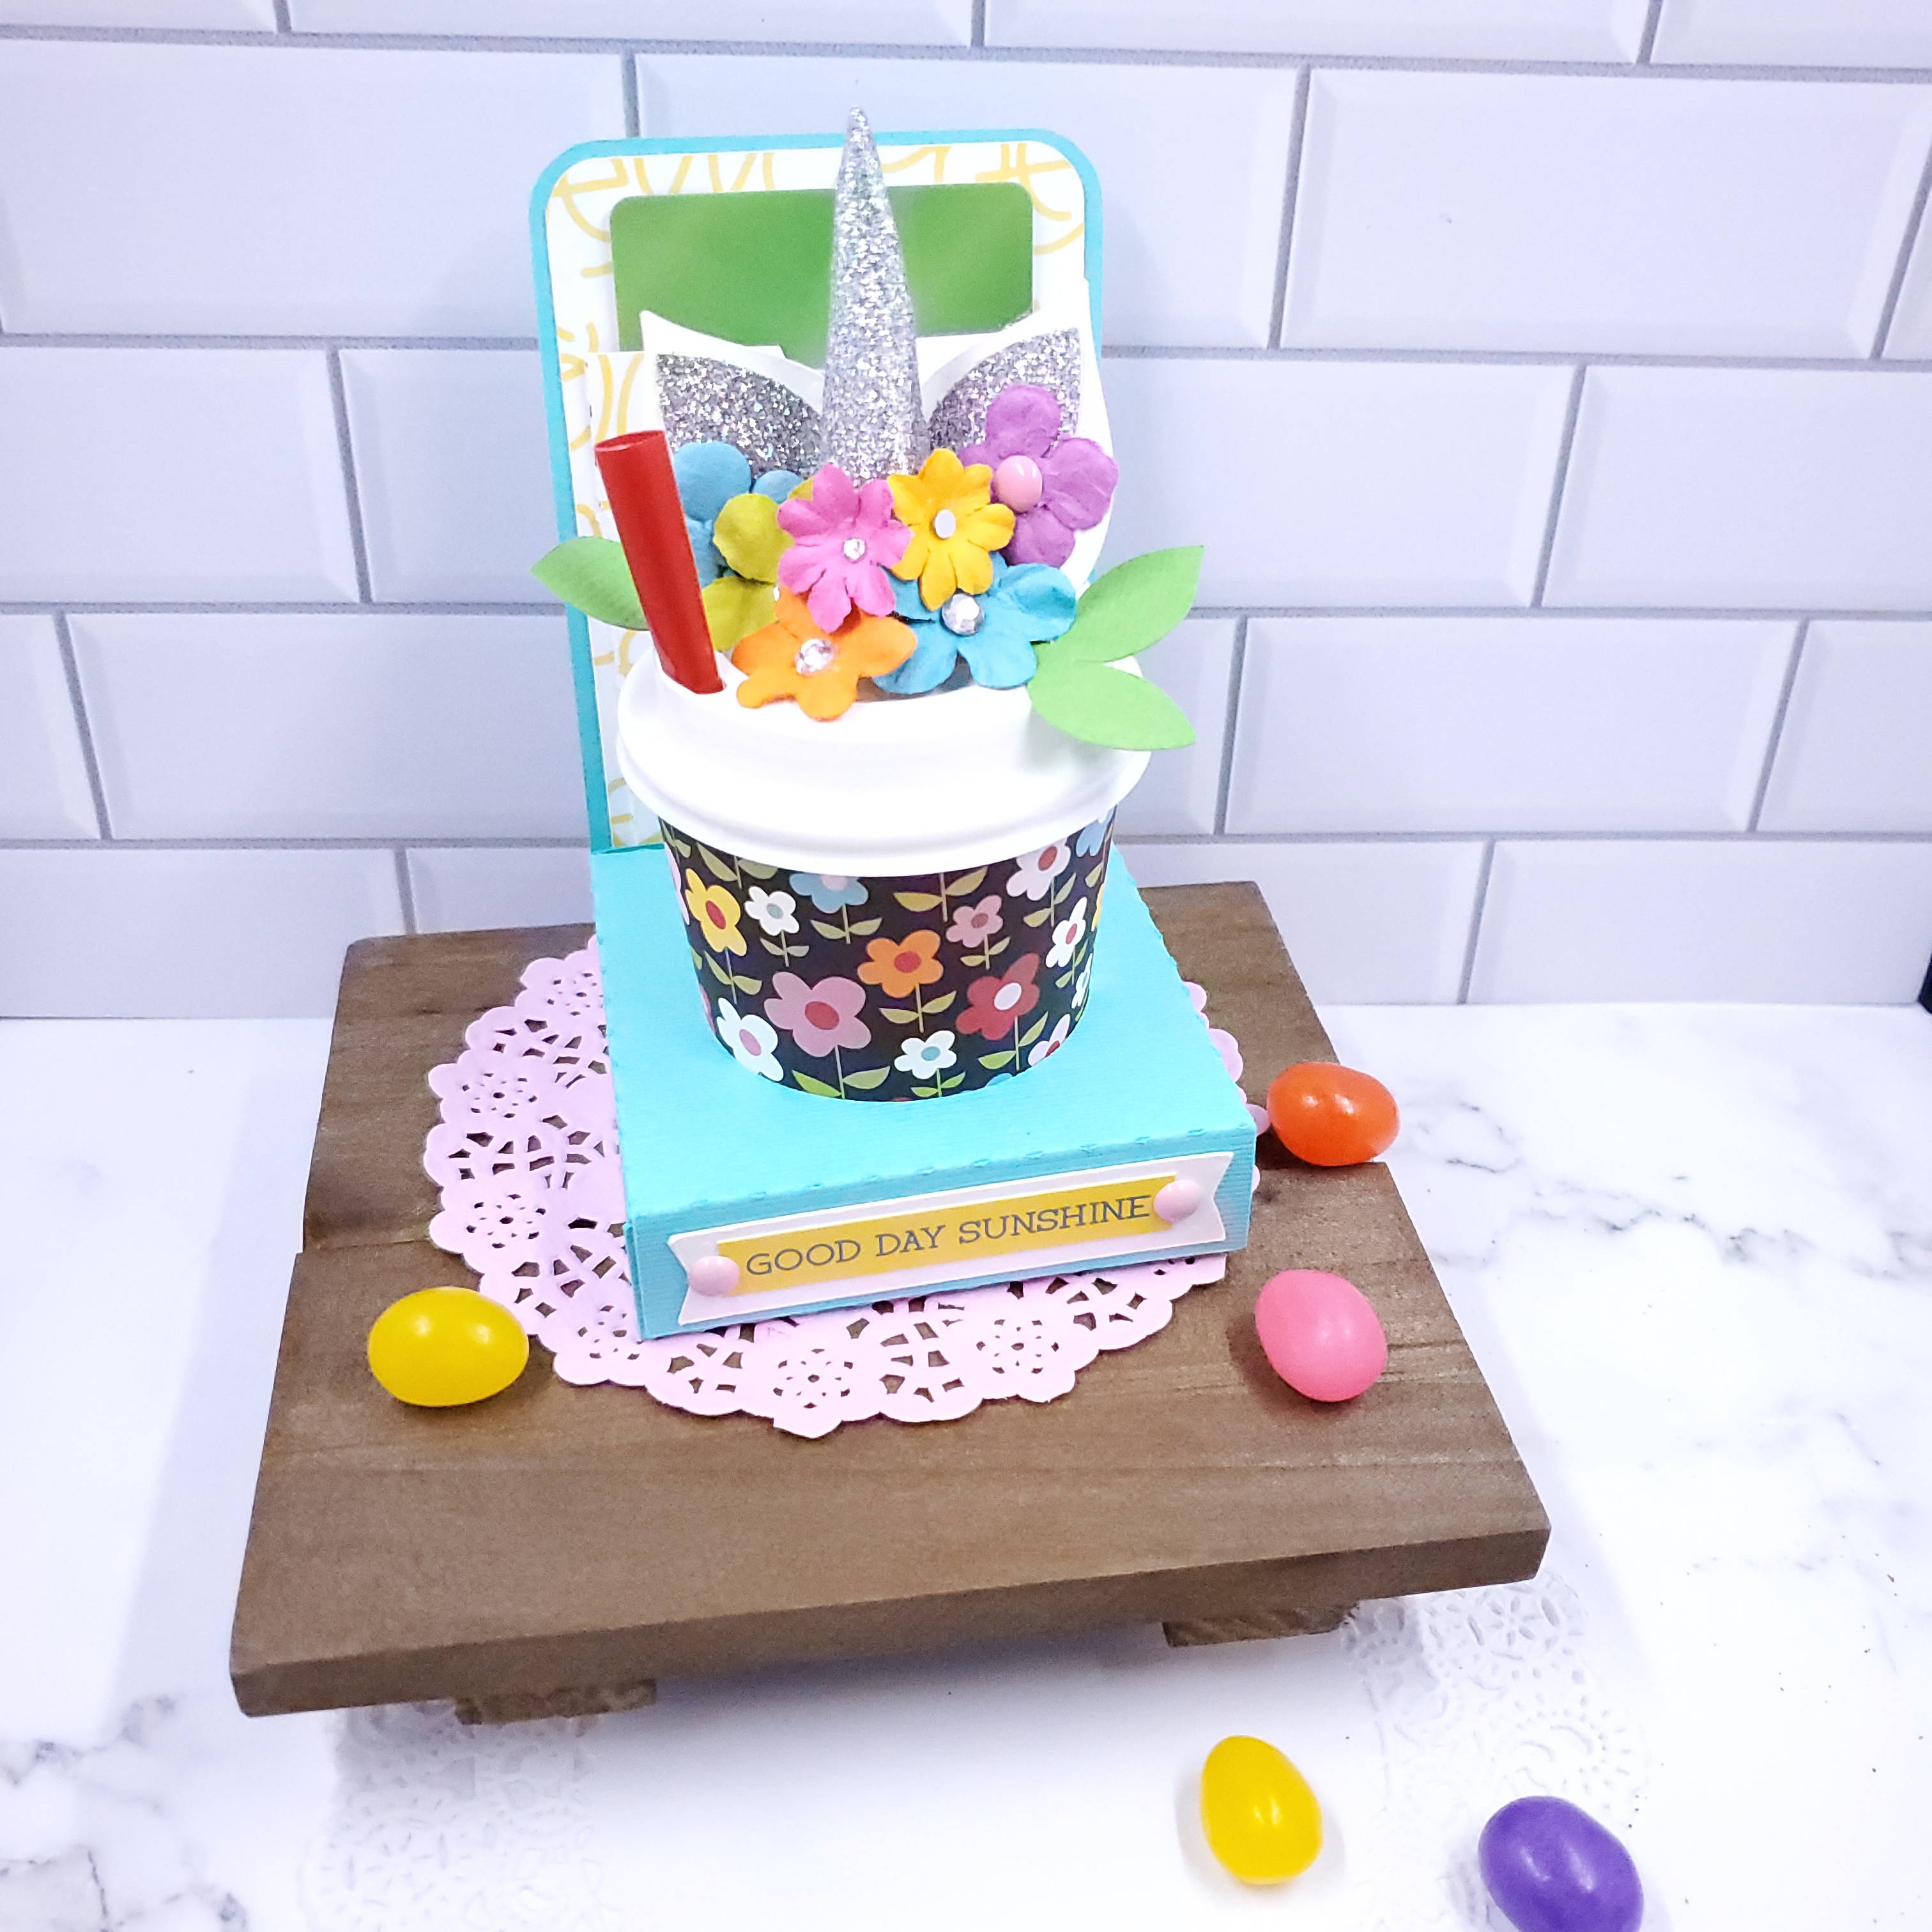
Hi everyone!  Seems like Spring is finally here or at least it’s right around the corner.  Spring makes me think of bright colors and lots of flowers…so I have a little project to share with you that will brighten any girl’s day.  I plan on sending this to my little grand daughter just to make her smile,  fill it with jelly beans for a special treat, along with the gift card holder in the back, so she can buy a couple little things.

One thing I love to do with Lori’s files is to combine them.  I can always customize them to match my creative side.  This project is made of three files and it turned out adorable.  I combined her files all the time to get the look I love.  I started with all of these from Lori’s Shop  : First, the  Mini Coffee Cup Holder (Wreath), then I used the Mini Coffee Cup Carrier and I used the just the sleeve to fit around the cup.  Next, I used the Unicorn Cake Topper Table Decor , I sized it down to fit my cup.  The original size of the file has the circle base of the design at 6 inches.  I scaled it down to 2.5 inches, which is the diameter of the cup lid.  I cut the horn, ears and the green leaves from that file.  I used glitter paper for the horn and inside of the ears.  When making your horn it is easiest to glue it together with hot glue, it just holds the heavy glitter paper quickly and securely.  I glued the horn and ears to the lid of the cup with hot glue also, and then just added the leaves and paper flowers.  It’s just adorable and I know my little person with be delighted!

You can find the files here at the Silhouette Online Design Store: Mini Coffee Cup WreathMini Coffee Cup Carrier, and the Unicorn Cake Topper Table Decor.

Thank you for joining us today!

3D House Valentine Heart Tutorial

Valentine’s Day is fast approaching, it seems that 2021 it just flying by for me, but I am taking time to create.  Valentine’s Day is always one of my favorite paper crafting holidays.  I think it’s the love of hearts for me and all the fun colors.  Lori has some brand new files in her shop to create your own little village and I started with the 3D Valentine House that you find in Lori’s shop or find it here in the Silhouette Design Store.  It’s a fun little project with super cute results.  So first pick you papers and plan out your design.  I knew I wanted a red heart and I love the texture of this paper.  Plus I knew I wanted a quality card stock for this project. So get started cutting.

Cut out all your pieces.  I always find it easiest to cut by color and Lori makes it so simple with the way she color codes her files.

These two strips of red are the main parts of your house and require the most work.  It’s really pretty easy, don’t let all the little points and score lines scare you.

I folded all the points inward as well as the tabs.  Then I ran the two pieces over the edge of my table a couple of times to give them the curve and make them a little bit easier to work with.  Running then over the edge of the table really makes these two pieces easier to glue along the edge to the heart pieces.

After you work with those two pieces, assemble the front of your house.  Adhere your background to the front.

Then flip it over and adhere the pieces for the front of your house.  Too cute!

Okay, now take a breath and get ready to adhere these two pieces.  It takes a bit of time and patience, but I promise the result is worth it.

Glue the tabs to the inside bottom of your house with a hot glue gun or really strong double sided tape, and then start adding glue along the tabs.  I used a tacky glue, but I highly suggest hot glue for a good grip.  Take you time and glue one side at a time.

Once you get the two pieces adhered to the back side, adhering the top pieces to those little points is pretty easy.  Just take your time and line everything up, this is where that deep breath comes into play.

So you can see here, it’s all adhered…I did have a bit of a glue mess, but it wipes off.  Again, hot glue would’ve made this process easier.

I don’t think my glue dried quick enough, maybe the dampness in the air, again that is why I suggest hot glue.  I was worried it would come unglued. I weighted it down with just a couple of tools and let it dry completely, about an hour.

Then just finish decorating,  That’s the fun part. I added some paper roses, embossed my little tree and a button and twine for the front door.  I added the little truck to my scene.  It’s just too cute and super simple to put together.  You can find it here in Lori’s Shop, and coming soon to the Silhouette Store.  I love my little Heart House and I plan on making the other houses in the set this weekend.  You can find the bundle here in Lori’s Shop.

Happy Valentine’s Day paper crafting!  We can’t wait to see what you create.  There are just so many fun files in Lori’s Shop.  Make sure to check them all out and share with us what you create.


Mini Calendars for the New Year

Happy New Year!  I’m starting off the New Year with a goal to be a little more organized in the 2021, because I’ll admit it, last year was pretty much chaos for me.  Heck, I think it was for most of us.  Lori created this cute little file that will help keep me organized at work and not take up but a smidgen of room!  It’s her 2021 Sticky Note Calendar, or you can find it here in the Silhouette Online Design Store.  These are super easy to create and it you pick up a three pack of 3×3 post it notes, you can even make a couple for you co workers.  These will be perfect on our desks.


Using the print and cut feature on you Silhouette or Cricut makes these little calendars a breeze.  It’s fast and precise.  You can staple the little pack of calendars, but I chose to use cute little clothes pins.  Just added a bit more fun. I love how these little calendars turned out.  A great way to start at least one of my goals in the New Year.


Here’s to a blessed and organized New Year!  Wishing you all the best in 2021!

~Cathy

12 Days of Christmas- Day 3 and Little Lumberjack Christmas Gnomes with Cathy

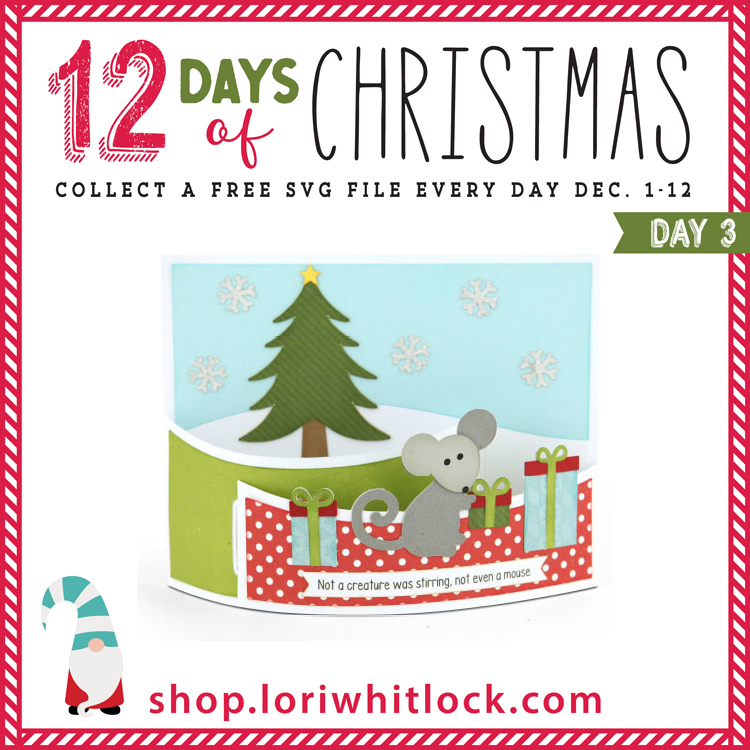
Welcome to Day 3 of our 12 Days of Christmas! Each day from December 1-12, there will be a free SVG file of the day, along with a special promotion!  For Day 3 we have this sweet Flexi Card Christmas Mouse File.  This file will be free today only, so don’t miss out!


In addition, today only, you can get 30% off all items under the Christmas Category in my SVG shop!  Just use code CHRISTMAS at checkout!


And now check out these adorable LumberJack Gnomes by Cathy!

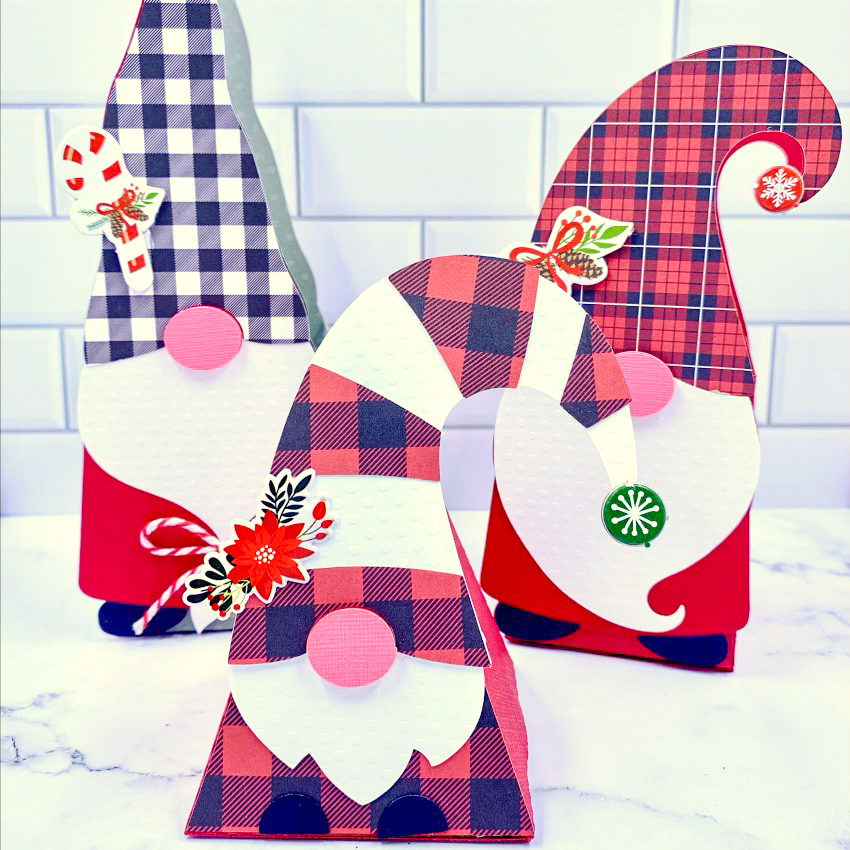
Hi everyone!  After a little hiatus from creating and taking a couple months off to raise 9 adorable yet exhausting French Bulldog puppies, I am back to creating for Lori.  My puppies all found wonderful homes and I am back in my scrap room.  This week I played with Lori’s Echo Park Little Lumber Jack Christmas collection and created 3 little gnome boxes.  My obsession with gnomes continues and Lori has so many cute designs to fuel my obsession.  The Little Lumberjack Christmas collection is perfect for these little guys.  I used the 6×6 pad, the chipboard, and the puffy stickers.

They are just too cute and perfect to add all kinds of little treats too.  I may make a few more and turn them into a Christmas countdown or add to a garland.


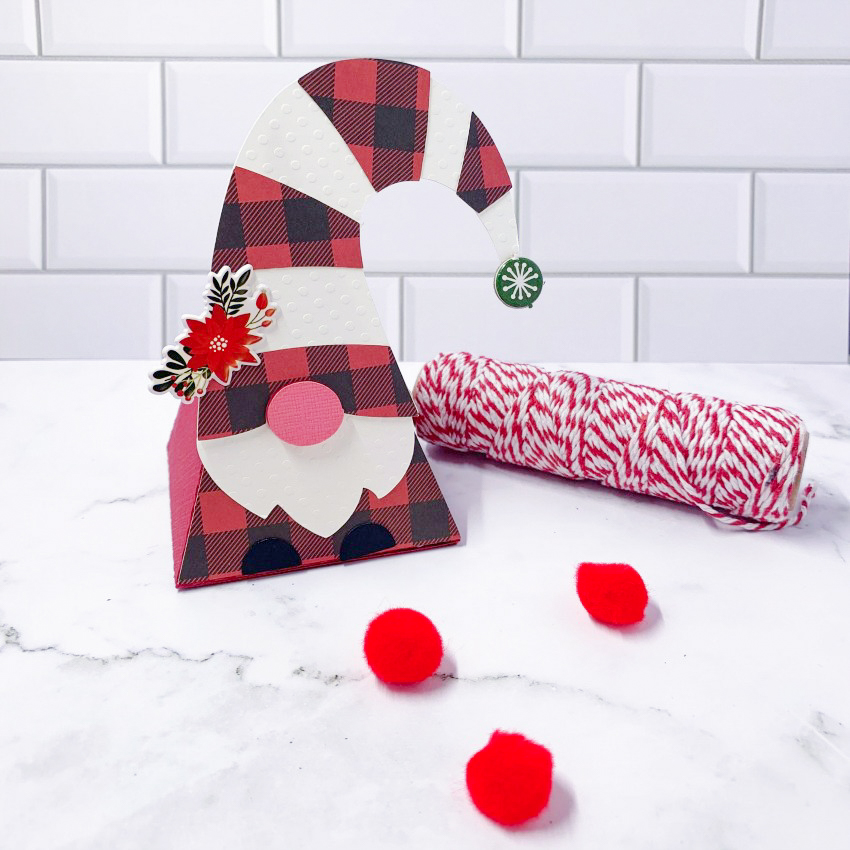
First up in the Gnome Pyramid Box (Lori’s Shop) or here in the Silhouette Design Store.

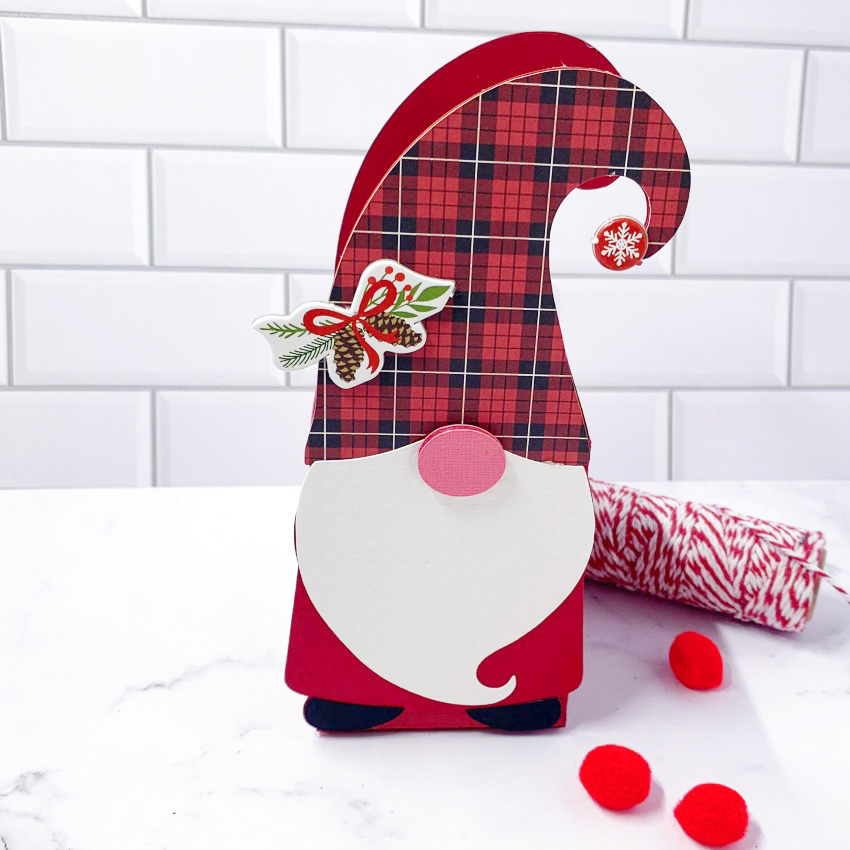
Then we have this fun guy, Gnome Box here in Lori’s Shop or here in the Silhouette Design Store.

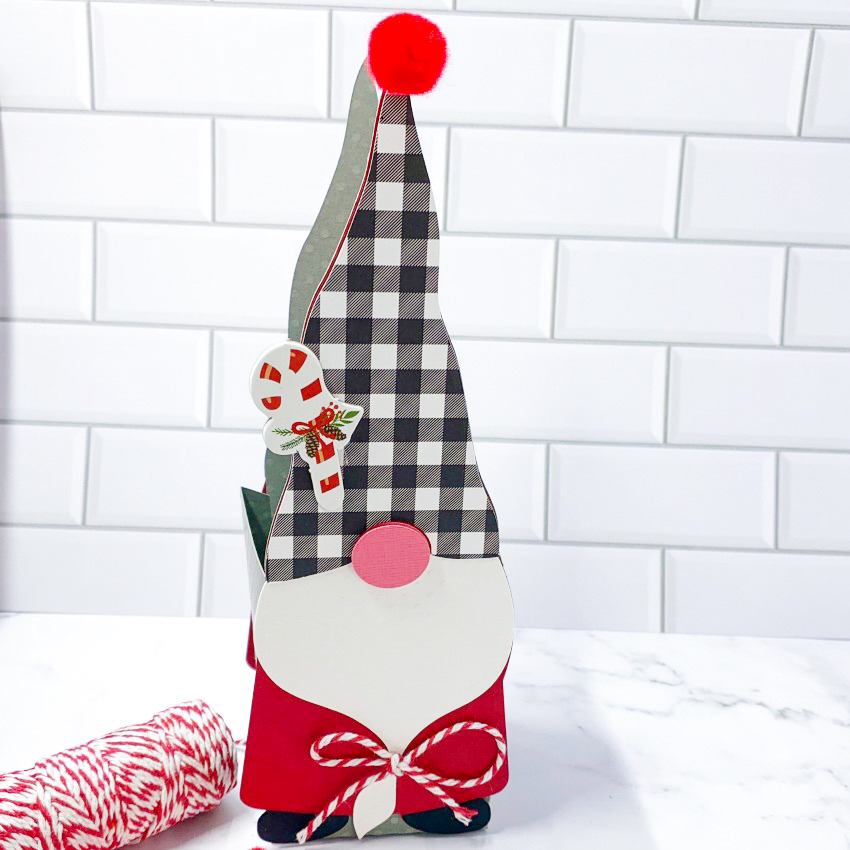
And lastly this fun little guy with the tie in his beard, Gnome Box 2 in Lori’s Shop or here in the Silhouette Design Store.

I hope you check out all of Lori’s designs with gnomes, they are just so many to choose from.  I will be adding more to these little guys.  I simply can’t get enough of their cuteness.  Thanks for stopping by today and it feels good to be back to creating even though I miss those little pups so!

Cathy