It’s Grilling Time

Hello everyone! Marcia here today.  Well, it is officially summer and grilling season is well underway!  I thought I would stock up on my birthday cards now before my garden starts demanding more of my time. Making a masculine card for a special guy can be challenging, but this Grill Box Card with Hamburger and Hot Dog (SVGSilhouette) is the perfect card for the master griller. I added a birthday sentiment from the Lori Whitlock Birthday Boy collection. This card would be great for retirement, housewarming, or to accompany a hostess gift too.

Lori has lots of Summer card ideas in her shop. Go check them all out and have some fun making your own cards!

Thanks so much for stopping by.
~Marcia

Princess Castle Box Card Tutorial

Hello everyone! Marcia here today. Have you seen Lori’s new Our Little Princess collection from Echo Park Paper?  There are lots of coordinating die cuts that you can use to create a truly special card for your little princess. I love making dimensional cards so I selected the Castle 3 Box Card (SVGSilhouette).

Let me show you how easy it is to put together.

  1. Cut out pieces with your electronic cutter. You can use the print and cut feature for the sentiment on the back of the card or use a sticker from the collection. If the pattern paper you are using is different colors on the front and back, you will want to cut 2 of the castle backs that the sentiment piece is adhered to. This is so when viewed from the front, it is the same color as the rest of the card.

  2. Glue the black cardstock pieces behind the windows and door. Use coordinating ink to ink the edges of the paper to add dimension.

  3. Assemble the card front panel, the back panel, and the 2 castle inserts.

  4. Glue the card base to create a rectangle and then adhere the card front and back panels to the base.

  5. Add the box card inserts and then embellish with stickers from the Our Little Princess collection.

This card folds completely flat for mailing (A7 envelope) and is sure to bring a smile to the lucky recipient’s face. Be sure to check out all the other castle cut files in Lori’s store too.

Thanks so much for stopping by.
~Marcia

Panda Kissing Booth Box Card Tutorial

Hello everyone! Marcia here today. I’ve been busy making Valentine cards to send out to my nieces and nephews. This adorable panda bear in a kissing booth caught my eye (SVGSilhouette).

I love gifting box cards that can be left out on a counter or desk and give a person a reason to smile! Let me show you how I created this card.

  1. Select your pattern papers or cardstock and cut out all pieces.

2. Ink the edges of the papers to add dimension and shading.

3. I used the print and cut feature of my Silhouette Cameo to print “Kissing Booth” and “5¢” before cutting, but I felt that the words didn’t pop enough against the dark papers. I used a black marker to carefully go over the letters. You could also use a marker to add the text when not using print and cut.

4. Assemble the kissing booth card base and box card insert. I added some bakers twine to my banner across the kissing booth. Adhere the insert into the card base so that the panda’s arms are in front of the banner on the front of the card.

This card folds completely flat for mailing measuring 5.25″ x 5.25″. Lori has lots of Valentine card ideas in her shop. Go check them all out and have some fun making your own Valentine cards!


And don’t forget that this card, and all other SVGs, Fonts, Pattern Fills & Commercial Licenses are 30% off through Saturday, February 12th when you use code FEB2022 at checkout!

Thanks so much for stopping by.
~Marcia

Polar Bear Side Step Christmas Card

Hello everyone! Marcia here today. I’ve been busy making some Christmas cards to send out to family and friends. Do you still send cards out? I love making cards that can be left sitting out on tables and countertops and was so happy to see that Lori added some step cards recently like this adorable Polar Bear Side Step Christmas Card (SVG, Silhouette). I used the starry sky pattern paper from Echo Park Paper’s The First Noel collection for the base of my card and the Christmas Magic collection for the green and red pattern papers.

No need for a sentiment stamp either. You can use the Print and Cut feature in the Silhouette design studio. The Season’s Greetings sentiment is included with the cut file.

I love how it turned out! There are a lot of other side step cards that were released recently for Christmas card making. Go check them all out. Have a great week.
~Marcia

Double Slider Birthday Card Tutorial

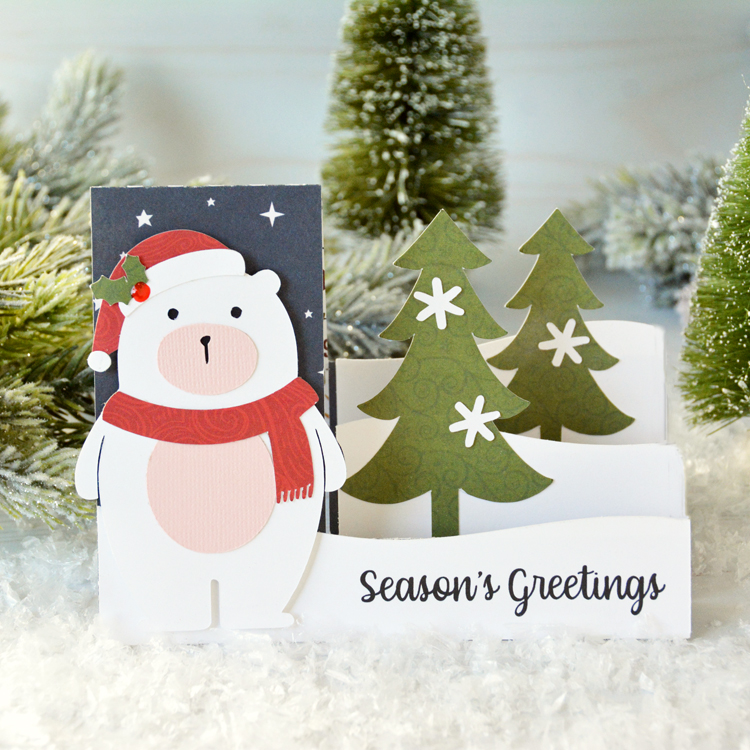
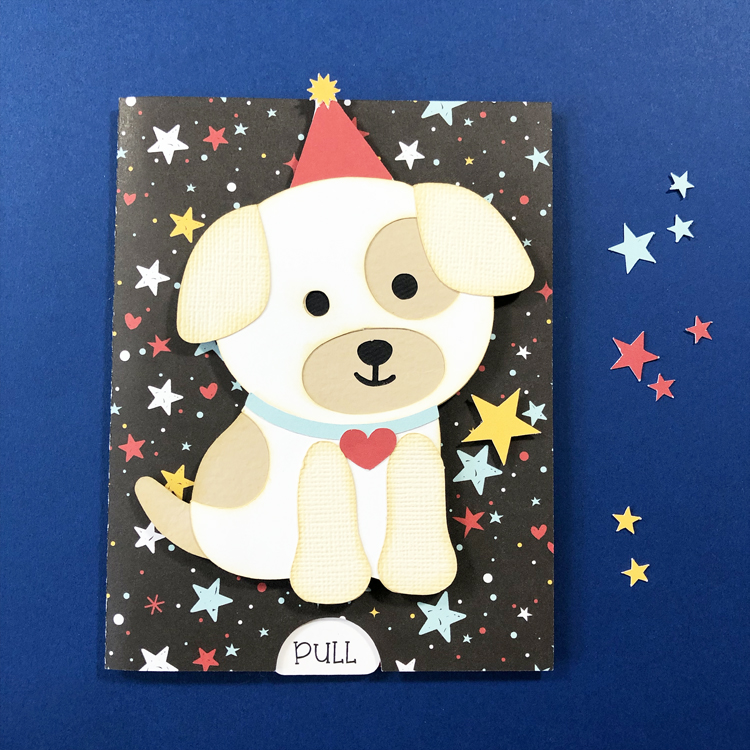
Hello friends, Marcia here today. I have a fun interactive double slider card  tutorial for you today. These are super fun to make as well as receive. There are lots of double slider card designs in the store. I made the Birthday Dog card (SVG, Silhouette) which I thought would appeal to the one year old who received it.

When the “PULL” tab is pulled, the dog’s birthday hat lifts off his head revealing the Happy Birthday sentiment. So cute!

Let me show you how to make one yourself.

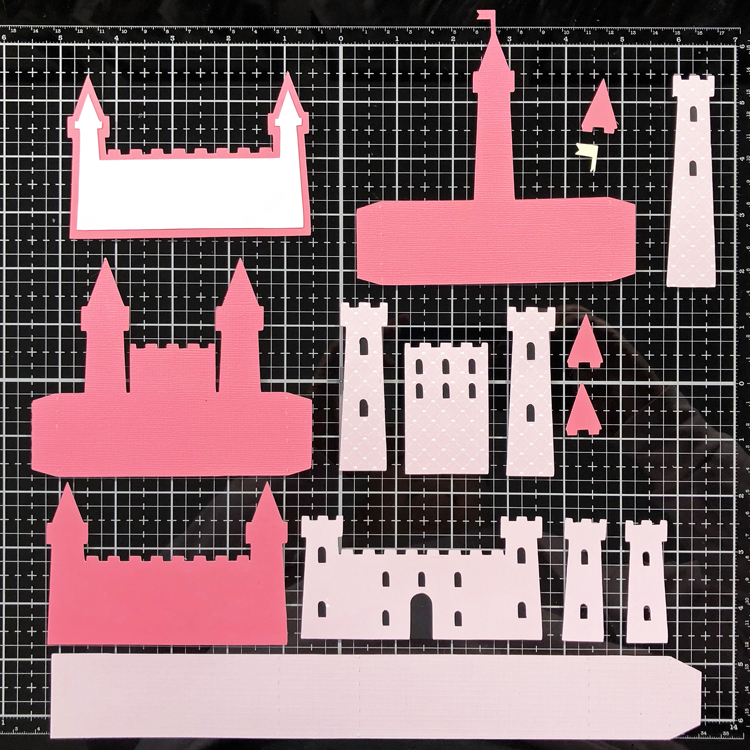
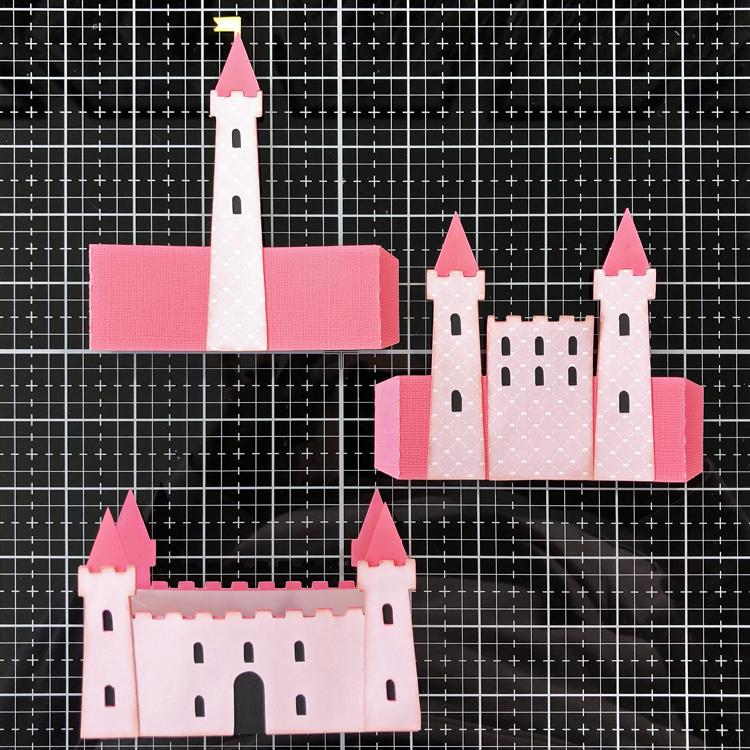
1.  Choose your cardstock or pattern papers and cut out all the pieces. I used the Silhouette print and cut feature to print “Happy Birthday” and “PULL” before cutting out these pieces. Assemble the dog, backing the eyes and nose with the black circle, then add the white head and body over the top of the base dog. Top with the dog ears and front paws. Finally add the collar and the heart tag.

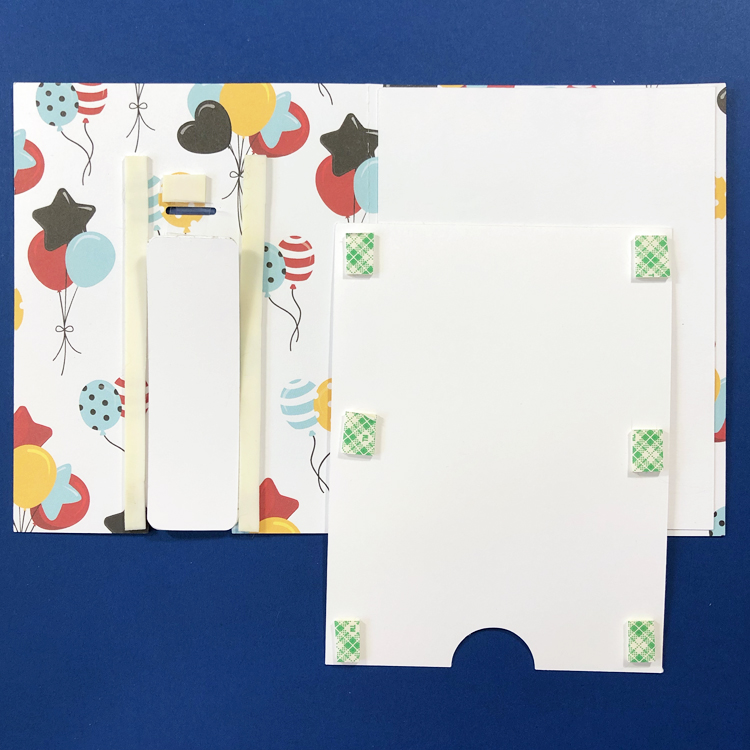
2.  Cut 2 of the Pull tabs. Only one needs to have the printed PULL on it. These will be glued together to make the tab stronger. I also printed two white inserts to allow me to sign the inside of the card since the pattern paper is quite busy. Adhere one of the white inserts to the right inside portion of the card.

3.  You will need to cut a strip of plastic packaging and insert it into the two slits as shown on the inside front of the card.

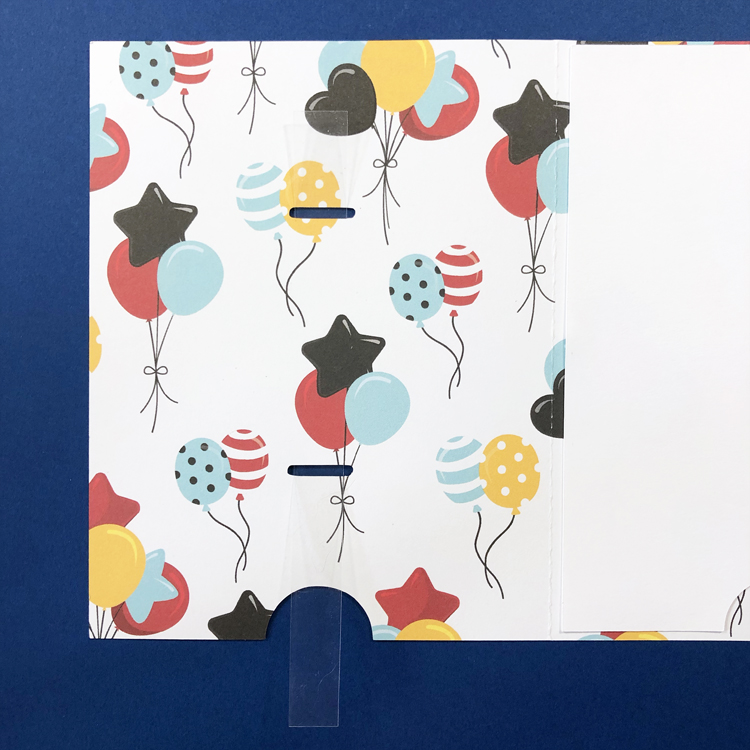
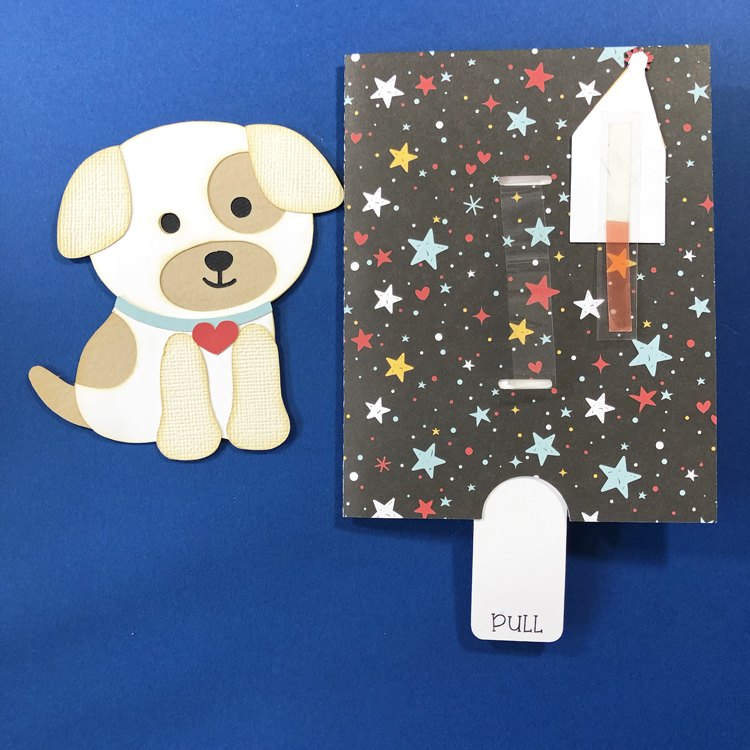
4.  Use a piece of double sided tape to adhere the two ends together. The pull tab is attached to the other side of the double sided tape. Make sure the PULL text faces the front of the card. The plastic strip should be loose enough to slide easily. Test the mechanism.

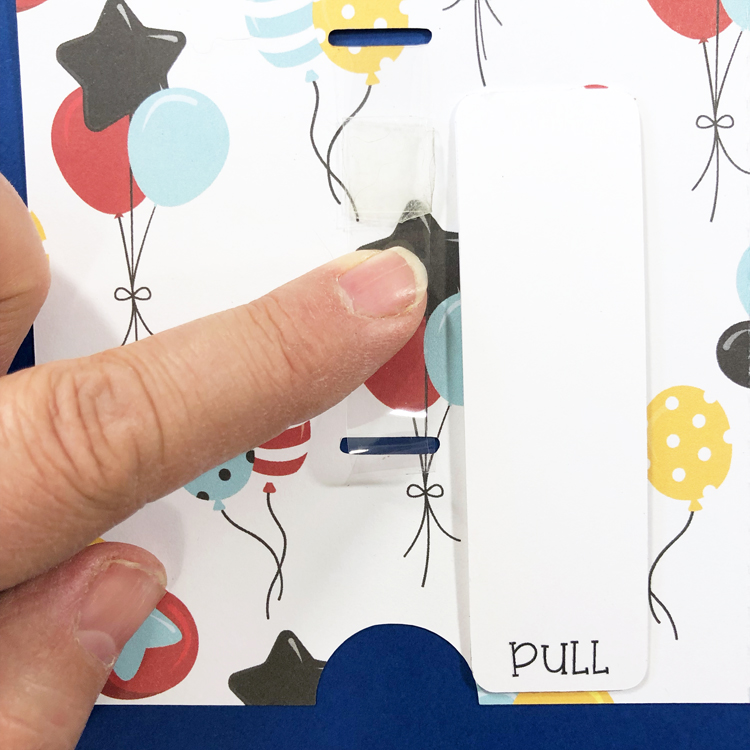
The front of the card now has a sliding plastic strip between the two slits.

5.  To keep the pull tab from wobbling, add foam tape strips on both sides. Mount the white insert to hide the sliding mechanism using more foam tape.

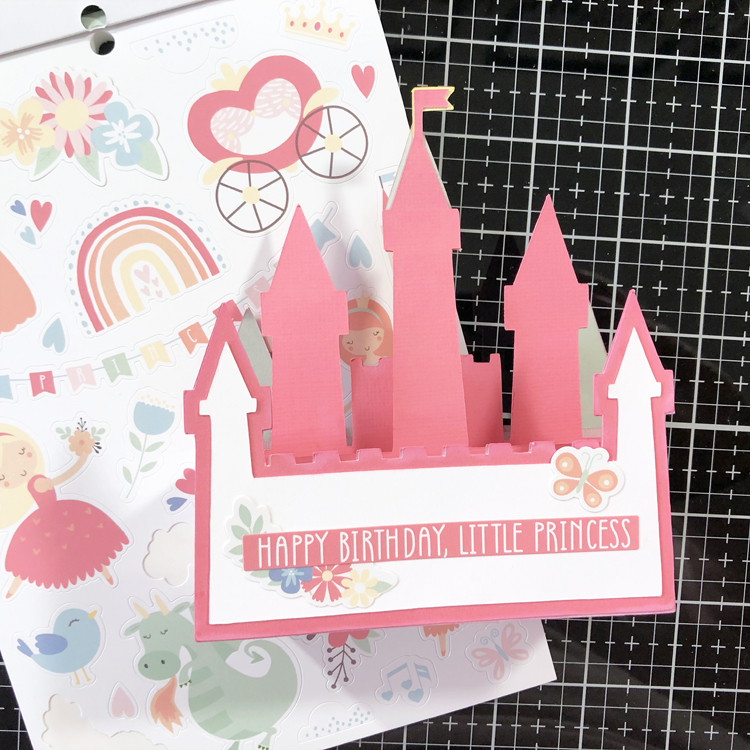
6.  Attach the Happy Birthday sentiment to a strip of stiff clear plastic. With the pull tab pulled all the way out, use double sided tape to attach the hat with the sentiment to the top of the sliding strip. Mount the dog over the top using foam tape. Test the mechanism again to make sure it doesn’t catch on anything.

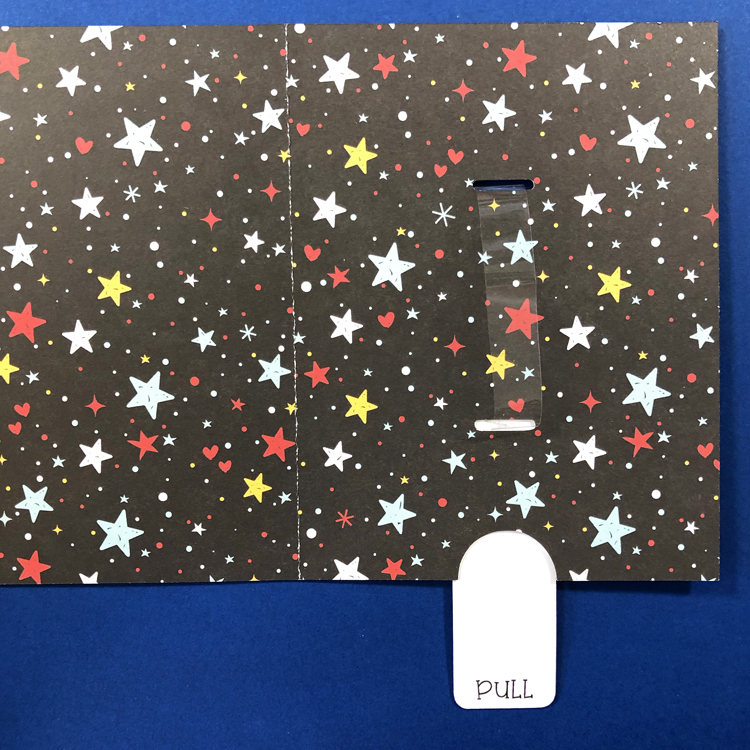
7.  Add the cut out stars to the front of the card.

If you get stuck along the way, there is also a YouTube tutorial here.

Check out all the other Double slider cards in the store. Thanks so much for stopping by.

~Marcia