Halloween Countdown Tutorial

Hi there Lori Whitlock friends! Anyone else look forward to this time of year to do all the fun Fall/Halloween crafts? It is my favorite.

I am sharing a fun idea for a Halloween countdown today. I used my Glowforge laser cutter to  make this project out of wood but it would also be cute as a flat design cut out of paper or vinyl and applied to a premade sign blank. I also think my steps below would work for cutting this project out of chipboard if your machine does that.

The files I used are Halloween Haunted House Scene (SVGSilhouette), Halloween Tree (SVGSilhouette), Halloween Tombstones (SVGSilhouette), and the Spooky Font (SVGSilhouette).  I also used the rectangle tool in Silhouette to create my base.

For the numbered tombstones I wanted a simple shape. I used the knife tool in Silhouette to slice off the cross from the tombstone on the end.  I then typed out the numbers 0-9 and cut an extra 1,2, and 3 so that I would be able to do the higher number double digits in the count down.

I then typed out days till Halloween in the spooky font and created an offset. I welded the offset letters together and grouped them together to keep the word spacing from shifting.

With the offset letters, house scene, and the spooky trees I welded  a rectangle to the bottom of the images to create a tab to fit into the slots that I add to my base. The dimensions of the rectangles for the base are determined by the width of the material being used. If you are making a flat countdown this step is not necessary.

Once I had the tabs added to the images I created the slots in the base of the countdown. The top two small rectangles are for the spooky trees. The middle rectangle is for the house scene and the bottom rectangle is for the numbered tombstones and days till Halloween letters. I centered the skinny rectangles on the larger rectangle then spaced them as shown below. I selected all of the rectangles and created a compound path. The large black rectangle is the bottom of the base.

I cut everything out, painted, and assembled.

I really like how it turned out and my little guy cant wait to start counting down the days to Halloween. If you have any questions let us know. Thanks for stopping by!
Brandie

A2 Stacked Birthday Cake Slice Card

Hi there friends and Happy Monday! Today I am sharing a cute simple birthday card. The A2 stacked Card Birthday Cake Slice (SVG, Silhouette). This card also comes in a bundle of four that you can find here.

The papers and stickers are from the All Girl collection by Echo Park Paper. This card would be so cute  in any color and season. Love that! Thanks for stopping by today and have a great week!

Brandie

Tractor Box Card Tutorial

Hi there friends! I have a quick tutorial for the Box Card Tractor (SVG, Silhouette). This box card is so cute and versatile.  Once everything is uploaded into Design Space be sure to attach the score lines on the card base and the middle insert. I cut all of the pieces out of various colored cardstock.  There is three pieces for each tire. I used a Xyron sticker maker for the four smaller rings. The white ring stacks on top of the tire first then the thinner back ring stacks on top of white ring.

The insert only has one colored piece to glue into place and the two tabs on the ends are valley folds.

For the body of the card there is two tractor body pieces, a small rectangle, and a small square. The rectangle in glued in the middle of the body pieces and square is glued on the end. Fold all of the score lines as mountain folds. While the card base is still laying flat the two larger tires are glued on the outside edges with the smaller tires glued in the middle. Add the glue to only half of the smaller tires. The other half of the tire will be off the edge of the card base once the card is assembled. Flip the card over and fold the left side over and apply glue to the tab then fold the right side over on top of the tab to close up the card. You should have a tractor box now.

For the middle insert add glue to the tabs then line up the front edge of the tab to the front of the box card. Hold to secure the glue and repeat on the other side of the card.

Fold the card flat to check that everything is lined up and that the card will fit into an envelope.

To embellish I added a floral sticker from the A Slice of Summer sticker book by Echo Park Paper Co.

Now this card is ready to be mailed off to someone special! That’s it for me today. Thanks for stopping by!
Brandie

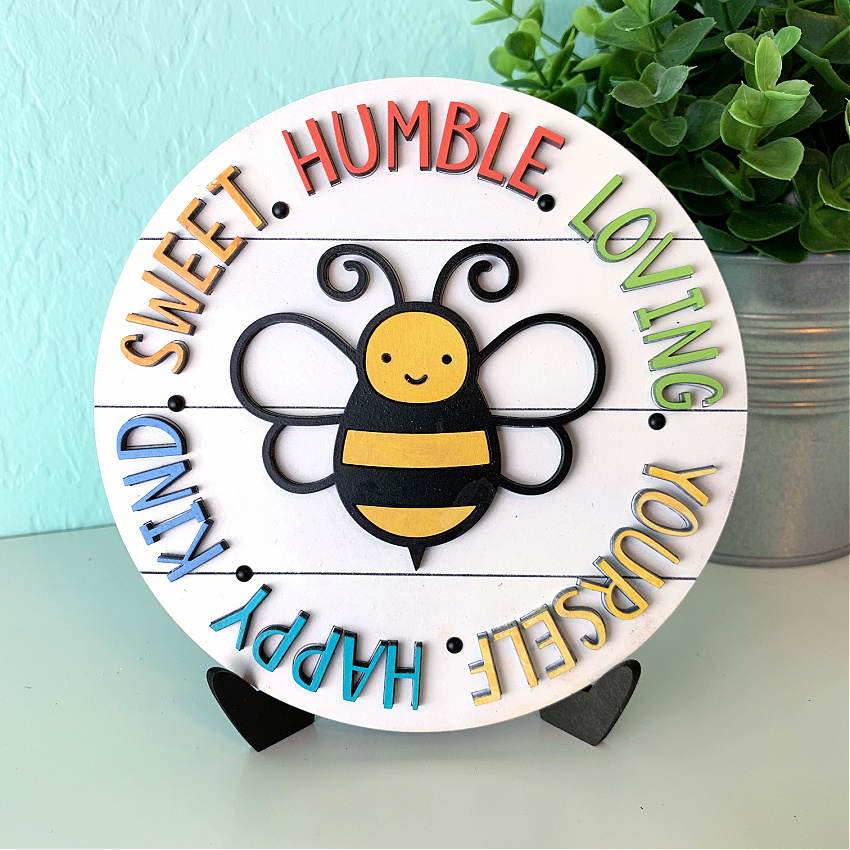
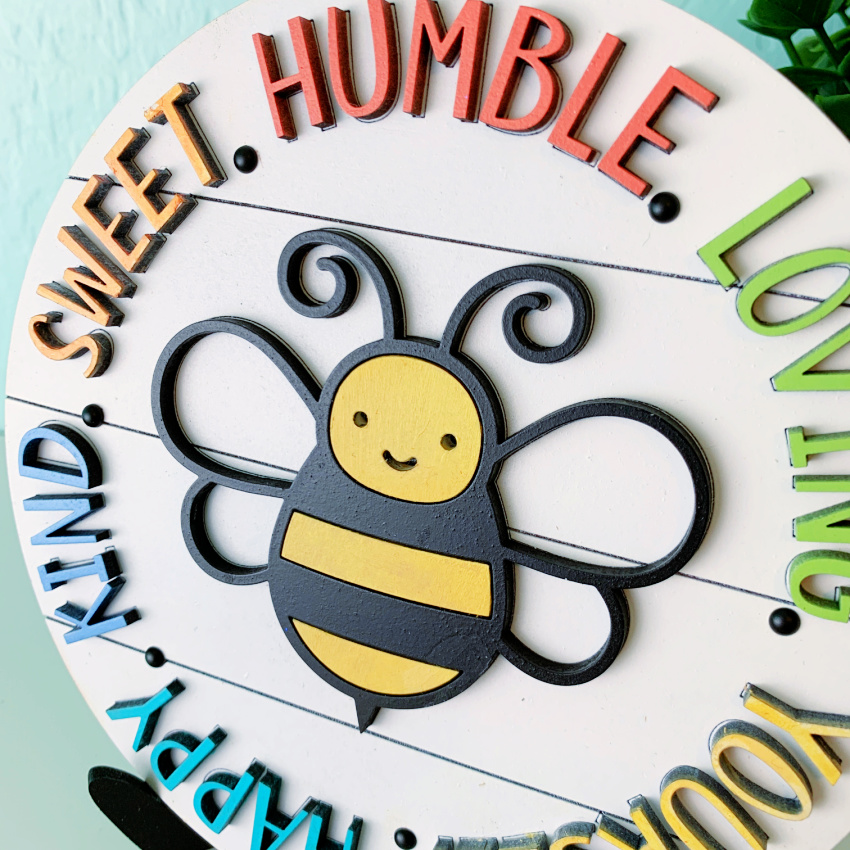
Bee Humble Loving Yourself Happy Kind Sweet Sign

Hi there friends! I’m dropping in today to share this cute new bee file with you today. (SVGSilhouette) I made it as a sign to hang in my home but it would also be awesome on a t-shirt. I love the message and that bee is darling.

I cut the design from wood using my new Glowforge laser cutter and Silhouette Studio Software.  I love that I can use Lori’s SVGs with my new machine! You could also create this using layers of chipboard or paper.  I hope your week is great! Thanks for stopping by!

Brandie

Making a Shaped Card in Cricut Tutorial

Hi friends! I have a quick tutorial on how I made a card with the Best Teacher Ever file (SVG, Silhouette). Now that Cricut has updated the design space software making a shaped card is easy!

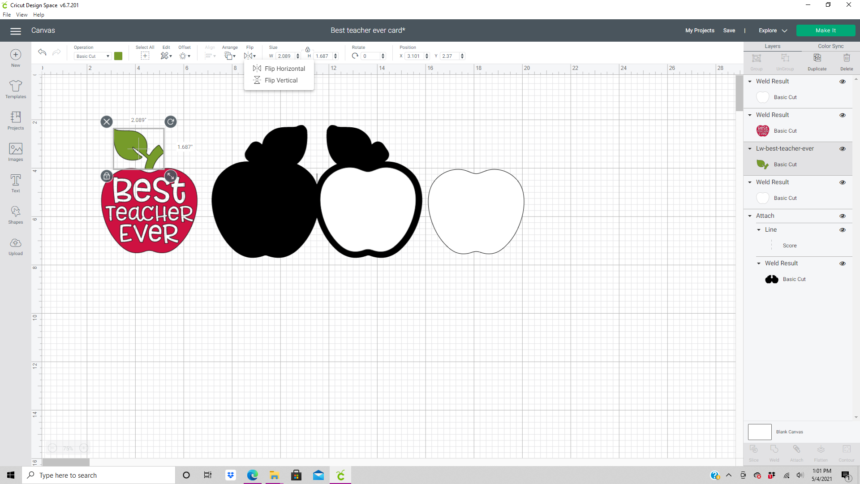
First I resized the apple and leaf to be 5 inches high which made the width 3.96 inches. This file uploaded into Design Space grouped together for me. If it isn’t grouped I recommend grouping it together before resizing.

With the apple selected select the offset feature on the edit tool bar. In the offset window I slid the distance bar to 0.25 inches, selected rounded corners, and left the weld offset box checked.

I then duplicated the offset and flipped one of them horizontally.

Next I moved the two offsets together so they are touching in the center. With the just the offsets selected I aligned them on the bottom and welded the offsets together creating one piece.

I added a score line to the center and aligned and attached it to the offset. (I changed the color from black to white for this picture.)

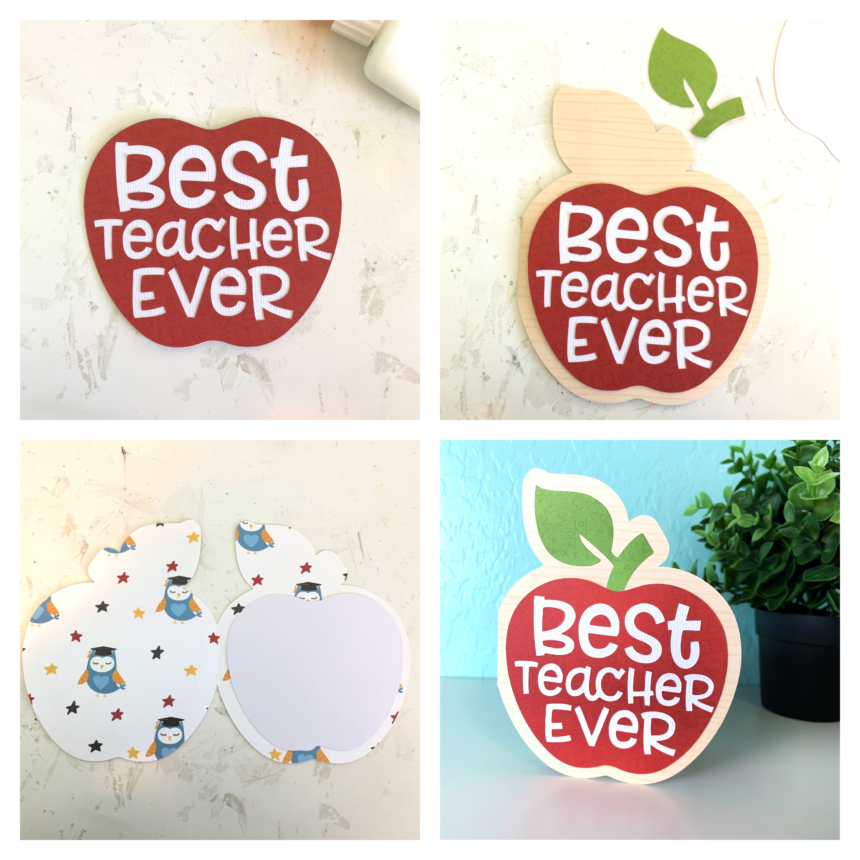
I needed a solid white apple for the inside of the card and the front of the card.  I duplicated the red apple and welded the image then hid all of the contours. I then duplicated the solid apple image so that I had two.

I also needed to flip the leaf  horizontally so that it would fit correctly on the front of the card. (If you use solid paper you don’t need to do this. I used double sided paper and wanted the green to show.)

Once everything was cut I glued everything together with liquid glue in a fine liner bottle.  (Be sure to keep all of the centers of the letters from the cutting mat.) I used papers from the School Rules collection by Echo Park Paper Co.

Thanks for stopping by!
Brandie