Camera Box SVG Cut File Assembly Tutorial

Hi there friends! Brandie here with a tutorial for the Camera Shaped Box (SVG, Silhouette). This little box is darling and would make a cute gift box, décor piece, or to hold a mini album! I will be placing pictures from a vacation in mine and setting it on the bookshelf with my other photo albums.

I wanted my box large enough to hold 4×6 pictures. I added a 4×6 rectangle then I selected all of  the camera images and enlarged until the rectangle fit inside the middle box shape.

For the lens and top dial. I folded all of the score lines as mountain folds.  I then applied a small amount of  liquid glue to the triangle tabs. The triangle tabs attach to the rectangle next to it creating a corner of the octagon. Once the octagon is complete I folded the tabs in creating a base for the bottom of the octagon box. I applied liquid glue to one of tabs and anchored the bottom piece of the octagon box. After the anchor was secure I applied glue to the remaining tabs and folded the bottom into place. Hold the octagon for a few seconds while the glue takes hold.
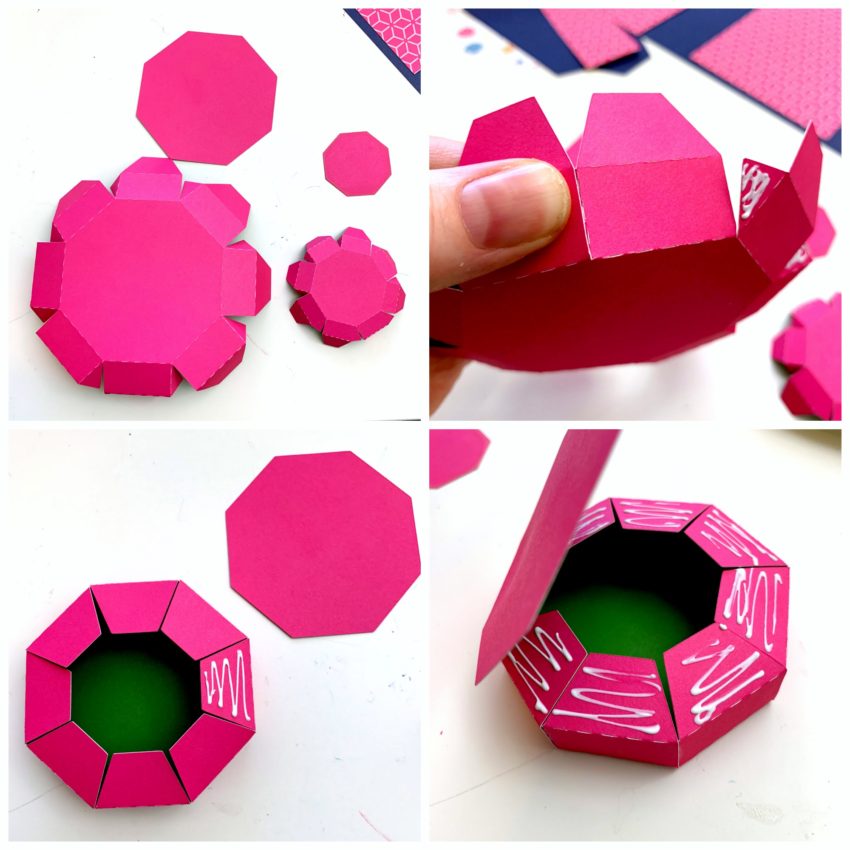
Each of the octagons has a layering piece. The large octagon has four layers and the small octagon has one. I inked around the edges of the octagon and applied the layers with liquid glue.

While the box was still flat I glued the decorative panels into place. I then folded all the score lines into mountain folds. I glued the smallest tabs into place first creating the base of the box. The remaining open side of the camera body is a little shorter so I applied glue to the side of body flap rather than the tabs.

The lid only has four tabs to glue and no decorative panels. I applied glue to the tabs and tucked into place.

With the lid on the box I glued the two octagons into place as well as the viewfinder rectangle and flash circle

 I also added a few little things to embellish my camera box. All of the papers and embellishments are from the Echo Park collection I Love Summer.

That’s it for me. Thanks for stopping by and  I hope you all are enjoying your summer!

Brandie

Flower Card with Brandie

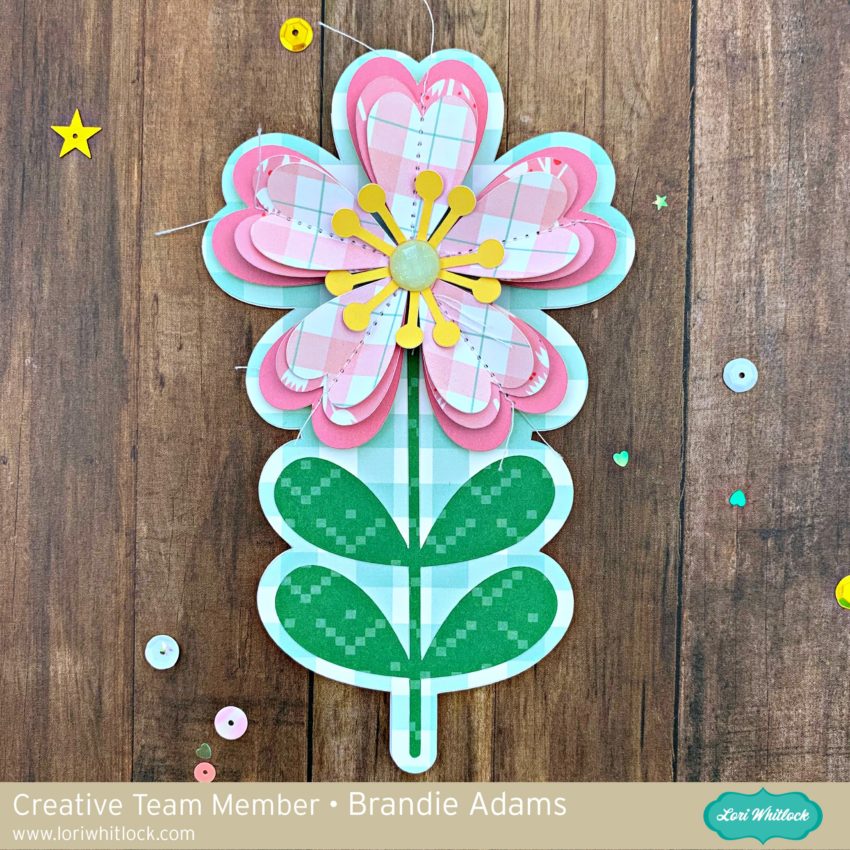
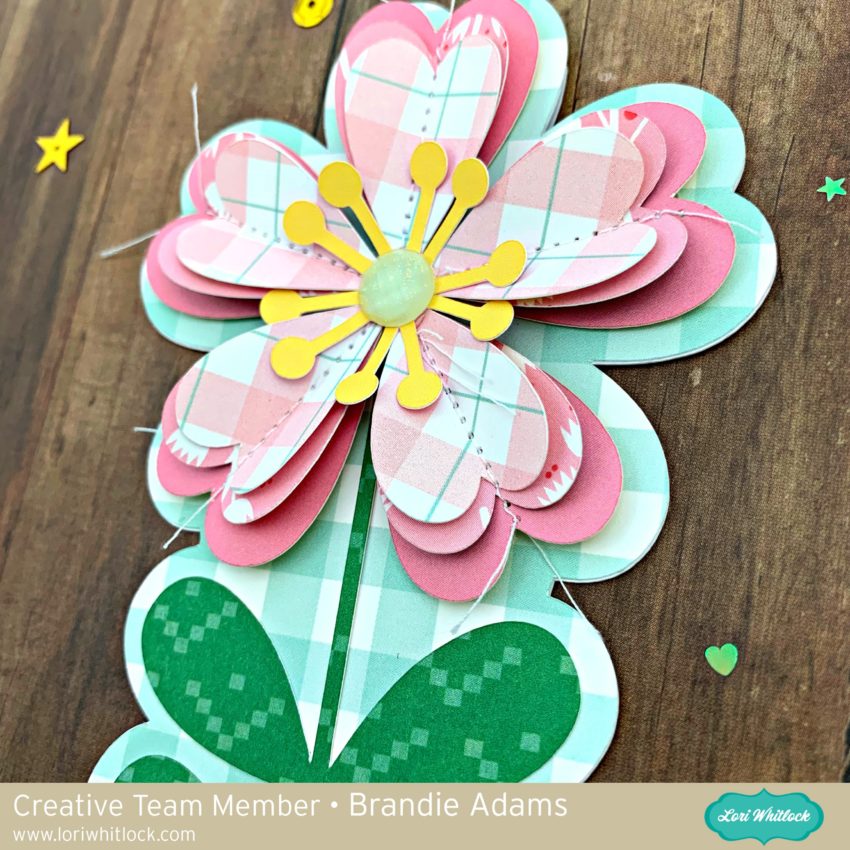
Hi there friends! Brandie here with a cute flower card I made with the Shaped Card Flower 1 file. (SVG, Silhouette). This card comes together very easily and can be cut in any color to reflect the time and season.

I added a few extras to the base file of this card.  I cut the petals three times in concentric layers and the flower center twice. I then stitched through the petals for added texture and detail.

This card will defiantly brighten someone’s day. Thanks for stopping by today!

Brandie

Easter House Ornament Tutorial with Brandie

Hi there friends! Brandie here with a tutorial for the Easter house ornament. These little ornaments are darling hanging on spring branches but I also think they would make cute place settings for your Easter dinner table.

I used the  House Ornament Easter Bundle from Lori’s shop. Each ornament is also in the Silhouette store. Easter basket, Easter lamb, Chocolate bunny, Easter chick. and Easter bunny. The paper is textured cardstock in spring colors.

I uploaded all of the houses into Cricut Design Space, attached the score lines, and flattened the décor pieces (turned them into a print and cut) to make the decorating easier.  I also color synced the white and yellow items.

Once everything was cut I folded the score lines. Most of the score lines are mountain folds except for the roof peaks, they are valley folds. Valley folds shown below. I also inked the edges of my windows and doors.

While the house was still flat I glued the windows and doors first, then the grass. I added glue to the sides tabs then folded the house in half and tucked the tabs in to glue into place.

I then shaped the roof on the house. Folding  the top tabs down into the house and pushing the sides of the house towards the center to create the eaves.

I then added glue to the inside corners then pinched together until dry. I applied  glue to the top of house then lined up the hole in the roof with the whole in the house and held together while the glue dried.

For the chimney I added glue to the outside tab and folded in half to create a box. Then added glue to remaining tabs and held down on roof until dry. (for my other houses I cut a small rectangle from scrap paper and glued to the bottom of the chimney then glued to the house.)

I then tied some decorative yarn into a loop and threaded through the whole in the roof.

I then folded the bottom tabs in adding glue to each layer to secure the bottom of the house. I then repeated the steps for the remaining houses.

I then decorated the houses with the cute characters, eggs, and flowers.

Thanks for stopping by today and  I hope you enjoy your holiday weekend!

Brandie

Sending Hugs Twist Pop Card with Brandie

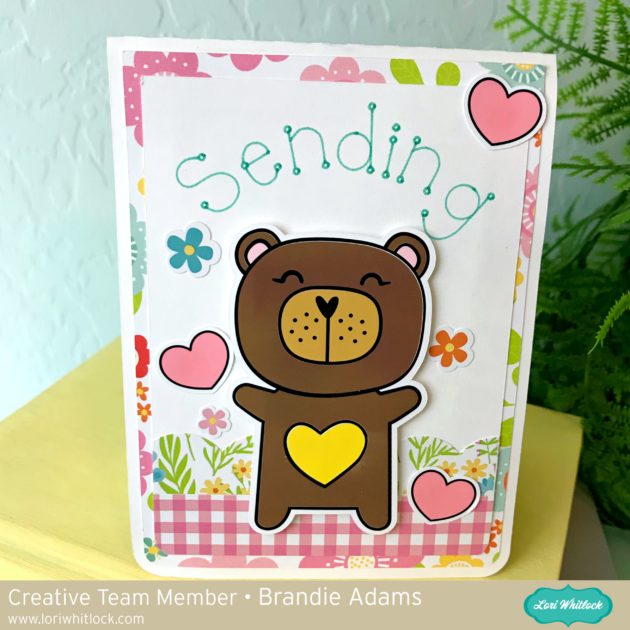
Hi there crafty Friends! Brandie here sharing a card I made for a Nana who loves getting hugs but lives far away.

I used the Shadow box card scene Valentine Bear (SVG, Silhouette) and one of the Twist Pop cards (SVG, Silhouette). I resized and used the bear and hearts from the shadow box card for the front images of my card. I also altered the word on the inside of the twist pop card to say hugs rather than cake.
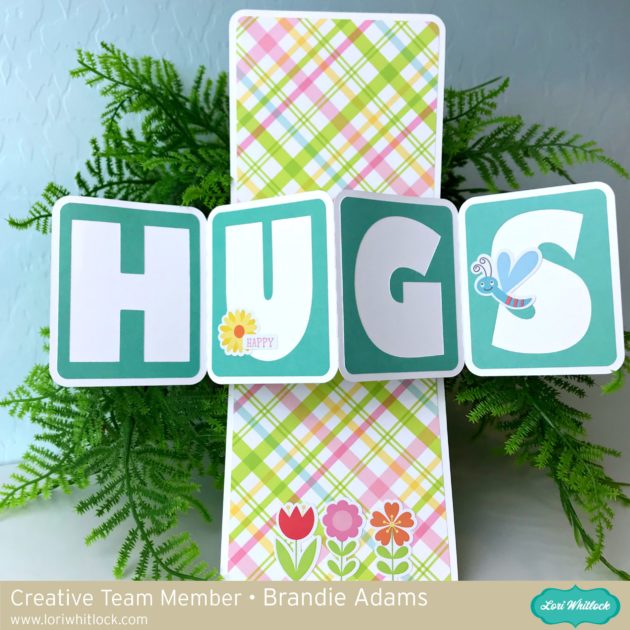
The papers and stickers are from the Spring Fling collection by Echo Park.

Thanks for stopping by!

Brandie

Leprechaun Banner with Brandie

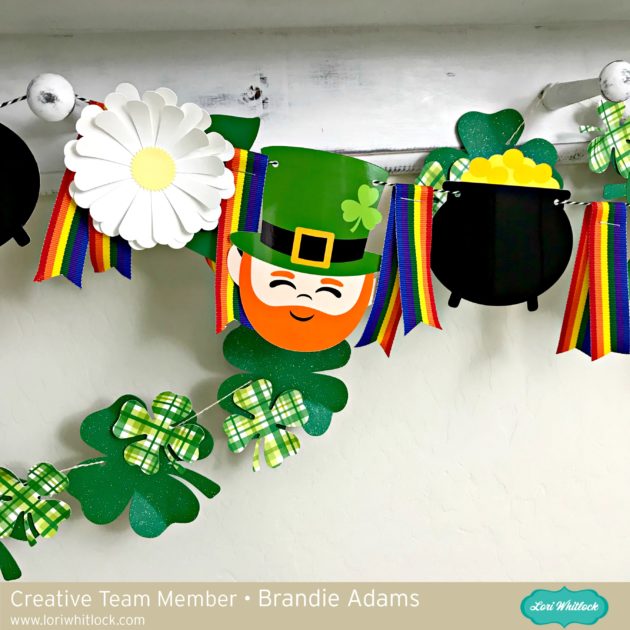
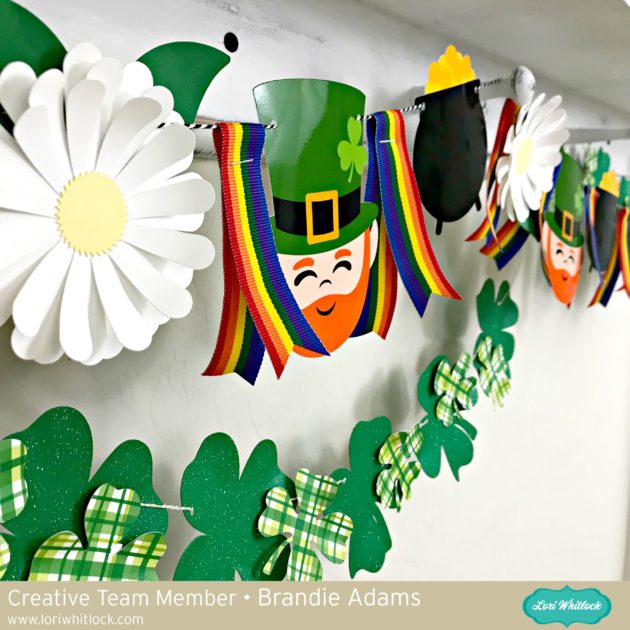
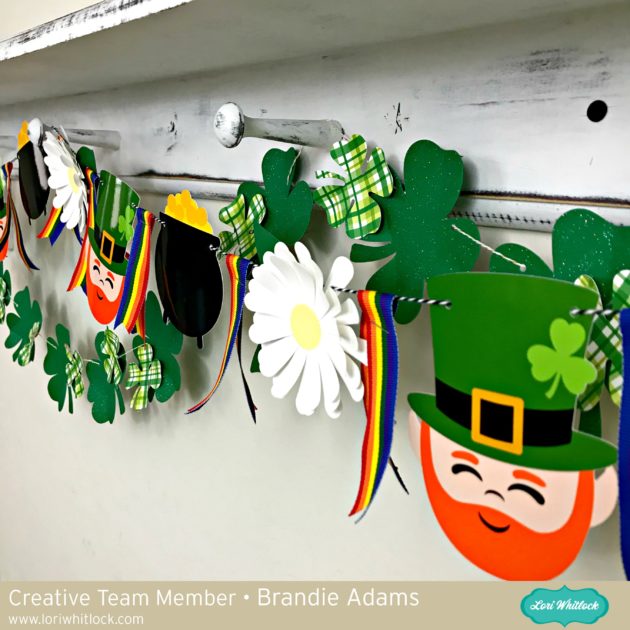
Hi there friends! Brandie here with a fun holiday banner. I enjoy making banners and my little guy gets a kick out of the cute characters and images of the season. This banner came together really quickly.
I used the Leprechaun Face (SVG, Silhouette), Pot of Gold (SVG, Silhouette), Shamrock cluster (SVG, Silhouette), and the 3D Flower 29 (SVG, Silhouette). For the leprechaun and pot of gold I converted the cut files to a print and cut on glossy photo paper. The shamrocks and flowers are cut from cardstock.

That’s it for me today. Thanks for stopping by.

Brandie