Gingerbread Man Christmas Present Box Card Tutorial

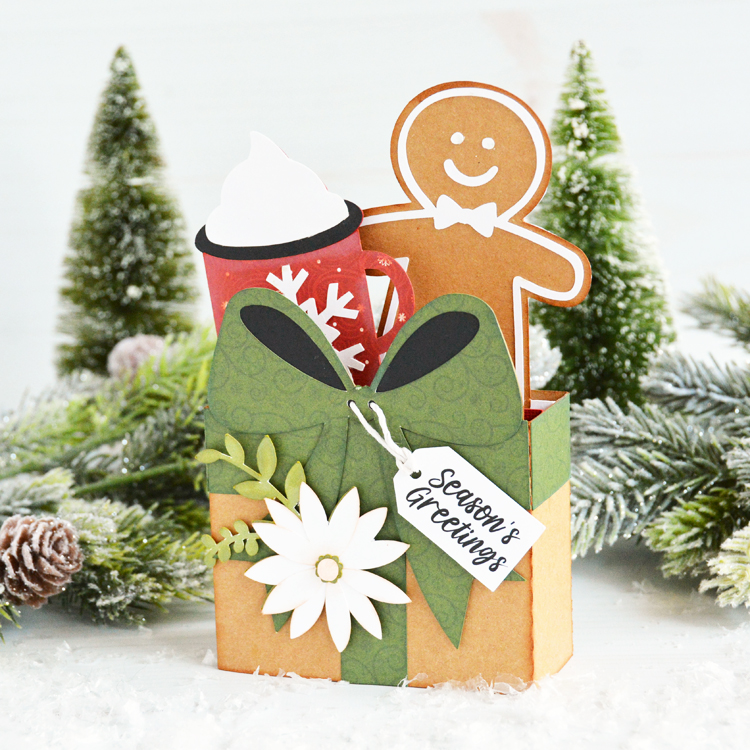
Hello everyone! Marcia here today. Since it is July and Lori just came out with some new Christmas box cards, I thought I would get a jump on making my Christmas cards. Do you start making Christmas projects in July? My mother-in-law loves gingerbread, so I thought the Gingerbread Man Christmas Present Box Card (SVG, Silhouette) would be perfect for her. There are similar new Christmas Present Box Cards with Santa, Reindeer, Snowman, etc…

Let me show you how easy these box cards are to make.

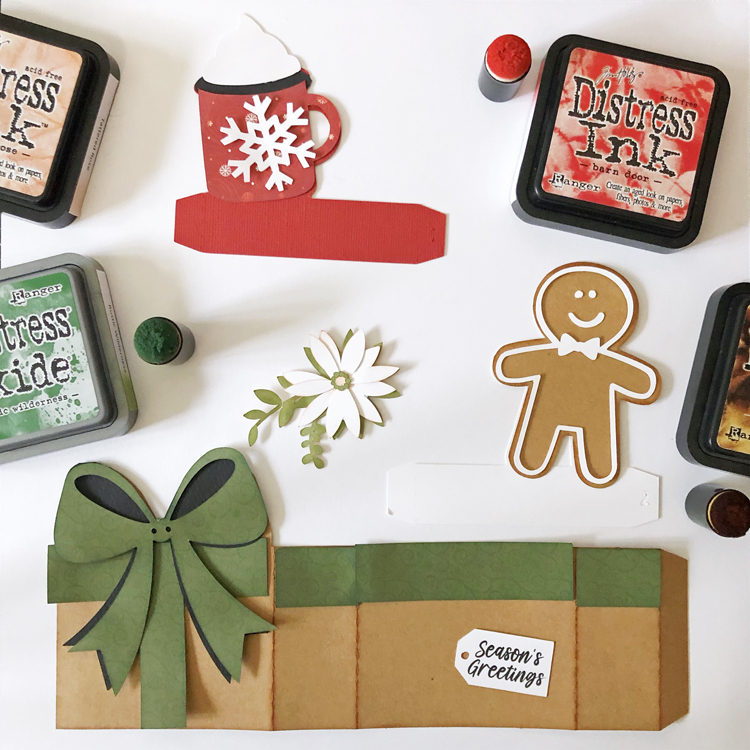
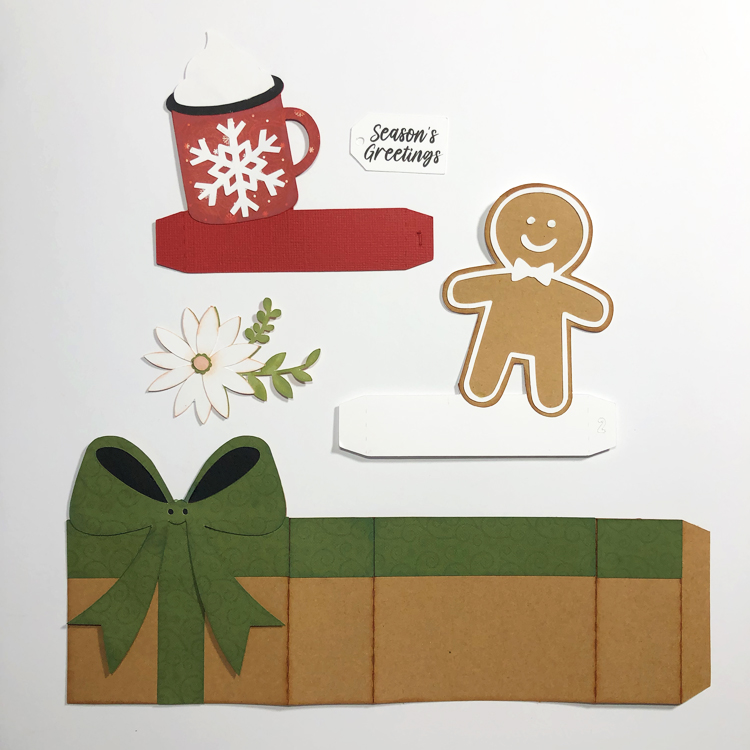
Step 1.  Decide on cardstock colors and/or pattern papers and cut out all pieces. I like to match the base cardstock as close as possible to the pattern paper I am using. The cut file comes with a tag and three different sentiments. You can use the print and cut feature of your machine to create the tag. Otherwise, a stamped sentiment works well too. Before assembling, I ink the edges of my papers to give the shapes dimension. Here I have the pieces roughly arranged in layers.

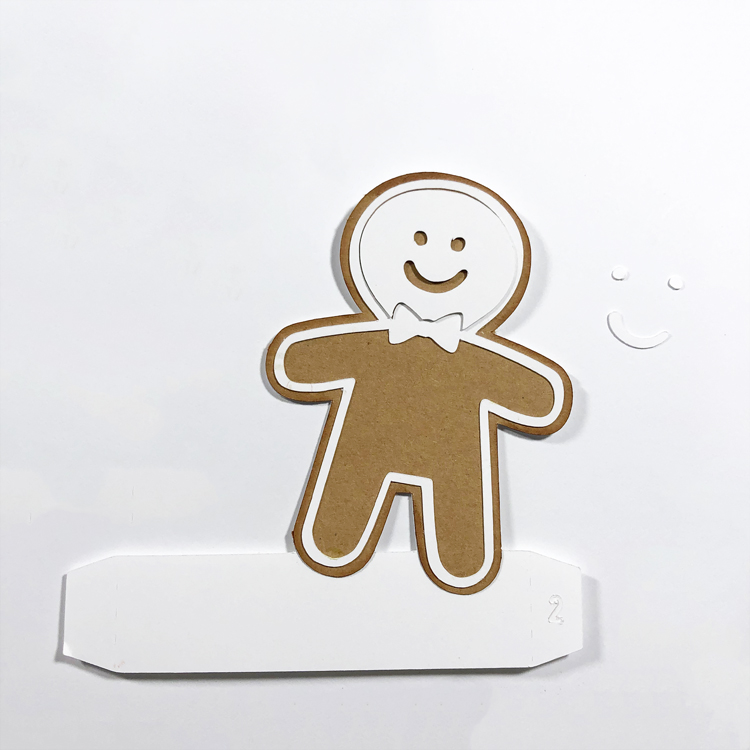
Step 2.  Adhere the Flower together, the Mug, and the Gingerbread Man. To get the eyes and mouth just perfect, save the negative piece and use it as a guide. You’ll never again have eyes too wide apart or a crooked smile ever again! Adhere the ribbon and bow paper pieces onto the card base.

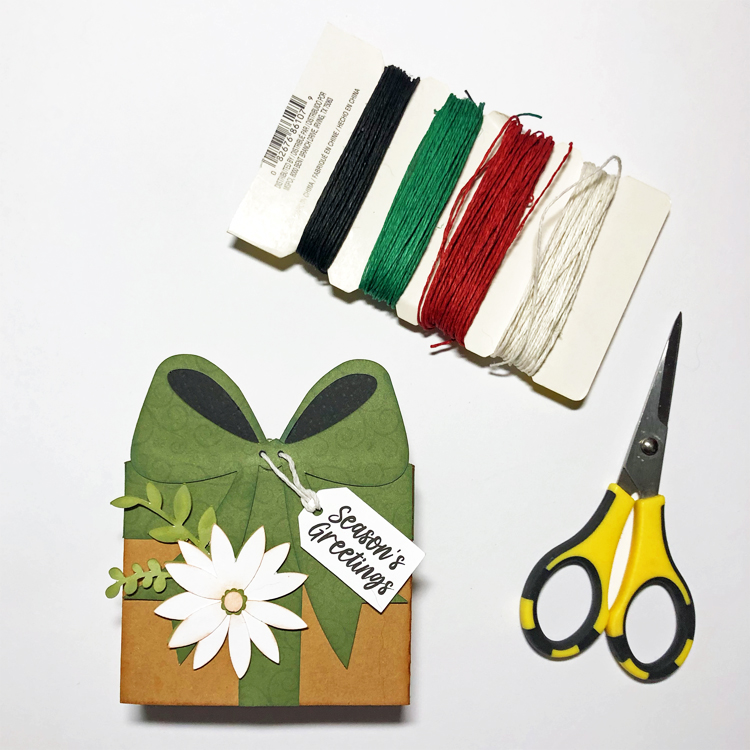
Step 3.  Cut a piece of twine and attach to the tag. Using a sharp pick, poke holes in the bow using the dots as a guide. Thread the ends of the twine through so you can tie it off in a knot in the back of the bow. I secured the tag in place with foam tape. (Optionally, you could thread the twine through before adhering the bow front the the bow back.) Glue the side tab to the opposite side to form the card base. Using foam tape, add the flower to the front.

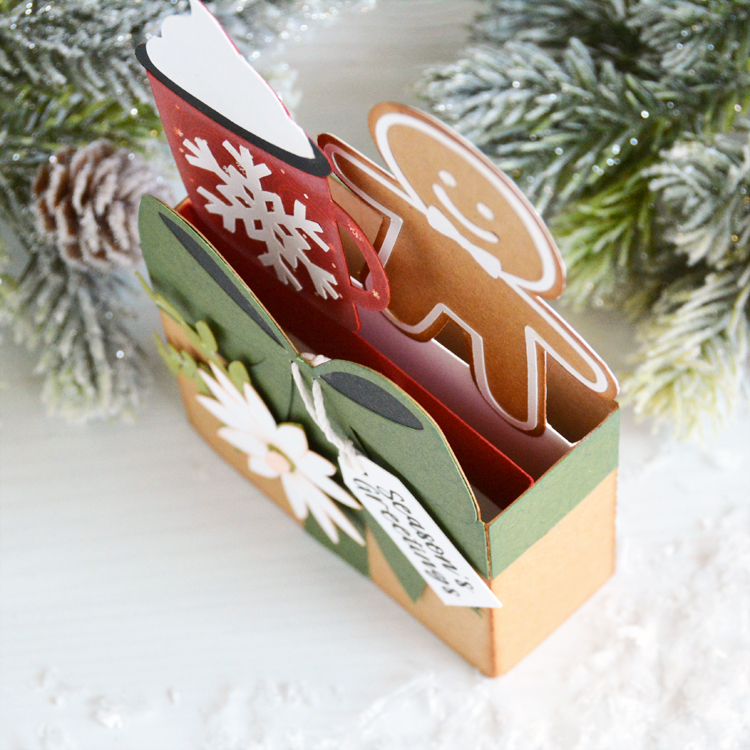
Step 4. Adhere the inserts into the card base placing the mug in front of the gingerbread man.

These cards do fold flat for mailing in a 5×7 envelope. Lori has lots of Christmas card ideas in her shop. Go check them all out and have some fun making your own cards!

Thanks so much for stopping by.
~Marcia

Flower Mason Jar

Hello crafty friends! Aimee here today with a tutorial on a beautiful new SVG file called Box Card Flower Filled Mason Jar (SVG, Silhouette). This box card is really stunning and is a bigger card that measures a tad over 7″ tall and 4″ wide. So, whoever you give this card to, they will most definitely want to put this on display! And like I said, I am here with a tutorial to help you assemble this little beauty!

To start off, you will want to pull your papers together and cut out the pieces. For the base of the card, I used an aqua blue cardstock. The flowers, vine, and butterfly are from the Endless Summer collection and the lid is from the Birthday Boy collection, both from Echo Park Paper.

Next you will want to adhere all of the flowers, vines, and lid to the base pieces. Set the butterfly aside until the box card is completely assembled.

Next step is to take a bone folder and run it along the perforated lines. The 2 middle jar layers should have the flaps folded upwards.

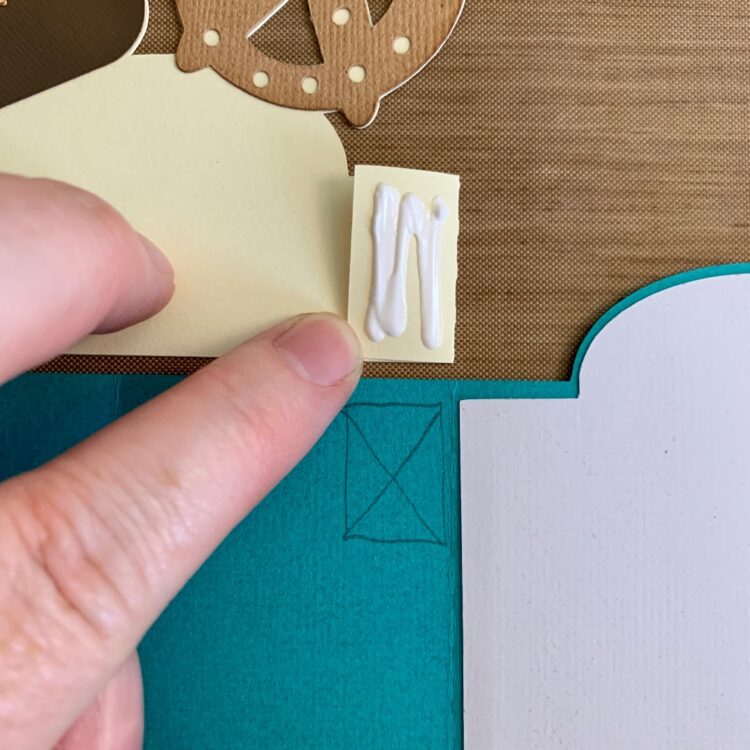
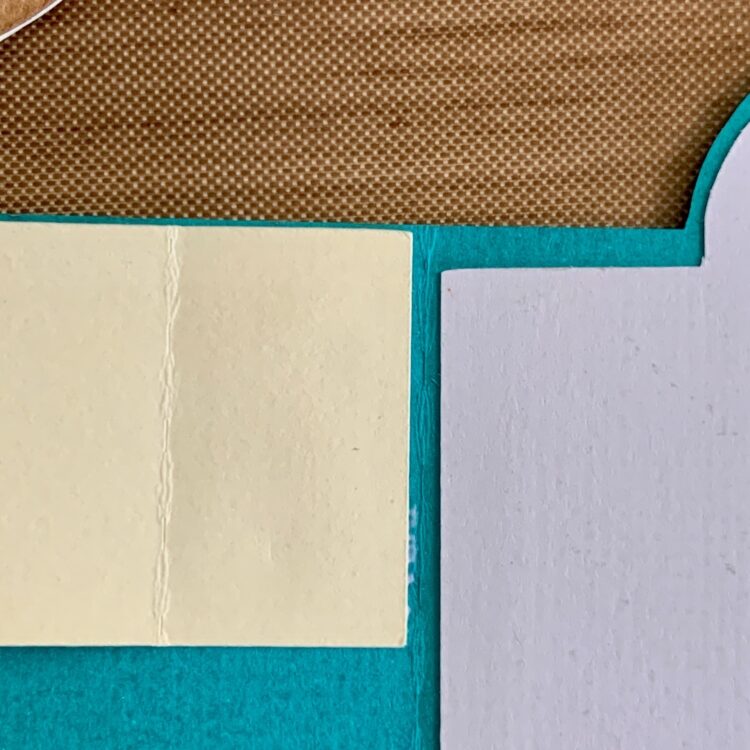
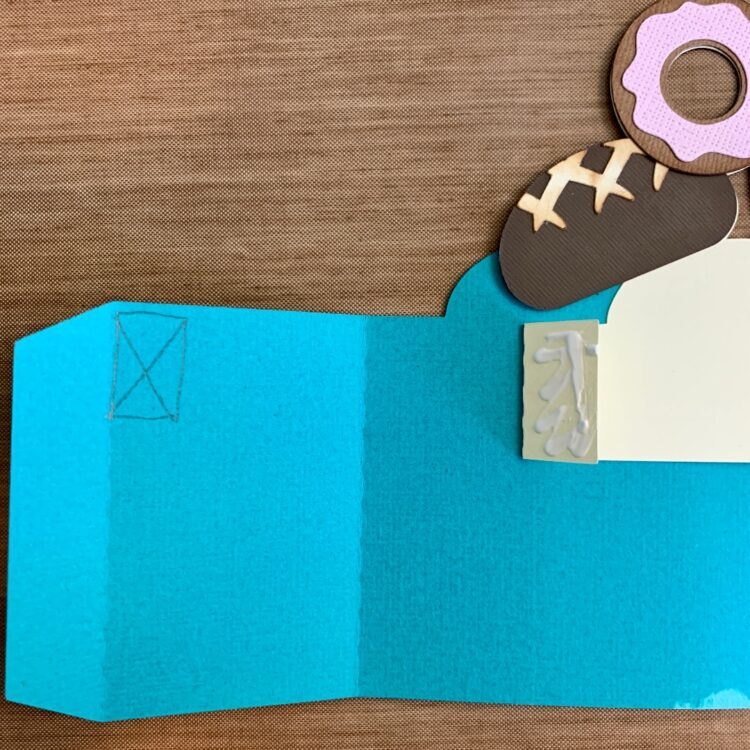
Now comes the assembly part. Flip the card base over so that the front cover (with the lid) is on the right side. Now you will want to adhere the right flap of the flower layer to the base of the card making sure to line up the tab with the perforated line of the main card base.

To check that you have lined up the tab of the flower layer, flip the front of the card base back to see that it is indeed lined up. See picture below.

Next you will adhere the vine layer to the base card making sure to line it up with both the base card and the flower layer.

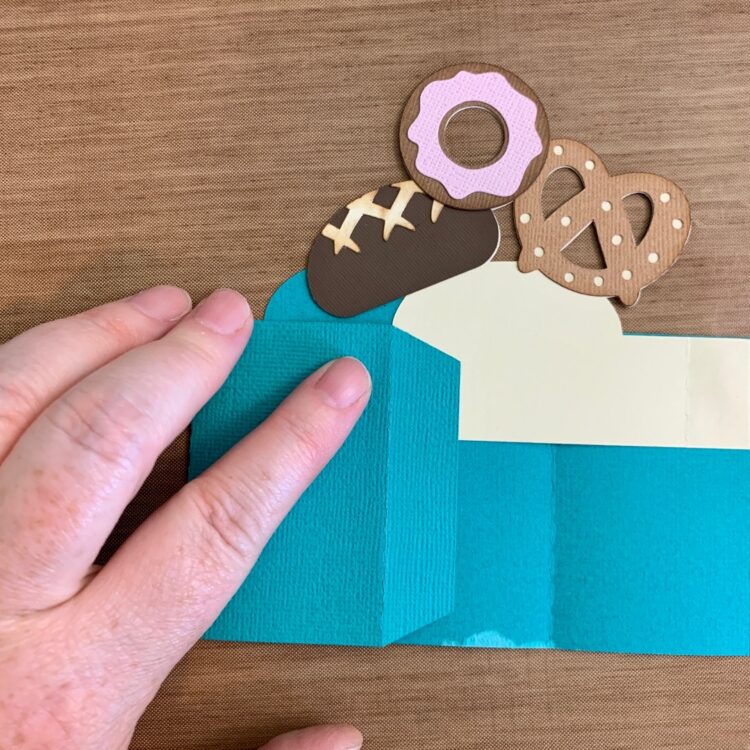
And the last step is to apply glue to the 3 tabs on the left side of the pieces and adhere the box card together.

Now that the main pieces are adhered together, you can adhere the butterfly to the front and then add some embellishments! For the birthday sentiment, I took this Happy Birthday piece from the Box Card Envelope Birthday Cake Girl (Lori’s SVG, Silhouette). I can’t tell you how much I love this card! I will have to make myself one because it will be difficult to give it away.

That’s all from me today…hope you enjoy all of these fun new box card files!

Aimee

Coconut Drink Box Card

Hello everyone! Marcia here today.  Nothing says summer more than this Coconut Drink Box Card (SVGSilhouette). I added a “Party Time” sentiment from the Lori Whitlock Birthday Girl collection and plan to gift this for a birthday. To make the coconut shell look more realistic, I sanded the cardstock to add some distressing.

Lori has lots of Summer card ideas in her shop. Go check them all out and have some fun making your own cards!

Thanks so much for stopping by.
~Marcia

It’s Grilling Time

Hello everyone! Marcia here today.  Well, it is officially summer and grilling season is well underway!  I thought I would stock up on my birthday cards now before my garden starts demanding more of my time. Making a masculine card for a special guy can be challenging, but this Grill Box Card with Hamburger and Hot Dog (SVGSilhouette) is the perfect card for the master griller. I added a birthday sentiment from the Lori Whitlock Birthday Boy collection. This card would be great for retirement, housewarming, or to accompany a hostess gift too.

Lori has lots of Summer card ideas in her shop. Go check them all out and have some fun making your own cards!

Thanks so much for stopping by.
~Marcia

Tropical Suitcase Box Card

Hi guys, Traci here! Today, I’m sharing a great summer card that has me dreamin’ about the sun, sand and tropical vibes. It’s made with one of Lori’s awesome cutting files called Box Card Tropical Suitcase (SVG, Silhouette) and the flamingo, hibiscus and palm tree are perfect for this time of year.

Pop-up Card with Flamingo, Palm Tree, Hibiscus Flower

I love all the details on this card … especially on the little blue suitcase. Check out the handle and those tiny corner pieces with the enamel dots. So cute! This card would be perfect for a summer themed party, a birthday, someone who loves flamingos or traveling, or simply telling someone you’re thinkin’ of them!

Pop-up Card with Flamingo, Palm Tree, Hibiscus Flower

It looks great sitting on a desk or a counter for a little summertime décor and it folds flat for mailing and storage. I made this with cardstock from my stash and Echo Park’s Endless Summer collection designed by Lori.

Lori has so many amazing cards … I hope you’ll try this one next. Happy crafting!   

Blog * Facebook * Instagram * Pinterest