Baby Bottle Shaped Shaker Card Tutorial

Hello Crafty friends, today I want to share how I made this adorable Baby shaker card!

The file for my project today is the Baby Bottle Shaped Card (SVGSilhouette).
 
I opened my file in Silhouette studio & took the bottle panel of my file, (coloured in white in my pic), & made a copy so that I now have 2. 
 
One will be used to create a frame for my shaker by making an internal offset & the other I will use to cut a sheet of acetate for the shaker window.


I created an internal offset of 0.450 on one of them. You can now put the other, (for the acetate), without the offset to the side. I have slightly enlarged my card so the offset measurements may vary depending on the size of your card. I just kept playing with mine till I got it to the desired size.
 I then copy & pasted this to fill my page. I was able to fit 4 in total. I cut out 12 pieces of this panel. These are to create the frame for your shaker. You only keep the outside frame. The insert is not needed. You will only need to cut 1 frame if you prefer to create the window frame with foam tape. I prefer this way as I find them much sturdier. I then cut out another of the same panel using the printed paper to make the top printed panel. This time keep both the frame & inside cut. Once I cut out all my pieces the first step was to glue the frame together by layering carefully my 12 pieces.
How thick the layer will depend on the type of shaker confetti you use inside. My shaker balls where a little raised & I wanted them to move freely in my card.
Next I glued together my top panels onto the front of my bottle panel & also glued down the shaker frame I created onto the bottom part.
I wanted some embellishments as well as sprinkles in my card, so I adhered some cute stickers on the inside panel first.


Once my stickers were in place I took the panel & glued it inside my frame. This should fit perfectly. Then I added my tiny balls. You can use any sprinkles in your stash. I wanted mine to look like milk inside the bottle that is why I chose the white balls. Next I gave my acetate a light brush of powder on the side I was going to glue down so that it is not static. I then glued the acetate to the frame. I let it dry before the next steps. Acetate takes a little longer to dry & not so instant as paper. Once the acetate was dry I glued on top the printed panel frame. Lastly I glued down my complete bottle panel onto the front of the card frame.
I added a sticker with sentiment on top to finish off!
 
For more inspiration, check out my Instagram!
Thanks for stopping by!
Hugs
Noelene 🙂


Baby Girl Dress Card Tutorial

Hello Crafty friends, today I want to share how I made this adorable Baby Girl Dress card (SVGSilhouette).
 
 
I wanted to enlarge the card so I enlarged all my pieces at the same time by dragging the curser until the base of the dress card was large enough & fit inside the cutting perimeter. This will give me a card that will fit into a 6×6 envelope.
I wanted to have a strawberry theme so I took some elements from the Lori Whitlock Strawberry Basket with Strawberry file (SVGSilhouette). To get a visual I dragged them onto my dress. I kept the strawberry & flower the original size then reduced the vine to fit.
 I also reduced 1 more flower & cut it twice to create the buttons.
I like to make an insert for my cards. I find this also helps to keep my card a little sturdier considering there are more layers on the front. To do this I created an internal offset distance of  0.125 applying the sharp corner.
I then cut out all of my pieces & glued all my panels into place.
This card was so easy & fast to put together! Even with the extra strawberry elements.
I hope you liked my card today.
For more inspiration, check out my Instagram!
Thanks for stopping by!
Hugs
Noelene 🙂

Baby Word Album

Hello everyone! Traci here and today, I’m sharing a new baby mini album that I made with one of Lori’s fun cutting files titled Baby Word Album (SVG, Silhouette). Each letter is a page with space for your little one’s sweet pictures. This is such a unique shaped mini that would make a wonderful gift or little brag book.

Baby Scrapbook Mini Album with a giraffe, stars, footprints, and a stork


The album consists of 4 pages that layer on top of one another, spelling out the word “baby”. I cut them out of white acrylic but you could also use cardstock instead. Then, I decorated the album with the Echo Park, Special Delivery Baby Boy Collection, also designed by Lori.


Baby Scrapbook Mini Album with a giraffe, a turtle, and stars

I covered the first “B” page in a pretty navy blue print from the 6×6 paper pad, then embellished with a cute giraffe sticker (from the sticker book) and a few puffy stickers.


Inside, I added the yellow 12×12 Baby Boy Signs paper, 2 small photo mats using the navy and cream solids from the collection, and embellished with more stickers.

Baby Scrapbook Mini Album page with a stars, a teddy bear, a stork, and tiny footprints

For the BA page, I covered the B in a light blue solid and the A in the 12×12 pattern that’s the backside of the 4×4 journaling cards. I love the little shooting stars! Then I added a photo mat and a sweet teddy bear sticker.


Baby Scrapbook Mini Album page with a babies sleeping on the moon, rainbows, and mobiles

How cute is the precious paper on the photo mat? Tiny babies napping on the moon and little rainbows. Perfect for a picture of your sleepy newborn.

Baby Scrapbook Mini Album page with a cute fox flying an airplane, a stork, and tiny footprints

On the BAB page, I used the navy solid cardstock and a cute footprint pattern called Dream Big Stars. I created a mat using a 3″ scallop circle punch and a 2.5″ circle punch. The fox in the plane, the clouds, and the Hip Hip Hooray are stickers from the sticker book. And, the adorable stork is another puffy sticker.

Baby Scrapbook Mini Album page with animals, toys, stars, and footprints

On the back side, I added the pattern paper called Baby Boy’s Animals that’s filled with cute toys, footprints, and stars. Two more photo mats and a few more stickers finished it off.


Baby Scrapbook Mini Album page with a mobile, mom and baby fox, and colorful balloons

On this last page, I used another solid paper and the Welcome Stork gingham print, 3 small photo mats, and lots of precious little stickers. The 2 foxes might be my favorite. So cute!

Here’s a look at the cutting file I used called Baby Word Album …


Lori Whitlock Baby Word Album Cutting File


I always have so much fun searching through Lori’s amazing cutting files. There are tons of good ones and I know she will have just what I’m looking for. I hope my mini album gives you a little inspiration. Have a great day and happy crafting!


Blog * Shop * Facebook * Instagram * Pinterest

Special Delivery Baby Girl Cards

Hi everyone….just stopping by to share 3 cards I created with Lori’s new Echo Park Collection, Special Delivery Baby Girl.  The sweetest collection of perfect patterns and colors, along with the most adorable embellishments.  There is also a Special Delivery Baby Boy collection and a Special Delivery Baby collection that is the perfect neutral collection.  These collections are just amazing and I enjoyed creating all kinds of cute Lori SVG files with it.  I have one more project in the works with it and I will share it with you soon.

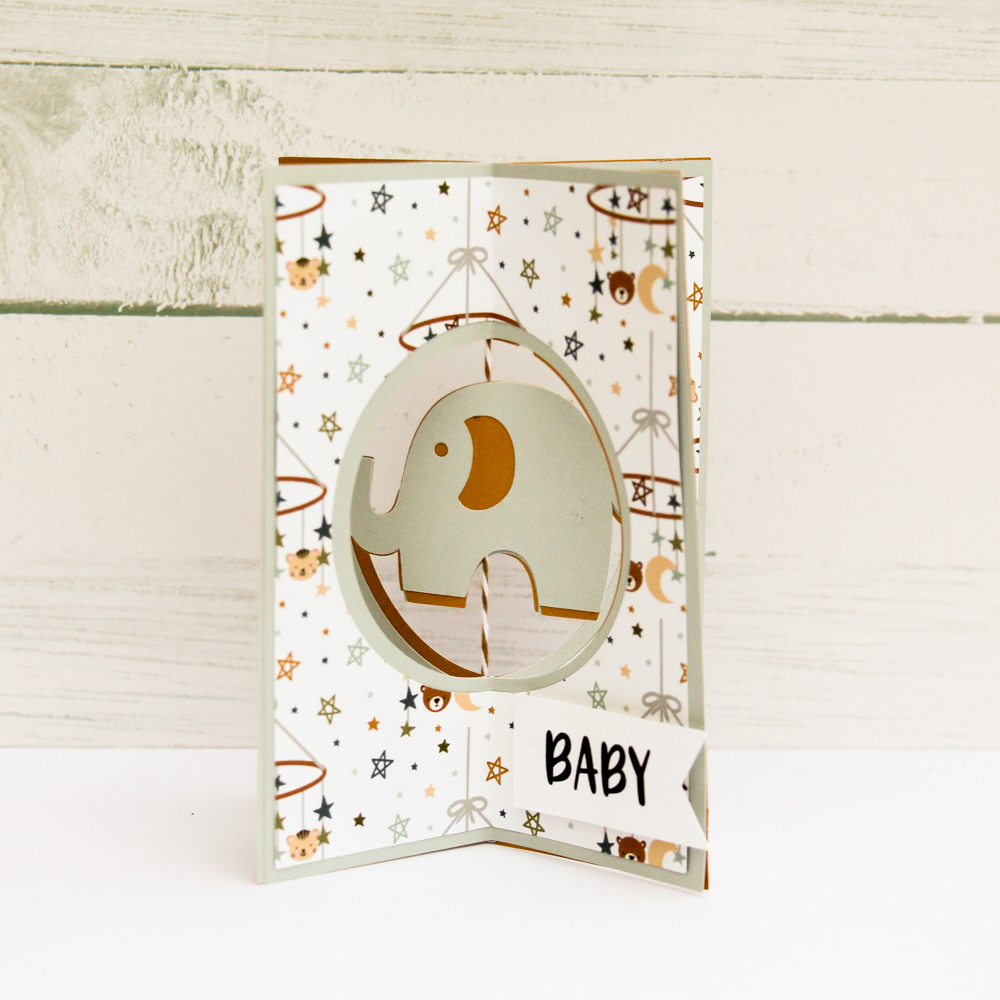
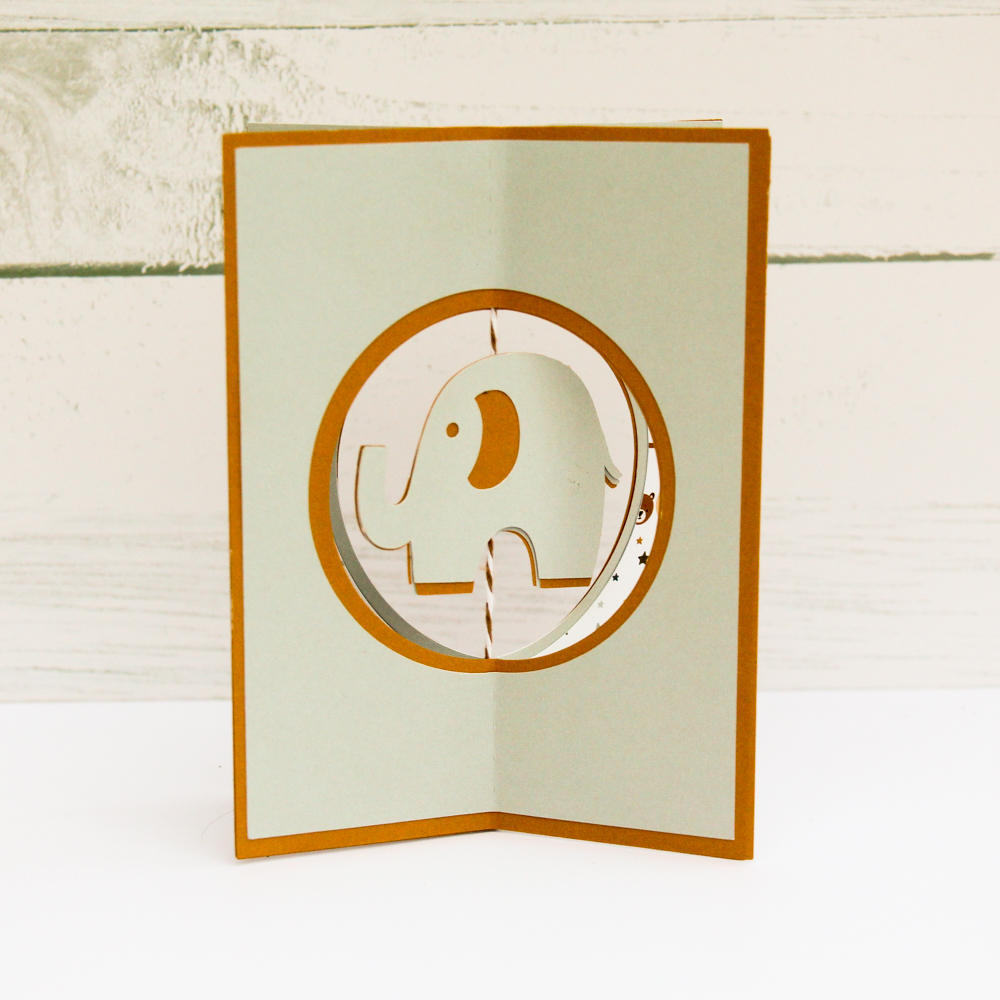
My first card is the Elephant Rectangle Pop up Card here in Lori’s Shop or here in The Silhouette Design Store.  Super easy to do and it will fold flat for mailing!  I add a few stickers and ribbon.  Isn’t she the cutest little elephant?
Second, Lori’s Theme Park Birthday Card or here in The Silhouette Design Store,  I just changed up the colors and created a simple, easy baby girl card.  So many precious embellishments for this collection.
And last, and older file but it’s one of my favorites to create with, Banner Card in Lori’s Shop or
 here in The Silhouette Design Store.  Love this card and I use it all the time!


I hope I inspired you to create some baby projects.  Thanks for joining us today!


Matchbox Drawer Card Baby Tutorial

 Hi everyone! Happy creating…I have a super quick tutorial to share with you today for Lori’s

Matchbox Baby Drawer Card or here in the Silhouette Online Design Store.  Just an easy little box and card in one.  You can make it in a matter of minutes as it goes together so quickly.  I used Lori’s new Echo Park Special Delivery Baby Girl collection.  Oh my gosh, if it isn’t precious.

First, cut your pieces in the colors of your choice.  The next two photos show that.


Then fold on you score lines, adhere your layers of paper.  You can see below where I added scor-tape.
Then simply fold and adhere into the box and cover.  I may have been too busy gabbing at a scrapbook retreat to get all the photos in….but you can watch Lori’s tutorial here.  She saves the day for me!
But here is how this darling little box ends up with all the amazing embellishments from the Sweet Delivery collection!
Little card right on top!


So cute!
And that little matchbox drawer to stash a gift card in!  Love!
Thanks for joining us today!
Cathy