Button Card Tutorial

Lori has some fun new button cards in her shop.  The whole collection can be found here. They are also available individually in the Silhouette Design Store.


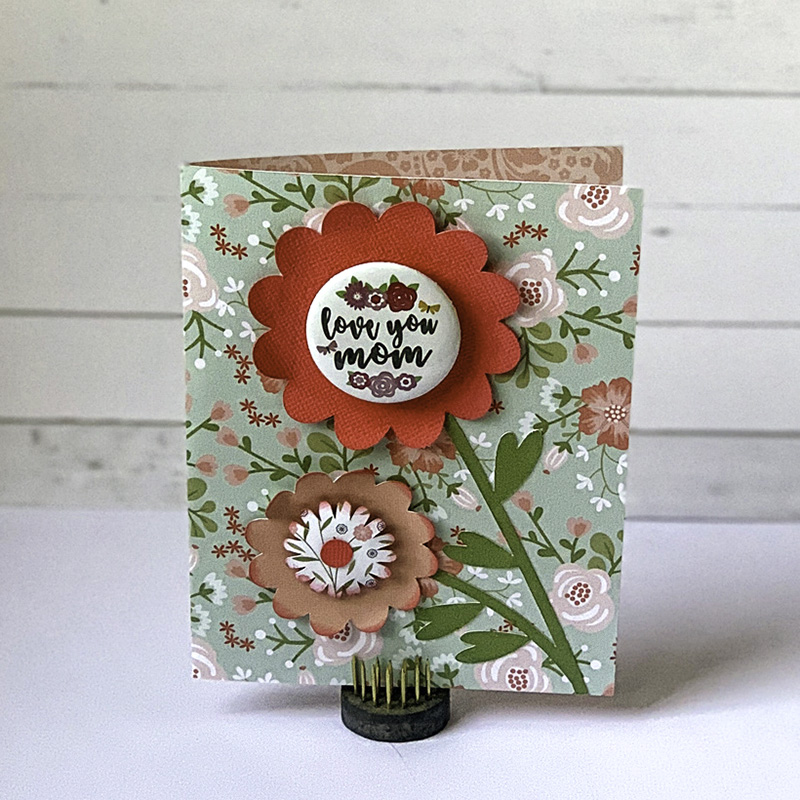
This card is called the Flower Card Button (SVG, Silhouette).  I’m going to share a quick tutorial using Cricut Design Space.  You can create this card with the Silhouette as well.  When you upload and open the image in Design Space, it looks like this:

Ungroup the pieces of the card.  Now let’s look at the button sentiment.  Lori has included a circle that is the size of  the medium We R Memory Keepers button (37 mm).  A smaller circle is also included that could be used instead of a button if you did not have a button maker.  Both Mom and Mum are included in the file.


If you want to change any of the colors on the button, this is the time to do that.  Once you have the colors, it is time to flatten the image for Print then Cut.  Select one of the circles and all the pieces in it like shown, and click Flatten (bottom right of screen).

You know you have the file flattened correctly when it looks like this on your screen:
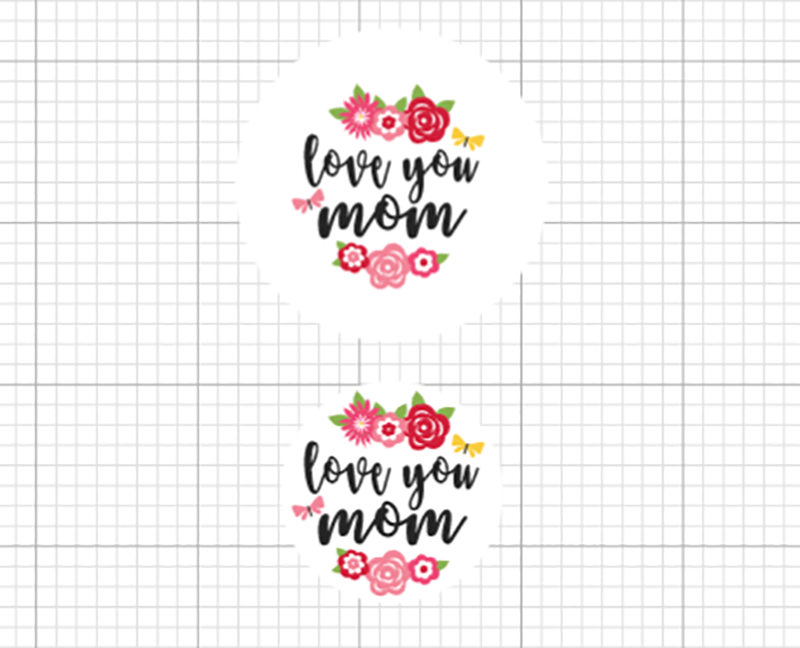
And in your layers, the image looks like this.

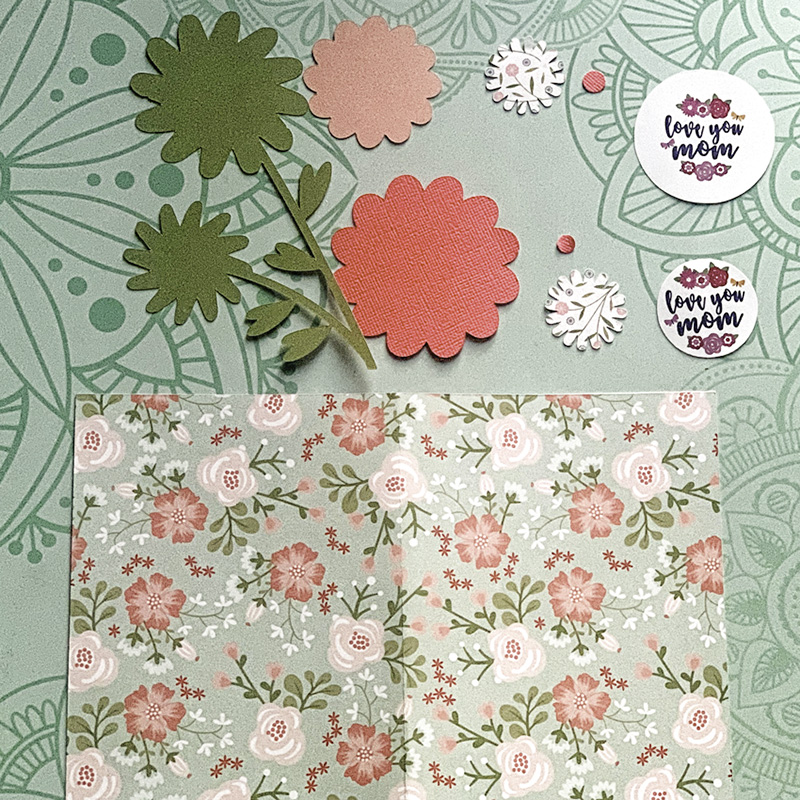
Sometimes when flattening files, you might need to ungroup before you flatten. This file is ready to print then cut.  After printing and cutting, you have all your pieces:

The flower parts are easy to assemble on the card.   If you have a Button press, make a button.

You can make the button with the pin in the back so it can be worn or attached to something else.  Or you can take the pin out, so it will just be an embellishment on the card. I made both to show you.

I decided to use the button without the pin back for the card.  I love the dimension it adds.  If you don’t have a button press, you can use the included smaller circle and mount it to chipboard and/or a pop dot.

I used papers from Lori’s Our Wedding Collection. I hope you enjoy this tutorial for the Button card.  The real question is, Do you call the item in this file a button or badge? Or something else?

Have a great day!

Impossible Easter Basket Card

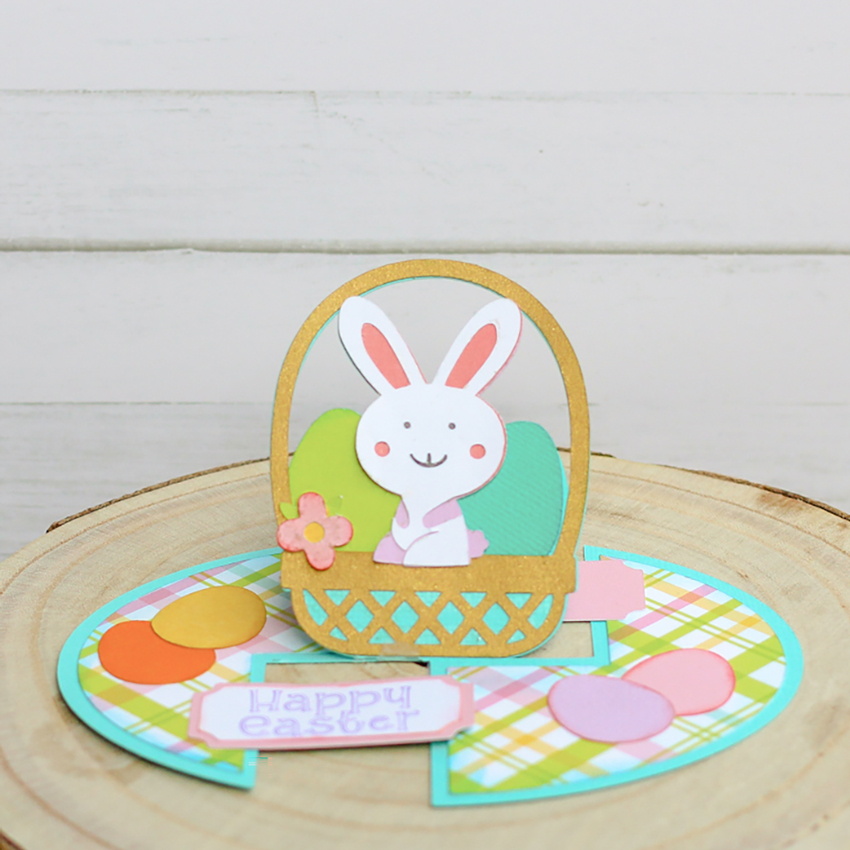
Do you need some Easter Cards?  Lori has many adorable options in the shop.  I am sharing one of the new impossible cards. Find it in Lori’s SVG Shop or on Silhouette.

This card has several small elements, so it is great to use your stash of scraps.


Pro tip: Ink any edges before piecing together.  When piecing the basket and bunny, start with the eggs and build up. Lori has a video tutorial showing how to put together any of her impossible cards here.

Have a great week and Happy Crafting!

Sunshine Box Tutorial

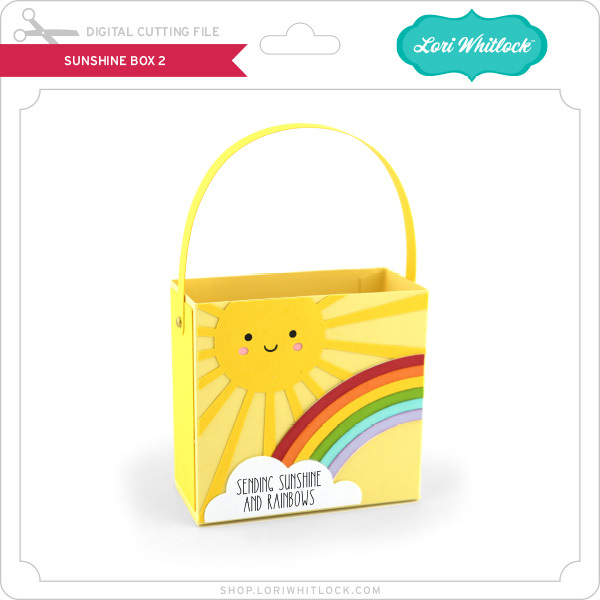
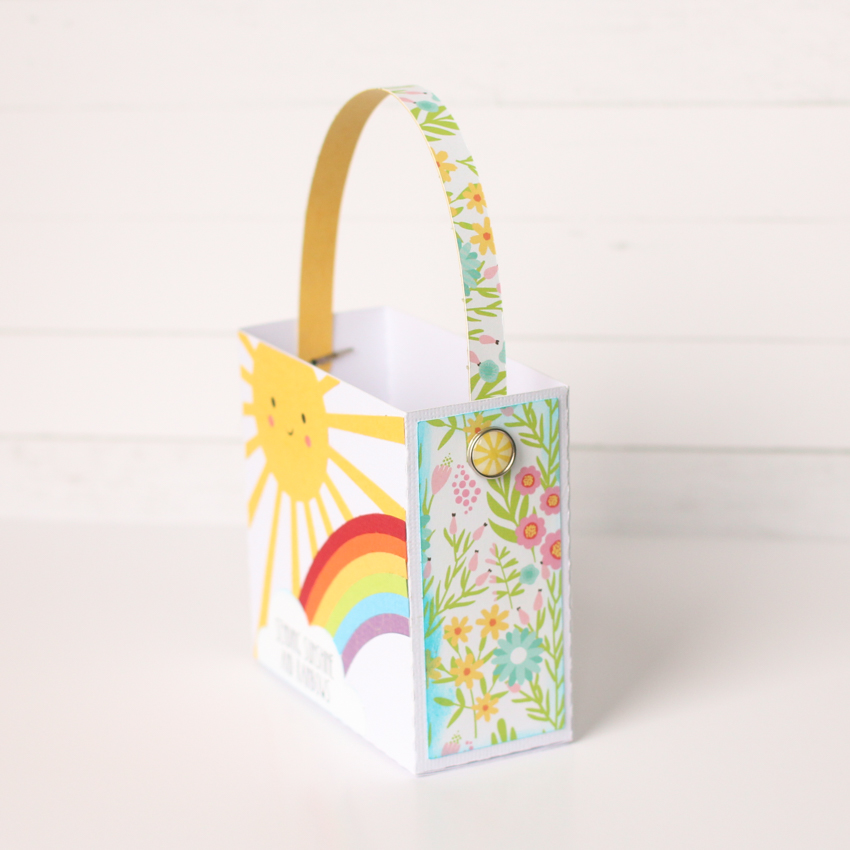
Hi Everyone!  Lori has some new Sunshine Boxes in the shop.  Here’s a quick tutorial on how to put one of them together.  I used the Sunshine Box 2 (SVG, Silhouette)

To start, cut all your pieces on your digital cutter.

These are all the pieces that you have. Ink any edges first, if desired.  Next, apply adhesive to the pieces, and start adhering the pieces while the box is flat.

If any of your rainbow pieces are not quite even, this is the time to trim them to line up with the edge.  Fold the box into shape.  Glue the side tab.

Now apply adhesive to the bottom panels and fold into place. Use brads to add the handle.

Now your box is ready for a fun gift to brighten someone’s day.

Lori also has a bundle which includes more sunshine bags and some coordinating cards here.  Have a great day!
Baby Shirts with Heat Transfer Vinyl

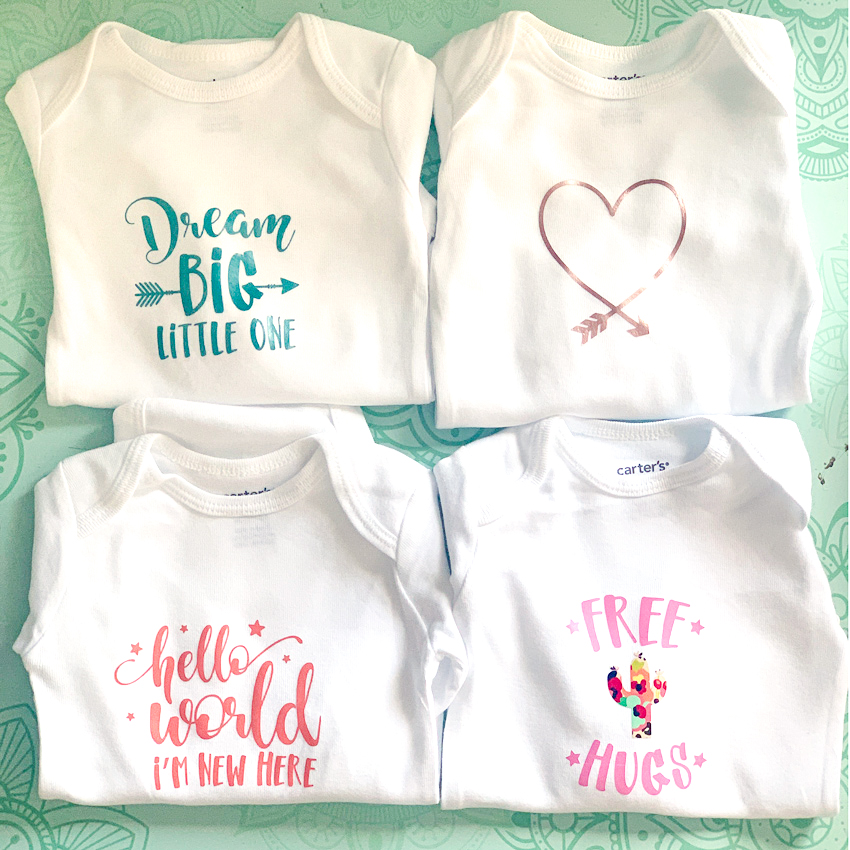
Do you have a new baby to celebrate?  Lori has some great files for shirts for babies.  I made four shirts with Heat Transfer Vinyl.

You cand find the files I used here:  Dream Big–(Silhouette, SVG), Heart Arrow– (Silhouette, SVG),  Hello World — (Silhouette, SVG) andFree Hugs — (Silhouette, SVG).

Some tips when working with Baby t-shirts and Heat Transfer Vinyl (HTV);

1. A good size for baby shirts is around 3 to 4 inches per side.  Resize your images to fit within that space.

2. Mirror image before cutting.

3. Put the shiny side of the HTV down.

If you need more Baby t-shirt ideas, check out Lori’s other files, she has some great bundles!

Baby T-Shirt Bundle
Baby T-Shirt Bundle 2
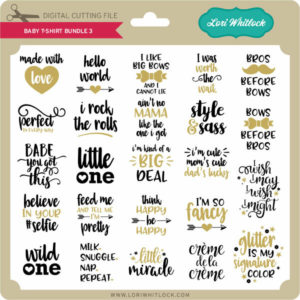
Baby T-Shirt Bundle 3
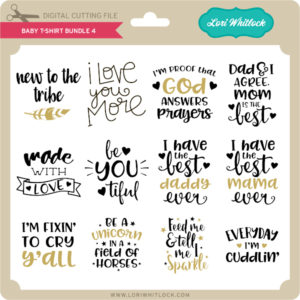
Baby T-Shirt Bundle 4
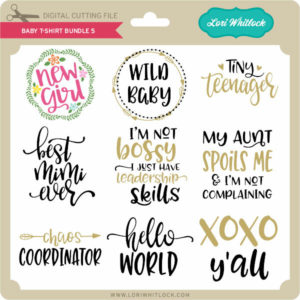
Baby T-Shirt Bundle 5
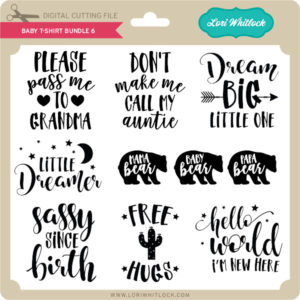
Baby T-Shirt Bundle 6
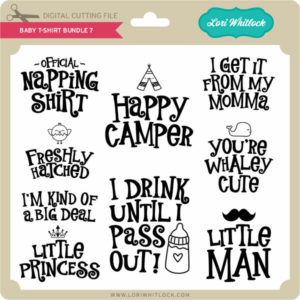
Baby T-Shirt Bundle 7

These files are also available individually in Lori’s SVG Shop and the Silhouette Store.
Have a great day!
Ashley

Recipe Box with Ashley

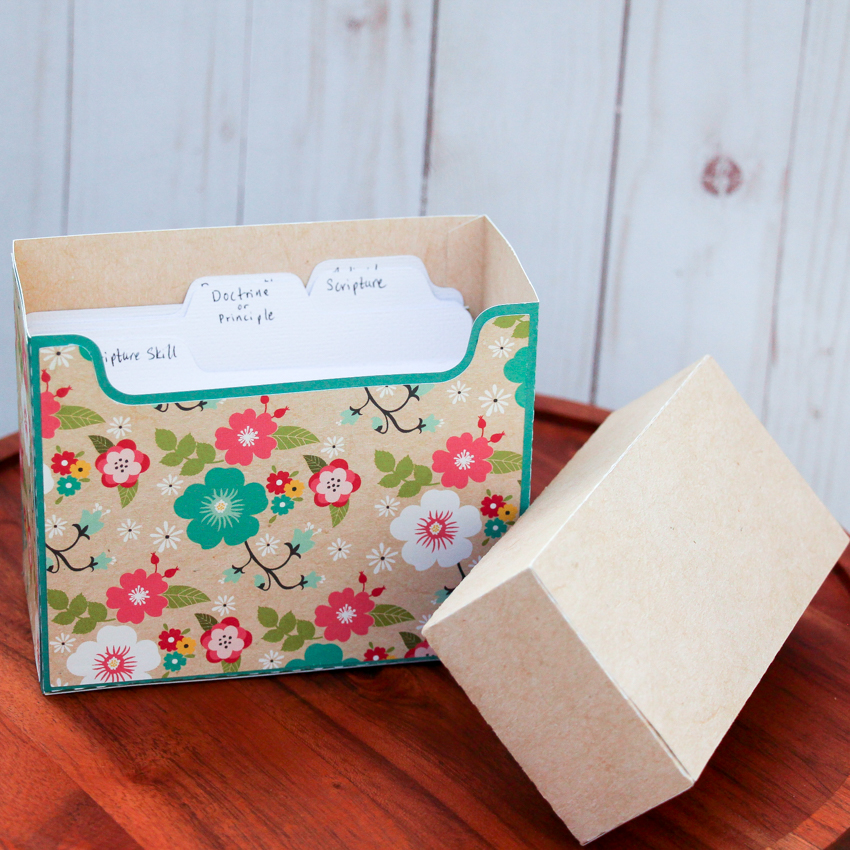
Welcome to the week.  Are you working on organizing things this month? I needed a place for some 3 x 5 study cards, so I made this 4×6 Recipe Box (SVG, Silhouette.)  Since the original size is for 4 x 6 cards, before ungrouping the file, I resized it for my project.  I used paper from the Lori’s Forward with Faith Collection from Echo Park.

Now my study cards have a place.  This box could be used for recipes or school study cards or storing greeting cards. I hope you have a great Monday!

Ashley