1776 Shadow Box Tutorial

The 4th of July is approaching.  Do you love decorating with red, white, and blue? Today I’m sharing Lori’s 1776 Decor Shadow Box (SVG, Silhouette).  You can sing along to Hamilton lyrics while making this fun project.

To assemble, first cut all the pieces.

Next, adhere the decorative panel to the front frame and also adhere the stripes to the 1776.  I recommend starting with the top stripe, next the bottom stripe. Then place the second stripe parts on the number 6, and line up the other number stripes with that one.  This will help everything line up correctly.
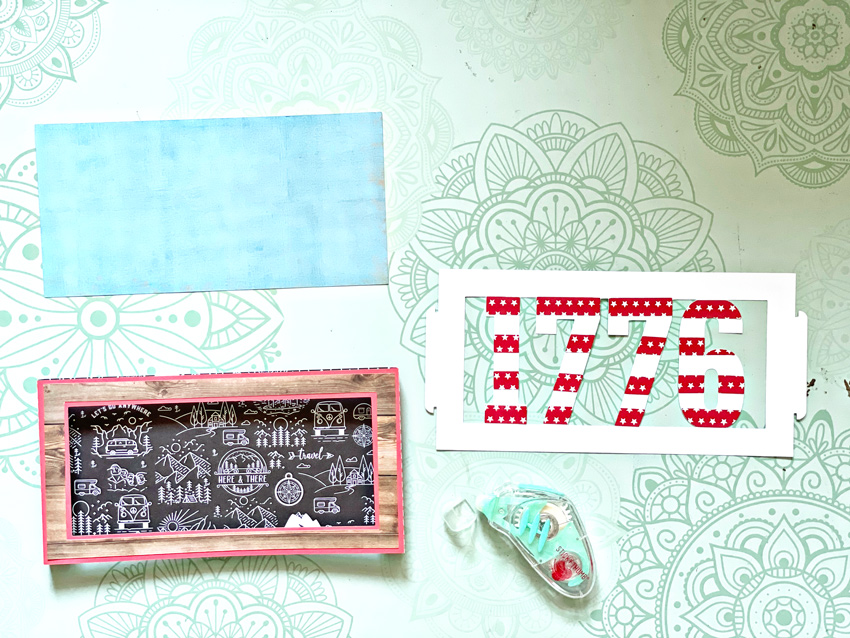
You then want to glue the front and back panels together to form the “box”, and finally insert the 1776 panel into the frame, inserting the tabs on this piece through the slots in the “box”.

This will look lovely alone or as part of your patriotic decor!

Have a great day!

Cookie Box 4th of July

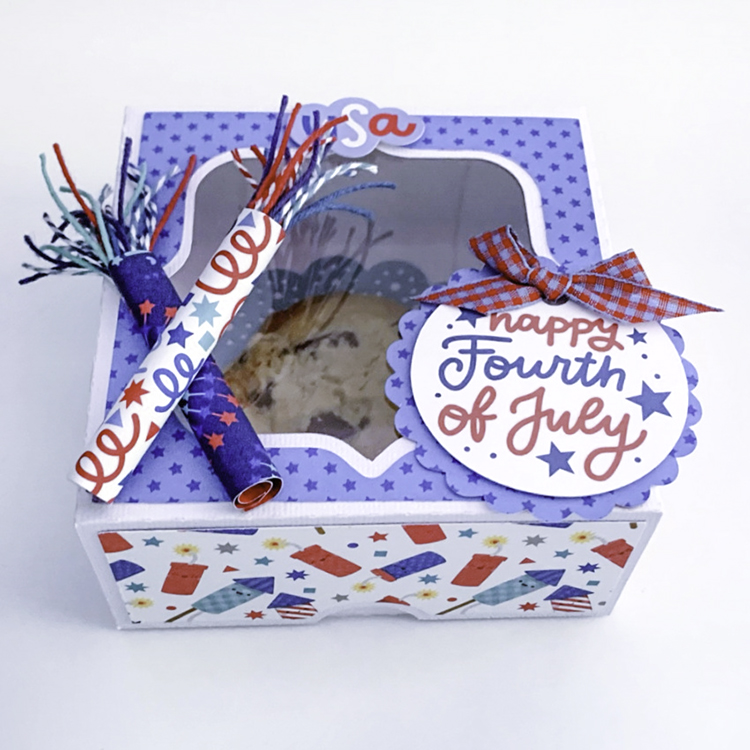
Anita here with a festive way to celebrate the 4th of July with cookies.  I used Lori’s SVG file called Cookie Box 4th of July which you can find here in the Lori Whitlock SVG store and here in the Silhouette Design store.  I also used a Doily file of hers to line the box.  You can find that file here in Lori’s SVG store and here in the Silhouette Design store.  I used a piece of acetate for the window of my box and then also cut a circle the size of my cookie to lay in the box and to  keep the doily and box free from grease.  I also cut some cardstock 2 1/4″ X 2 1/2″ and then glued some twine down the middle of the paper.  I used a thin chopstick to roll the paper into a firecracker shape.

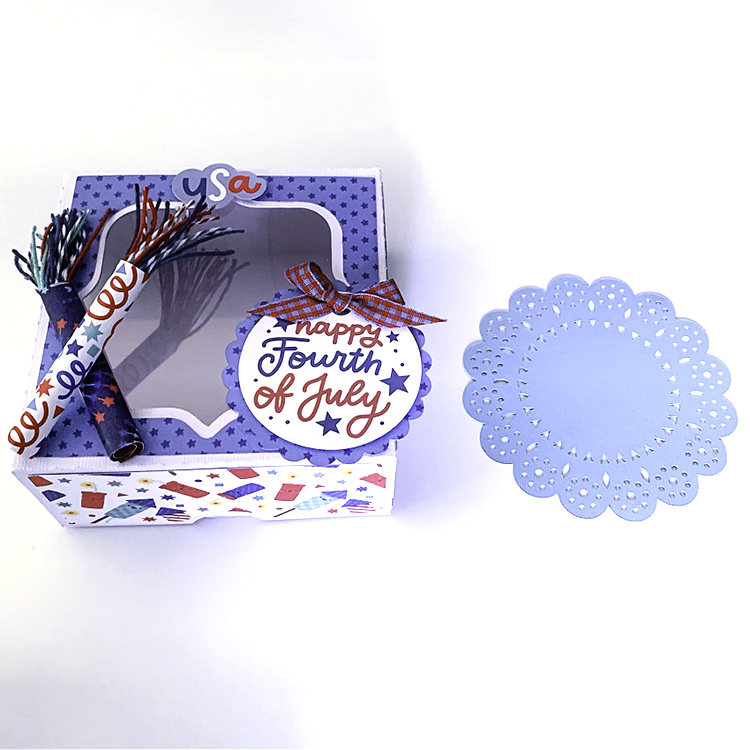
Here’s the box with the doily out of it so you can see how it looks.

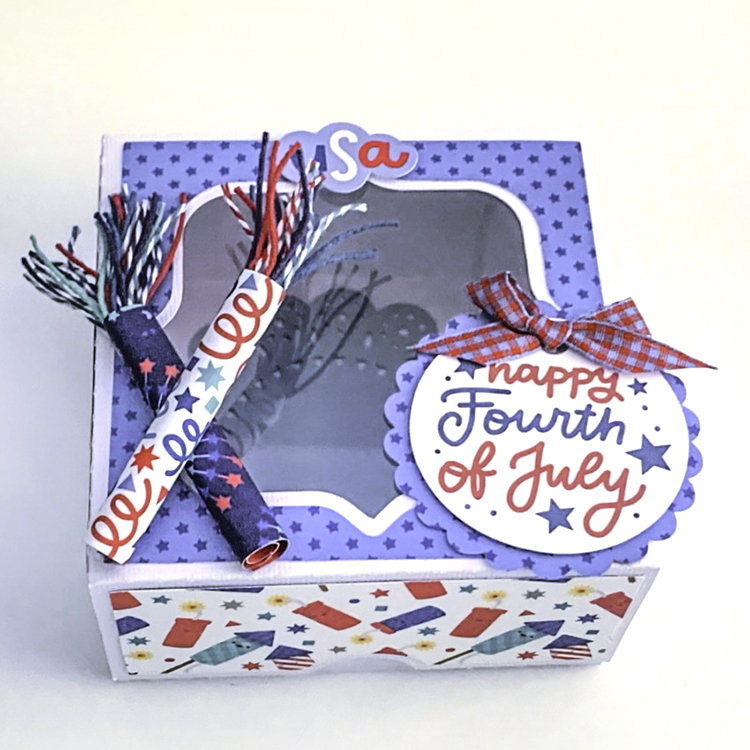
Finally, here is a photo of the box with the doily in it.  Have a great day and thank you for looking.

Hugs,

Anita

Friday $5 SVG Bundle Ends at Midnight!

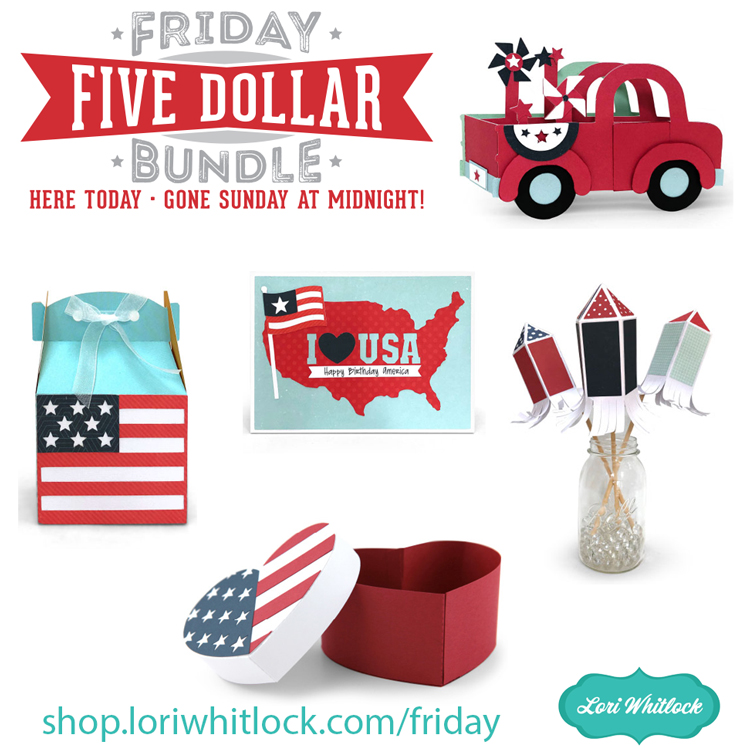
This awesome Friday $5Bundle is available until midnight and when it’s gone it’s gone.  These SVG files can be used with Cricut Explore, Silhouette Studio (with the Designer Edition upgrade), Scan N Cut, and any other cutter that will work with SVG files. Help spread the word by telling your friends and announcing it on social media!

Be sure to pick up this Patriotic Themed Bundle including 5 SVG files for just $5**!
The cost of this bundle is $5, for $9.95 worth of SVG files, over a 49% savings! But don’t wait, this bundle will only be around until TODAY at midnight!

** Because Friday $5 Bundles are already heavily discounted they are not eligible for further discounts including monthly, seasonal and flash sales.

Have a great day!

A New Friday $5 SVG Bundle!

Hi Everyone! Today we have a new Friday $5 Bundle! It will ONLY be available until Midnight Sunday and when it’s gone it’s gone. These SVG files can be used with Cricut Explore, Silhouette Studio (with the Designer Edition upgrade), Scan N Cut, and any other cutter that will work with SVG files. Help spread the word by telling your friends and announcing it on social media!

Now through Sunday, you can pick up this Patriotic Themed Bundle including 5 SVG files for just $5**!


The cost of this bundle is $5, for $9.95 worth of SVG files, over a 49% savings! But don’t wait, this bundle will only be around until Sunday at midnight!

** Because Friday $5 Bundles are already heavily discounted they are not eligible for further discounts including monthly, seasonal and flash sales.

Have a great day!

July 4th Shaker Star Tutorial

Hi everyone!  Corri here today sharing a quick assembly tutorial for Lori’s Shaker Star (SVG, Silhouette).    To make this, you will need cardstock, chipboard (I used a soda box), a dowel or straw and a piece of clear acetate.   I normally use transparency sheets for the clear part but this time I used a piece of a clam shell package from some craft supplies.

When you cut out all the pieces, this is what you will have plus a bunch of confetti pieces that will go inside the shaker.

First, glue the three chipboard stars together.  This step creates a spacer that will allow the confetti pieces to shake.

Next, glue the chipboard to the solid red star and glue the star frame piece on top of the acetate star.

Now you can add the confetti pieces to the inside of the star and then glue the clear star on top.

I wrapped the paper strips around a pencil to form into corkscrew shapes.   I glued those and a wooden dowel to to the back of the completed star and then cut an extra star “back” to cover up where they were attached.

There you have it!  Super simple to put together and so much fun!  The kids will love to wave them to celebrate the 4th!  Thanks so much for stopping by!