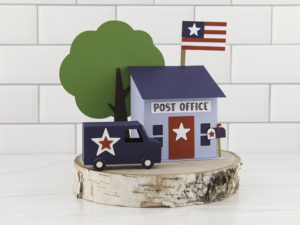
Hi there paper crafting friends! It’s Michelle Starcher, aka the Bookish Designer, hopping onto the blog to walk you through the steps to create Lori’s XL Box Card Truck July 4 (SVG, Silhouette). This little truck can be made large enough to use as a table decoration or home décor item. It’s perfect for your upcoming 4th of July cookout! In this photo tutorial, I will break down the steps to create the XL Box Card Truck July 4.

After cutting all of your pieces, sort them into stacks to make it easier when assembling the pieces. Once you have sorted your pieces, attach the first layer of pieces to the truck frame as pictured below. You will need to attach the light blue truck front before adding the silver door handle and mirror. I assembled the tires on the black circles before adding them to the truck frame. Don’t forget to add the three white stars to the door of the truck.

Next, you will add the bumpers, stripes, and a few extra details. You will want to attach the blue bumper to the front of the truck before you add the three small silver accents. In addition, you need to add the red bumper to the back of the truck before you add the white and gray stripes. The gray stripes create a shadow effect on the truck bed. When I attached the white stripes to the bed of the first truck, I used the long white stripe to help me with placement. This made it easier to line up my stripes. I used the first truck bed as my guide on the second one.

Next, I attached my stars to the inner card piece as shown. Add adhesive to the tabs on each end.

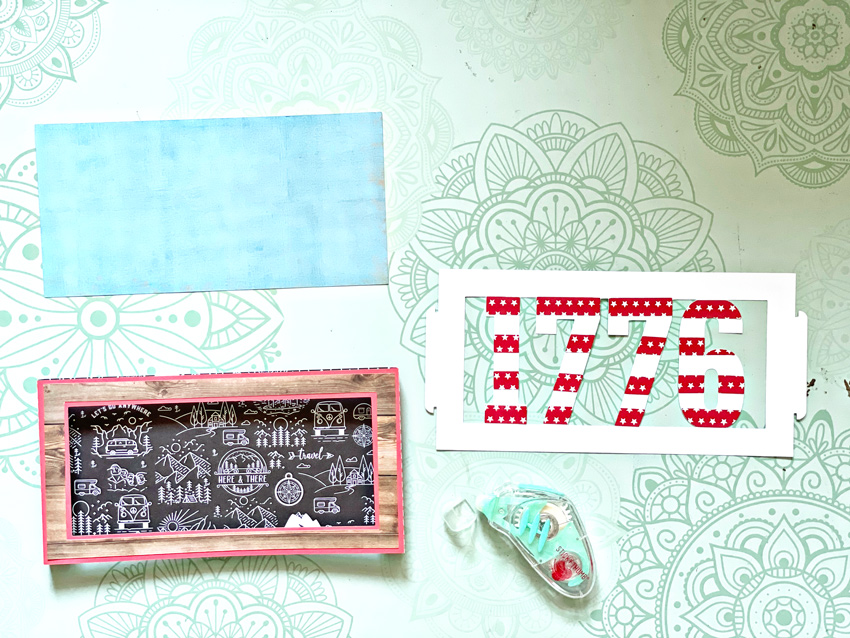
Once all of your truck beds are decorated, you are ready to assemble your 3D truck. You should have a blue rectangle with two scored tabs. Add adhesive tape to each tab, and then line up the front panel with the pre-cut guidelines on the sides of the truck and adhere as shown in the bottom photo. Use the stripe pattern on the back of the truck bed to replicate the pattern on the red connecting piece. Attach the license plate and July 4 letters. (Mine didn’t turn out so well, so I replaced them with a sticker.) Add adhesive to the two tabs of the red connecting piece and attach as shown in the bottom photo.


You last step is to connect all of the pieces. You will add your middle truck piece to the connecting blue and red pieces. The attach the connecting pieces to the other truck piece to close the card.

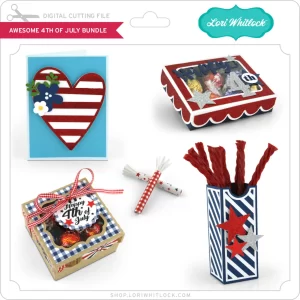
You make the XL Box Card Truck July 4 (SVG, Silhouette) today, so that it will be ready for your cookout this weekend. If you are looking for some additional 4th of July decorations, be sure to check out the 4th of July Project Bundle that includes this truck plus several other patriotic projects.
Until next time,
Michelle
