Hey everyone!
I’m excited to share my latest creative adventure with you: a fun print and cut project! I know that for many people, the idea of print and cut can seem daunting. But let me assure you, it’s actually a lot easier than it looks!


Files: SILHOUETTE/SVG
When I first started, I was intimidated by the idea of aligning everything perfectly. I thought I’d end up with wonky cuts and wasted materials. However, after diving in, I found it to be incredibly easy!
Cutting the cardstock pieces:
I love to cut as many colors that I can on 1 mat, so I place more than one color on a mat.


Print:
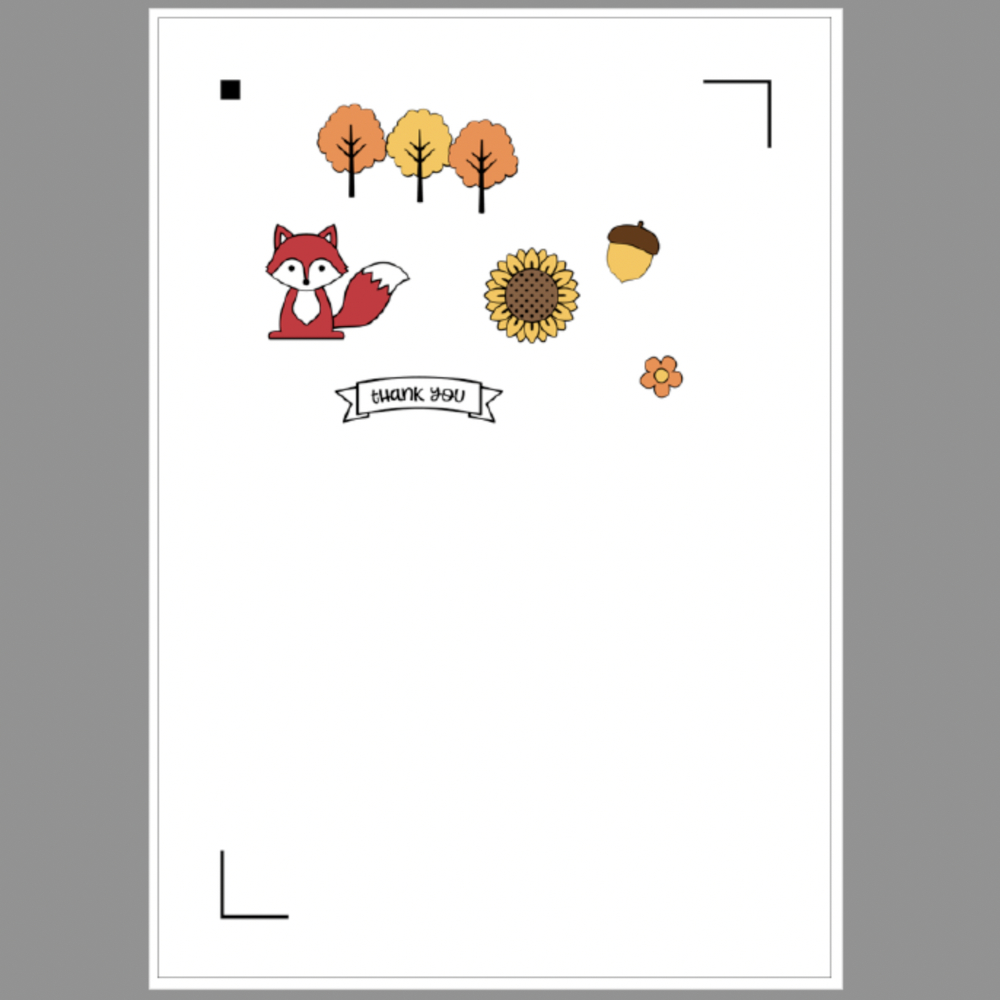
After I sorted the printable items of my design, I printed it out on quality paper. The key here is to ensure your printer settings are correct for the best results. I used semi glossy photo paper.

Cut:
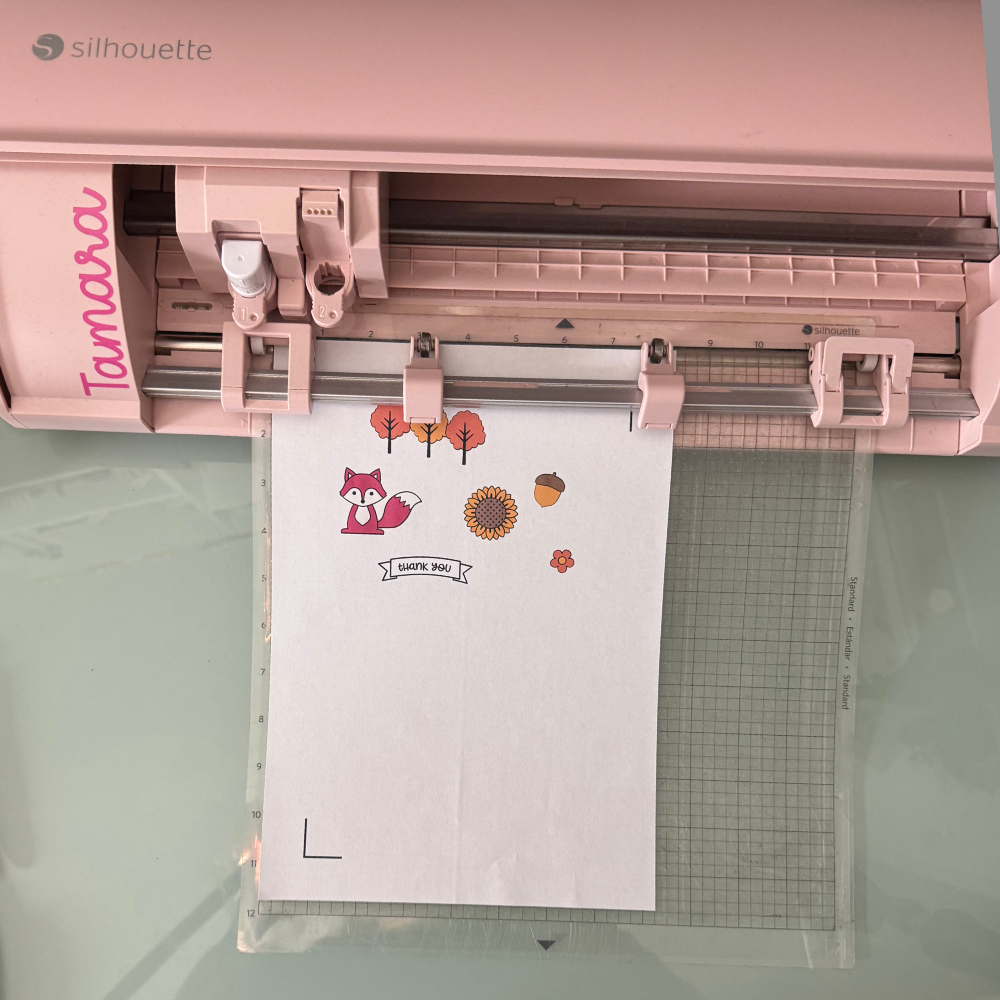
After printing, I loaded the paper into my cutting machine. so my machine could cut the images!

Putting the card together:
The card elements are super easy to piece together, as you can see in the photos below!


After you glued these parts together you can start to add the print and cut elements, and decorate the outside panels.

If you’re considering trying a print and cut project, here are a few tips to help you along the way:
Use Quality Materials: Good printer paper and ink can make a huge difference in the final result of the printed images.
Practice: Don’t be discouraged if your first attempt doesn’t go perfectly. Each project is a learning opportunity!
I truly enjoyed my print and cut project, and I can’t wait to make more. Remember, it’s all about having fun and experimenting with your creativity. So, if you’ve been hesitant to try print and cut, I encourage you to jump in! You might just surprise yourself with what you can create. And there are so many cute Print and cut projects in Lori her shop, go take a look!
Happy crafting! Tamara
