Pumpkin Favor Box 2

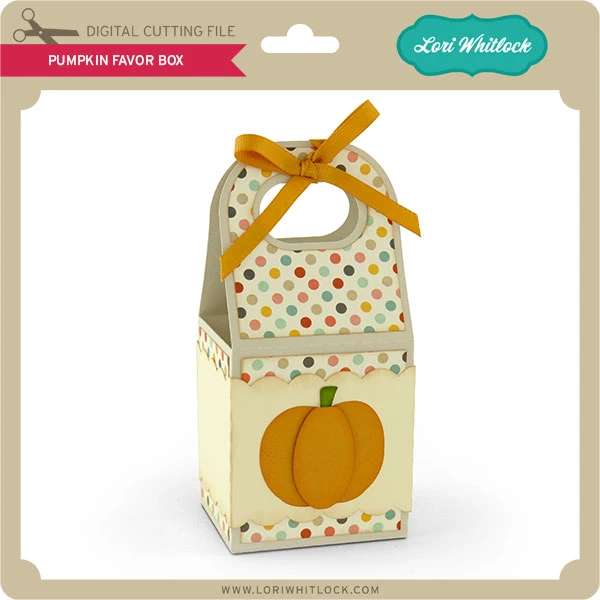
Hello, crafty friends! This is Lindsay (Lindsay’s Layouts), sharing a project for the Lori Whitlock Creative Team. I’m hosting a baby shower for a dear friend, and I needed some favor boxes for the attendees to take home with them. I chose the Pumpkin Favor Box 2 (svg, silhouette) and used the “Special Delivery Baby Girl” collection, designed by Lori for Echo Park. The colors in the collection are perfect for a fall baby shower! I also used some kraft and dusty rose cardstock for the bases. Let me walk you through my process:

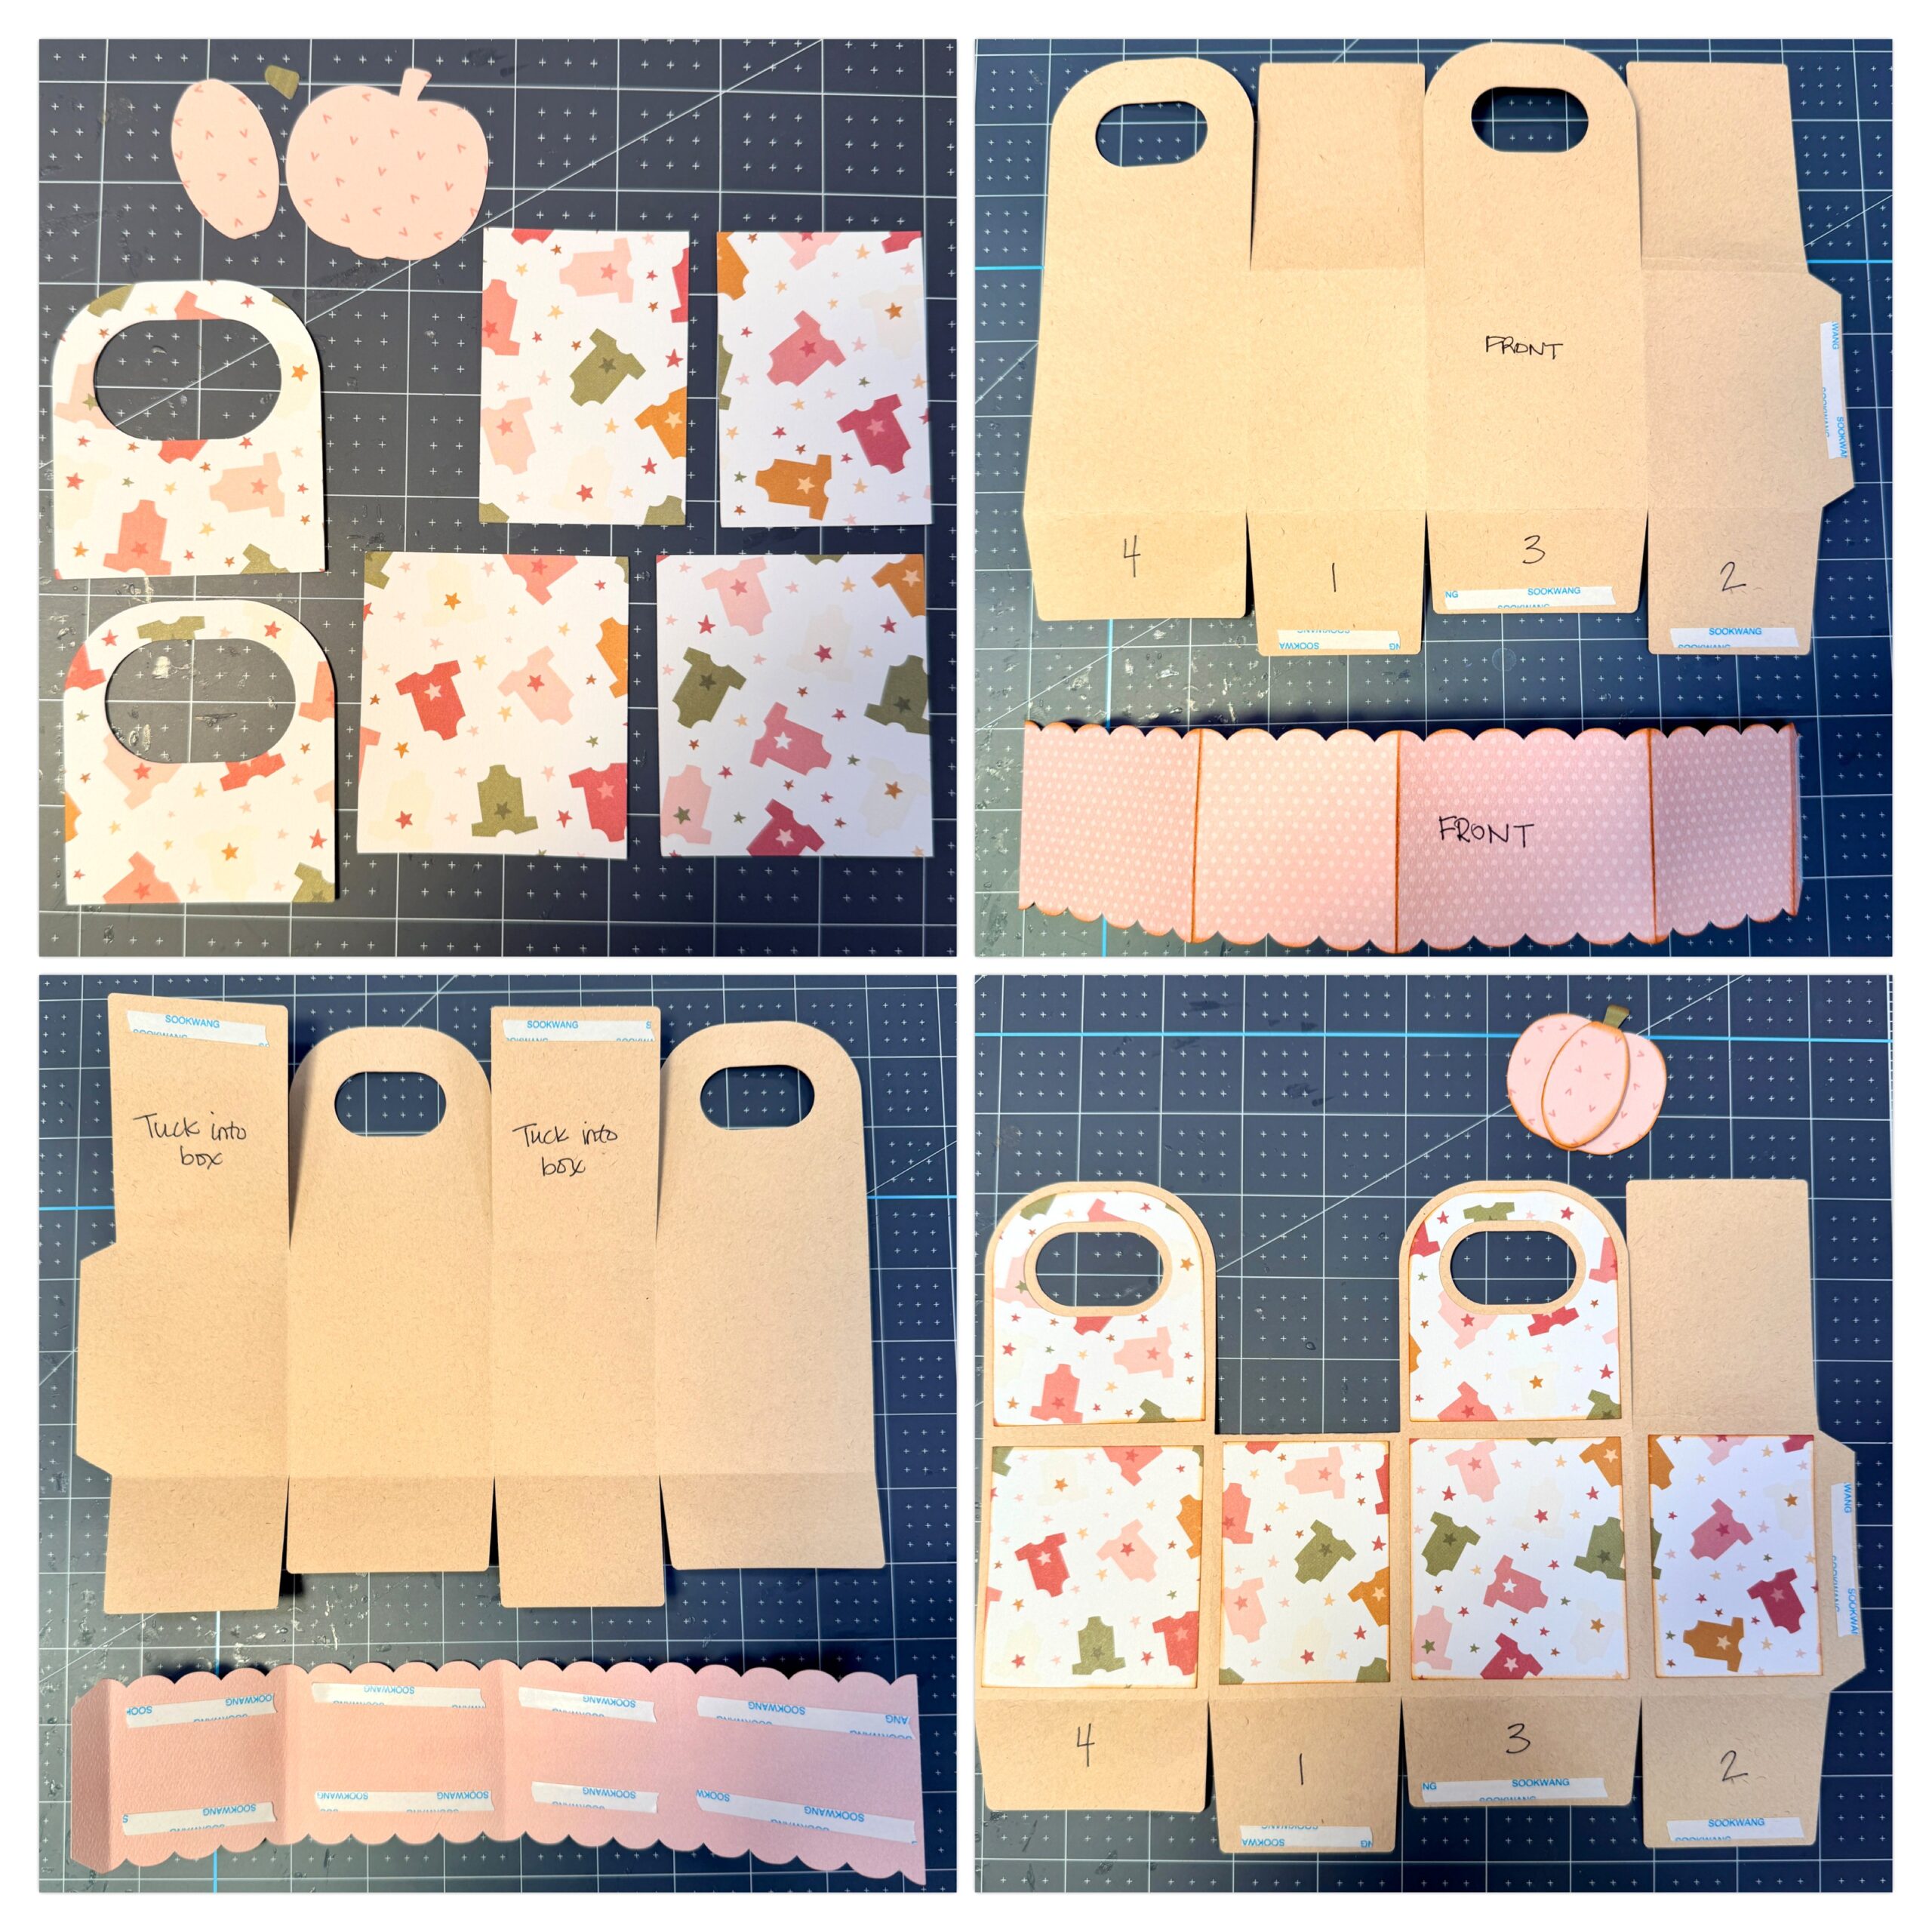
First, I uploaded the project into Design Space. I cut enough pieces to make 12 boxes. The first photos show a single set of cut pieces. I numbered the flaps in the order that I would fold them into the box. Then I added strong tape to the flaps as shown below.

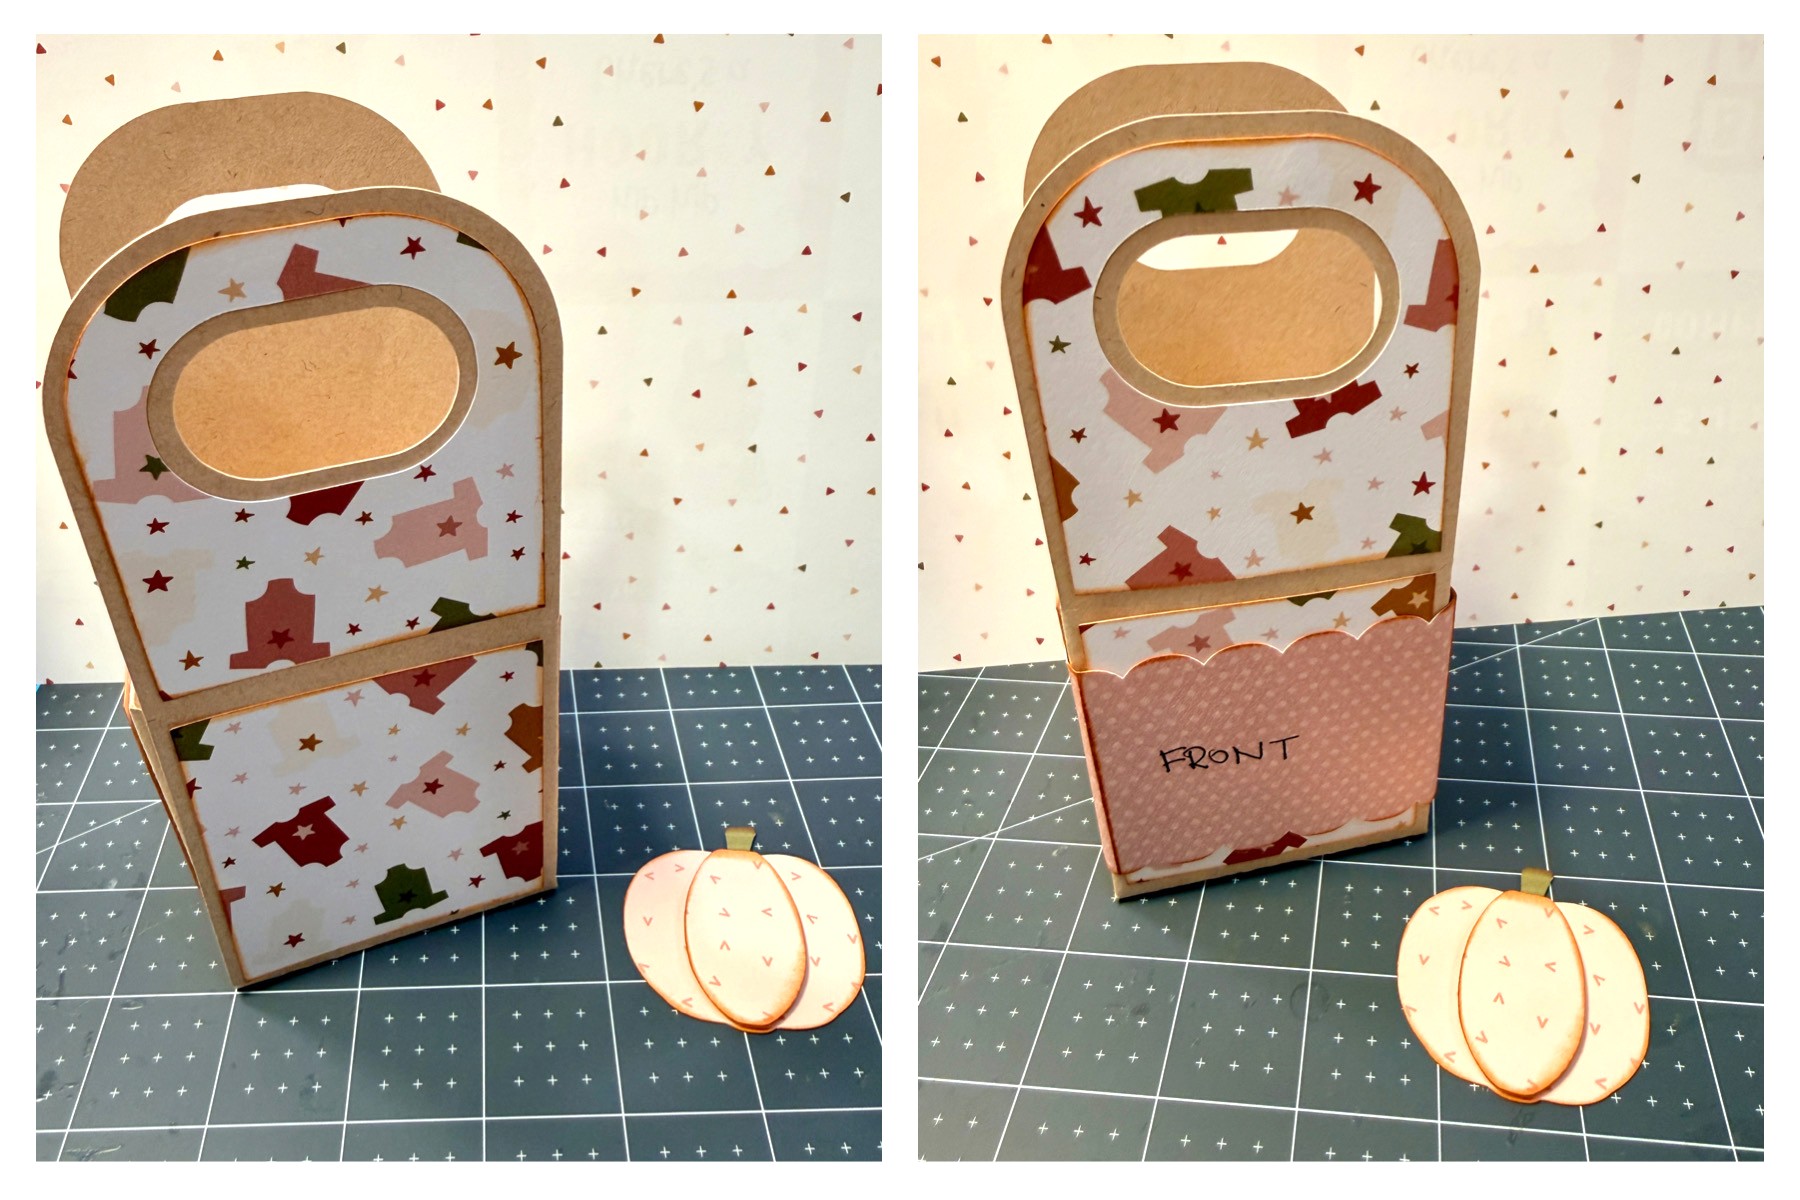
I wanted more of an open gift bag feel for the favors, so I decided to fold two of the flaps into the box and adhere. This keeps them out of the way. I inked all of my pieces with brown ink and then began assembly. I used foam adhesive to pop up the center of the pumpkin.

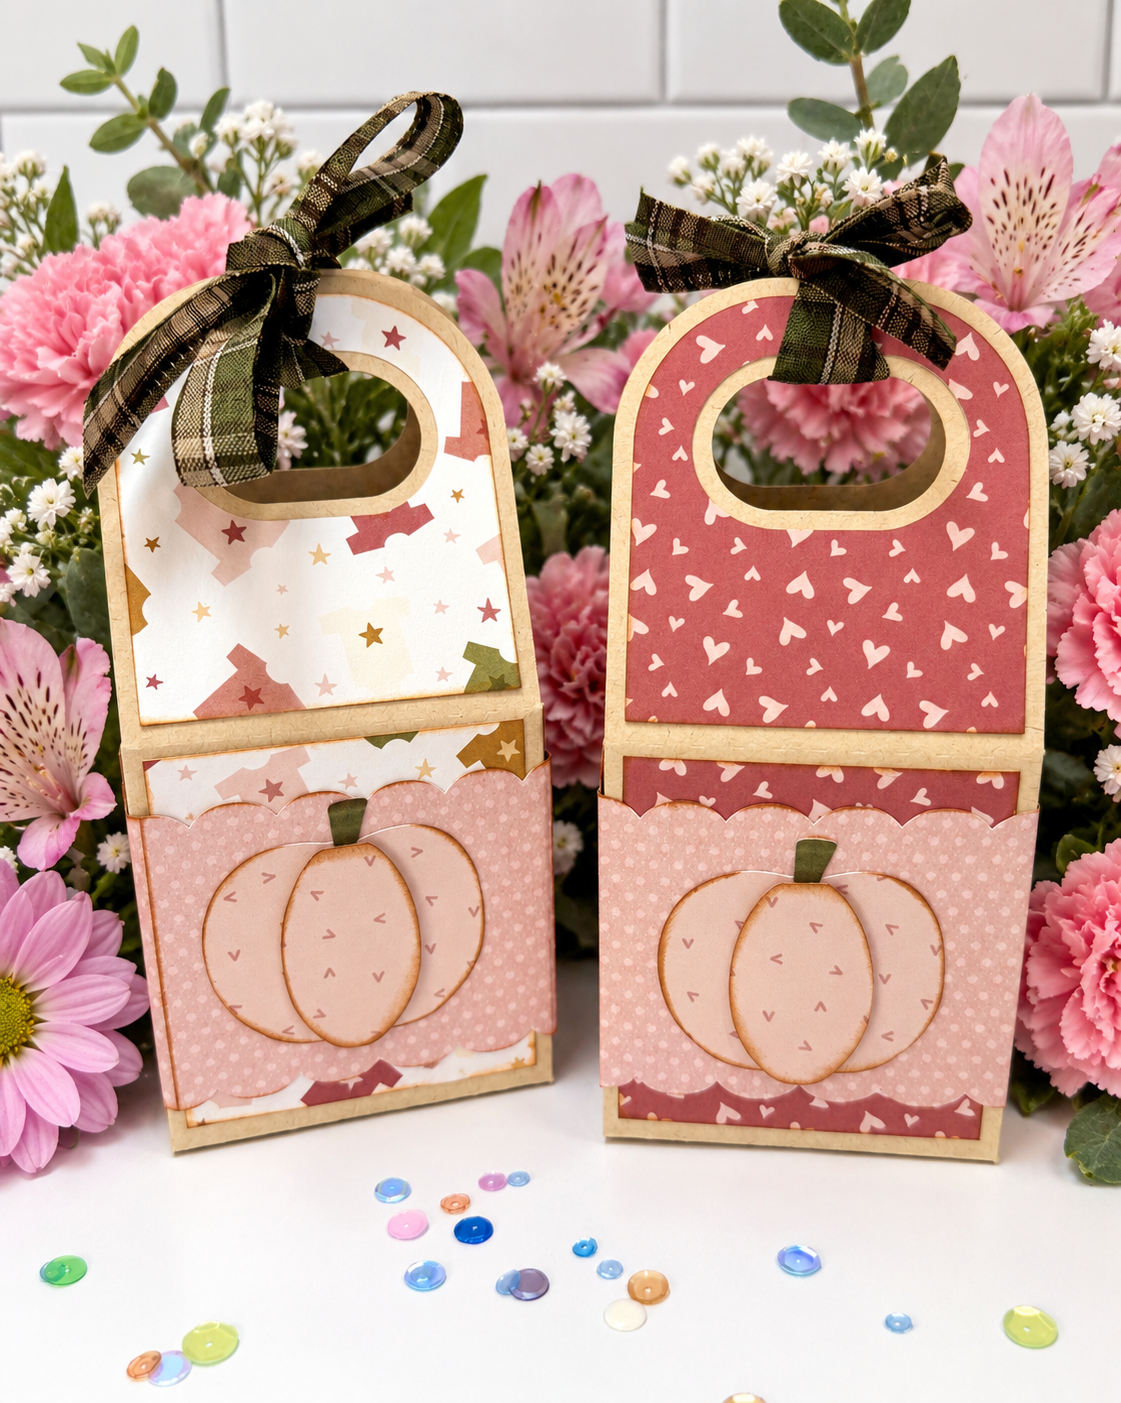
I folded all of the panels and adhered the favor box base. Then I wrapped the rose cardstock belt piece around the base. All that’s left is the pumpkin, some cute ribbon and the surprises that will be tucked inside!

The next time you are hosting a party or shower, I hope you’ll consider these quick, adorable favor boxes. They can be customized for any occasion. It was also very easy to make bulk quantities. Thanks for stopping by today! Happy Crafting! — Lindsay

Fall Acorn Box Card

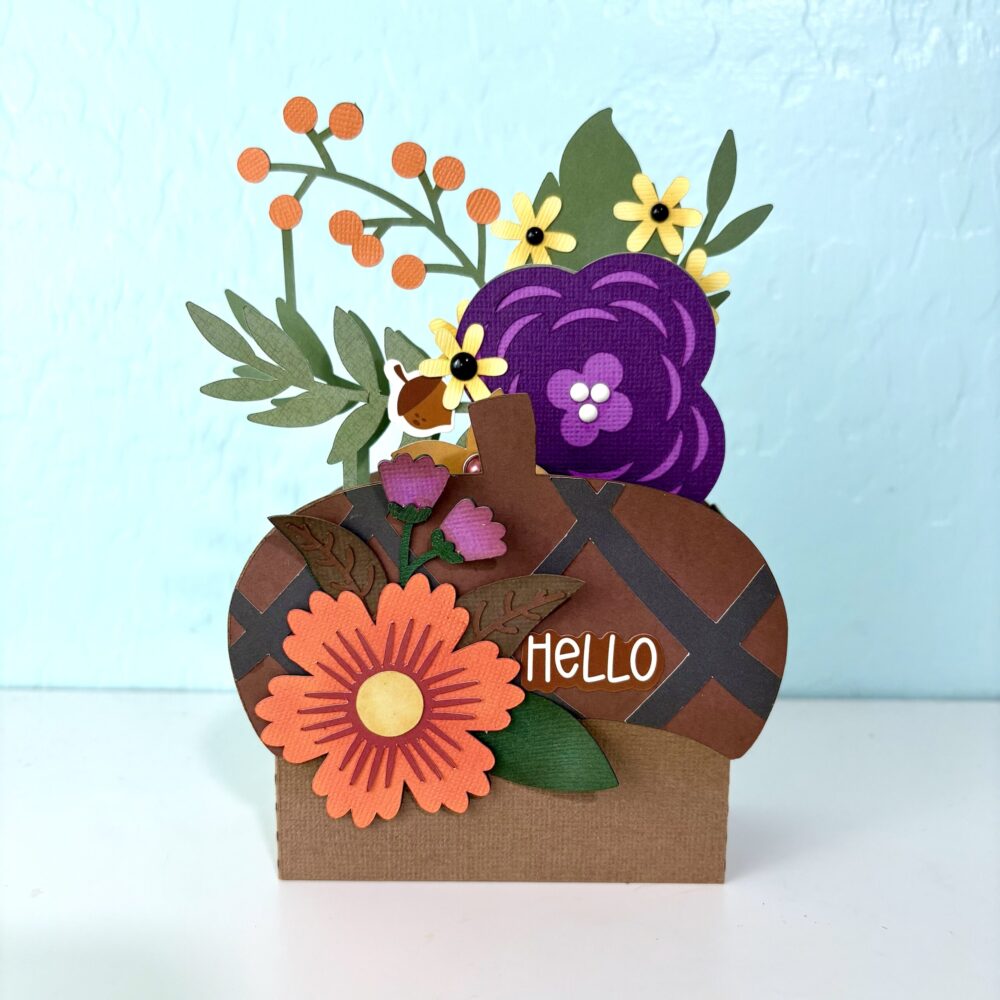
Hey, crafty friends! Ready to say goodbye to summer? The little signs of Fall popping up in stores have me excited for cooler days, pumpkins, and seasonal crafting. For today’s tutorial, I worked with the Acorn box card (SVG, Silhouette).

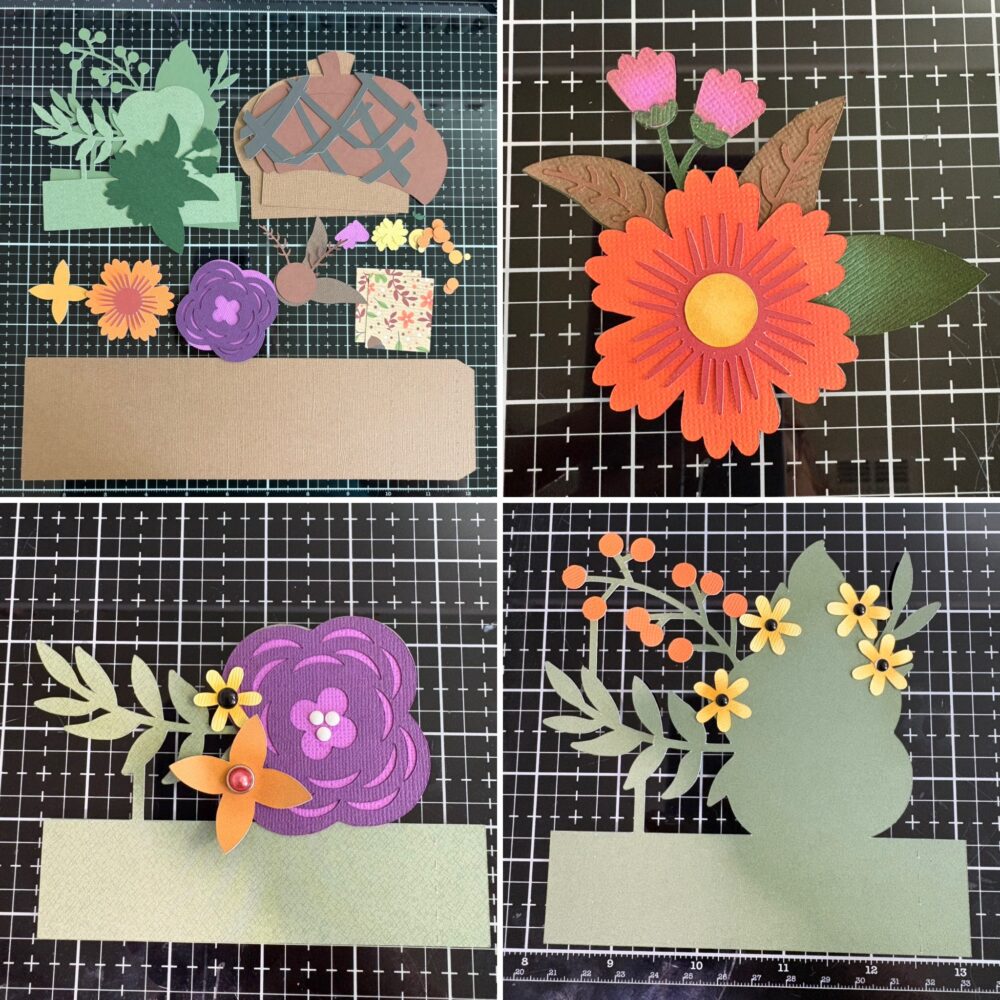
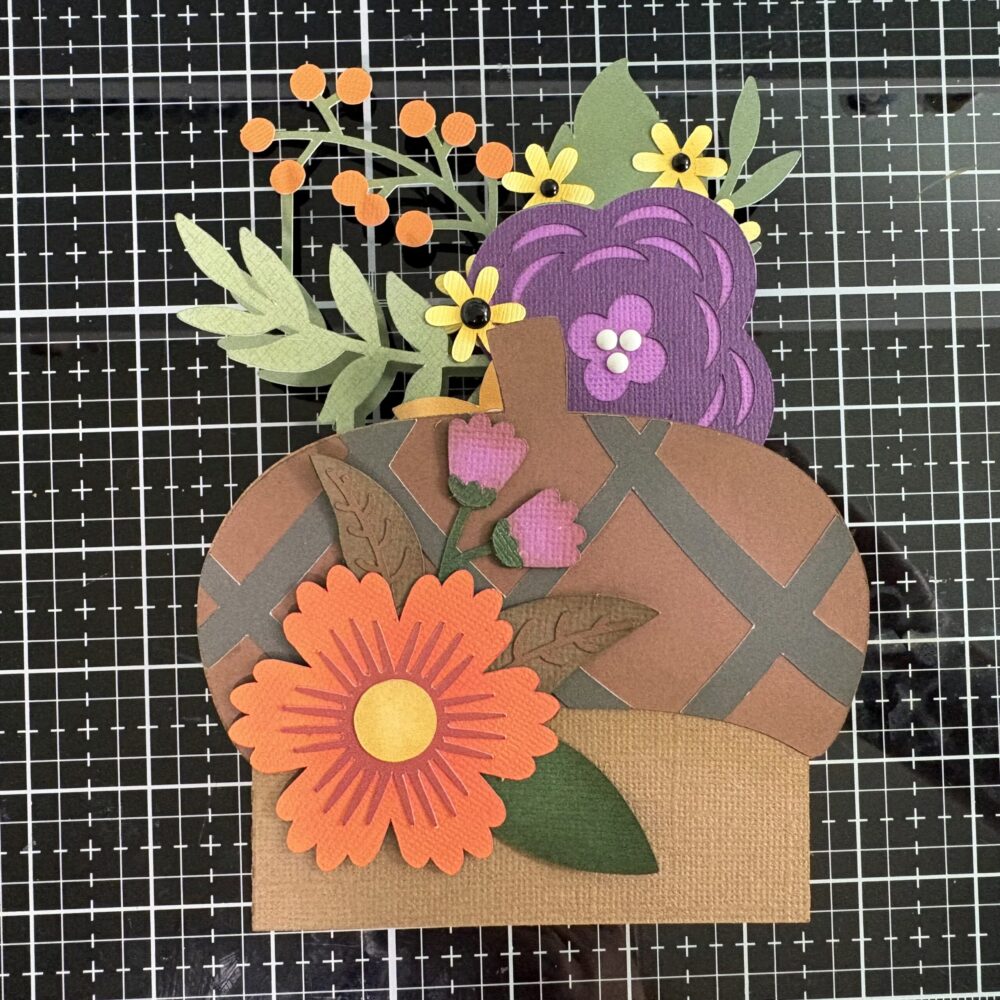
This box card features two insets, two acorn covers, and a flower cluster on the front. I began by adding ink to most of the elements to give them dimension. The large flowers have two main layers plus a center, while the smaller flowers have one layer and a center. For several flowers, I swapped the paper centers for enamel dots or brads. The suggested placement for the small flowers works well, but if I could, I’d move the small orange flower out and up along the green stem. Once assembled, the acorn stem covers it.

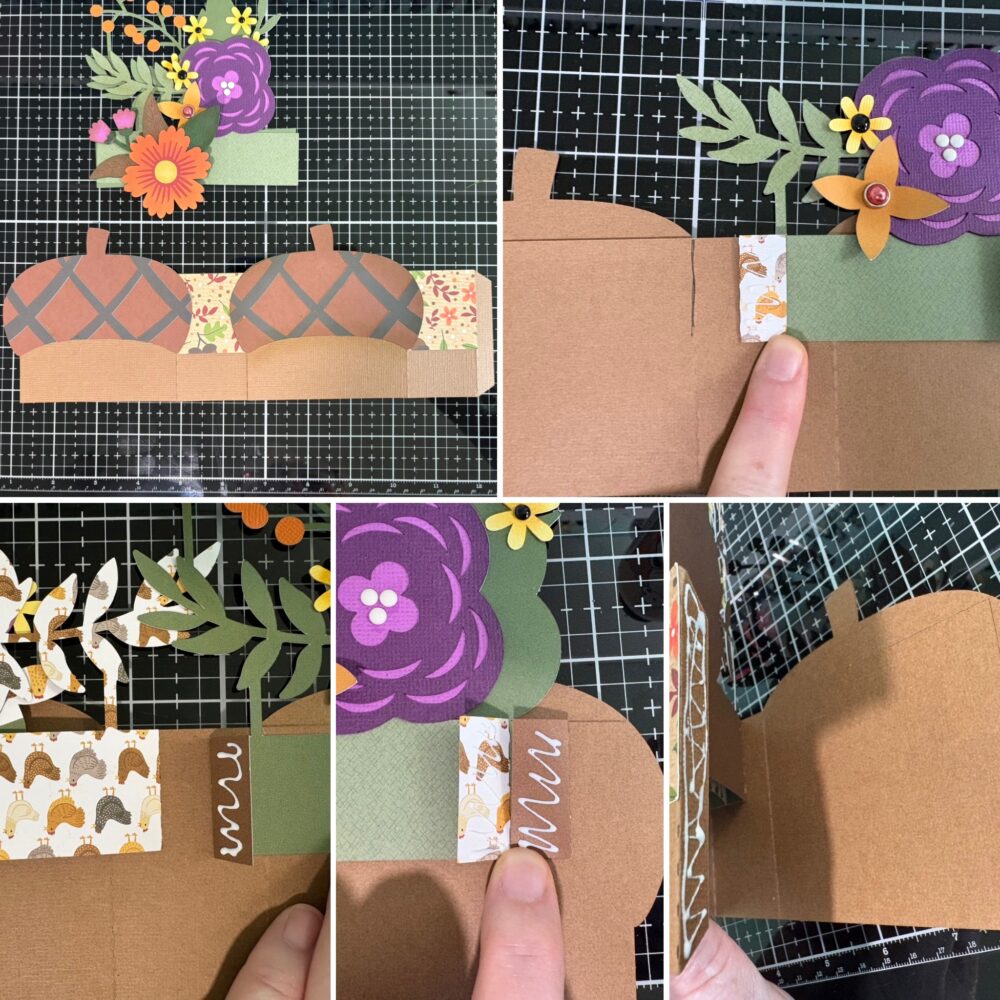
The main body of the box card is a simple box with two acorn covers and two small, patterned paper covers. Each acorn has three layers: one for the body and two for the cap. The score lines are folded into mountain folds, with the acorns attached to the long sides of the box and the patterned papers on the short sides. For the inserts, I folded the score lines as valley folds. I flipped the card base over, added glue to the back of the tab on the purple flower insert, and lined it up with the top of the box and the score line. I repeated the process for the second insert, aligning it with the top of the box and the back of the first insert. Then I flipped the inserts back over, glued the back side of the tabs, and closed the card base over them, making sure everything was aligned. Finally, I glued the box tab and closed the card, carefully lining up all the edges.

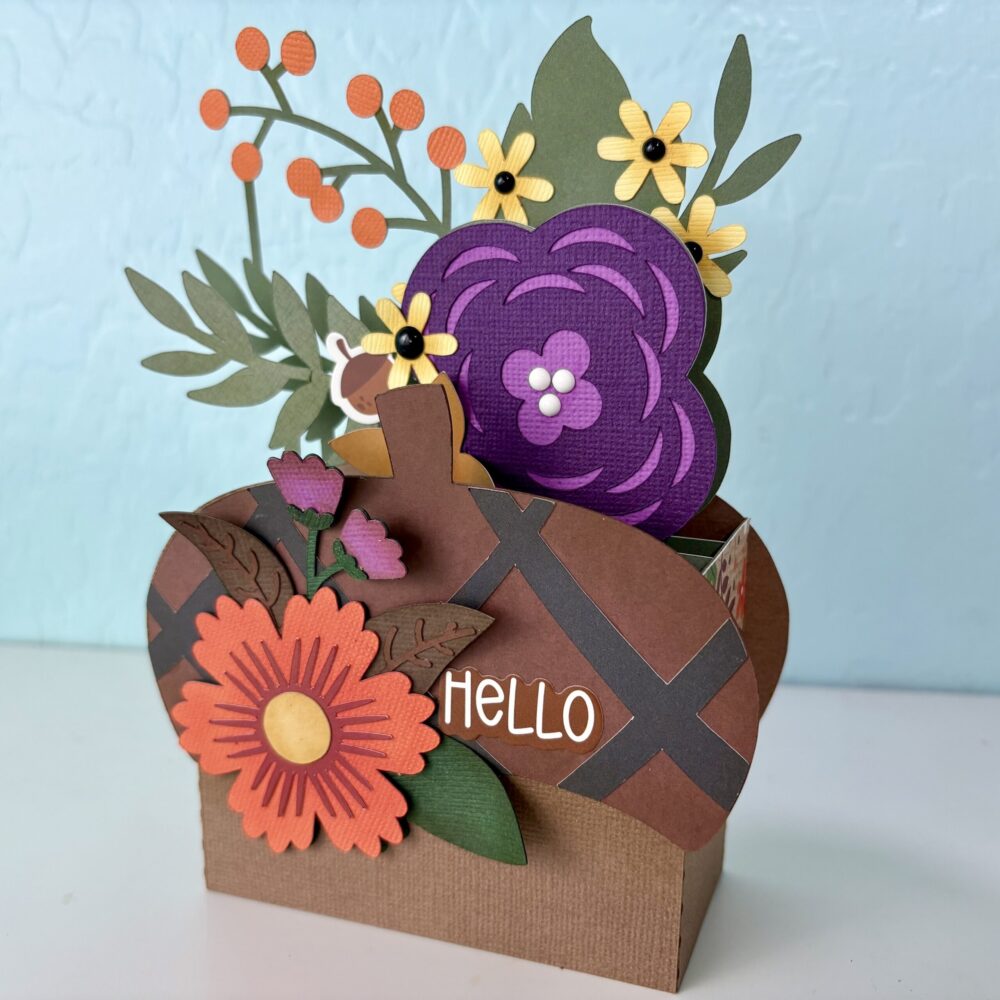
With the acorn box, I attached the orange flower cluster to the front of the box. I also added a “Hello” sticker and a small acorn sticker from my stash of supplies.

That’s all for me today, thanks for stopping by!
Brandie

Canning Jar Label Tutorial

Hello friends!

I plant a large garden every year and then every fall I do a lot of canning. As you remember I did a cute tutorial awhile back for a canning jar box  and so I thought I would elaborate on the way I use my Cricut with my canning.  For everything I can, I made labels for the lids so I thought I would share how I do that.

First, I went and downloaded the Circle 1 Dingbats Font (Silhouette) [you could also use Circle 2 Dingats Font (Silhouette)] and install it on my computer.

I then open a new project on my Cricut and add a circle shape. 2.4 inches for wide mouth and 2 inches for regular mouth. I also like to turn the color to a light color so I can see my dingbat over top.

Then I add text and change my font to LW Circle 1 Dingbats. I selected the letter E for my dingbat.


I then shrink my dingbat down to fit within my circle. This ended up being 1.845 x 1.868 on a regular mouth sized label.

Then I change my Operation from basic cut to pen. I use the .4 mm fine point pen.

I then go in and add text as to what’s in my jar. The top font is LW Thankful and the bottom is LW Longhand.

Make sure to change your operation again to pen.

I will add the year as well. Once I have everything on my label and laid out how I want it, and everything except the circle (shown in pink) is changed to pen, I select the entire label, circle, words, dingbat, and on the bottom right, I click “attach”.


This keeps everything in place on the label when cutting and drawing the label.

At this point, you can select the label you have created and copy and paste it to make more of that same label. You can also copy and paste it and increase or decrease the size the make both regular mouth and wide mouth labels.

If you would rather have a cute label for the jar instead of the lid, the Label Shape Bundles 1-5 would make great jar labels (instead of using the circle). I also used the Mason Jar Dingbats on the label from the labels shape bundle below.


This is what it looks like all drawn and cut and on my jars.


Thanks for stopping by and happy crafting!

Lantern Mini Album

Happy Monday friends!  Traci here, and I’m excited to be back on Lori’s blog with my latest mini album, using one of her amazing svg files!  For this one, I used the Box card Fall Lantern file.


I cut the cover shape out of acrylic, but you could easily use card stock.  The cutting file includes lots of cute pieces for the front of the lantern … the mushroom, pumpkin, flower, and even some fall pieces that I didn’t include at the top, so you get lots of options in this cutting file.


This cutting file was created as a box card, which you’ll have to check out because it’s a fun design for sending a sweet fall greeting.  But you know me … I’m a mini album girl so I always see album options when I see a cut file and this one did not disappoint!


How cute are the pumpkin and flower pieces at the bottom of this lantern?  And that mushroom?  Adorable!!


In addition to using the cut file for the cover shape, I also used it to cut 4 card stock pages for the inside of my album.  

Hmmm…this page is a little crooked Traci!  LOL!


I added 4×4 photo mats to each page and added adorable die cuts from the Doodlebug Farmer’s Market collection.  This is why I like minis … I get to incorporate ALL THE THINGS!


I hope my project inspires you to think outside the “box card”.  Not only do you get a wonderful card with Lori’s file, you also get the chance to turn the pieces into a mini album, or add the pieces to a scrapbook page!  Have fun crafting friends!!

Blog * Shop * Facebook * Instagram * Pinterest