Silhouette Tutorial with Brigit: Making Christmas Tags

Hi everyone!  Brigit here with a fun print n cut tutorial for you today.

These cute penguin Christmas tags are so easy to make and really helps save some time.
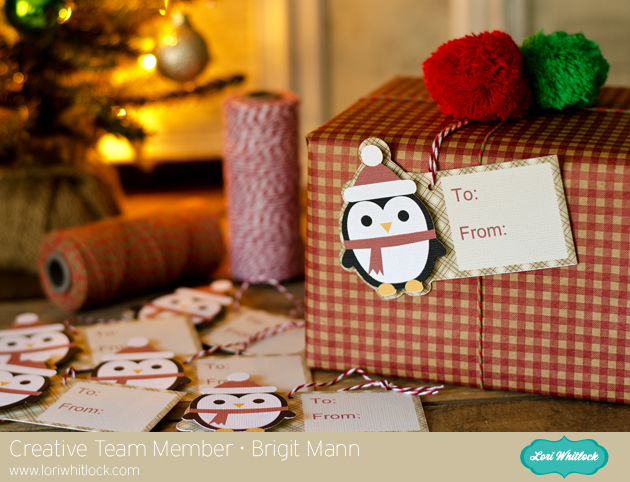
Start by getting the penguin  from the Christmas Icon Set, I love this set by the way, so many cute svg files in there.

Ungroup and fill each piece with colors, zoom in and layer the penguin together like I’ve done below, select all and group together.

You want to create an outline for your penguin, select him and go to the Offset Window, choose offset and change offset distance to .1 and apply.

Draw a 2″ x 3″ box and place it over the offset of the penguin you just created, like I have in the photo below, with both selected right click and weld or you can go to the Modify Window and weld.

Place a circle about .125″ on your tag, (this is for your twine or ribbon) and select both the tag and circle, right click and choose make compound path, this helps later when you choose to only cut around the edge of the tag.

Fill your tag with digital paper, I’m using Echo Park’s Reflections Christmas designed by Lori.

I added a 1.75″ x 2″ box and filled with beige then added the text so you could see it better.

Fill your text with color or if you just want it outlined make sure under the Line Style Window you check the Print Lines of Selected Shapes.

It’s important that you only cutout the outline of your shapes. I chose to cut my penguin out separately so I could pop dot him up.  Go to the Cut Style Window select tag and choose the Cut Edge, do the same for the penguin, it should look like the photo below.

In the Registration Window select Show Reg Marks

Under Page select your printer page.

I have a wide format printer so mine is setup to print on a 12″ x 12″ size paper.

I was able to fit 6 tags but you can re-size to fit more if you’d like.

I hope you find this tutorial helpful.  Christmastime can get very busy so these pnc tags come in handy when you need some quickly.

Thanks for stopping by, you can visit me at http://www.brigitsscraps.com

$1 Wednesday at Jessica Sprague

One Dollar Wednesday at JessicaSprague.com!

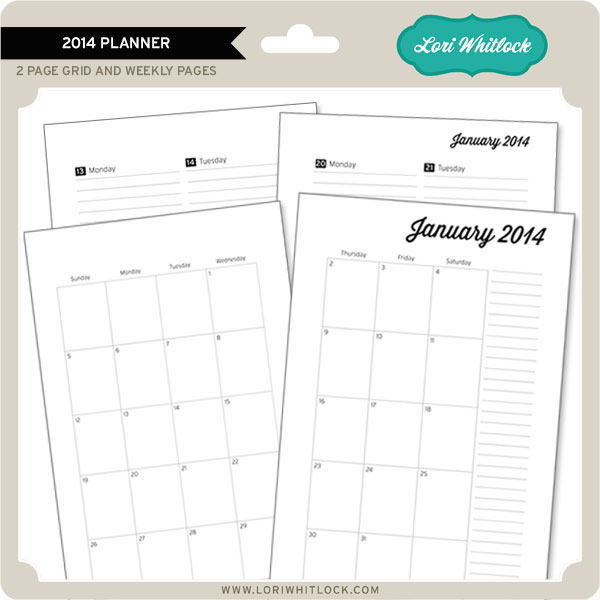
It’s Wednesday again that means TODAY ONLY you can snag two digital kits for an amazing deal… TODAY for JUST $1 you can grab this awesome set: 2014 Planner. This kit is regularly priced at $9.99 and TODAY ONLY it’s just $1! These make awesome Christmas Gifts!!!

2014 PLANNER

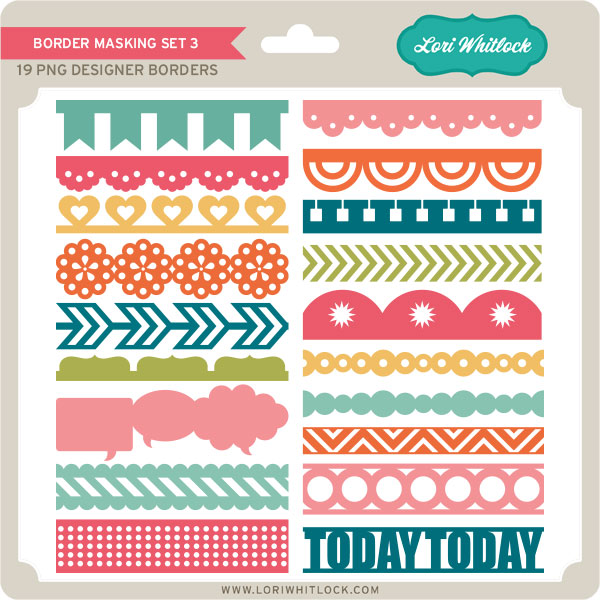
And, you can get the following awesome product for HALF OFF, Masking Borders 3 making it $2.50

MASKING BORDERS 3

While you are at jessicasprague.com getting your kits, be sure to check out the samples made with each of these kits at the bottom of each listing.

Christmas Layout with Mendi

Today I have a layout and card to share using several of Lori’s SVG shapes along with her This & That Christmas Collection which she designed for Echo Park last year.


I made this quick and simple layout for my Mother-in-law’s 8×8 album (although the design would work well as a 12×12 layout as well).  I love the instant impact and style Lori’s Pine Bough & Ornament cutting file gives the page.  I cut it out the boughs several times and positioned them to create my visual triangle.


I finished off my layout by using the sentiment from Lori’s Christmas Season’s Greetings Card for my title and adding a shadow around it to help it stand out against my ivory background.


While I had my papers out, I decided to create a quick shaped card using Lori’s Joy Banner cutting file too. To create my card, I discarded the banner portion of the cutting file and enlarged the word “Joy”.  I cut the word once as is with the red patterned paper and then once again from ivory without the circle cutouts to back my red letters.  

To form my card base I added a large shadow using the “offset” feature, making sure to size my entire design to be 5.5″ wide before cutting anything out so that it would fit perfectly in a A2 sized envelope.  I then ran the ivory “O” through my printer (attached with temporary adhesive to a piece of office paper) to complete my sentiment using Lori’s Vintage Font.  I finished off my card with a little bit of Stickles “stardust” Glitter glue applied to the cutouts for a bit of sparkle.  This card would be so easy to mass produce (and is nice and flat for mailing too).  🙂


Just to recap, today I used the following cutting files designed by Lori:
I’ll be back on November 21st with a video tutorial sharing more tips and tricks on creating shaped Christmas cards with Lori’s fun cutting files.

New at Jessica Sprague

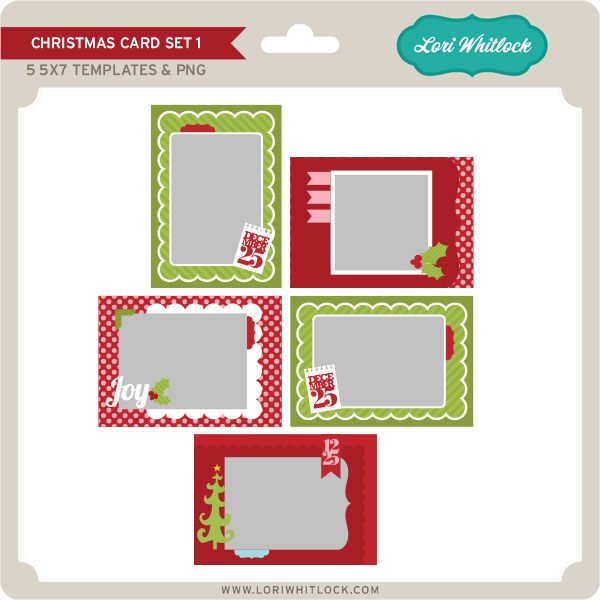
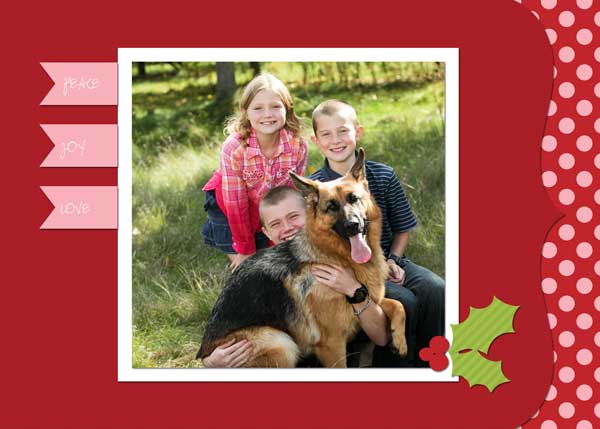
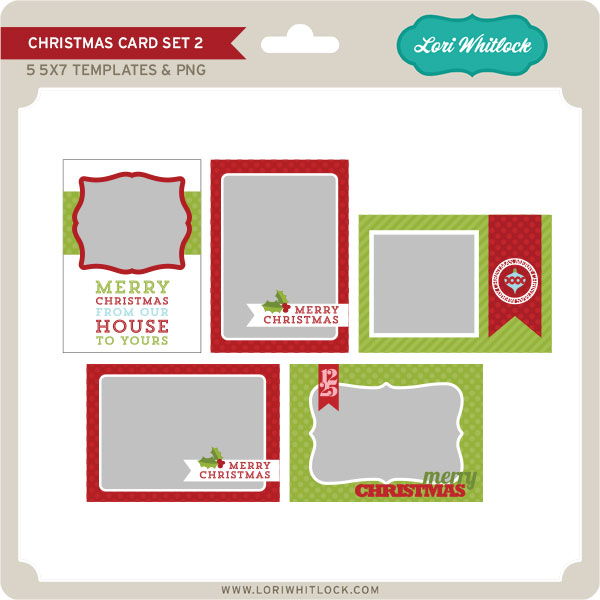
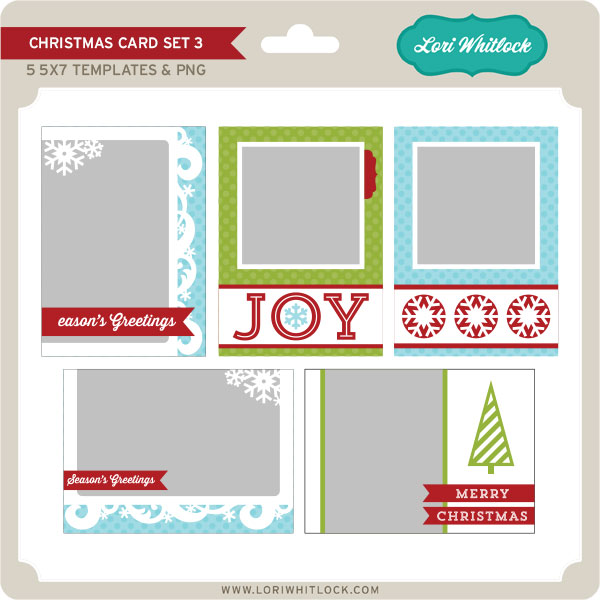
New at JessicaSprague this week are these beautiful Christmas Card Sets. These are a great way to create fast personalized Christmas Cards. You can use them as is and drop in a photo, or like a template and change out the papers to create a different look.

You can pick them up this weekend for 25% OFF. What a deal!  This price is good through SUNDAY; Check out your different choices.

CHRISTMAS CARD SET 1

layout by Mary Moseley

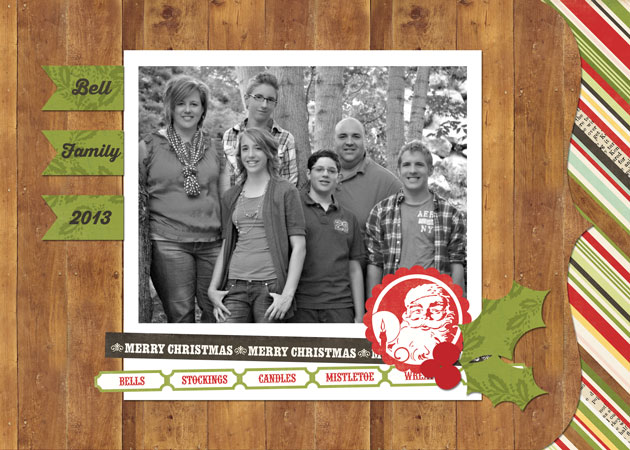
layout by Lisa Bell

CHRISTMAS CARD SET 2

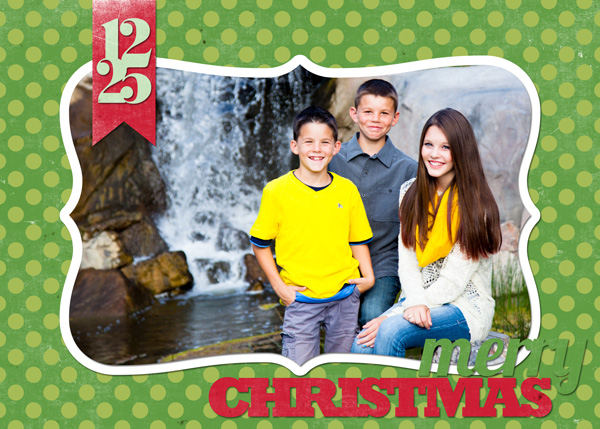
layout by Mary Moseley

layout by Ashley Cook

CHRISTMAS CARD SET 3

layout by Smitha Katti


Silhouette Tutorial: A Fun Tip for Using Sketch Pens with Traci

Hi everyone!  I have a fun tip to share with you today for using your Silhouette sketch pens.
‘Tis almost the season for sending out Christmas cards, and if you’re like me, the task can often be so time-consuming that I lose sight of the meaning for sending them out in the first place.  This year I remembered I have a silhouette and sketch pens and it’s going to make creating my cards a lot more fun.
The sketch pen technique that I want to share with you today involves cutting a shape from inside an offset that’s been drawn with the pens.
So here is the card I created using this technique:
1.  First I started with Lori’s adorable Christmas Tree Pop Up Card.
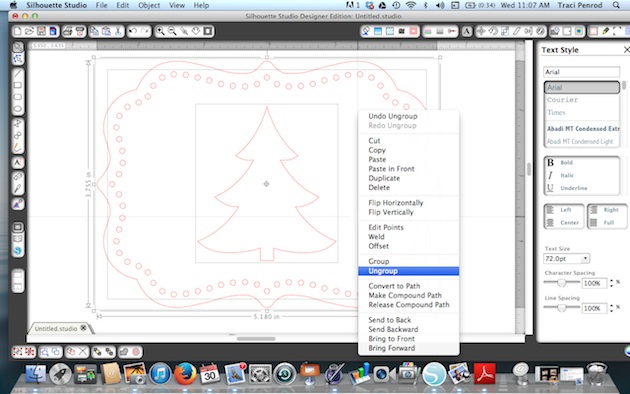
I ungrouped everything and moved everything off to the side except the front panel with the tree.
2.  Next, I ungrouped this one shape so that I could move the tree over to the left side of the shape.
 
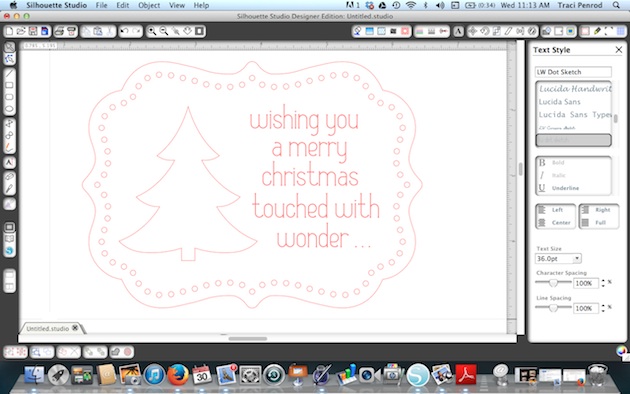
3.  Once I moved the tree over to the left, I had space to put a sentiment.  Using Lori’s Dot Sketch Font, I typed in the sentiment that I wanted to use and centered everything the way I wanted it to look once it was sketched.
4.  In addition to the sentiment, I also wanted an offset drawn around the tree cut out.  To do this, I highlighted the tree, and opened the offset window (6th icon from the right in the top toolbar).  I clicked offset and set it to .05 distance.
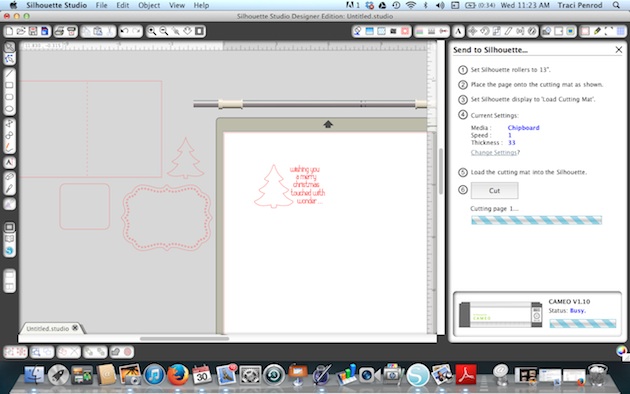
5.  For the next step, I moved the inside tree shape, and the outer card shape, off to the side.  These portions will be cut out, so I didn’t want them to get sketched when I insert my pen.
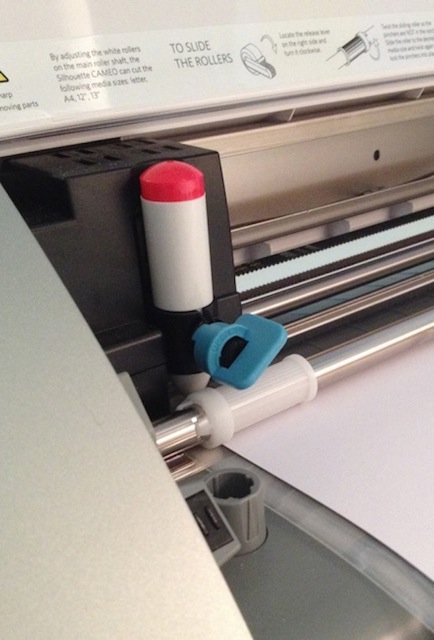
6.  Next, I loaded white paper into my silhouette cameo machine and removed the blade.  I replaced the blade with a red Silhouette sketch pen and locked it in place.  Then I made sure my cut settings were set to Silhouette Sketch Pens, and I clicked “Cut”.
7.  Here is an important step!  Once the sketch pen was finished drawing my lines, I didn’t remove or unload my paper.  The reason for this is because I want it to line up perfectly again when I go to cut the inside shape out of my tree.  So I left the paper loaded exactly as it was when it was finished, and went back to my software.
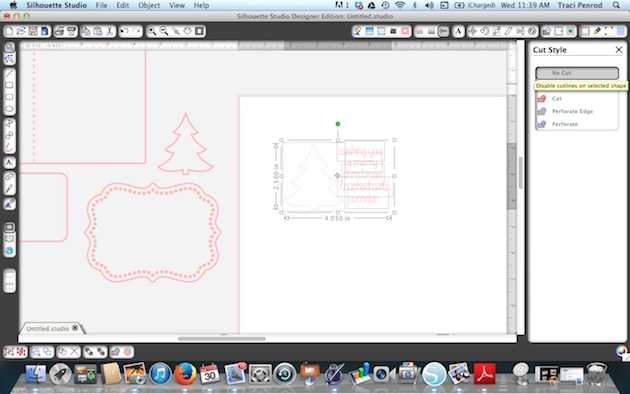
I highlighted everything that I had just sketched, and clicked on the Cut Style window.  I chose “No Cut” so that when I replaced my red pen with a blade, everything I just sketched didn’t get cut out.
8.  Next I moved my card shape (which IS highlighted to cut) and the inner part of my tree (which IS highlighted to cut) back in place. I made sure that I replaced my red pen with my cutting blade, adjusted the cut setting to card stock,  and hit the cut button again to tell my machine to cut out just those areas around my sketch.
9.  For the inside of my card, I repeated the steps above to create a personalized “sketched” message inside the card before I cut it out.
One last tip — I used a large needle to help thread my twine through the holes in the front of the card.
Thanks for stopping by today!  I hope I’ve given you a few new tips on using your sketch pens!