Don’t Miss Out on this Deal from Silhouette!

Just a reminder about the awesome deal that Silhouette is offering to my readers through April 15. You can get a Silhouette CAMEO® 3 + Mint for $269.99! In order to cash in on this awesome deal, SHOP HERE and use code LORI at checkout.
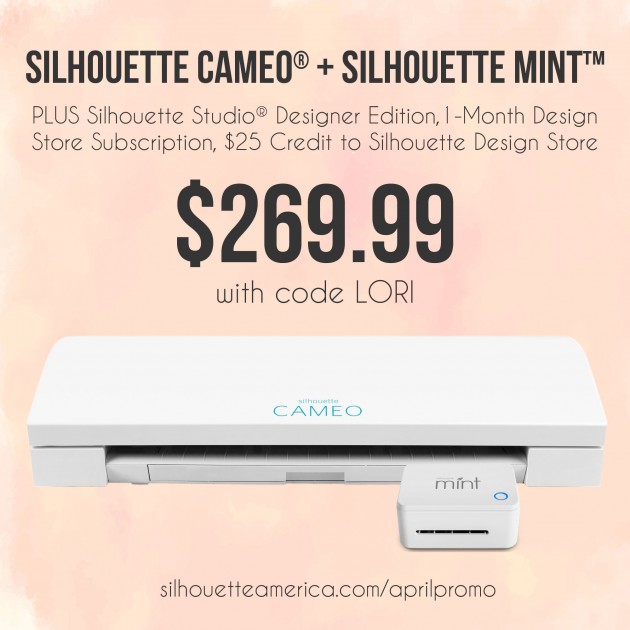
Here’s what you’ll get:

Silhouette CAMEO® 3

Includes the following accessories:

  • 12 in. x 12 in. Cutting Mat
  • AutoBlade
  • Crosscutter
  • 100 Exclusive Digital Designs
  • Power Cord and USB Cord

Silhouette Mint™

Includes the following accessories:

  • 15 mm x 60 mm Stamp Kit
  • 30 mm x 30 mm Stamp Kit
  • 4 Mint Inks (blue, yellow, red, and black)
  • 50 Exclusive Digital Designs
  • Power Cord and USB Cord

All Mint Stamp Kits come with 1 Stamp Sheet, 1 Stamp Mount, 1 Stamp Base, and 2 labels.

Silhouette Software

Includes the following:

  • Silhouette Studio® Designer Edition
  • Mint Studio™

1-Month Design Store Subscription

$25 Credit to Silhouette Design Store

Thank you Silhouette for making this awesome deal available to Lori Whitlock readers! Go check it HERE and be sure to use code LORI to get the discount.  Don’t wait, deal ends on April 15th!
Flower Pot Spring Cards

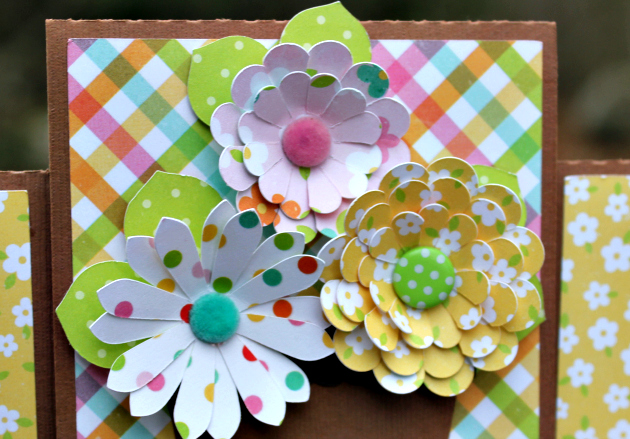
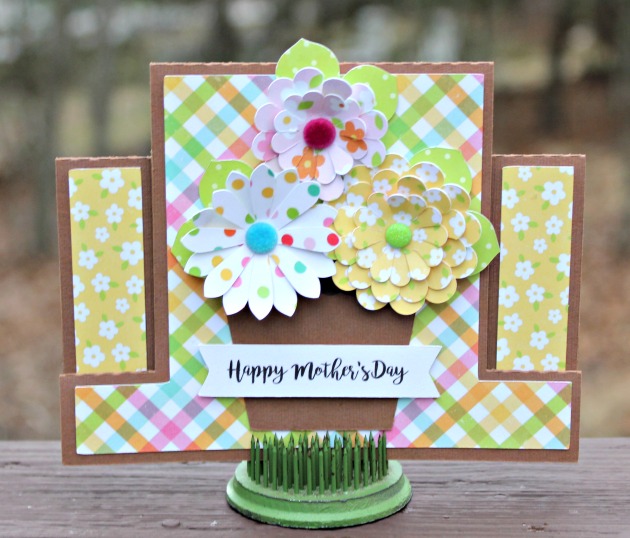
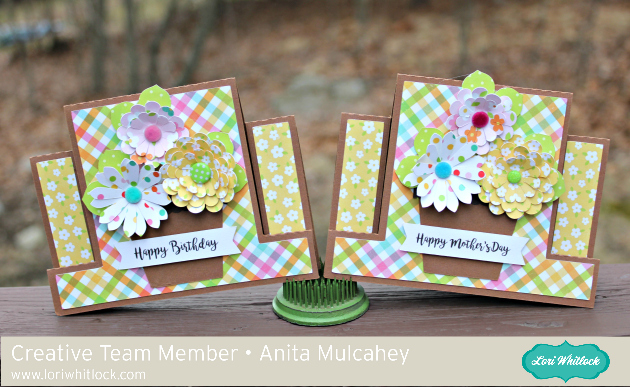
Anita here today with some lovely spring cards that Lori designed recently.  They are called A2 Center Step Card Flower Pot and you can find the cut files here in her store and here in the Silhouette Store.  This set comes with four different sentiments.  I made two and they are so easy to put together.  I used Lori Whitlock’s Celebrate Easter collection from Echo Park for this set.


Here are some close ups of the cards.  That’s it for me today.  Hope you have a chance to make something pretty today.

Hugs,

Anita

Fabulous New Deals from Fontbundles.net

Hi Everyone! Have you seen the fabulous new fonts deals from Fontbundles?

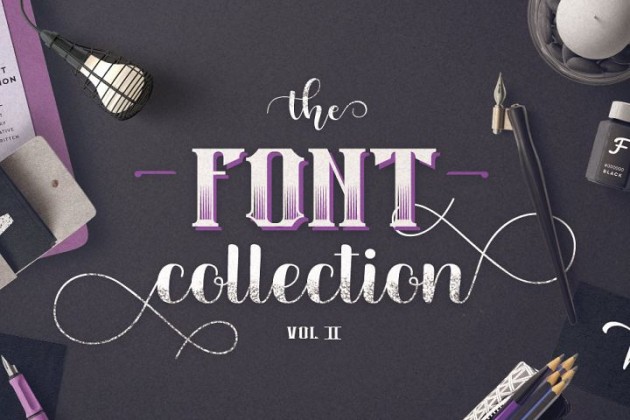
The Font Collection Volume II  has 40 fantastic and diverse fonts from some seriously talented designers.  The huge original price tag of $571 has been slashed 94% to $32 and is available for 4 more days!

If you are looking for a bundle which fits every project you are going to work on, now or in the future…. This is it!

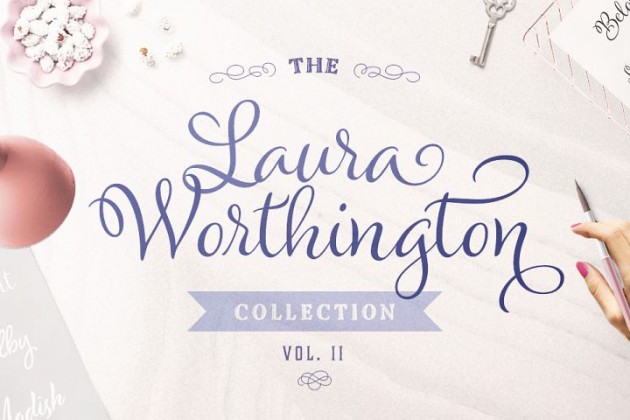
The next fabulous bundle, The Laura Worthington Collection Volume II is packed with 18 gorgeous fonts from 5 different font families for just over $1 each!


This bundle is available for just $19, a savings of $242!  That is 93% off the original price!  All fonts come PUA encoded with thousands of glyphs as you would expect from the diverse and ultra-talented Laura Worthington.  The bundle is only available for 5 more days so make sure you grab this before it expires and its gone forever!

Easter Bunny Buckets with Kathy

Hi Everyone!  It’s Kathy today with a tutorial showing how to create these adorable Easter Bunny Buckets.  I made these for my daughter and her college roommate because even the big kids like an Easter Basket!

I started with one of the bunny faces from the Easter Bunny Face Bundle   (here in the Silhouette Store).   I resized it to fit the bucket size.  To do this, I first measured the area of the bucket where the face would be placed.  I drew a square, using those measurements,  on my Silhouette mat, then layered the bunny face part over the square and dragged the corner down until the sizing was correct.  I then deleted the square.

Next, I ungrouped the pieces, and placed the face and whiskers pieces on my mat.  (I have them here twice because I made 2 buckets. )  I added strips of the vinyl to my mat, adjusted my cut settings and blade for vinyl cutting and cut these pieces.

Once I cut the face pieces, I started the process of adding them to my bucket.  First, I weeded out all of the “extra” pieces from my mat so that only my design remained.

Starting with one of the faces, I covered the design with a piece of transfer tape.  I ran my scraper tool over the design a few times to make sure the tape would stick to the vinyl.  I then peeled the tape off of the vinyl backing.  The face design stays with the tape.

Next, I centered the tape over the bucket where I wanted the face design.  I ran my scraper over the design a few times to help the vinyl attach to the bucket, then pulled the transfer tape off of the bucket.

I repeated these steps with the whiskers.  Once they were on the tape, I aligned them on the bucket to match up with the bunny’s “cheeks” and used my scraper tool to help adhere them to the bucket.

To finish the buckets, I cut the ears from cardstock and glued them to the inside rim of the basket.  I also added a 3D Bow (here in the Silhouette Store)  All that was left was to fill it with some treats!

I can’t wait to give these to the girls!  That’s it for me today, thanks for stopping by to peek!