I just returned from Japan, where our I attended Silhouette Summit 2025. This annual event, hosted by Silhouette, is where they unveil their newest product innovations. Traditionally held in Honolulu, Hawaii, the move to Japan was a refreshing change and created an unforgettable experience.
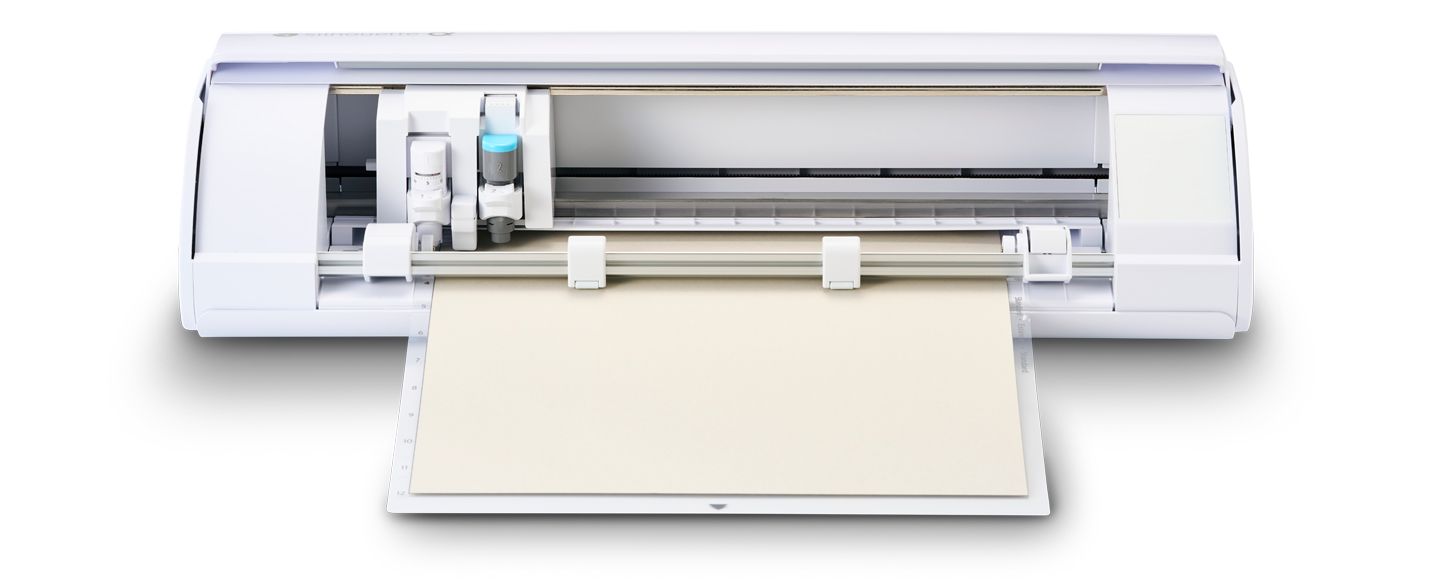
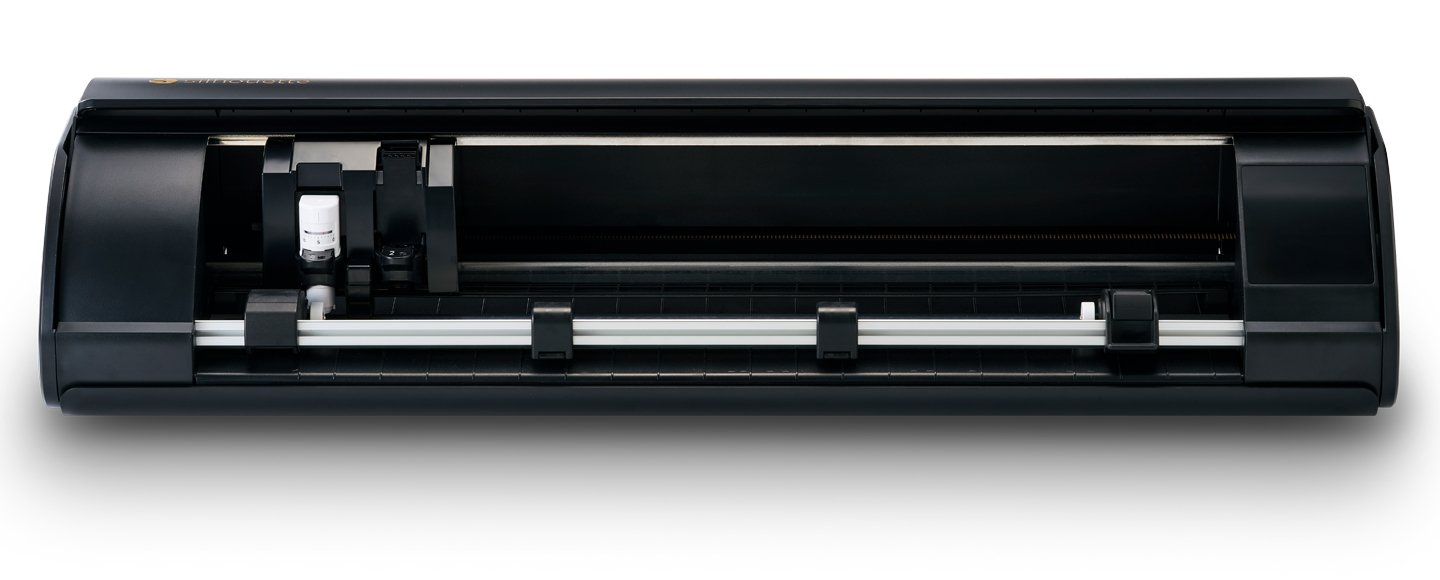
At this year’s summit, Silhouette announced exciting updates, including the new CAMEO5∝ (Alpha) and CAMEO5∝ PLUS, along with redesigned accessories like the Roll Feeder, Support Rollers Set, and Tool Kit. Each upgrade focuses on improving precision, usability, and efficiency—bringing even more possibilities to makers everywhere. Here’s a more detailed breakdown:
Hardware Announcements
CAMEO5∝ (Alpha)
• 4-point registration marks for more precise Print & Cut (exclusive to CAMEO5α & CAMEO Pro Mk-II).
• Electrostatic Mat Compatible, with adjustments to the internal structure that now supports materials up to 0.5mm thick on the existing ES Mat.
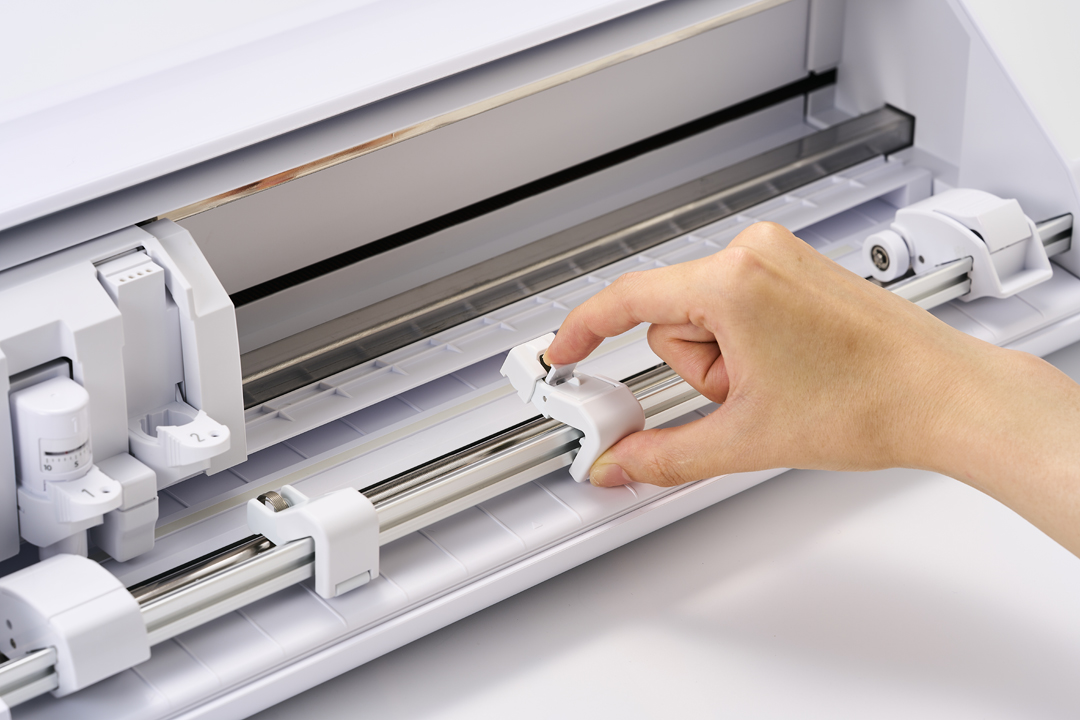
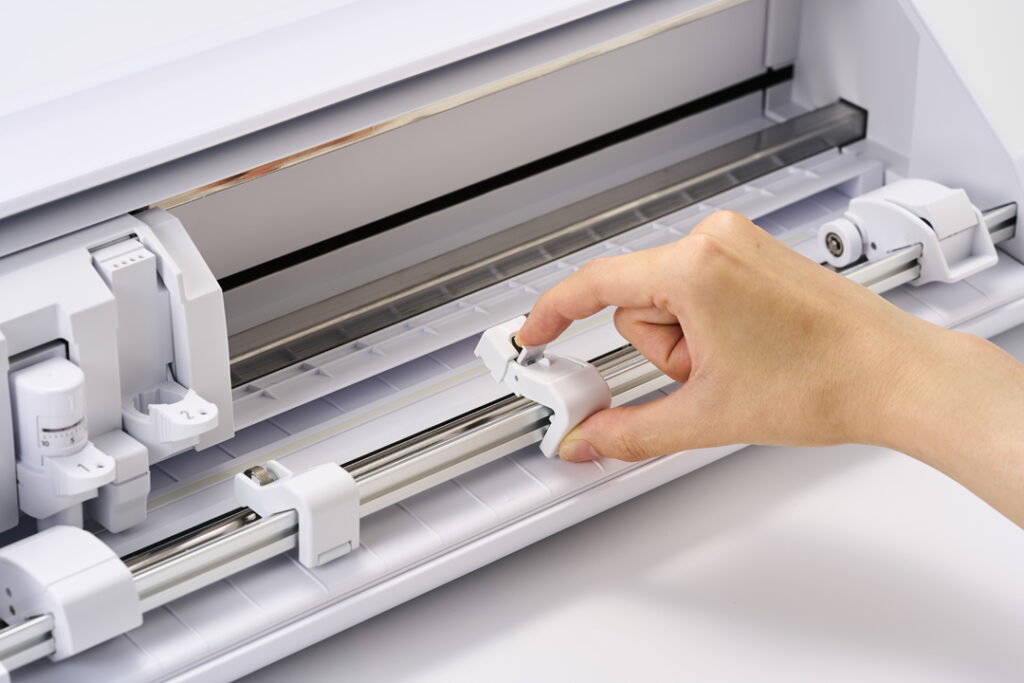
• Redesigned pinch rollers with better visibility for easier setup.
• Fast Sketch Mode to speed up sketch/drawing jobs.
• Retains improvements of CAMEO5: auto crosscutter, repeat job, quieter operation, emergency stop, material widths (5–12”), dual tool holder with powered carriage, IPT technology, etc.
• Available colors: white, matte black, matte pink, bianco carrara (availability may vary).
I think the price point on the Cameo5∝ is amazing! It’s regularly priced at $249. With my 5% discount code LORI, you can get it for $236.55. What an awesome deal!
CAMEO5∝ PLUS
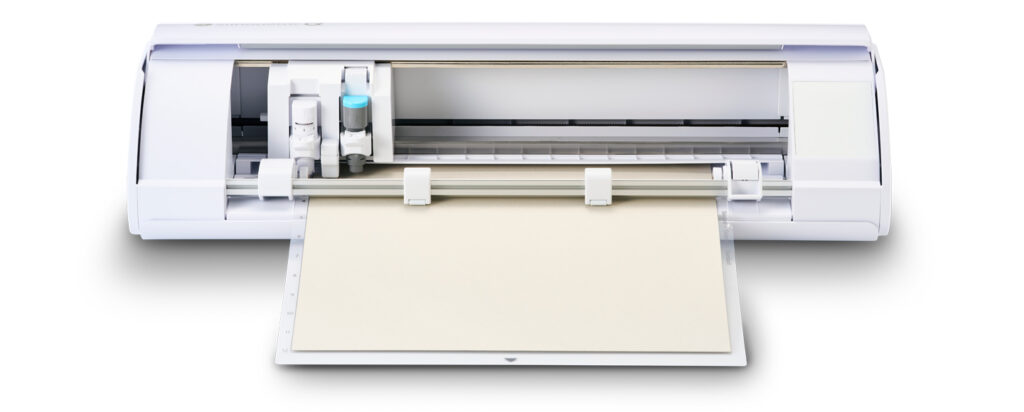
• Includes all features of CAMEO5α.
• Supports wider materials (5–15”).
• Adds Power Slide Lid (automatic opening/closing).
• Available in matte black.
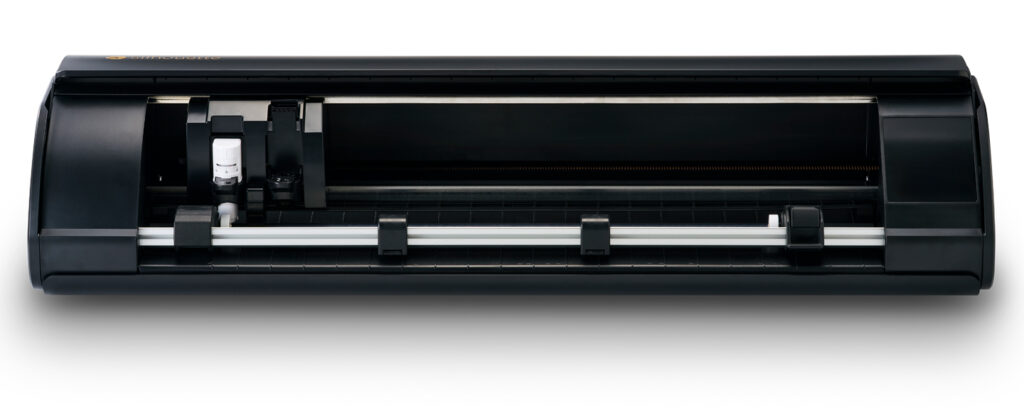
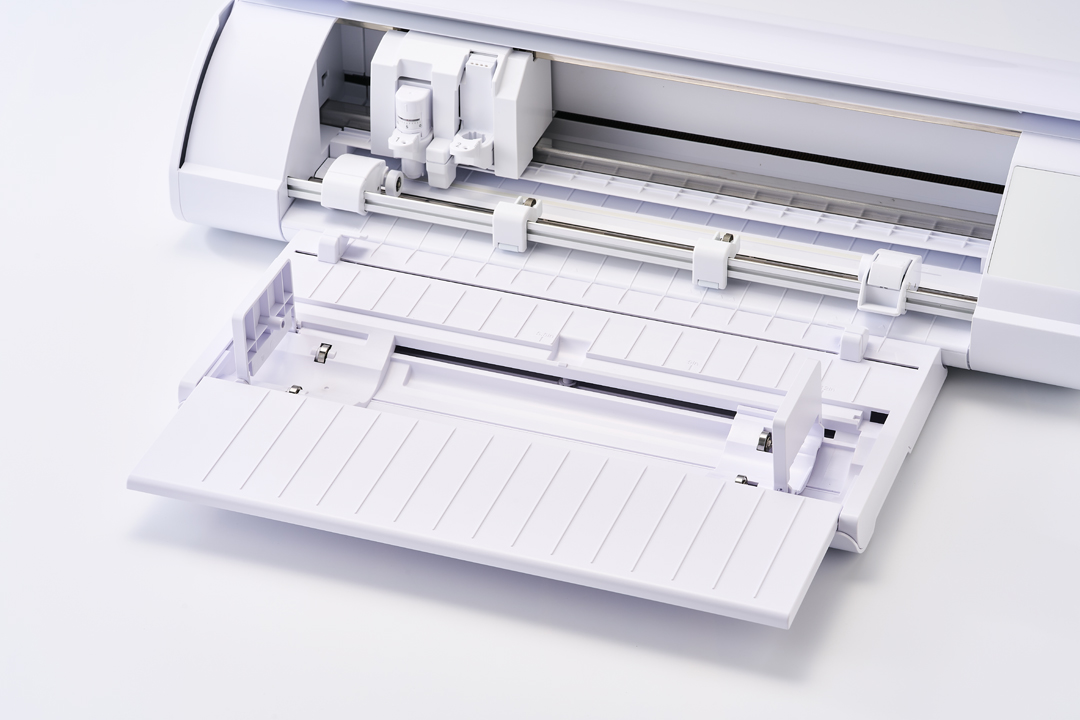
Roll Feeder (optional accessory)
• For feeding rolled materials (vinyl, HTV).
• Updated stabilizer design.
• Sizes: 12” white (CAMEO5 & 5α) and 15” black (CAMEO5 PLUS & 5α PLUS).
• Expected release: November 2025.
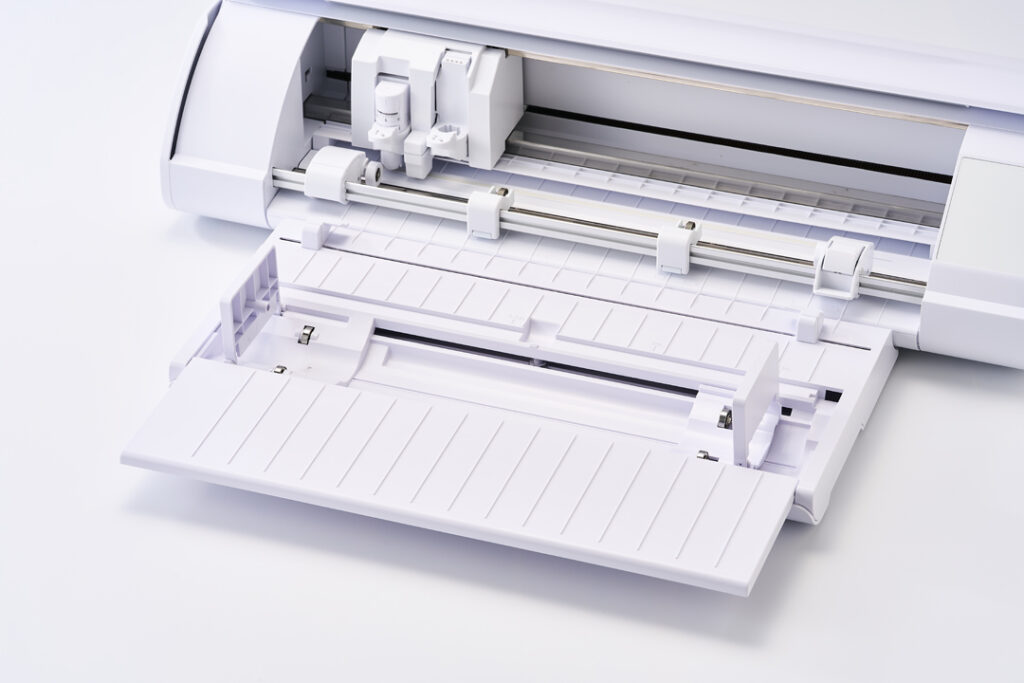
Support Rollers Set (optional)
• Helps prevent material lifting during feeding—ideal for long/delicate projects.
• Compatible with all CAMEO5 models and CAMEO Pro Mk-II.
• Available in white, matte black, matte pink (sets of 2).
• Expected release: November 2025.
Silhouette Tool Kit
• Includes: redesigned spatula, redesigned hook, new tweezers, redesigned 2-part scraper, Pick-Me-Up, and tool stand.
• Features: improved grips, ambidextrous use, smoother lifting, added handle holes.
• Individual tools will be sold separately, but only the kit includes the stand.
• Available in white.
• Expected release: November 2025.

Software Announcements
Silhouette Go 1.2 & Silhouette Web (2nd gen)
• Upgrade Licenses Now Work Everywhere
• Purchased licenses for Designer Edition, Designer Edition Plus, and Business Edition now unlock extra features not only in Silhouette Studio but also in Silhouette Go 1.2 and Silhouette Web (2nd Gen).
• One license = features activated across all three platforms.
• If you already own an upgrade, your features appear automatically.
Silhouette Go 1.2 (Mobile App)
• Designed for mobile cutting and flexibility. Some features overlap with Studio, but many are new to Go.
Basic Edition:
• Fill & Line Style floating menu
• Basic Shapes library
• Offset tool
• Modify shapes
• Simplify tool (reduce nodes)
• Specialty tool support (e.g., heat pen)
• Feature search
• Matrix test cut
Designer Edition:
• Free Transform Tool
• Quick Warp presets
• Import SVG files
• Floating Layers Menu
• Designer Edition Plus:
• Conical Warp (designs for cups, etc.)
Business Edition:
• Batch Cut (multiple roll copies)
• Remove Background
• Export (SVG, PNG, PDF, JPG)
• Scan Barcode (from Studio)
• Currently in beta; full release coming later this year.
Silhouette Web (2nd Gen, Browser-Based)
• Lets you design from any device via Chrome. Supports many Studio features but also introduces unique tools.
Basic Edition:
• Smart Snapping
• Brush Tool (freeform vector drawing)
• Smart Corner Radius
• Simplify (reduce nodes)
• Gradients & Patterns
• Transform & Replicate tools
• Image Effects
• Layout Lens (live design preview with camera)
• Matrix test cut
Designer Edition:
• Brush Library
• Free Transform Tool
• Warp presets
• Transfer Properties Eyedropper
• Import SVG files
• Layers management
• Lasso Selection
Designer Edition Plus:
• Full Brush Slider Support (size, tilt, velocity, etc.)
• Conical Warp
Business Edition:
• Batch Cut
• Advanced Brush Curve Controls
• Remove Background
• Export (SVG, PNG, PDF, JPG)
• Scan Barcode
• Currently in beta; release later this year.
Compatibility
Both Silhouette Go 1.2 and Silhouette Web (2nd Gen) work with all Bluetooth-enabled Silhouette machines, including:
CAMEO3, CAMEO4 Series, CAMEO PRO Mk-II, CAMEO5 Series, CAMEO5α Series, Portrait 2, 3, 4, and CURIO2.
👉 In short, at Silhouette Summit 2025 in Japan, Silhouette revealed exciting hardware updates with the new CAMEO5∝ series and practical new accessories like the Roll Feeder, Support Rollers, and Tool Kit to enhance cutting precision and usability. Just as importantly, Silhouette expanded software flexibility—now a single upgrade license unlocks premium features across Silhouette Studio, Silhouette Go, and Silhouette Web, giving makers access to professional tools whether designing on desktop, mobile, or in a browser.
Have a great day!
Lori