3D Halloween House Bundle

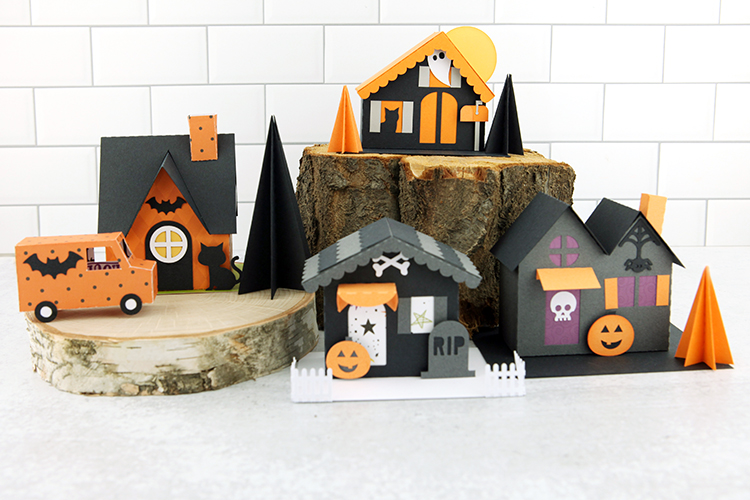
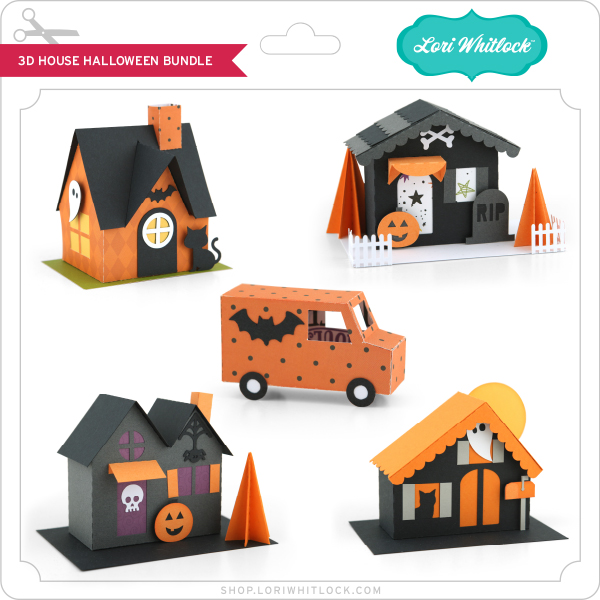
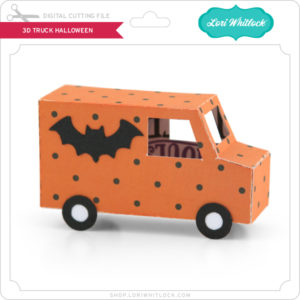
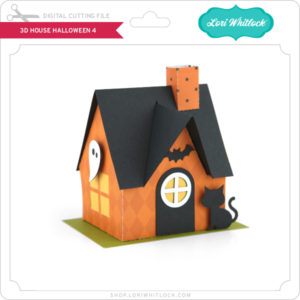
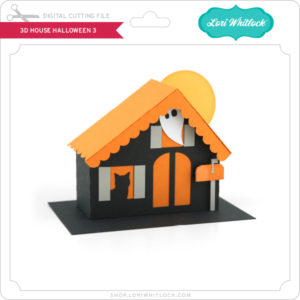
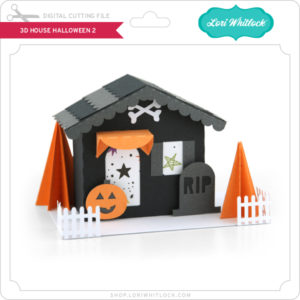
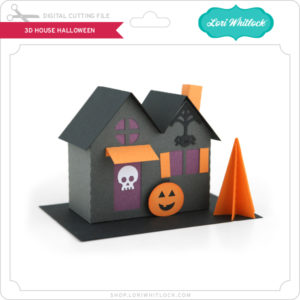
Have you seen the new 3D House Halloween Bundle?  It’s a Halloween version of the fun little house sets I’ve done for other seasons/holidays!  There are 4 cute little houses and a truck.  Take a peek…

3D Truck Halloween (SVG, Silhouette) tutorial
3D House Halloween 4  (SVG, Silhouette) tutorial
3D House Halloween 3 (back)  (SVG, Silhouette) tutorial
3D House Halloween 2  (SVG, Silhouettetutorial
2D House Halloween  (SVG, Silhouette) tutorial

This would look so cute on a mantel or as a table decoration!  Just add spiderwebs!  These houses are 25% off through Sunday, so don’t miss out.  It’s the perfect time to start your Halloween crafting!

Have a great day!

Lori

Fall Stationery Box Tutorial

Hi there paper crafting friends!  It’s Michelle Starcher, aka the Bookish Designer, hopping onto the blog to walk you through the steps to create Lori’s Stationery Box 2 (SVGSilhouette).  This stationery set includes places to store your A2 cards and envelopes along with tags.  You can customize this box, so you will probably want to make more than one to store your cards for different occasions. All the pieces are 8.5×11 compatible, and there are two tag shapes and an A2 card base included in the file.

In this photo tutorial, I will break down the steps to create the Stationery Box 2.  I wanted a place to store my fall themed cards, so I used burnt orange cardstock for all of the base pieces.  I used accents and a plaid pattern paper from Lori’s collection, A Perfect Autumn, to finish out the fall theme.  The file includes everything you need to complete the stationery box, along with files for cards and tags.

In the cut files, you will find two small rectangles and a base piece that has three stacked rectangles with tabs.  These are used to assemble the lid for the stationery box.  Before you assemble the lid, adhere the two small pattern pieces to the small cardstock rectangles as shown.  Next, fold along all of the score lines and add adhesive to the tabs of the lid base.  The small rectangle pieces will be used to form the sides of the box lid and hold everything together.  (Although not shown in the picture, I recommend attaching the other pattern pieces to your box lid before you assemble the lid. You should have three patterned rectangle pieces: two for the front and back,  and one, slightly narrower piece, for the top of the lid.)

To assemble the lid, you will fold along the score lines and attach the tabs to the sides of the small rectangle pieces.   Make sure your rectangle is lined up correctly with the longer sides attaching to the longer tabs of the lid’s base.  I recommend starting from the outside and working your way in as shown in the image below.

To assemble each of the base pieces, fold along the score lines and add adhesive tape to the tabs.  Fold in the tabs to create a box shape.  The four base pieces will be used to form individual boxes that will create sections inside the stationery box.  You will create two boxes for tags, one for cards, and one for envelopes.  The tag and card boxes will be taller in the back than in the front when assembled (see example below).  The envelope box will be the same height in the front and the back.  The image below shows one of the tag boxes with adhesive tape on the tabs and one assembled.  Adhere the small tabs first to create a base for your box.  Then fold and adhere the front to complete the box.

To assemble the stationery box, you will glue the base pieces together.  First, adhere the card box to the envelope box with the shorter side of the card box in front.  Next, add the tag boxes to the front of the card box, with the shorter sides of the tags boxes in the front.  The image below shows the stationery box with one of the tag boxes adhered to the rest of the stationery box.

Once you have joined all of the individual boxes, you will use the remaining cardstock pieces to hide the joints of your assembled box pieces.  There are two rectangles, one for the front and one for the bottom.  In addition, there are two staircase pieces that will be used on the sides of the stationery box. Using the adhesive of your choice, attach the cardstock pieces to the appropriate side of the box.

Finally, decorate the outside of your box.  Then add cards, envelopes, and tags to the inside.

Don’t forget you can make multiples of the Stationery Box 2 to hold cards for different occasions. Plus, you can make one, fill it with handmade cards and tags, and give it away as a gift.  Well, that’s all for me today.  I am off to make some cute fall-themed cards and tags to fill up my box:)

Until next time,

Michelle


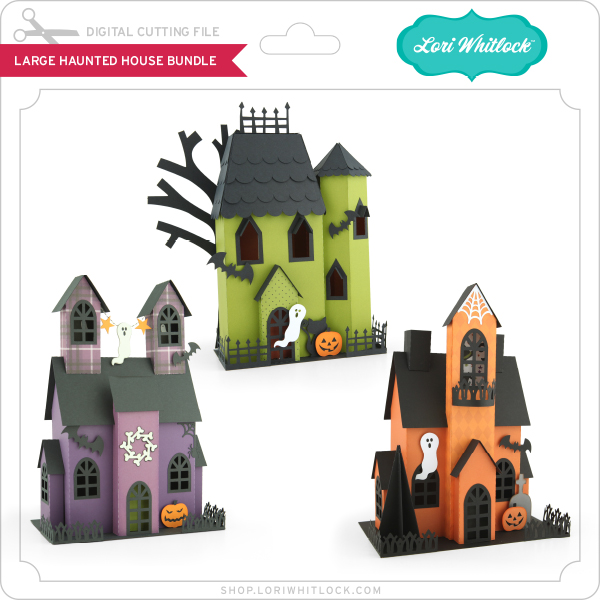
New Large Haunted House Bundle
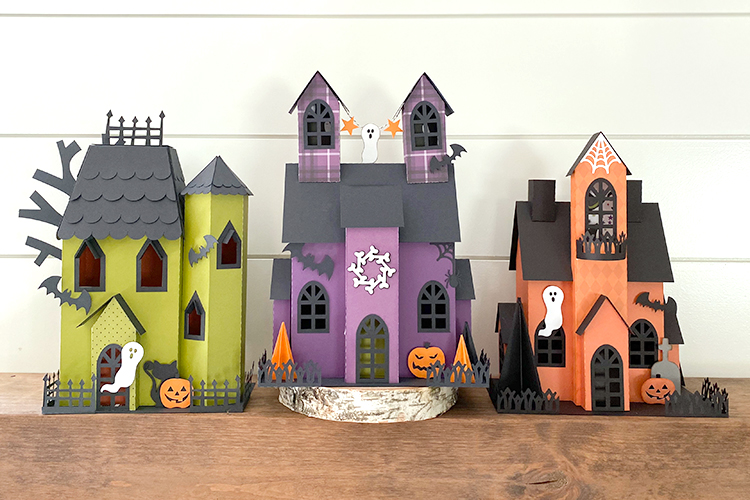
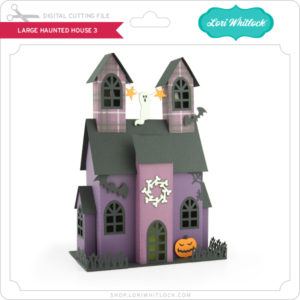
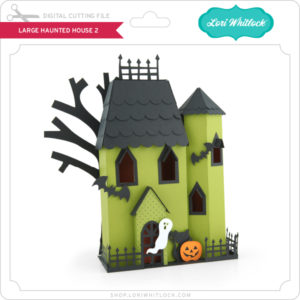
If you’re looking for some fun and “not-so-spooky” décor for Halloween check out the new Large Haunted House Bundle in the shop this week!  There are 3 houses, each more fun than the next!  Take a peek…
Large Haunted House 2 (SVG, Silhouette)  Dimensions: 12″h x 7.5″w “x 4″d
Large Haunted House 3 (SVG, Silhouette)  Dimensions:  12″h x 8.5″w “x 5″d
Large Haunted House  (SVG, Silhouette)  Dimensions:  11″h x 8.5″w “x 5″d

I have a tutorial for the Large Haunted House here.  Tutorials for numbers 2 & 3 are in the works, and can be found on my YouTube Channel here when done.  These would make great party decorations!  If you make any of the houses, be sure to tag @loriwhitlock on Facebook and Instagram.  We always love to see what you create!

Have a great day!

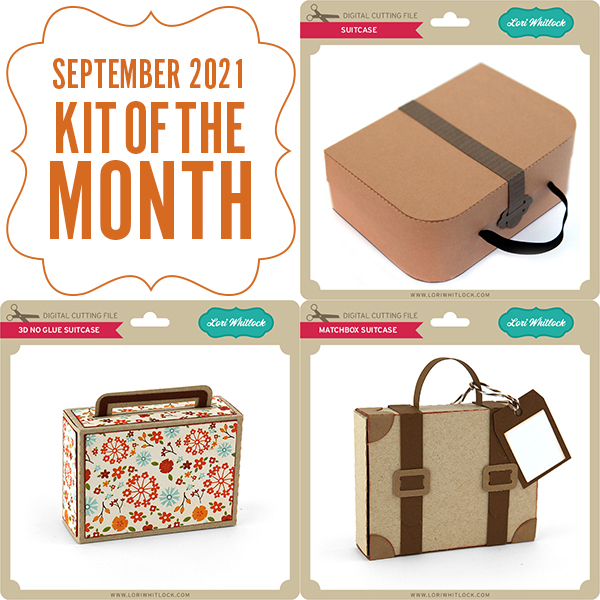
September Kit of the Month

We have a brand new special for the entire month of September! You can get this Free Kit of the Month with any $20 purchase (Purchase must be in one transaction.) Simply add the 2021 September Kit of the Month to your shopping cart along with ANY $20.00+ purchase from the SVG Shop and this file is yours FREE. Be sure to use Coupon Code: SEP21KOTM (case sensitive) at checkout. This offer is good through September 30, 2021.


(Your cart must reach at least $27.95 before the coupon will be applied and then $7.95 will be subtracted from your total at checkout. The files will be available for immediate download after you pay for your order by visiting MY ACCOUNT>COMPLETED ORDERS>ORDER DETAILS inside of your account. Only one discount code per order allowed.)

(These downloads include SVG files that may be used with Cricut Explore, Silhouette (Designer Edition upgrade required), Eclips, Brother Scan and Cut, and any other software that will open SVG files.)

Thanks for visiting the blog today! Please let us know if you need any help with your files. We want to make sure everyone is happy with their purchase. Have a great day!


Tuesday New SVGs & a Free File!

ALL WEEK, this SVG file is FREE with any $1.99 purchase!

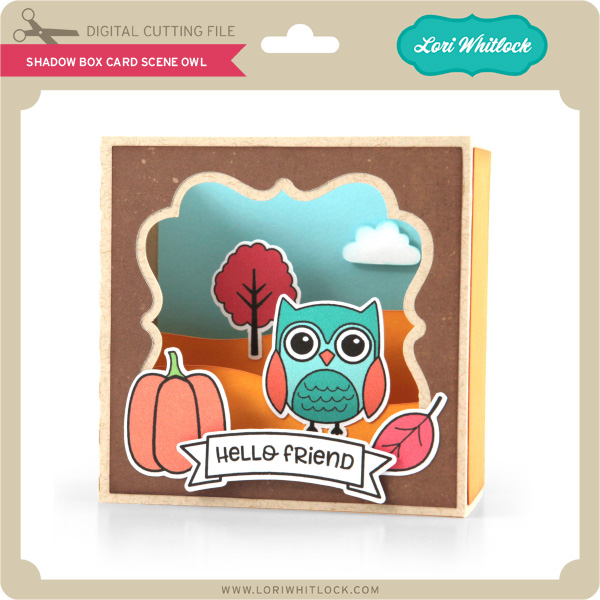
Hi Everyone! We have a FREE file with purchase all this week! Simply add this Shadow Box Card Scene Owl file to your shopping cart along with ANY $1.99+ purchase from the SVG Shop and this file is yours FREE. Be sure to use Coupon Code: HOOTHOOT (case sensitive) at checkout. This offer is good through next Sunday.

(Your cart must reach at least $3.98 before the coupon will be applied and then $1.99 will be subtracted from your total at checkout. The files will be available for immediate download after you pay for your order by visiting MY ACCOUNT>COMPLETED ORDERS>ORDER DETAILS inside of your account. Only one discount code per order allowed.)


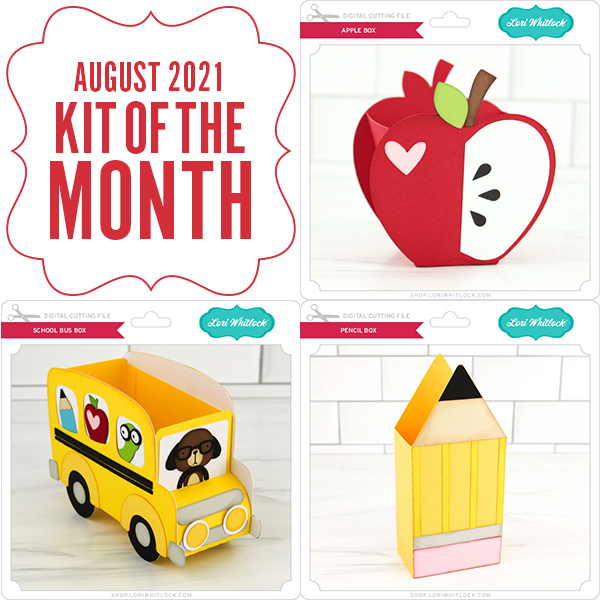
In addition, don’t forget about this special ! You can get this Free Kit of the Month with any $20 purchase (Purchase must be in one transaction.) Simply add the 2021 August Kit of the Month to your shopping cart along with ANY $20.00+ purchase from the SVG Shop and this file is yours FREE. Be sure to use Coupon Code:AUG21KOTM (case sensitive) at checkout. This offer is good through August 31, 2021.

(Your cart must reach at least $27.95 before the coupon will be applied and then $7.95 will be subtracted from your total at checkout. The files will be available for immediate download after you pay for your order by visiting MY ACCOUNT>COMPLETED ORDERS>ORDER DETAILS inside of your account. Only one discount code per order allowed.)

Check out the new SVG files releasing this week!  Just like always, the NEW SVG files will be ON SALE 25% OFF through the weekend in the SVG Shop! These downloads include SVG files that may be used with Cricut Explore, Silhouette (Designer Edition upgrade required), Eclips, Brother Scan and Cut, and any other software that will open SVG files. No coupon code necessary, the newly released files are all discounted in the shop! Be sure to go get them while they are on SALE this week.

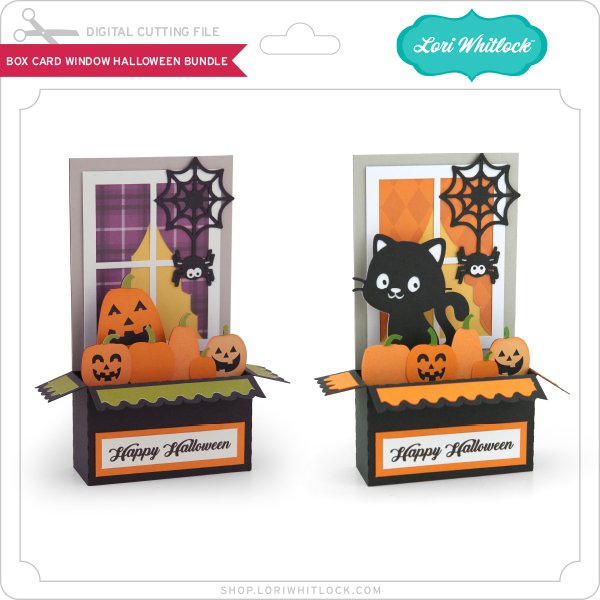
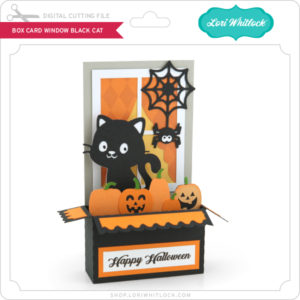
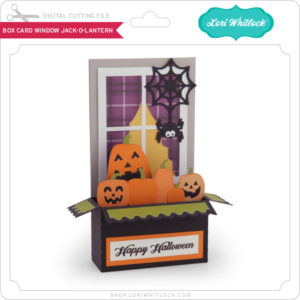
This week I have three new Bundles, a Large Haunted House Bundle, a 3D House Halloween Bundle and a Box Card Window Halloween Bundle.  In addition we have files from Bella Blvd. and Paige Evans.

CLICK HERE TO GO TO NEW FILES


Thanks for visiting the blog today! Please let us know if you need any help with your files. We want to make sure everyone is happy with their purchase. Have a great week! SHOP HERE