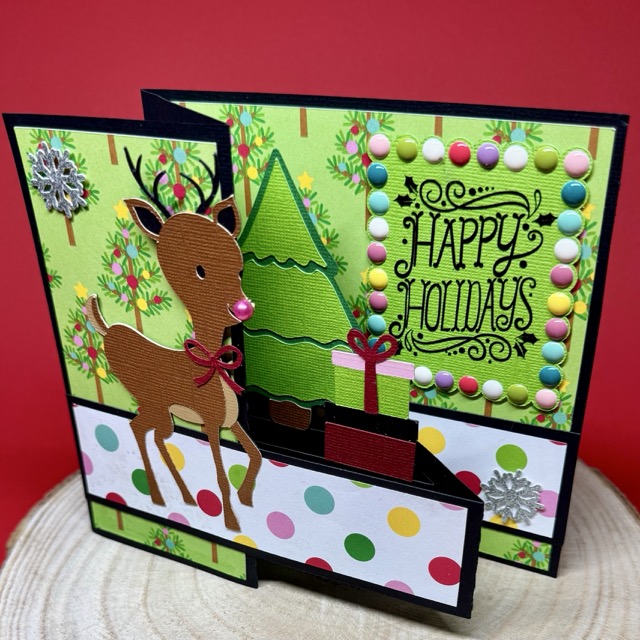
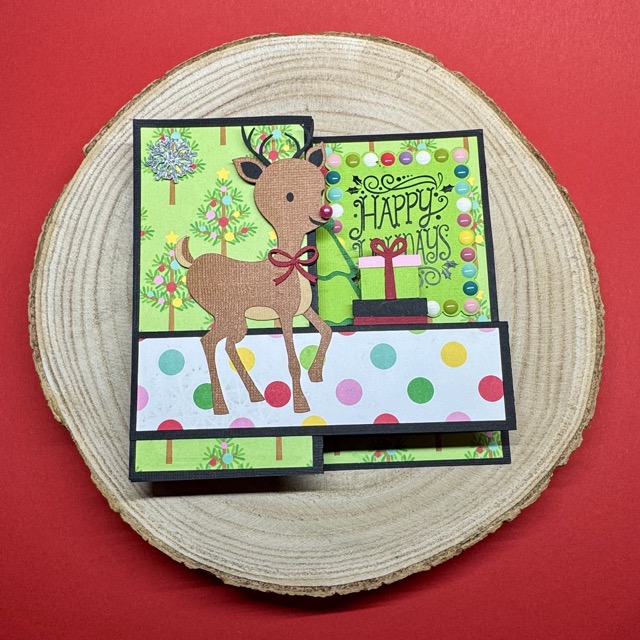
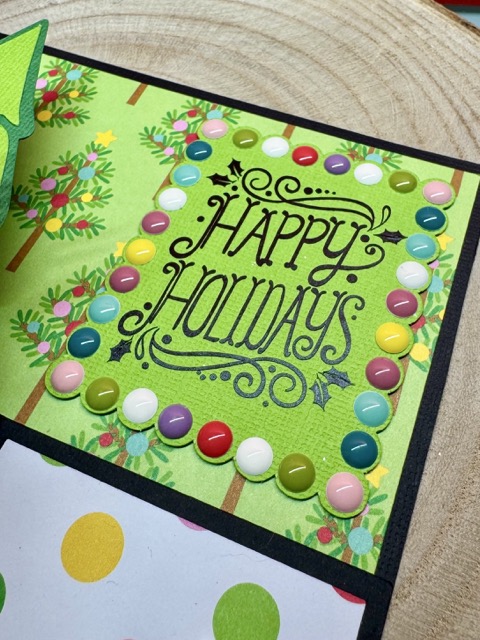
3D Christmas Barn
Hi everyone! Welcome to the Christmas crafting season and Wow does Lori have tons and tons of new files to create with. I fell in love with this little barn the moment she posted it. You can find it here in Lori’s Shop or here in the Silhouette Design Store
I used Lori’s new Echo Park Winter Fun Bundle. I adore this collection with the blues and pinks and all the adorable little details…the snowmen, the little bear, fox and so many fun elements. It is just so perfect.
3D Hot Cocoa Mug Santa
Hello crafty friends!
Today I’m excited to share a festive 3D project that is perfect for holiday decorating, gifting, or displaying on a cozy winter tray. I’ll be walking you through how I assembled the adorable 3D Hot Cocoa Mug – Santa file from Lori Whitlock’s shop. It’s a fun and simple project that comes together beautifully with just a few supplies.
Let’s get started!
Supplies Needed
-
3D Hot Cocoa Mug – Santa SVG file SVG / SVG BUNDLE or SILHOUETTE

-
Electronic cutting machine (Cricut, Silhouette, Siser etc.)
-
Cardstock in red, white, black, skin tone, and accent colors or design paper.
-
Adhesive (liquid glue or tape runner)
-
Foam tape (optional for dimension)
-
Ink or markers for light shading (optional)
Step 1: Upload & Organize the File
After downloading the SVG from the shop, I uploaded it into my cutting software.
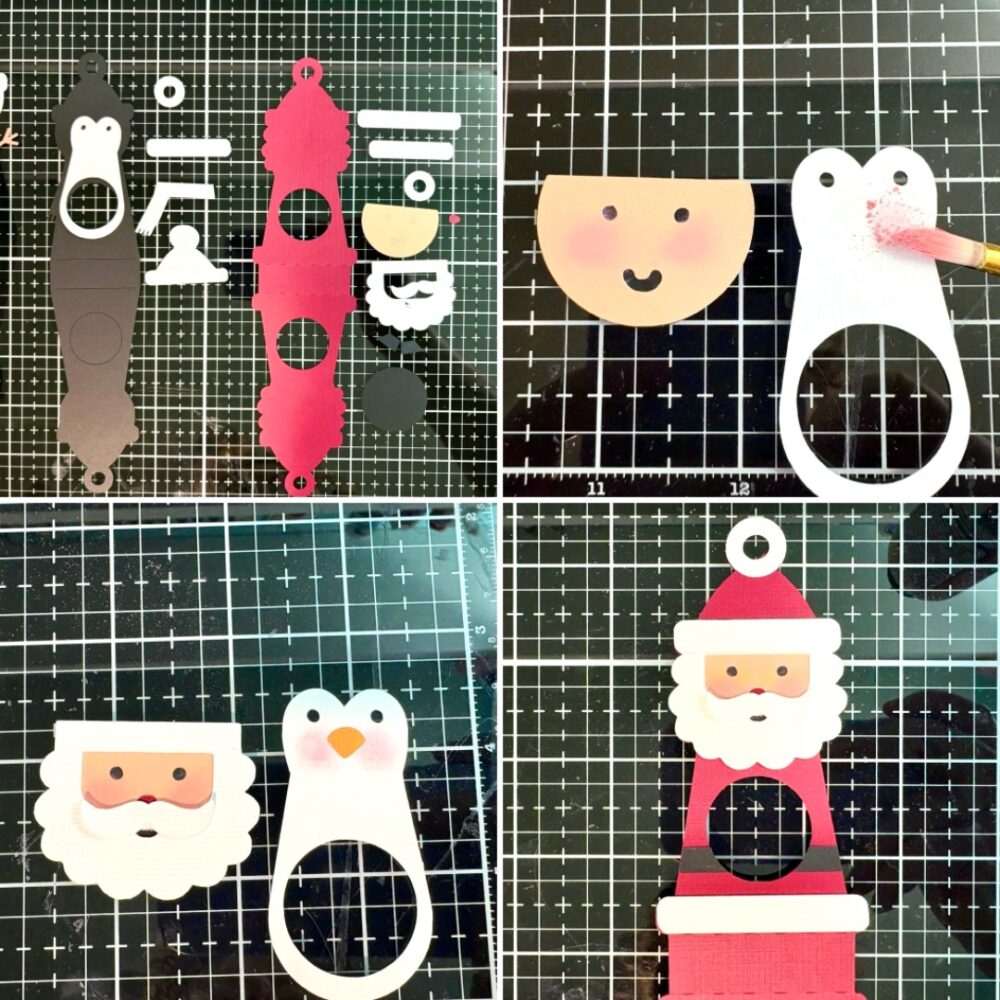
The file comes in clearly labeled pieces, so I grouped by color to make cutting easier:
Step 2: Cut All Cardstock Pieces
I selected cardstock colors that matched the traditional Santa palette:
-
Bright red for the hat, berries and saucer
-
Black for the eyes
-
design paper voor de mug
-
Skin tone for Santa’s face
-
White for beard, moustache, and whipped cream
- green for the leaves on the hat

After cutting, I grouped all the small Santa pieces so nothing got lost.
Step 3: Build the Mug Base
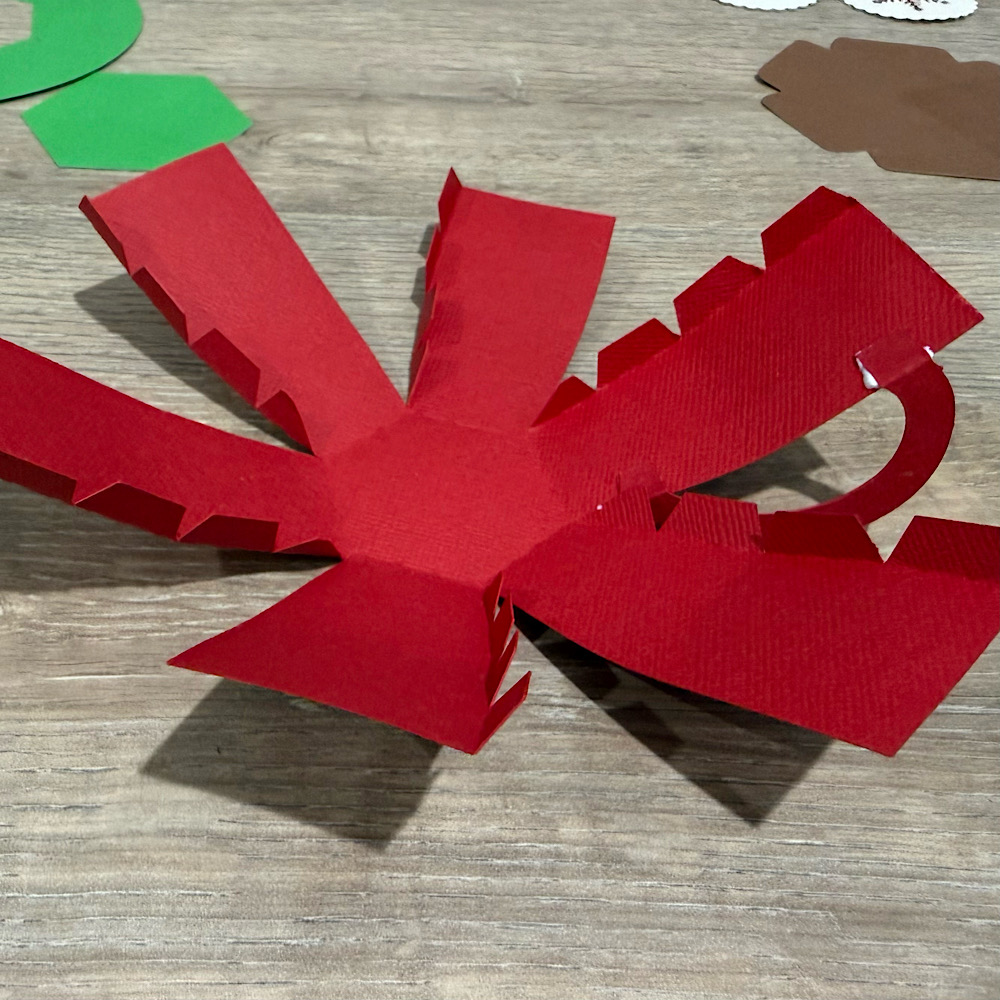
The mug structure is made from designpaper.
-
Fold all score lines to give the cardstock flexibility.
-
Add ink for shades.

-
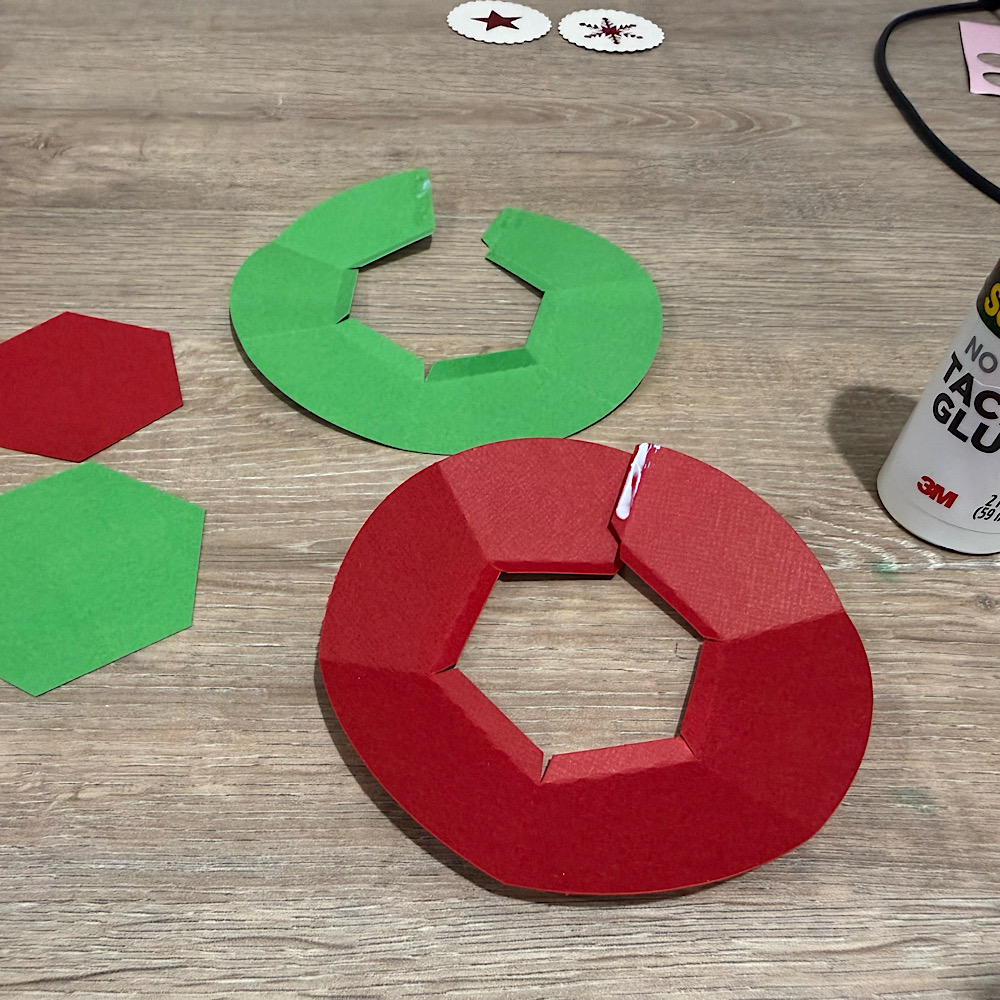
Form the mug into a cylinder shape and the glue tabs together.
-
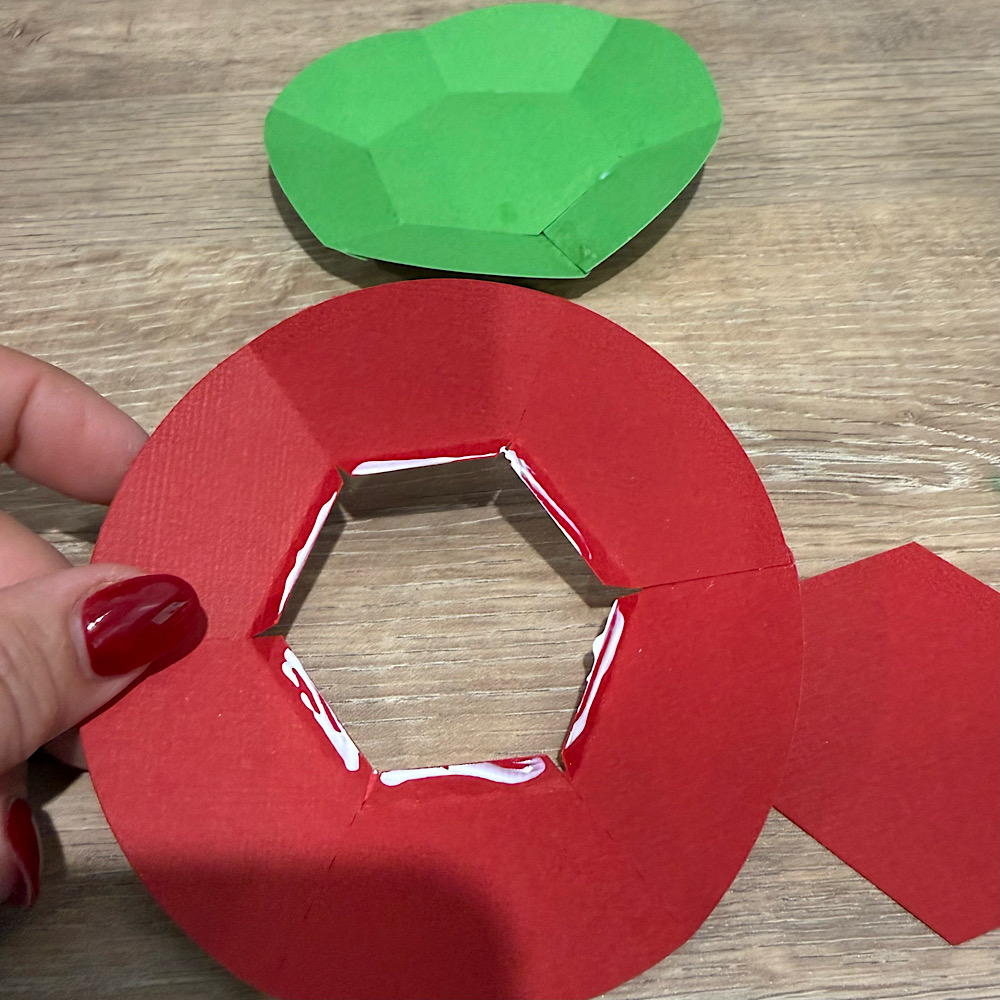
Glue together the circular base piece (saucer).

The structure comes together surprisingly easily—just take your time with the curved edges.
Step 4: Assemble Santa’s Face

I always start with inking the edges for shade

-
Glue the face layer with the black piece behind it in the hole in Santa’s beard.
-
Attach the moustache with foam tape on top.

-
Add the hat and pom-pom.
This layered section gives the mug its adorable Santa look and is best assembled while the pieces are flat.
Step 5: Attach the Handle
The mug handle is made from two layered pieces for stability.
-
Glue the handle layers together.
-
Curve it gently with your fingers.
-
Attach it to the mug.
A good tip is to hold each glued area for a few seconds to help it set firmly.
Step 6: Add the Cocoa & Whipped Cream Top
To create the “hot cocoa” look:
-
Glue the cocoa layer into the rim of the mug.
-
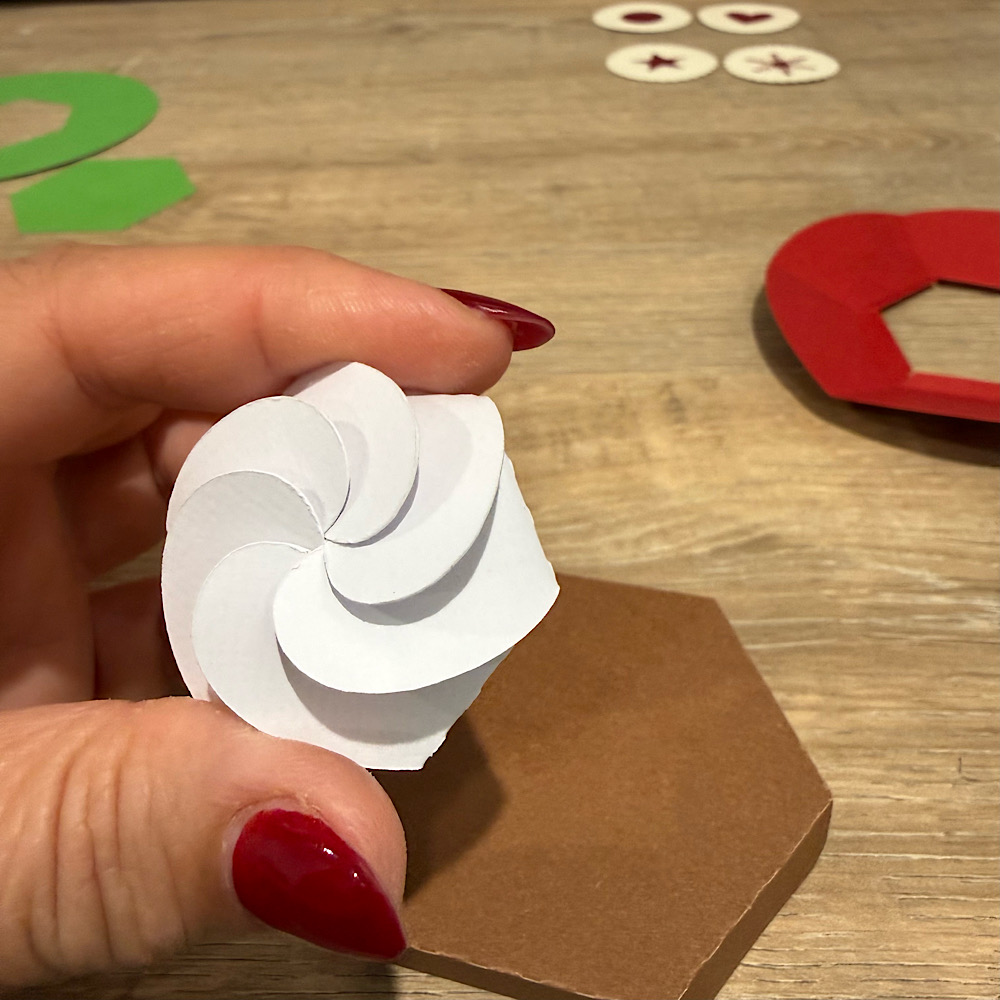
Add the whipped cream layer on top.

I used glue under the whipped cream to attach it.
Finished Project

And that’s it! Your whimsical 3D Santa Hot Cocoa Mug is complete. It looks adorable on a Christmas shelf, or you can fill it with wrapped candies or a small LED tealight for a cozy glow.
I am going to add some chocolate inside the mug and gift it to my youngest sons teachers.
I hope this tutorial helps you feel confident assembling your own festive mug. Happy crafting, and be sure to check out Lori’s shop for more holiday 3D projects!
XO Tamara
Miniature Christmas House Craft
Hi there friends!
Today I am sharing a cute snow globe craft I put together with the Miniature Christmas House for Snowglobe (SVG, Silhouette). This project is perfect for a kid’s craft. It uses very few supplies, comes together quick and is very lightweight. It also makes a darling Christmas or Winter decoration. I used papers and stickers from the Winter Fun collection by Echo Park Paper. I found the DIY snow globe and fake snow at the dollar store a few years ago but they are also available on Amazon.


Thanks for stopping by today and happy crafting!
Brandie
Canning Jar Label Tutorial
Hello friends!
I plant a large garden every year and then every fall I do a lot of canning. As you remember I did a cute tutorial awhile back for a canning jar box and so I thought I would elaborate on the way I use my Cricut with my canning. For everything I can, I made labels for the lids so I thought I would share how I do that.
First, I went and downloaded the Circle 1 Dingbats Font (Silhouette) [you could also use Circle 2 Dingats Font (Silhouette)] and install it on my computer.
I then open a new project on my Cricut and add a circle shape. 2.4 inches for wide mouth and 2 inches for regular mouth. I also like to turn the color to a light color so I can see my dingbat over top.
Then I add text and change my font to LW Circle 1 Dingbats. I selected the letter E for my dingbat.
I then shrink my dingbat down to fit within my circle. This ended up being 1.845 x 1.868 on a regular mouth sized label.
Then I change my Operation from basic cut to pen. I use the .4 mm fine point pen.
I will add the year as well. Once I have everything on my label and laid out how I want it, and everything except the circle (shown in pink) is changed to pen, I select the entire label, circle, words, dingbat, and on the bottom right, I click “attach”.
This keeps everything in place on the label when cutting and drawing the label.
At this point, you can select the label you have created and copy and paste it to make more of that same label. You can also copy and paste it and increase or decrease the size the make both regular mouth and wide mouth labels.
If you would rather have a cute label for the jar instead of the lid, the Label Shape Bundles 1-5 would make great jar labels (instead of using the circle). I also used the Mason Jar Dingbats on the label from the labels shape bundle below.
This is what it looks like all drawn and cut and on my jars.