30% Off SVG Files Ends Tomorrow!

Are you crafting this weekend?  Maybe making some back to school projects?  Don’t miss out on the October Sale in the Lori Whitlock SVG Shop! All SVGs, Fonts, Pattern Fills and Commercial Licenses are 30% off when you use code OCT2021 at checkout! Don’t wait! Sale ends tomorrow!


It’s the perfect time to get started on your holiday cards!

Side Step Christmas Card Bundle
Window Flip Card Christmas Bundle

Have a great day!

Harvest Layout – Creating a Lettering Template Tutorial

Happy Fall to everyone, but it is now winter in South Dakota…we got quite a bit of heavy snow and rain last night.  Yuck.  Fall never lasts long enough for me and winter comes way too soon.  I have an easy layout showcasing Fall and trendy red trucks, to share with you today.  I love to take Lori’s sign-type files and turn them into layouts.  I just love the look of these SVG’s and most of the times they are created for a project with vinyl, I like to do a traditional layout with them.

I started with the Harvest Blessings SVG file in Lori’s shop or you can find it here in the Silhouette Design Store.  I just centered it to my Silhouette mat and kept the sizing.

I cut the design from plain white card stock.  I use this as my mask or stencil to line up my letters perfectly.  It’s almost impossible to line up the letters with out the template, so that’s why I started cutting these, it helps keep everything straight!

Next, I cut all the pieces that I wanted in different colors of cardstock.  I didn’t use them all, as I added a photo, other patterned papers and embellishments.

I  laid my template over the background paper of my layout and began gluing the letters and other pieces.  You can see how I started here.

Here’s my finished layout with my perfectly aligned letters. I used Echo Park Paper’s Farmer’s Market Collection . I love using these designs to create layouts.


Window Flip Card Halloween Bundle

Need some fun cards for Halloween?  Check out the new Window Flip Card Halloween Bundle.  There are 4 different designs, each cuter than then next!  On the outside you get a fun design, which pops up into the inside of the card when opened.  Take a peek…

Window Flip Card Halloween Cat (SVG, Silhouette – Coming Soon)


Window Flip Card Halloween Gnome (SVG, Silhouette – Coming Soon)

Window Flip Card Haunted House (SVG, Silhouette – Coming Soon)

Window Flip Card Witch (SVG, Silhouette – Coming Soon)

These cards fold flat for mailing and fit into a standard A2 Envelope, and are super easy to assemble.  For help with assembly, see this post here.

And don’t forget, all SVG Files are 30% off through Saturday when you use code OCT2021 at checkout, so it’s the perfect time to stock up on your holiday files!

Have a great day!

October Blog Hop + 30% Off SVG Files + A Free File!

Welcome to our October 2021 Creative Team Blog Hop!  The creative team has been working hard on some new projects to share with you that will get you in the crafting mood. We also have a fun release of new SVG files for you this week and a GIVEAWAY! Be sure to check them out below. Oh, and there is also a FREE FILE for you!

This week we have a 30% OFF SALE going on at Lori’s SVG SHOP.  ALL files (and commercial licenses) from Lori Whitlock, Kolette Hall, Doodlebug Design, Bella Blvd., Jillibean Soup, Dresden Carrie, Paige Evans, Pebbles in My Pocket, Quietfire, Rivka’s Renditions and SAS Creative are on SALE now through Saturday, October 16th ! Be sure to use coupon code: OCT2021 (case sensitive) at checkout in the SVG SHOP. (Only one coupon code per order allowed)


To thank you for joining us in the hop today and sharing the hop with your friends, we have a gift for you! TODAY ONLY, You can download this Ghost Town Ghost in Pumpkin file absolutely FREE! Be sure to go grab it while you can.

We have some fun new files this week! Be sure to go shopping while all files are 30% off this week when you use code OCT2021 in my SVG Shop!  And, as always, my new files are available in the Silhouette Design Store as well.

This week I have three new Window Flip Card Bundles.  We also have new files from Bella Blvd, Dresden Carrie, Pebbles in My Pocket and Quietfire.

CLICK HERE TO SEE NEW FILES

How about a giveaway?


a Rafflecopter giveaway

And, last but not least… would you like to see what our amazing team has created? Click the links below for some wonderful inspiration. If you get lost come back here to get on track Lori Whitlock, Traci PenrodAnita Mulcahey, Brandie Adams, Aimee Kidd, Ashley Cook, Cathy Harper, Michelle Starcher, Marcia Dehn-Nix and Brigit Mann.  Thanks again for dropping by! Have a GREAT day!

New Window Flip Cards!

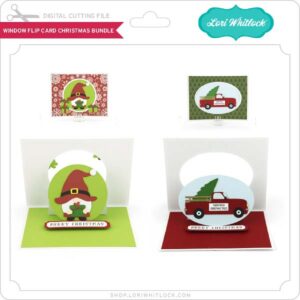
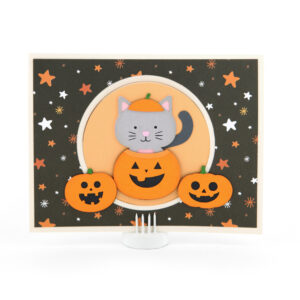
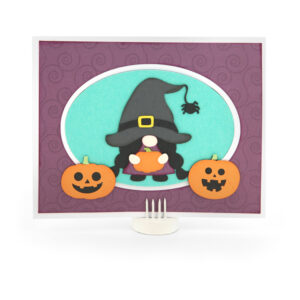
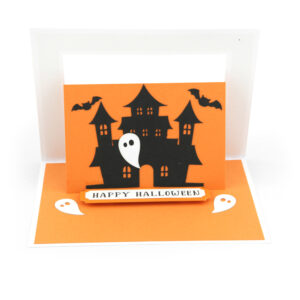
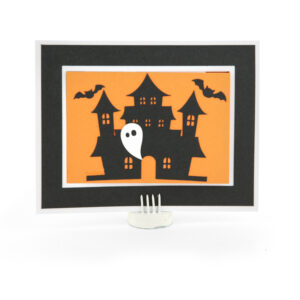
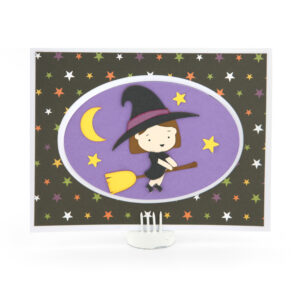
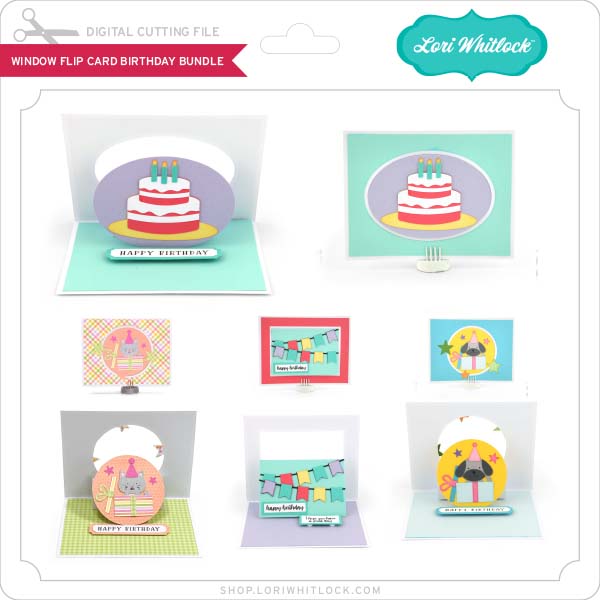
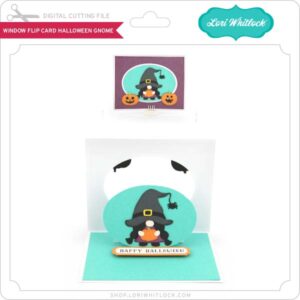
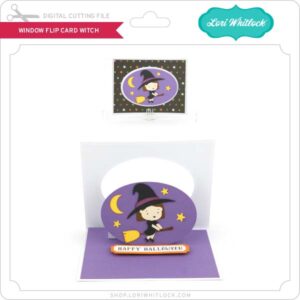
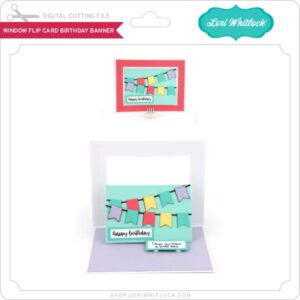
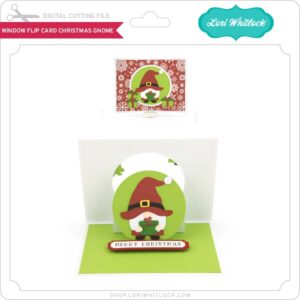
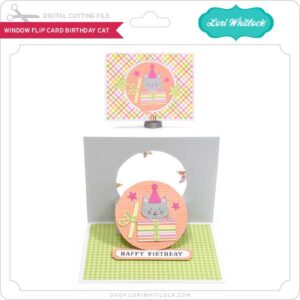
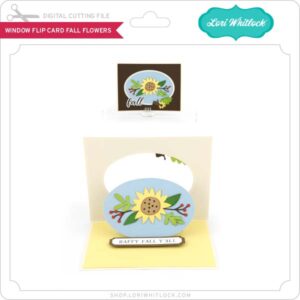
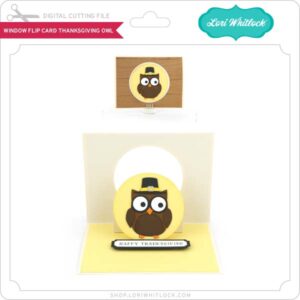
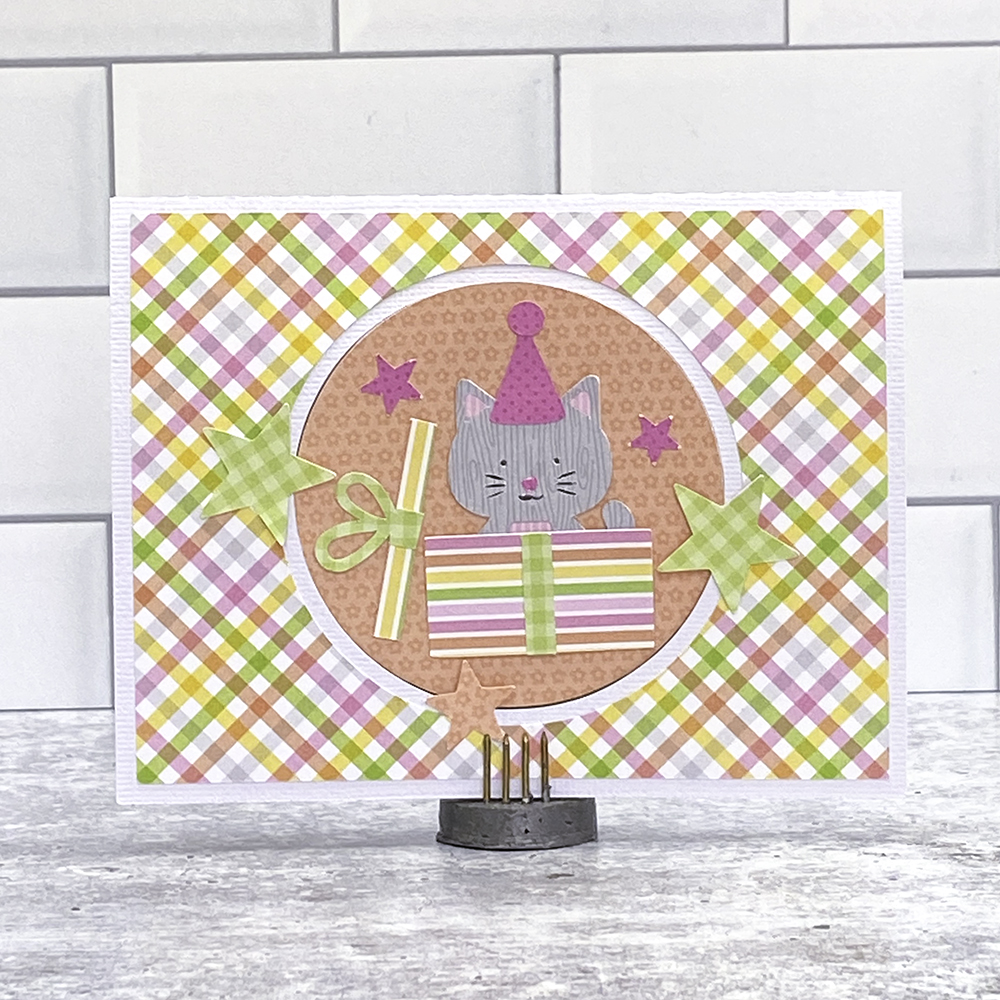
Hi Everyone!  I’m excited to bring you a new card that will be added to the shop this week!  It’s called a Window Flip Card and I made the new Window Flip Card Birthday Cat (SVG, Silhouette – coming this week).  Take a peek…  Here is the front of the card…

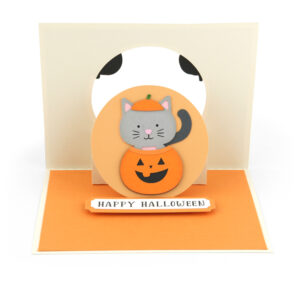
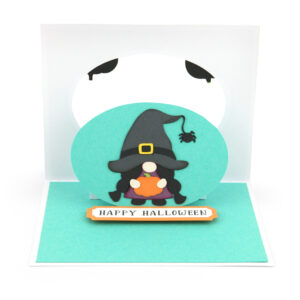
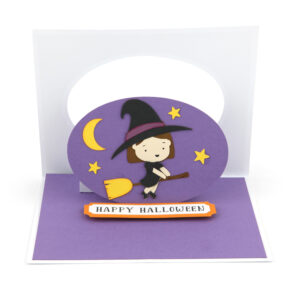
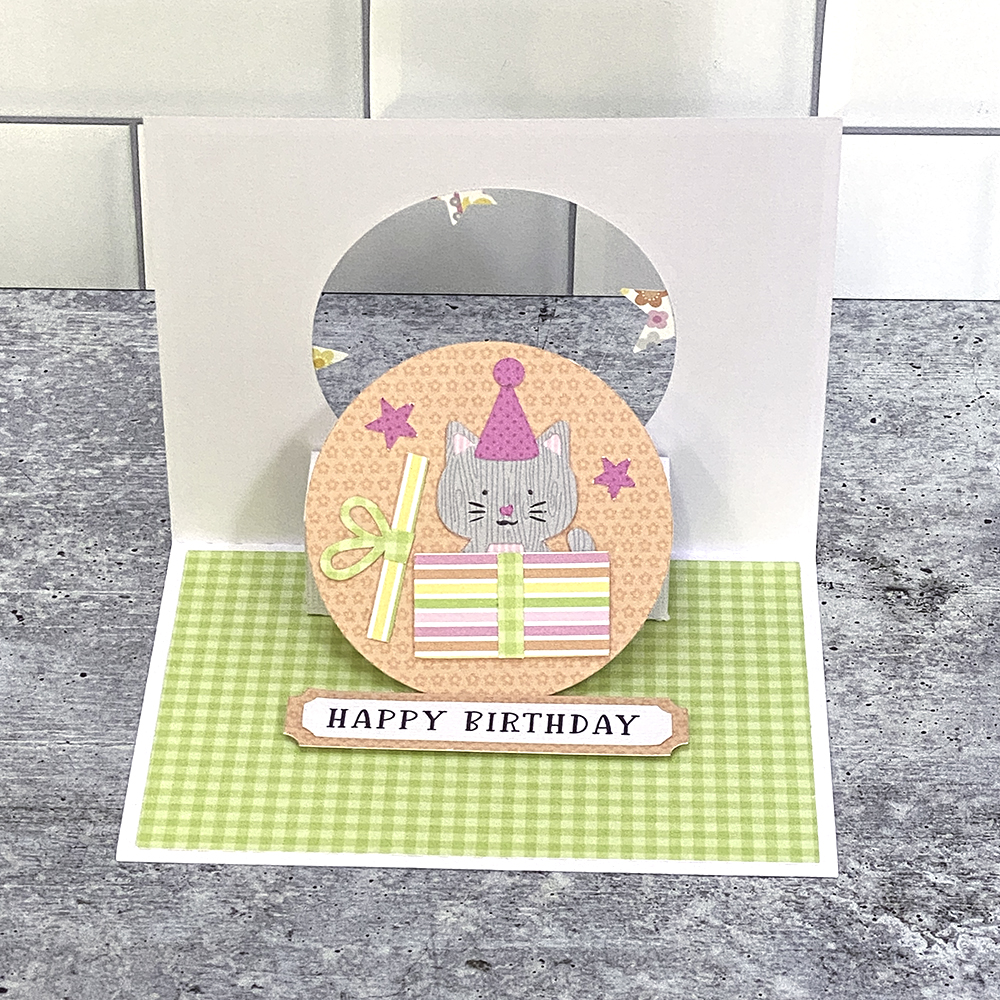
And when you open the card, ta-da! you get a cute little flip up!

These cards are pretty easy to assembly, I’ve put together a quick tutorial below…


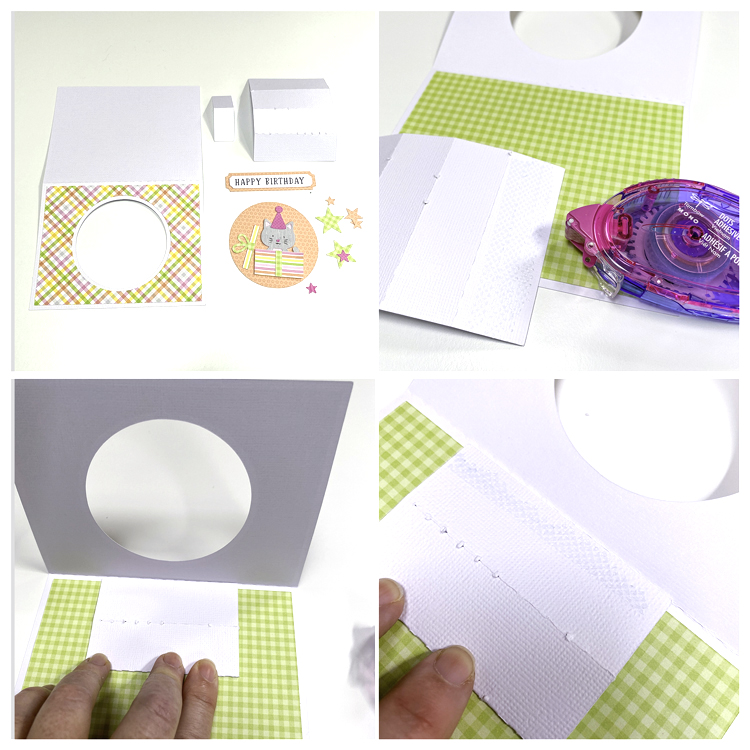
In the upper left photo, you will see all the pieces of the card.  I pre-assembled the kitty and present, print and cut the sentiment and added the front cover panel and the inside panel.  If you ever need help with specific piece placement, you can always reload the file into your cutting software, Lori groups the pieces as they go in the final project.

Start with the piece with the 3 score lines.  Fold all the score lines in the same direction.  Cover one end section in adhesive.  Fold the whole piece in half… adhesive on the outside.  Attach this piece to the bottom half of the open card base.  It should be centered, and the piece with the adhesive should be facing down and closest to the fold in the card (see bottom left photo).  Once this is in place, add one strip of adhesive on the section closest to the card fold as shown bottom right photo.

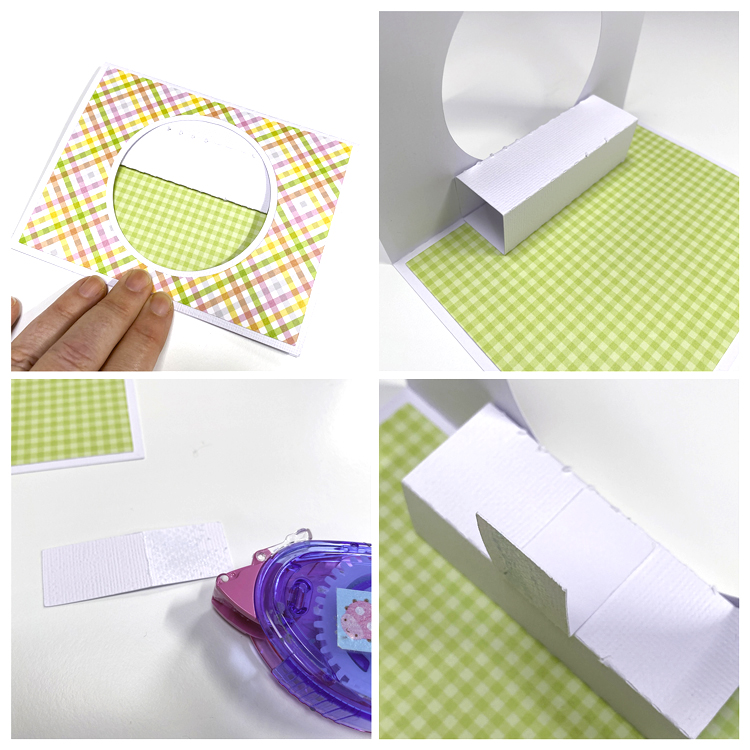
Fold the card closed and press so that the top of the card is firmly attached to the folded section.  Now, when you open the card, you will have a squared tube inside the card.  Next, fold the small tab along the score line.  Cover the smaller side of the tab with adhesive (bottom left).  Adhere this small piece to the top of the squared tube, centering it.  You want the remaining tab to be sticking up furthest away from the fold. (bottom right)

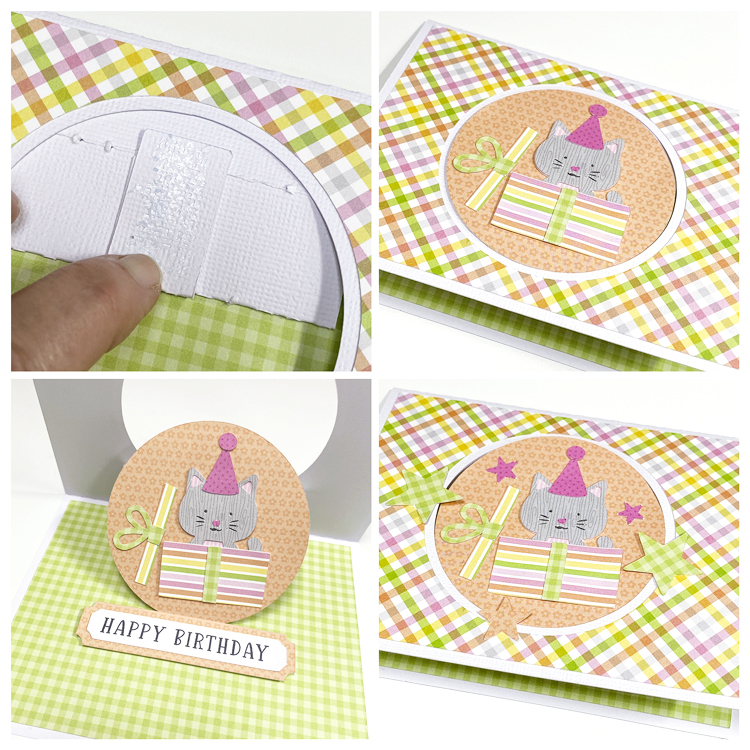
Now when you close the card, fold the tab up and add adhesive (top right)  With the card still closed, add the circle with the cat, making sure it is centered and press down to adhere it to the tab.  Now when you open the card, the kitty circle will pop into the card.  I then added the sentiment strip so that it would prop up the kitty circle when the card is open.  I used foam tape to give it a little height.  Lastly close the card and add the stars.  Make sure there is no adhesive on the edges that overlap the circle.

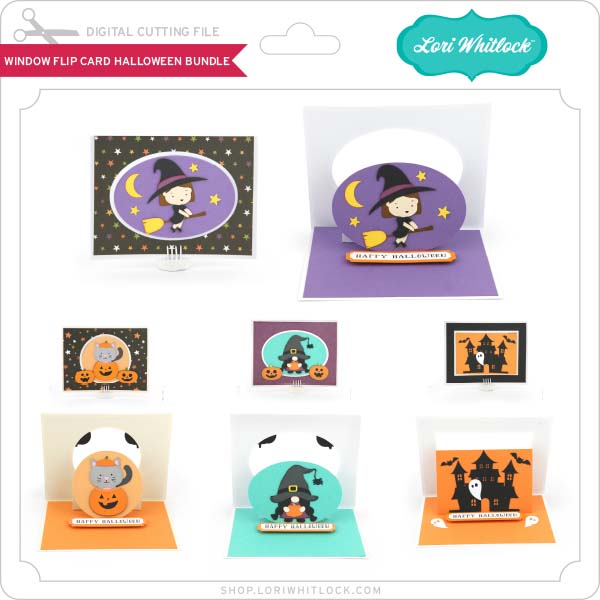
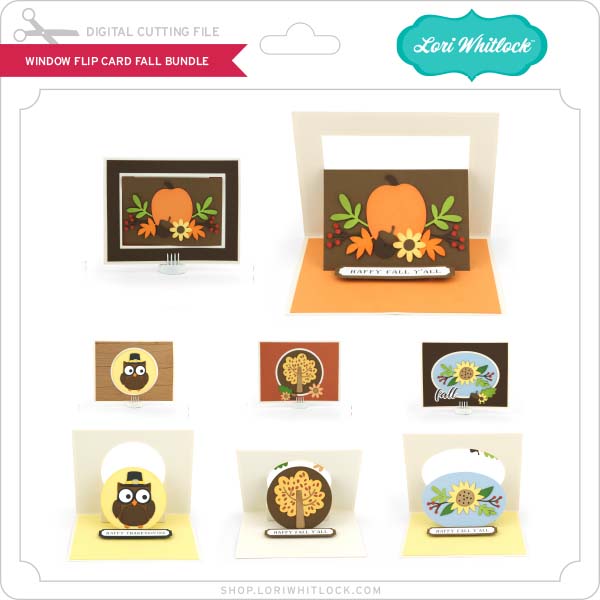
There are lots MORE window flip cards coming to the shop later today/tomorrow, so be sure to check them all out!  That’s it for me today, thanks for stopping by!

BLOG | INSTAGRAM