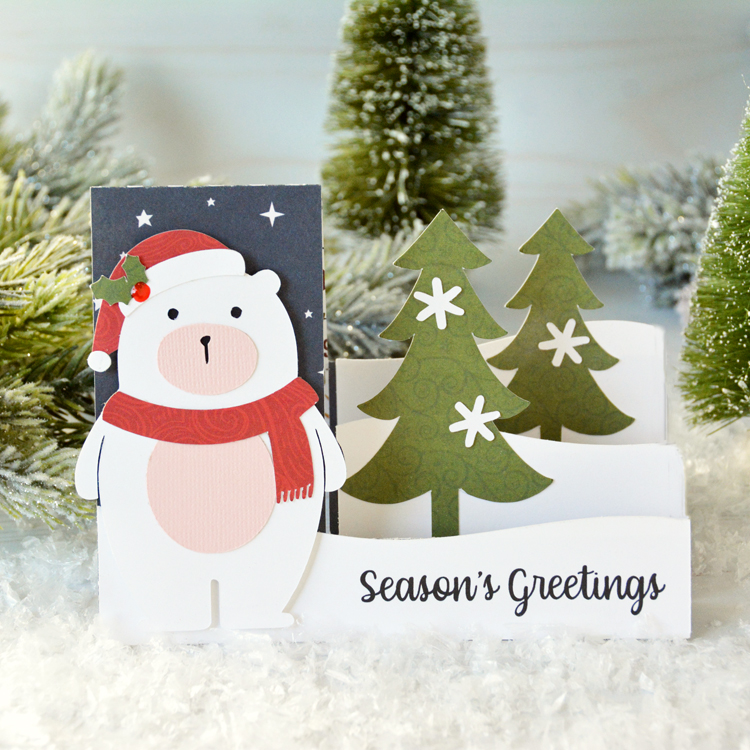
Polar Bear Side Step Christmas Card

Hello everyone! Marcia here today. I’ve been busy making some Christmas cards to send out to family and friends. Do you still send cards out? I love making cards that can be left sitting out on tables and countertops and was so happy to see that Lori added some step cards recently like this adorable Polar Bear Side Step Christmas Card (SVG, Silhouette). I used the starry sky pattern paper from Echo Park Paper’s The First Noel collection for the base of my card and the Christmas Magic collection for the green and red pattern papers.

No need for a sentiment stamp either. You can use the Print and Cut feature in the Silhouette design studio. The Season’s Greetings sentiment is included with the cut file.

I love how it turned out! There are a lot of other side step cards that were released recently for Christmas card making. Go check them all out. Have a great week.
~Marcia

Friday $5 SVG Bundle Ends at Midnight!

This awesome Friday $5Bundle is available until midnight and when it’s gone it’s gone.  These SVG files can be used with Cricut Explore, Silhouette Studio (with the Designer Edition upgrade), Scan N Cut, and any other cutter that will work with SVG files. Help spread the word by telling your friends and announcing it on social media!

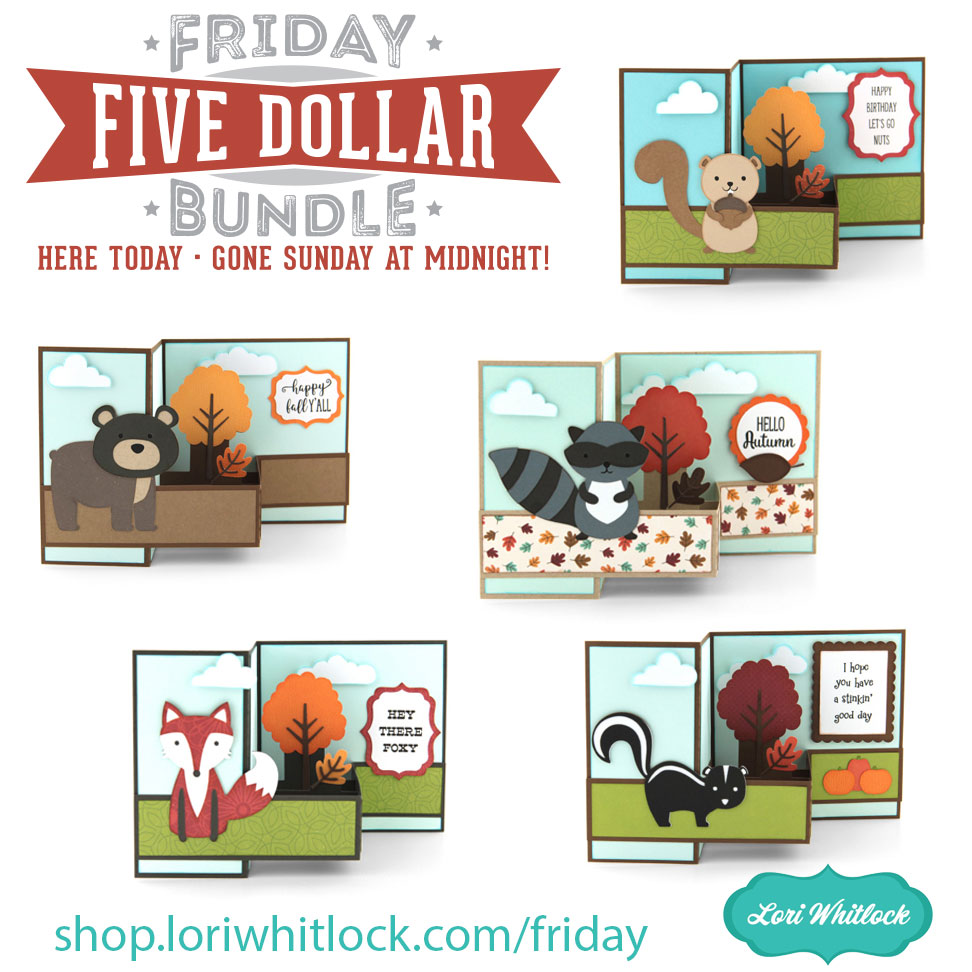
Be sure to pick up this Fall Pop Up Box Card Bundle including 5 SVG files for just $5**!

The cost of this bundle is $5, for $9.95 worth of SVG files, over a 49% savings! But don’t wait, this bundle will only be around until TODAY at midnight!

** Because Friday $5 Bundles are already heavily discounted they are not eligible for further discounts including monthly, seasonal and flash sales.

Have a great day!

A New Friday $5 SVG Bundle!

Hi Everyone! Today we have a new Friday $5 Bundle! It will ONLY be available until Midnight Sunday and when it’s gone it’s gone. These SVG files can be used with Cricut Explore, Silhouette Studio (with the Designer Edition upgrade), Scan N Cut, and any other cutter that will work with SVG files. Help spread the word by telling your friends and announcing it on social media!

Now through Sunday, you can pick up this Fall Pop Up Box Card Bundle including 5 SVG files for just $5**!


The cost of this bundle is $5, for $9.95 worth of SVG files, over a 49% savings! But don’t wait, this bundle will only be around until Sunday at midnight!

** Because Friday $5 Bundles are already heavily discounted they are not eligible for further discounts including monthly, seasonal and flash sales.

Have a great day!

Vintage Bucket Tutorial

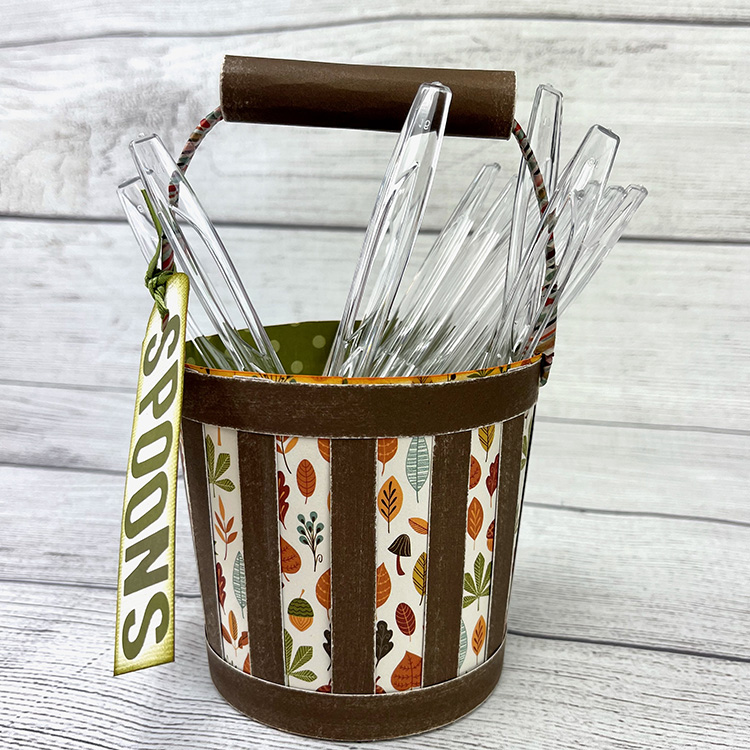
Hi there paper crafting friends!  It’s Michelle Starcher, aka the Bookish Designer, hopping onto the blog to walk you through the steps to create Lori’s Vintage Bucket (SVGSilhouette).  I was looking for something festive that I could use to hold utensils for Thanksgiving dinner, and I came across the Vintage Bucket.  This file is the perfect way to set out plastic utensils for any party or event.

VIntage Bucket

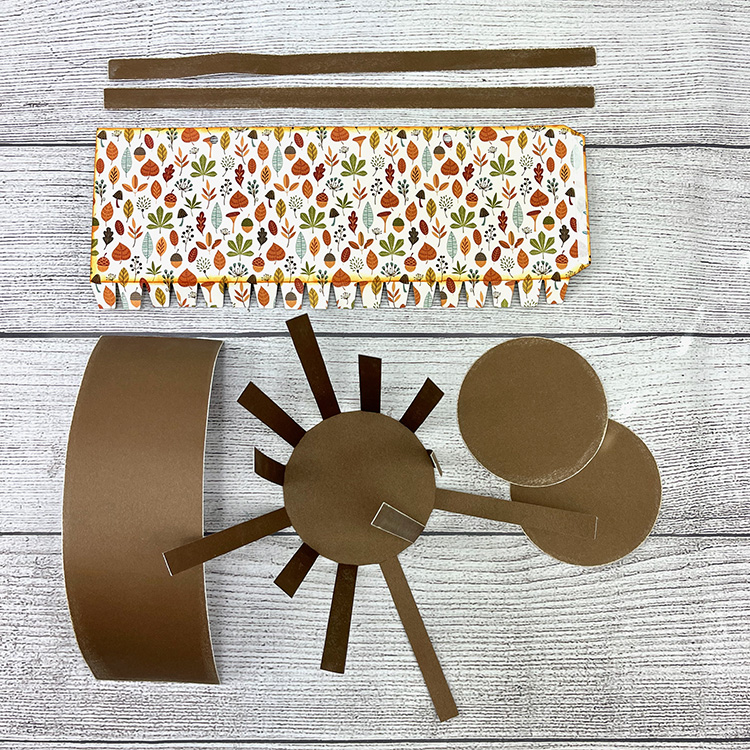
In this photo tutorial, I will break down the steps to create the Vintage Bucket.  In the cut files, you will find everything you need to complete the Vintage Bucket, expect for the floral wire or pipe cleaner used for the handle.  After cutting all of the pieces, I sanded the edges of my dark brown cardstock and inked the edges of my pattern paper to create a more vintage look.  In addition, I folded down the tabs on pattern paper and rolled it along the edge of my desk to give a little bit of curve to my paper.  I did the same thing to the long brown rectangle that will become the bucket handle.

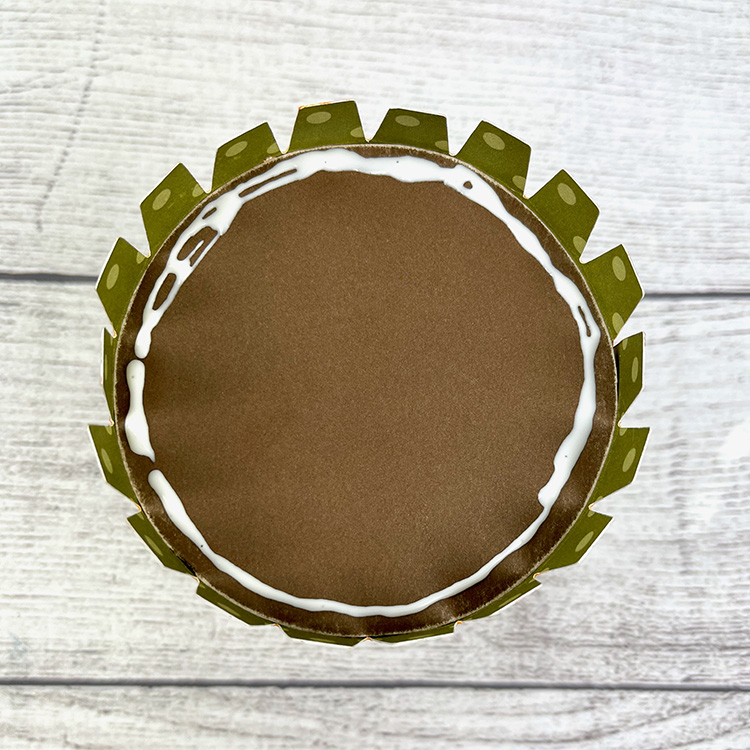
Next, I added adhesive to the tab of the “bucket” and attached it to the other side.  Be careful to line up the two sides as perfectly as you can to create the cylinder shape.  Then, place one of the circles inside the bottom of the cylinder.  Flip the bucket over, add glue along the edge of the dark circle, and fold down the little tabs.  Once you have done that, add more glue and place the second brown circle on top to cover the little tabs.

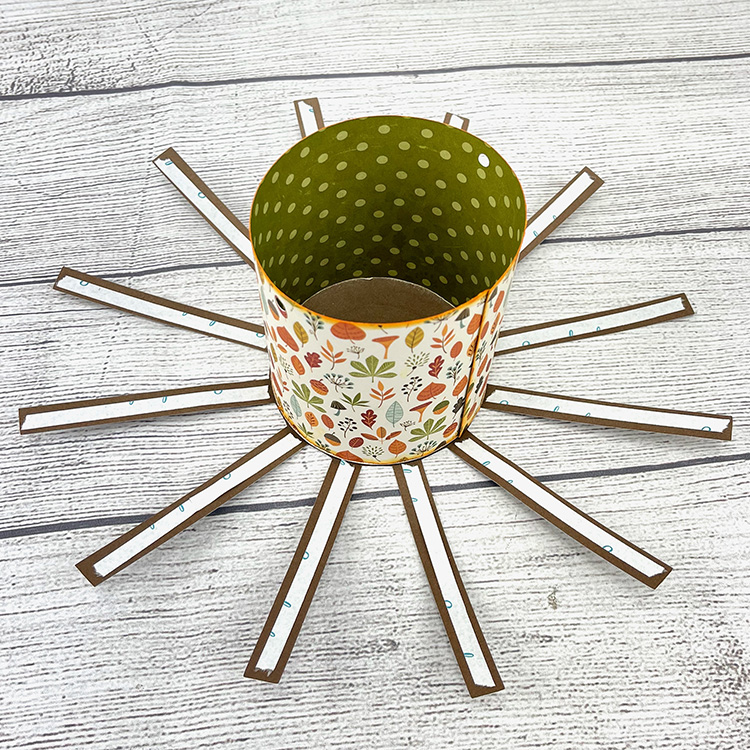
Once you have assembled your bucket, you will adhere it to the “sun” shape.  I used glue to adhere the bucket to the “sun” shape and adhesive tape to adhere the “sun’s rays” to the bucket.  I lined up one of the “sun’s rays” to cover the seam in the bucket.  This caused the holes for my handle to be covered up, but I was able to use a hole punch to create new ones when I was ready to add the handle.

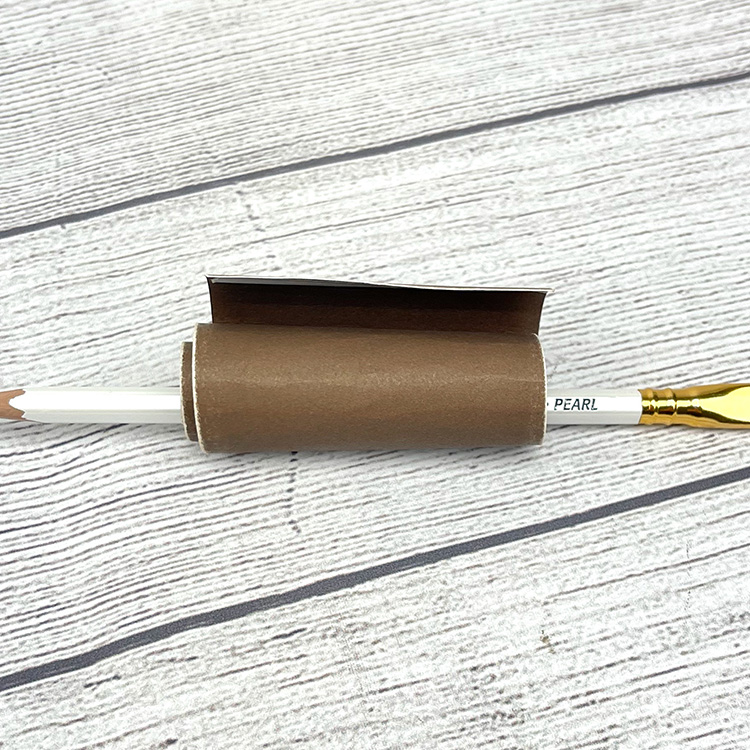
Next, I added the rectangle strips to the top and bottom of my bucket.  I added adhesive tape to both ends of the rectangle and used a pencil to help me role the rectangle piece into a tube shape. To finish the tube shape, I took the pencil out and held it in between my thumb and index finger to tighten the tube.  I used adhesive tape to close the tube.  For the handle, I used washi tape to cover the floral wire and added add the paper tube to the top to form the handle for the bucket.  Insert one end of the floral wire into one of the holes in the bucket and pinch to close. Repeat on the other side as well.

Once my bucket was finished, I made a quick tag and used alphabet stickers to spell out “Spoons”.  I inked the edges and attached the tag to the bucket using ribbon.  I am planning to make two more Vintage Buckets to hold my forks and knives as well.

If you are interested in a more detailed video tutorial on how to put together the Vintage Bucket, Lori has one available on YouTube.

Until next time,

Michelle

NEW! Christmas Tiered Tray On-Line Class! Pre-Register & Save $10!

Hi Everyone! Christmas is just around the corner and I have designed a fabulous holiday project for you. Come play with us in my NEW Christmas Tiered Tray Décor Class over at Cuttingclasses.com. In this class we’ll be making decor items for a Christmas tiered tray — including a super cute wood Christmas countdown!
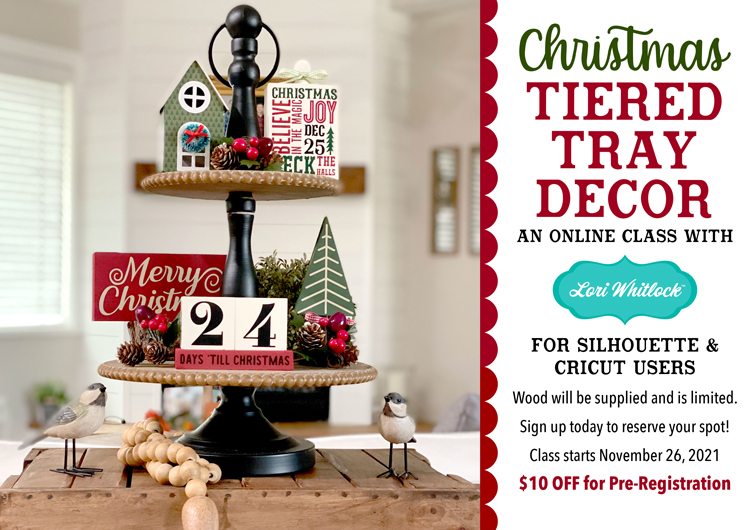
Let’s get our Christmas crating on!! Grab a cup of hot cocoa and join me in this self-paced class as I walk you though every step to create this adorable set of 5 Christmas tiered tray décor projects using your Silhouette® or Cricut® digital cutting machine. You’ll also receive 23 perfectly sized digital cutting files giving you options for each project. That means you can get creative and personalize your set just the way you’d like.

This class includes the wood for 4 projects! You have 3 options for enrollment.
1.) Receive the 1 pre-cut wood kit in the mail once you’re enrolled (US residents only).
2.) Receive 2 pre-cut wood kits in the mail once you’re enrolled (US residents only) — these make great gifts.
3. Provide your own wood (templates will be provided).

Be sure to pre-register before class begins and SAVE $10! The class will be available on Nov. 26, 2021. PRE-REGISTER HERE

What You’ll Learn

I’ll walk you through every step from downloading the class materials, painting the wood, setting up the files and cutting the vinyl. We’ll walk through the vinyl application and finishing touches. We’ll also create the cute little house using chipboard/cardstock. The class comes with a printable PDF guide. You’ll craft right along with me and leave class feeling more confident in your Silhouette and/or Cricut cutting machine skills.

Class Features

• My step-by-step video lessons include preparing and sending the cutting files to cut in Silhouette Studio Version 4 AND Cricut Design Space. Have you ever wondered what the workflow is for “the other machine”? Now is your chance to take a peek and see exactly how you’d do this project using both Silhouette and Cricut machines. There will be separate sections for each machine so you can watch just one or both if you’d like. PLUS how to apply the vinyl and finish your projects. You can stop, rewind, and restart the videos as many times as you’d like.

• You’ll get 23 downloadable cutting files needed to complete this class – the same ones I use in the videos (and extra) – to follow along with me. You’ll also receive a printable PDF guide with photos and illustrations. You’ll find a materials list below so you can start collecting your supplies like paint and vinyl.

• If you have questions during your class, each lesson features an interactive comments section where you can ask questions, share your creations, and interact with me and the other students.

• All of the videos will be available 24/7 FOREVER from your course home page at CuttingClasses.com. Your class does not expire.

• Once enrolled, you’ll also be invited to join Lori’s private Tiered Tray Décor Facebook page so you can interact with Lori and your classmates.

• If you choose to buy the wood kit, you’ll receive a package in the mail from me with all the pre-cut wood you’ll need to complete these 4 adorable tiered tray décor projects in class!! This is so exciting!
*Note: The 4 painted wooden décor projects are included in this class. The tiered tray, pinecones, beads, and greenery are NOT included. The house is made out of chipboard or cardstock which the student will supply. 

CLICK HERE to read more about the class, see the class materials that you’ll need, and register.  I hope that you can join us!