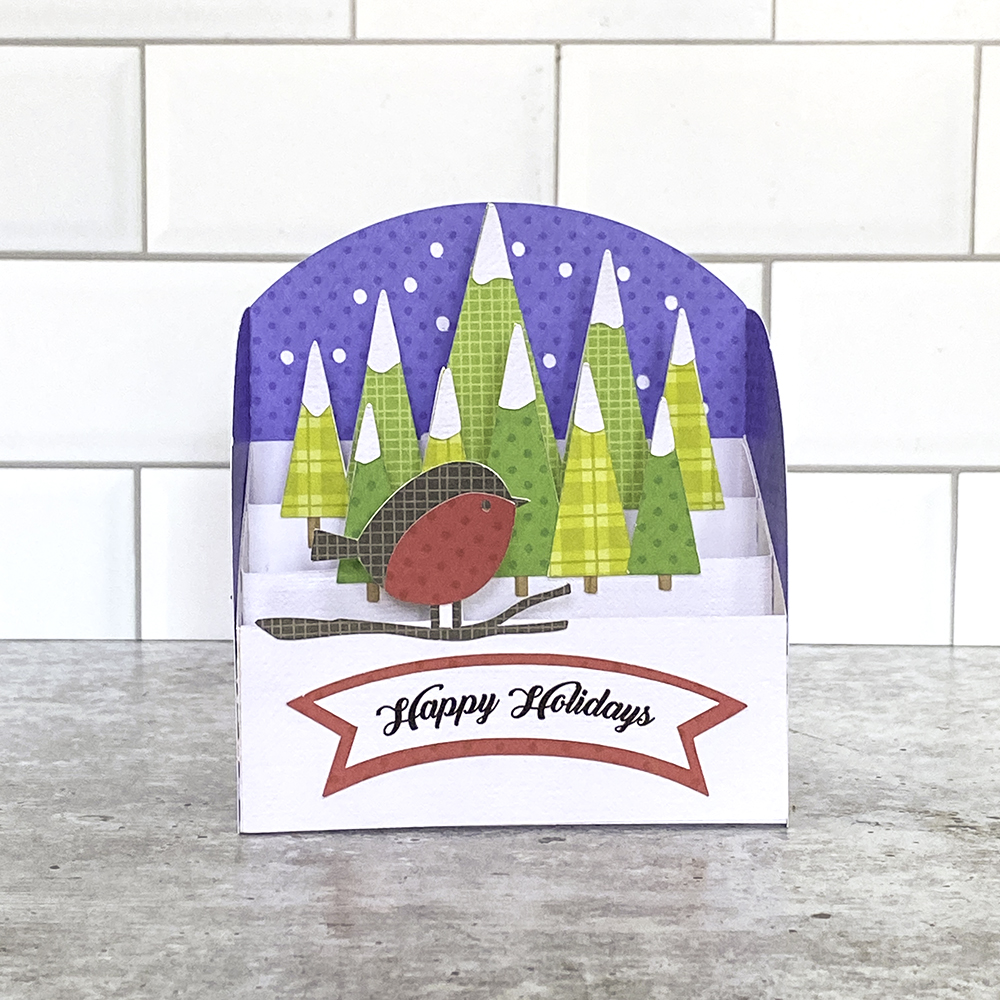
Hi Everyone! It’s Kathy today with a fun new style of card from Lori, the Stadium Box Card. These cards are very similar to a regular box card, but they have a nice wrap-around piece along with the inserts. They fold flat for mailing (standard A2 Envelope) and they look so pretty on display! I’ve made a few, including this Stadium Box Card Winter Bird (SVG, Silhouette) As I mentioned they are very similar in their assembly to a regular box card, with a couple of small differences. I’ve outlined the assembly below.
To start cut out all of your pieces. I’ve pre-assembled some of them. I added the trees to 2 of the inserts and the bird and branch to the 3rd. I also created the sentiment using the Print and Cut Feature of my cutting machine. If you ever need help with piece placement, I always find it helpful to reload the cutting file in my software. Lori groups the pieces together as they go on the final project so it definitely helps when your trying to place that one last piece!

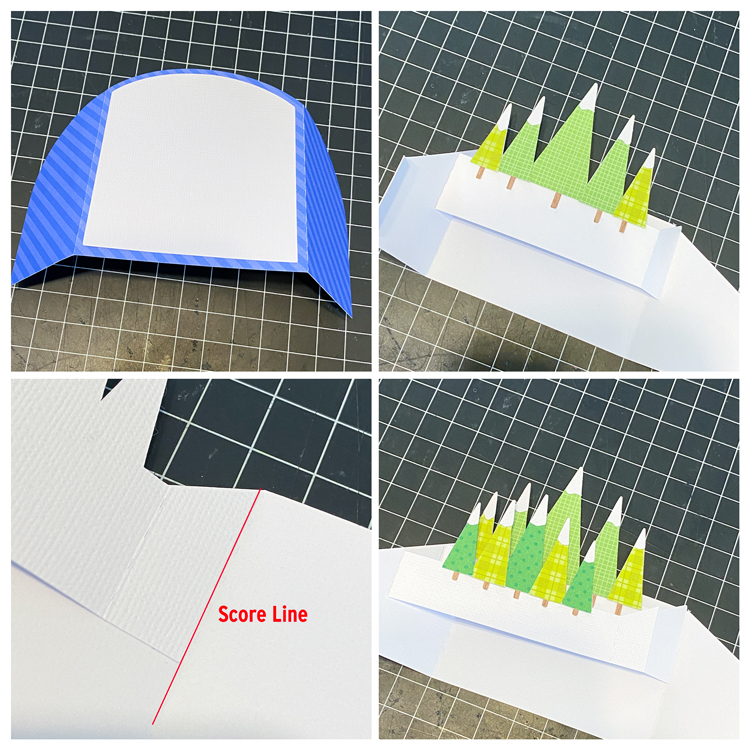
I started by adding the arched white piece to the back side of the blue piece. When facing forward, the white looks like snow falling in the background of the card.
I then added the inserts to the card base. I find this easier to do before I glue the “box” into shape, I started with the backmost insert. Align the tab of the insert along the slanted edge of the box side, and also the score line between the side and back of the card. Don’t overlap the score line, just right to the edge.
Add the second insert, aligning that tab along the slanted edge of the side as well, then right up next to the previous insert. When flattened it should look like the bottom photo.
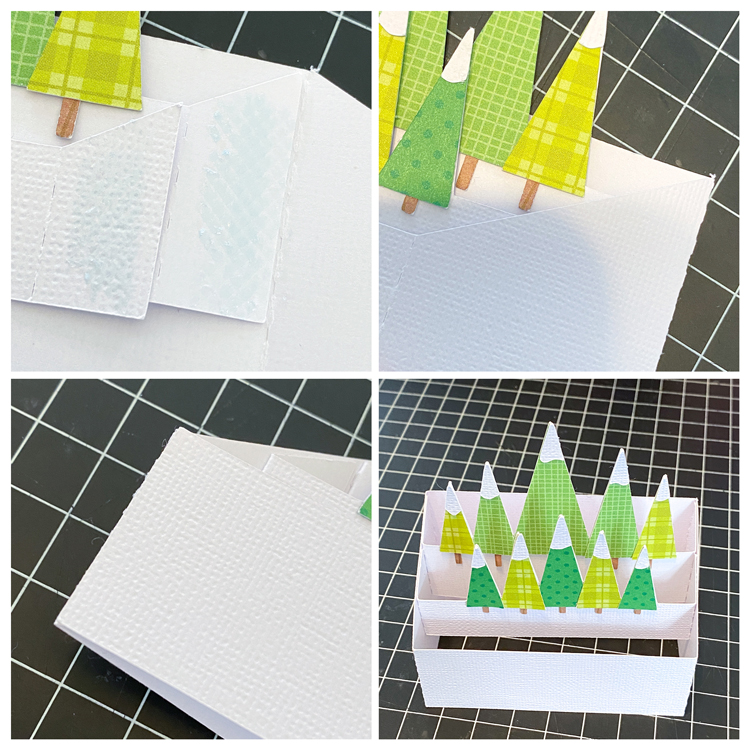
Once you have the left side glued, flatten out the two inserts, and add adhesive to the remaining two tabs on the inserts as shown in the first photo.
Fold the right side of the card base over, and press down to adhere the tabs to the side. They should be aligned with the slanted edge of the side.
Finally add adhesive to the tab on the box base and press down. Now when you open the box it should look like the bottom right photo.
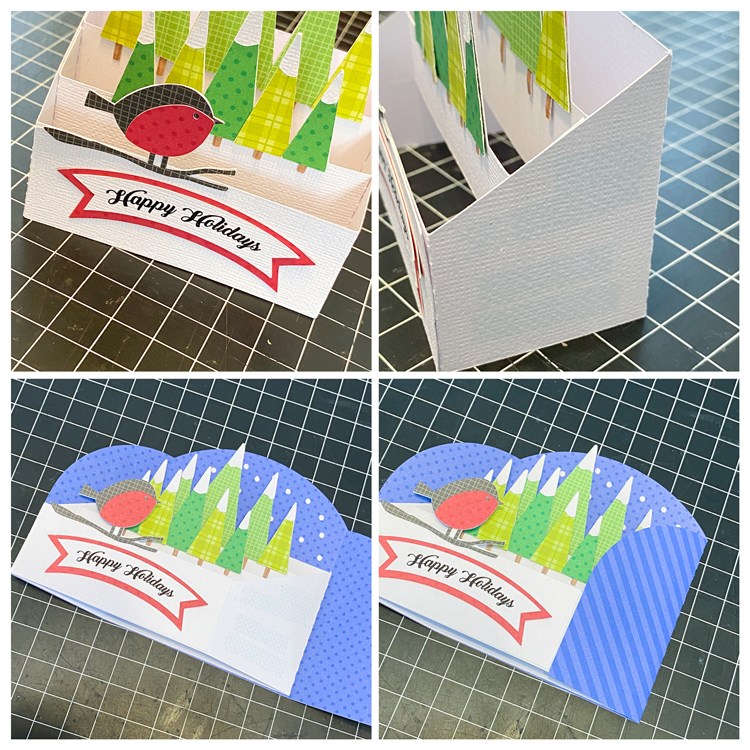
Once you have the box in shape, add the bird insert directly to the front of the box on the outside.
Finally you want to add the wrap around piece. I started by adding adhesive to the sides and back of my box.
To align the box perfectly in the wrap piece, I folded the box as shown in the bottom left photo, and then lined up the edges with the leftmost and bottom edges of the wrap. Once I had that in place, I folded over the remaining flap of the wrap piece and pressed to adhere.
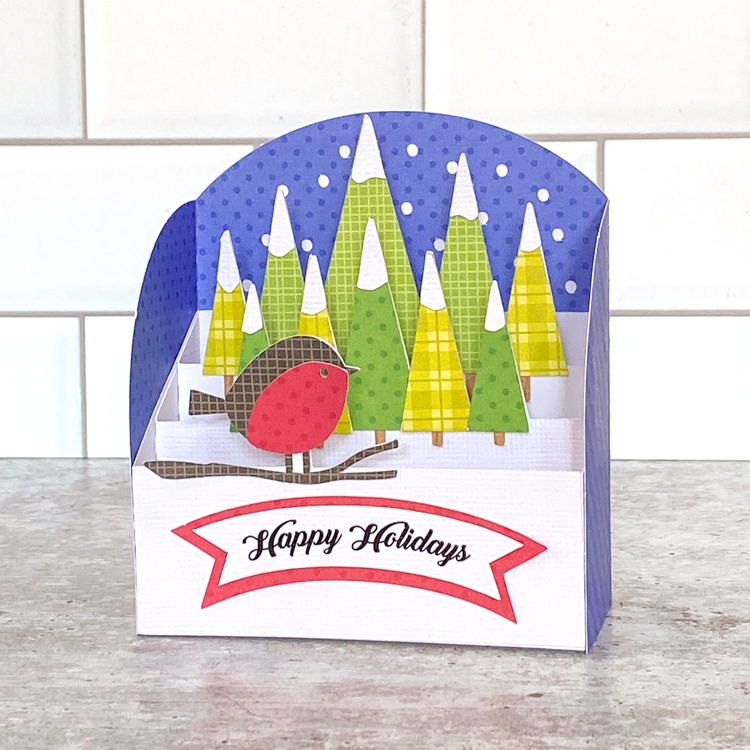
And done! They really do go together quickly, and just look so cute! That’s it for me today, thanks for stopping by to peek!
 BLOG | INSTAGRAM

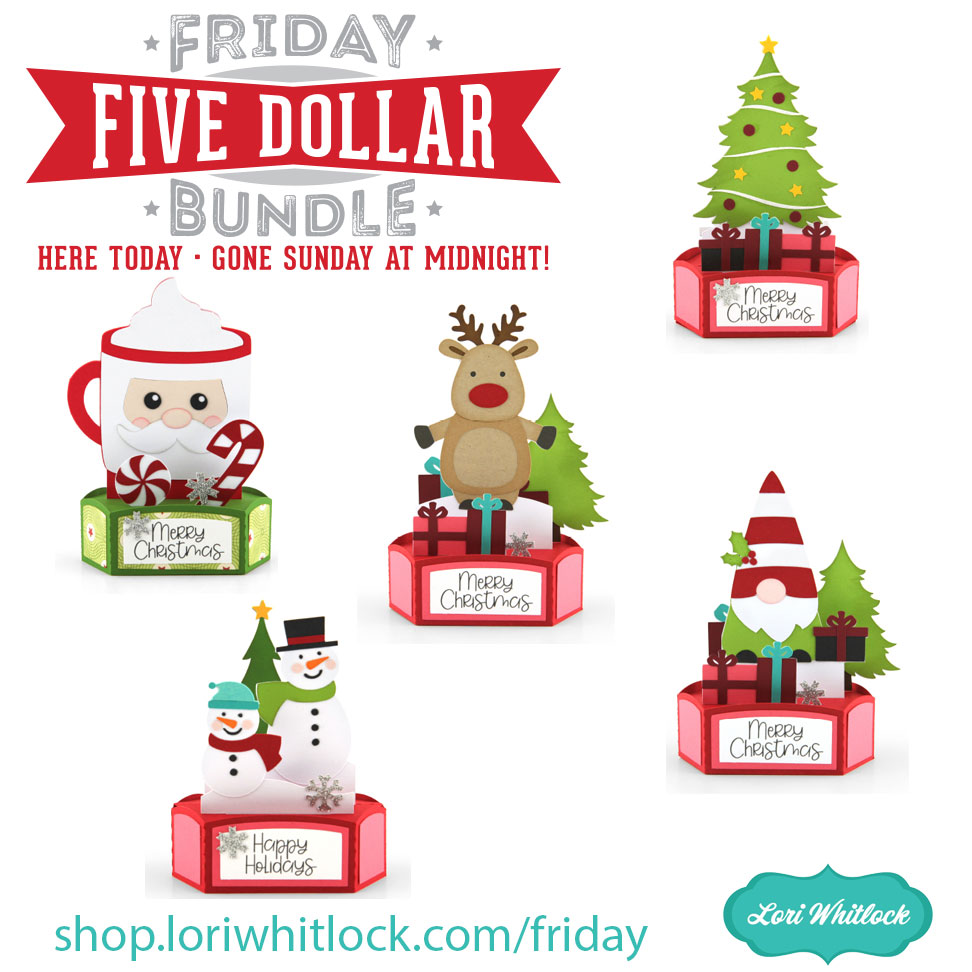 The cost of this bundle is $5, for $12.45 worth of SVG files, over a 59% savings! But don’t wait, this bundle will only be around until TODAY at midnight!