Today is the last day to save on SVGs, Fonts, Pattern Fills and Commercial Licenses in the Lori Whitlock SVG Shop! Get 30% off when you use code NOV2022 at checkout, but don’t wait, sale ends at midnight (MST).
A Friday $5 SVG Bundle
Hi Everyone! Today we are bringing back another bundle! A couple of Fridays a month, we are going to bring back an older Friday $5 Bundle! It’s a great chance to get a bundle you may have missed! It will ONLY be available until Midnight Sunday and when it’s gone it’s gone. These SVG files can be used with Cricut Explore, Silhouette Studio (with the Designer Edition upgrade), Scan N Cut, and any other cutter that will work with SVG files. Help spread the word by telling your friends and announcing it on social media!
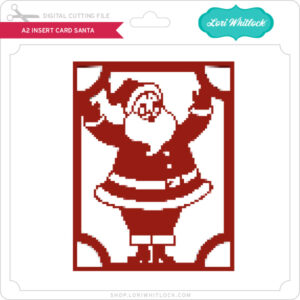
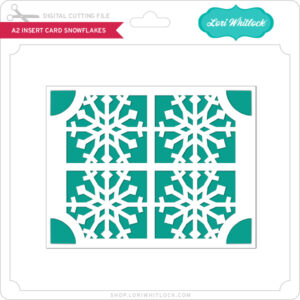
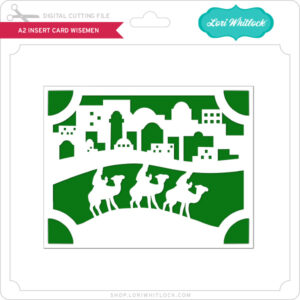
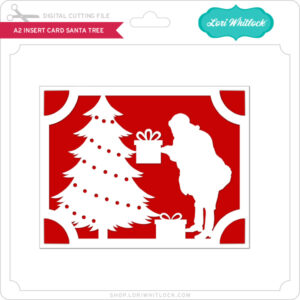
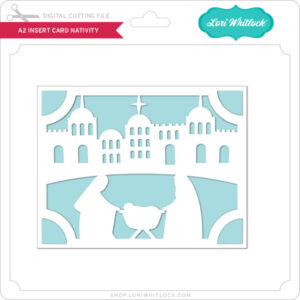
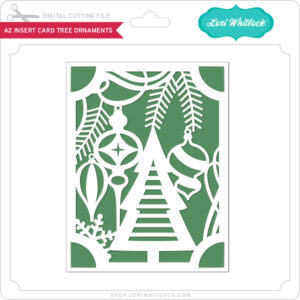
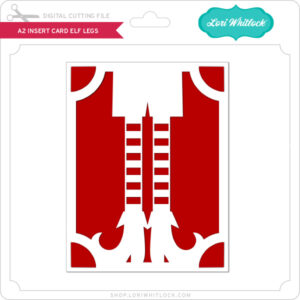
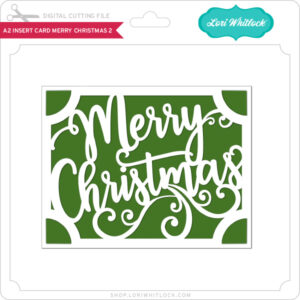
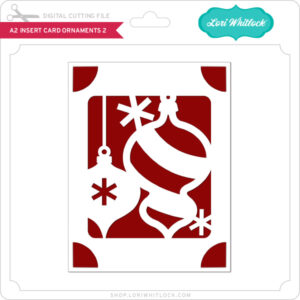
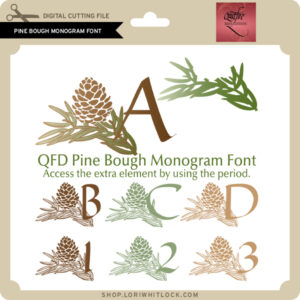
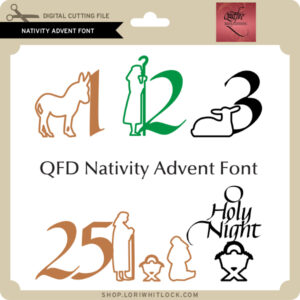
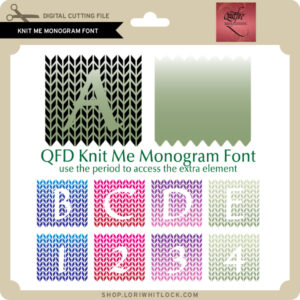
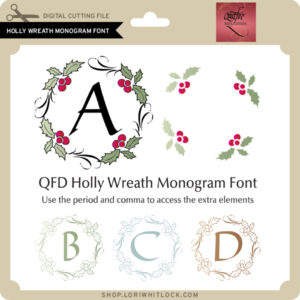
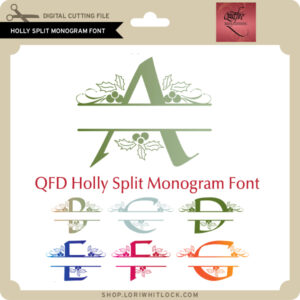
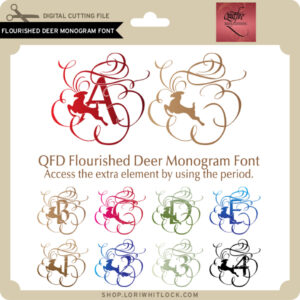
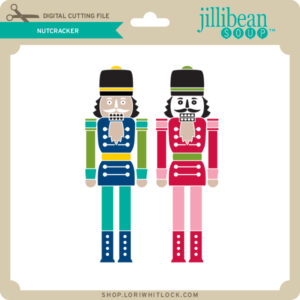
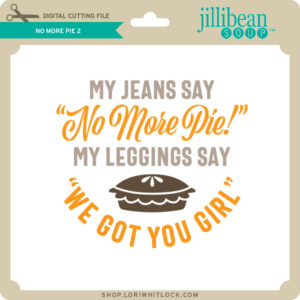
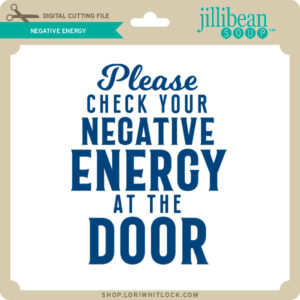
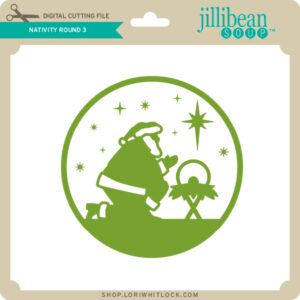
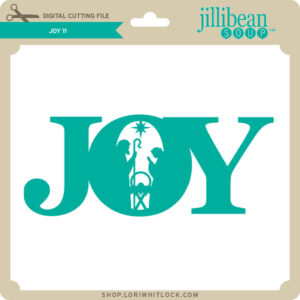
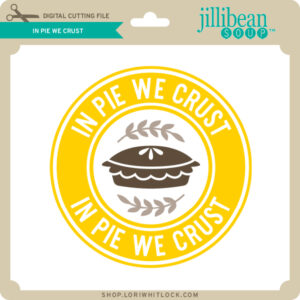
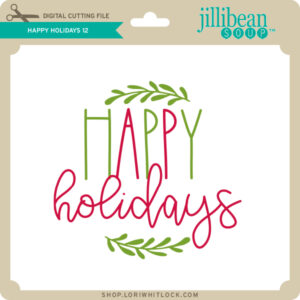
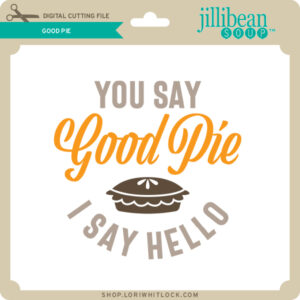
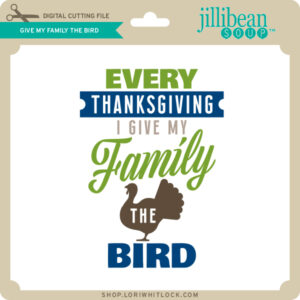
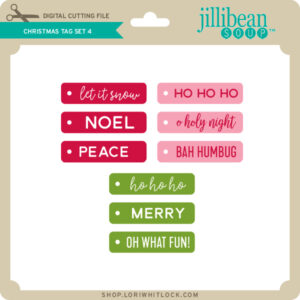
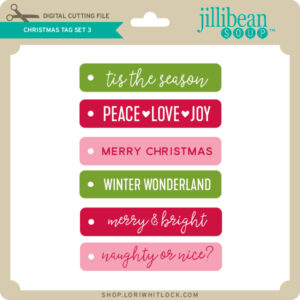
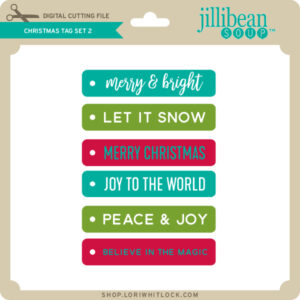
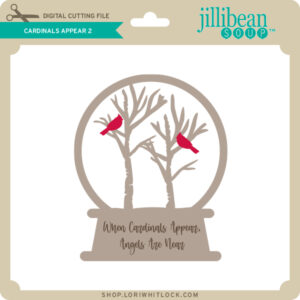
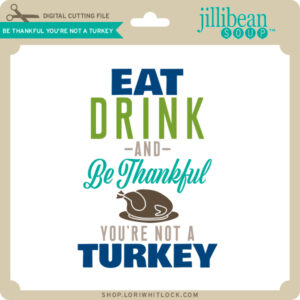
Now through Sunday, you can pick up this Christmas Themed Bundle including 5 SVG files for just $5**!
The cost of this bundle is $5, for $11.45 worth of SVG files, over a 56% savings! These files are perfect for fall crafting! But don’t wait, this bundle will only be around until Sunday at midnight!
Have a great day!
5×7 Box Card House Merry Christmas Tutorial
Hi everyone! Cathy here today to share a box card tutorial with you. I’m always telling you that Lori’s box cards and envelope cards are my favorites to create, so I thought I would share my process for putting them together. So easy and they are loved by everyone that receives them. This is Lori’s new 5×7 Box Card House Merry Christmas (SVG, Silhouette). The file also includes an envelope. Remember, these fold flat for mailing and pop right back up for display.
Here is how the file looks when you first open it, I always ungroup everything and separate by color. It make it easier for me to see what I need for paper and also how to arrange paper on my mat.
You can see how I sorted everything out here. Then I go back, group and cut my pieces.
30% Off + Nov Blog Hop + FREE File
And, last but not least… would you like to see what our amazing team has created? Click the links below for some wonderful inspiration. If you get lost come back here to get on track Lori Whitlock, Traci Penrod, Anita Mulcahey, Brandie Adams, Ashley Cook , Cathy Harper and Michelle Starcher. Thanks again for dropping by! Have a GREAT day!
Fall Leaves Wreath
Hi friends! Today I am sharing a project that was inspired by a creator on Tik Tok. Joleen Emery makes beautiful paper art and one of my favorites is a heart made with paper feathers.
I wanted a Fall theme for my heart, so I used the 6 Fall Leaves 2 (SVG, Silhouette) and cut out 150 cardstock leaves. For the base I used a 10-inch wooden heart but chipboard, cardboard, or even several layers of cardstock glued together would work. I also cut a small hole in the top of heart to add the twine to hang the wreath. Be sure to add the twine before you start gluing the leaves. With hot glue I glued the leaves onto the heart moving around heart shape and repeating that process until the heart was covered. To finish the wreath off I tied a bow to the twine.
I love how this turned out and have plans to make one with feathers too. Thanks for stopping by and I hope you have a great week!
Brandie


.jpg)
.jpg)
.jpg)
.jpg)
.jpg)
.jpg)
.jpg)
.jpg)
.jpg)
.jpg)
-2.jpg)


